


saraengelstad
Head-Fier
- Joined
- Nov 13, 2012
- Posts
- 56
- Likes
- 10
I love molex connectors. I haven't shelled out for Tangent's tool yet, I use an inexpensive crimp tool made for beading and jewelry making. (A lot of beading tools cross over nicely for electronics, especially the wire turning stuff like the round nose pliers.) It's about $6-$8 and is available at most beading stores, Jo-Ann, Michaels, I think even Wal-Mart.
It's called a Beadalon Bead Crimping tool:
http://www.amazon.com/gp/product/B00114OY06/
It requires practice and some finesse, but I'm sure that's true of the $45 Molex WM9999-ND crimper.
It might not work for you, it does take a few tries, and I do plan to get the Molex crimper soonish. But the beadalon thing has done the job for me for quite a while. I do put a tiny drop of solder in there just to make sure, but that's just a weird thing I do and would do no matter what.
Good luck and if anyone picks one up, I'm very curious to know how well it works for others.
Cheers!
-s
")

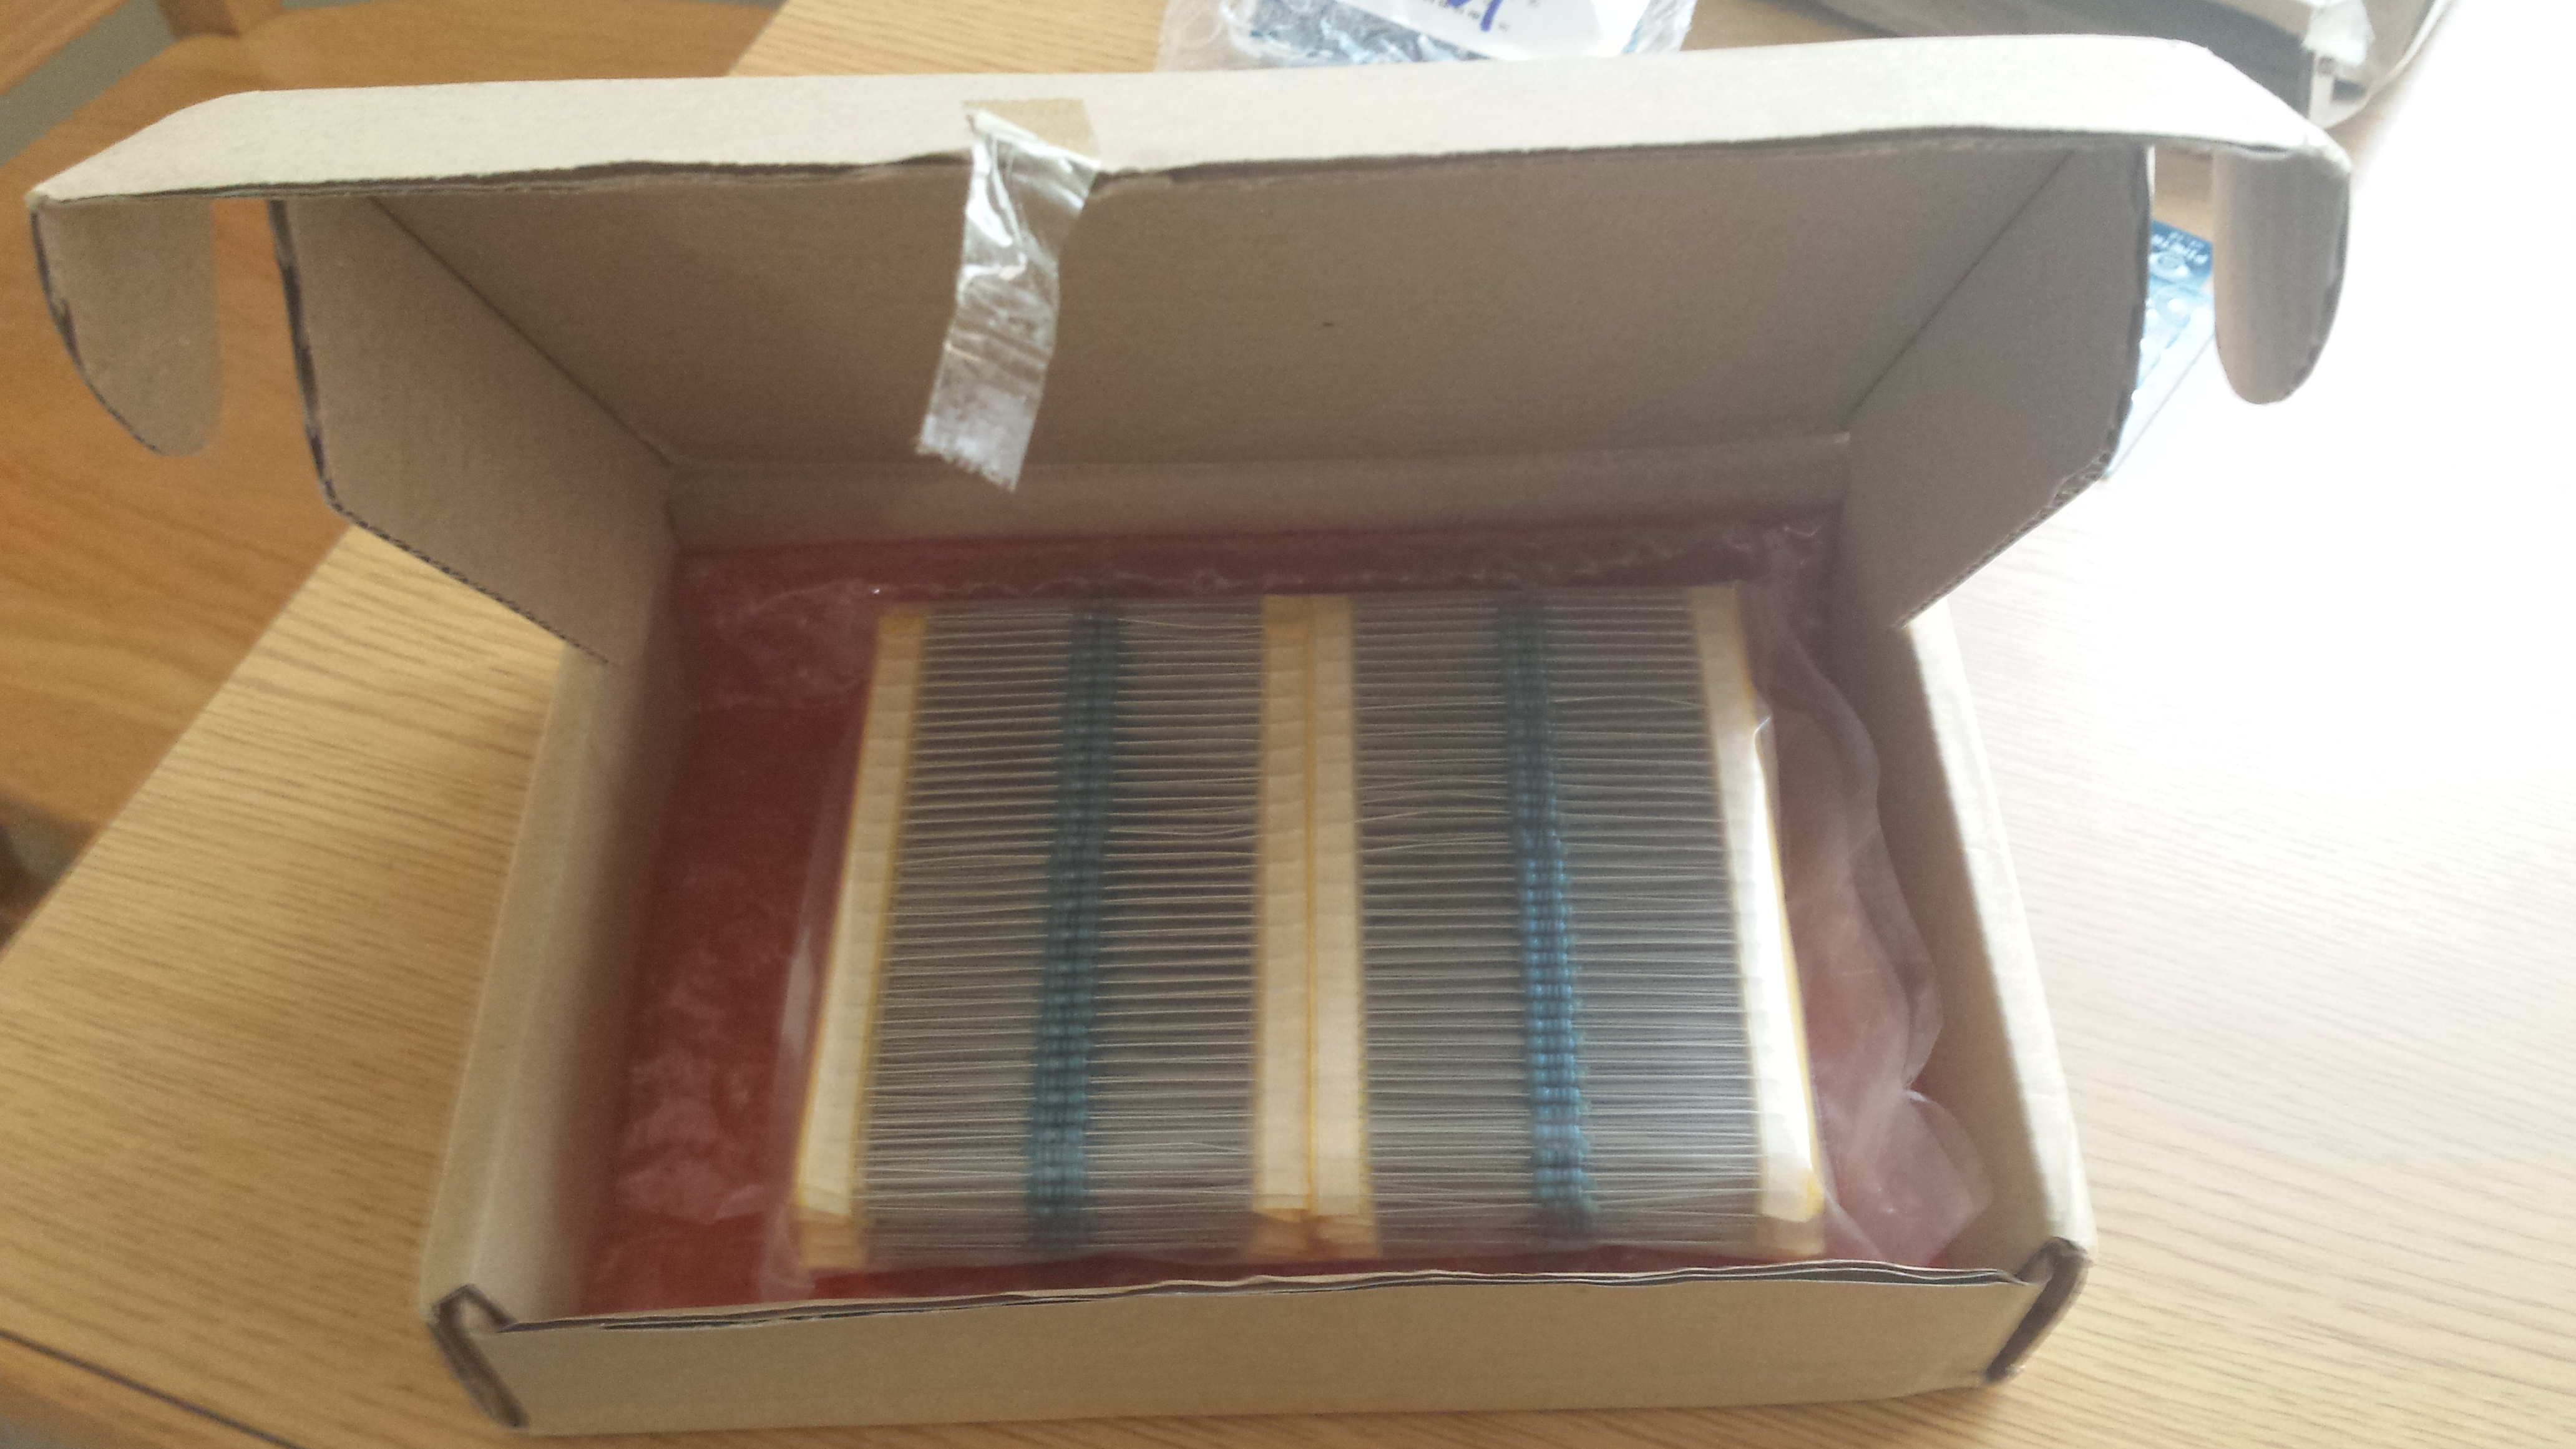
 what could it be??