THE DIY HEADPHONE STAND THREAD
Oct 10, 2008 at 9:08 PM Post #241 of 3,874
Quote:

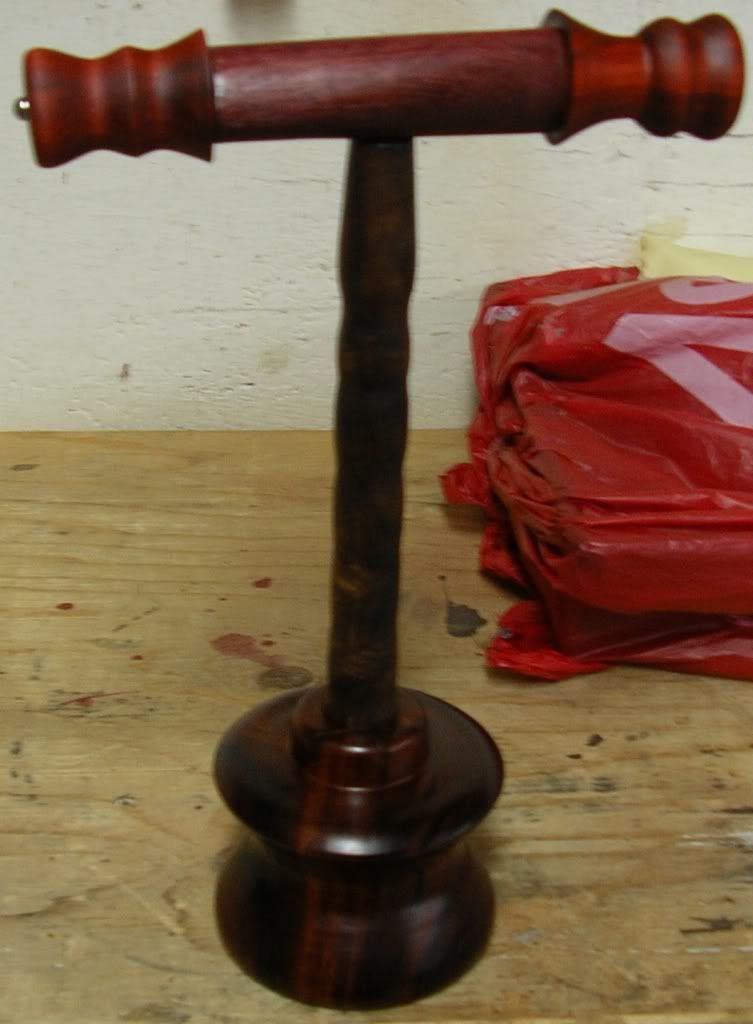
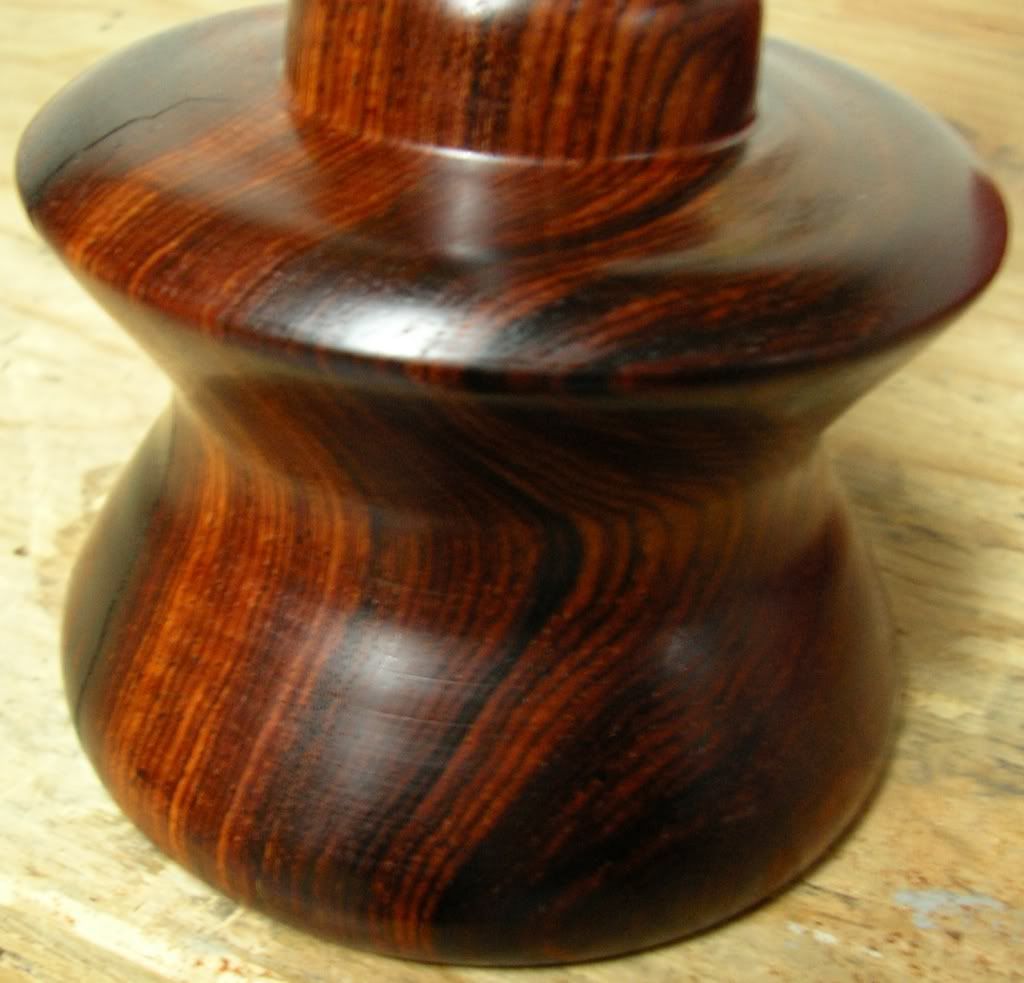
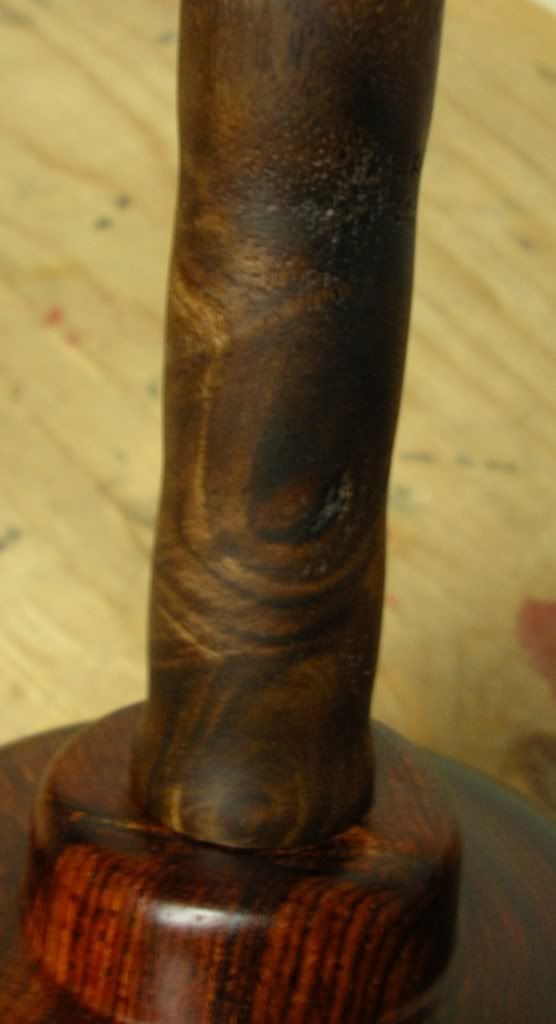
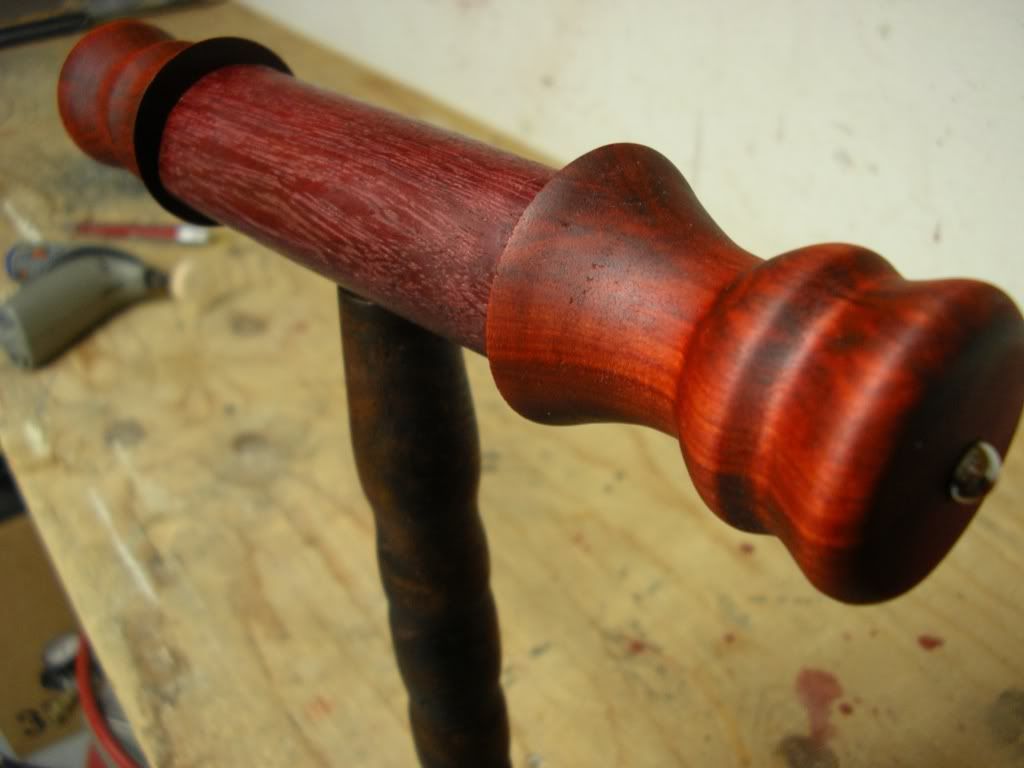
Originally Posted by fatcat28037 /img/forum/go_quote.gif
Last class was today, they glazed their pots. I'll fire them next week. They were a really fun group. This was the first time I did this, I'll do it again if asked.

Here are the stands but before I finished the bases.

100_4158.jpg


That shop is uber tidy, got some free time...say a week or so?
 
Oct 11, 2008 at 12:20 AM Post #243 of 3,874
Quote:

Originally Posted by swt61 /img/forum/go_quote.gif
That shop is uber tidy, got some free time...say a week or so?


I've found the key to a good finish is to get the shop as clean as possible before shooting the finish. Nothing can ruin a nice finish faster than dust falling on it while it is still soft. My wood shop always looks cleanest just before I start shooting lacquer.
 
Nov 1, 2008 at 3:29 AM Post #244 of 3,874
I am currently working on a new stand... made of chakte kok, cocobolo, claro walnut burl and purple heart! Sadly I do not have much time or else I would make more of those fun projects! I just gotten a lathe and I played with it for some time... and I decided to make a stand! Basically I am making a gothic looking stand that is twisted and wavy! Ghoulish like if that makes any sense to you guys. Will post pics when finished!
wink.gif


Here is the more common I made from claro walnut burl... This was my second wood project, the first one was the Grado's pads adapters I made to fit my Beyer ear pads. I went through 8 prototypes the result is really rewarding, it's really fun to figure out all the measurements and when you are tool limited it adds even more challenge! Everything is finished with oil.

Charles

grain-1.jpg

cap.jpg

stand.jpg
 
Nov 1, 2008 at 6:11 PM Post #245 of 3,874
Quote:

Originally Posted by Grey Massacre /img/forum/go_quote.gif
Here is the more common I made from claro walnut burl... This was my second wood project, the first one was the Grado's pads adapters I made to fit my Beyer ear pads. I went through 8 prototypes the result is really rewarding, it's really fun to figure out all the measurements and when you are tool limited it adds even more challenge! Everything is finished with oil.


That's absolutely lovely, and you say it was only your second project? Amazing...
 
Nov 7, 2008 at 2:00 AM Post #246 of 3,874
Here is the result after a few coats of Danish oil. While it look fine I am not entirely happy with it but I have learned mucho!
wink.gif


The concept was gothic looking with non symmetric design.

That cocobolo was hard and I bended a wood chisel while turning it, I went just a bit too far then BAM everything stopped, needless to say using a lathe is dangerous! I liked working different kinds of woods as some are softer or finish better than the other.

Charles

stand-1.jpg

base.jpg

tige.jpg

top-1.jpg
 
Nov 7, 2008 at 2:22 AM Post #247 of 3,874
Wood Lathe: facemask mandatory.

Keep the toolrest as close to the work as possible and just below the centerline of the work.

Resharpen your chisels before the final cut.

finish up with a round nose scraper to remove any chisel marks.

A wood as hard as cocobolo should need very little sanding (if any) after the final cut.
 
Nov 7, 2008 at 2:40 AM Post #248 of 3,874
Quote:

Originally Posted by kuroguy /img/forum/go_quote.gif
Wood Lathe: facemask mandatory.

Keep the toolrest as close to the work as possible and just below the centerline of the work.

Resharpen your chisels before the final cut.

finish up with a round nose scraper to remove any chisel marks.

A wood as hard as cocobolo should need very little sanding (if any) after the final cut.


Thanks for caring, that specific round chisel was not equally sharpened and you are right about the mask, I should get one ASAP! Jason mask!
beyersmile.png
 
Nov 8, 2008 at 1:29 PM Post #249 of 3,874
Hello: my first post! There's some really nice ideas in this thread, and speaking as a cabinet maker, some of you are impressive woodworkers. It had never really crossed my mind to make a stand myself, but I now consider myself inspired to come up with something. Here's an old picture of my current solution, found in a junk shop, sporting my old SR60s; currently it's wearing my new K701s (which are burning in on a constant diet of King Tubby and cathedral organ music).
 
Nov 14, 2008 at 5:33 PM Post #253 of 3,874
Good job
biggrin.gif
 
Nov 14, 2008 at 5:35 PM Post #254 of 3,874
Quote:

Originally Posted by DaMnEd /img/forum/go_quote.gif
Love it!
smily_headphones1.gif


Thanks! Its my first time working with stains, or a headphone stand for that matter. I really like how the finish came out, just a mild shine to it but not full on glossy.
 
Nov 14, 2008 at 5:46 PM Post #255 of 3,874
Forgot to mention. One thing thats great about the Metal is that its solid as a rock (very heavy), it keeps the center of gravity towards the back so I can use a very small base and its super stable. I could probably throw 4 headphones up there without worrying about it tipping.
 

Users who are viewing this thread

Back
Top