I got tired of charging, playing, charging, playing, etc to burn-in my caps for the diyMod Nano. It would take forever to burn-in at this rate. I decided to make a dock similar to KokoKrunch's to play and charge at the same time, but I did not want a long usb cable attached to it.
So I decided to attach a female USB connector to it instead. I got lucky and remembered that the dollar store close to my Uni has female to male USB cables for $1. I took one female end for the iPod dock, and soldered the two male ends together.
It took me quite a few hours to get everything working. Here are a few hints:
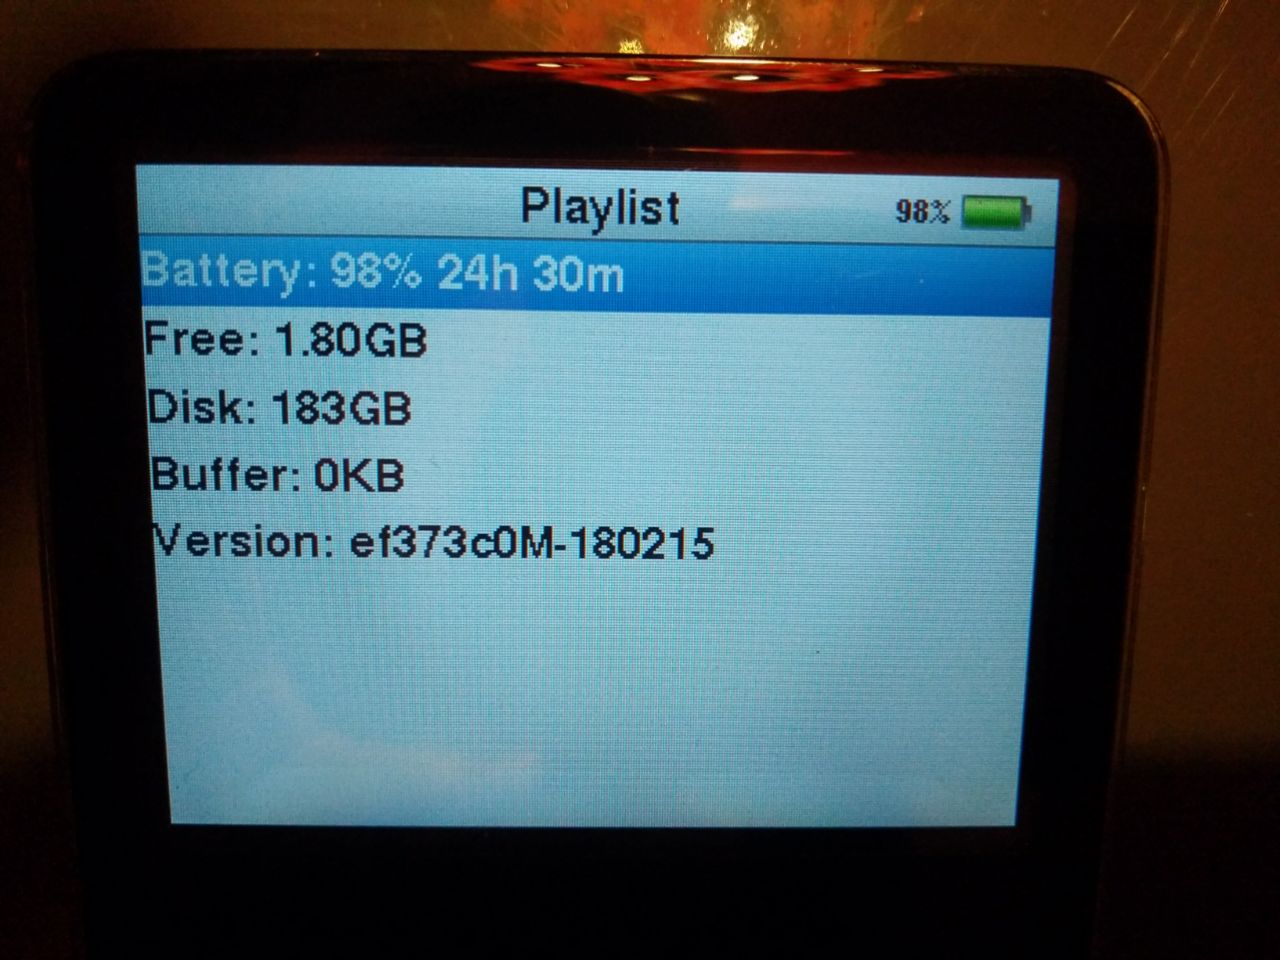
1) BUY USB 2.0 cables (i.e. not from the dollar store). Initially the iPod would not charge or get detected, but you can tell something is going on since the screen goes bright as you charge it. In my linux box, it threw a bunch of errors. A quick google shows that some USB 2.0 devices do NOT work with low-quality cables (the one I bought and most USB 1.1 cables). I will spare the details on how I got it working.
2) Open iTunes, go to the summary of the iPod, check "manually manage music".
3) The iPod will have the standard "do not disconnect screen". Just eject it through iTunes and it should charge and play at the same time.
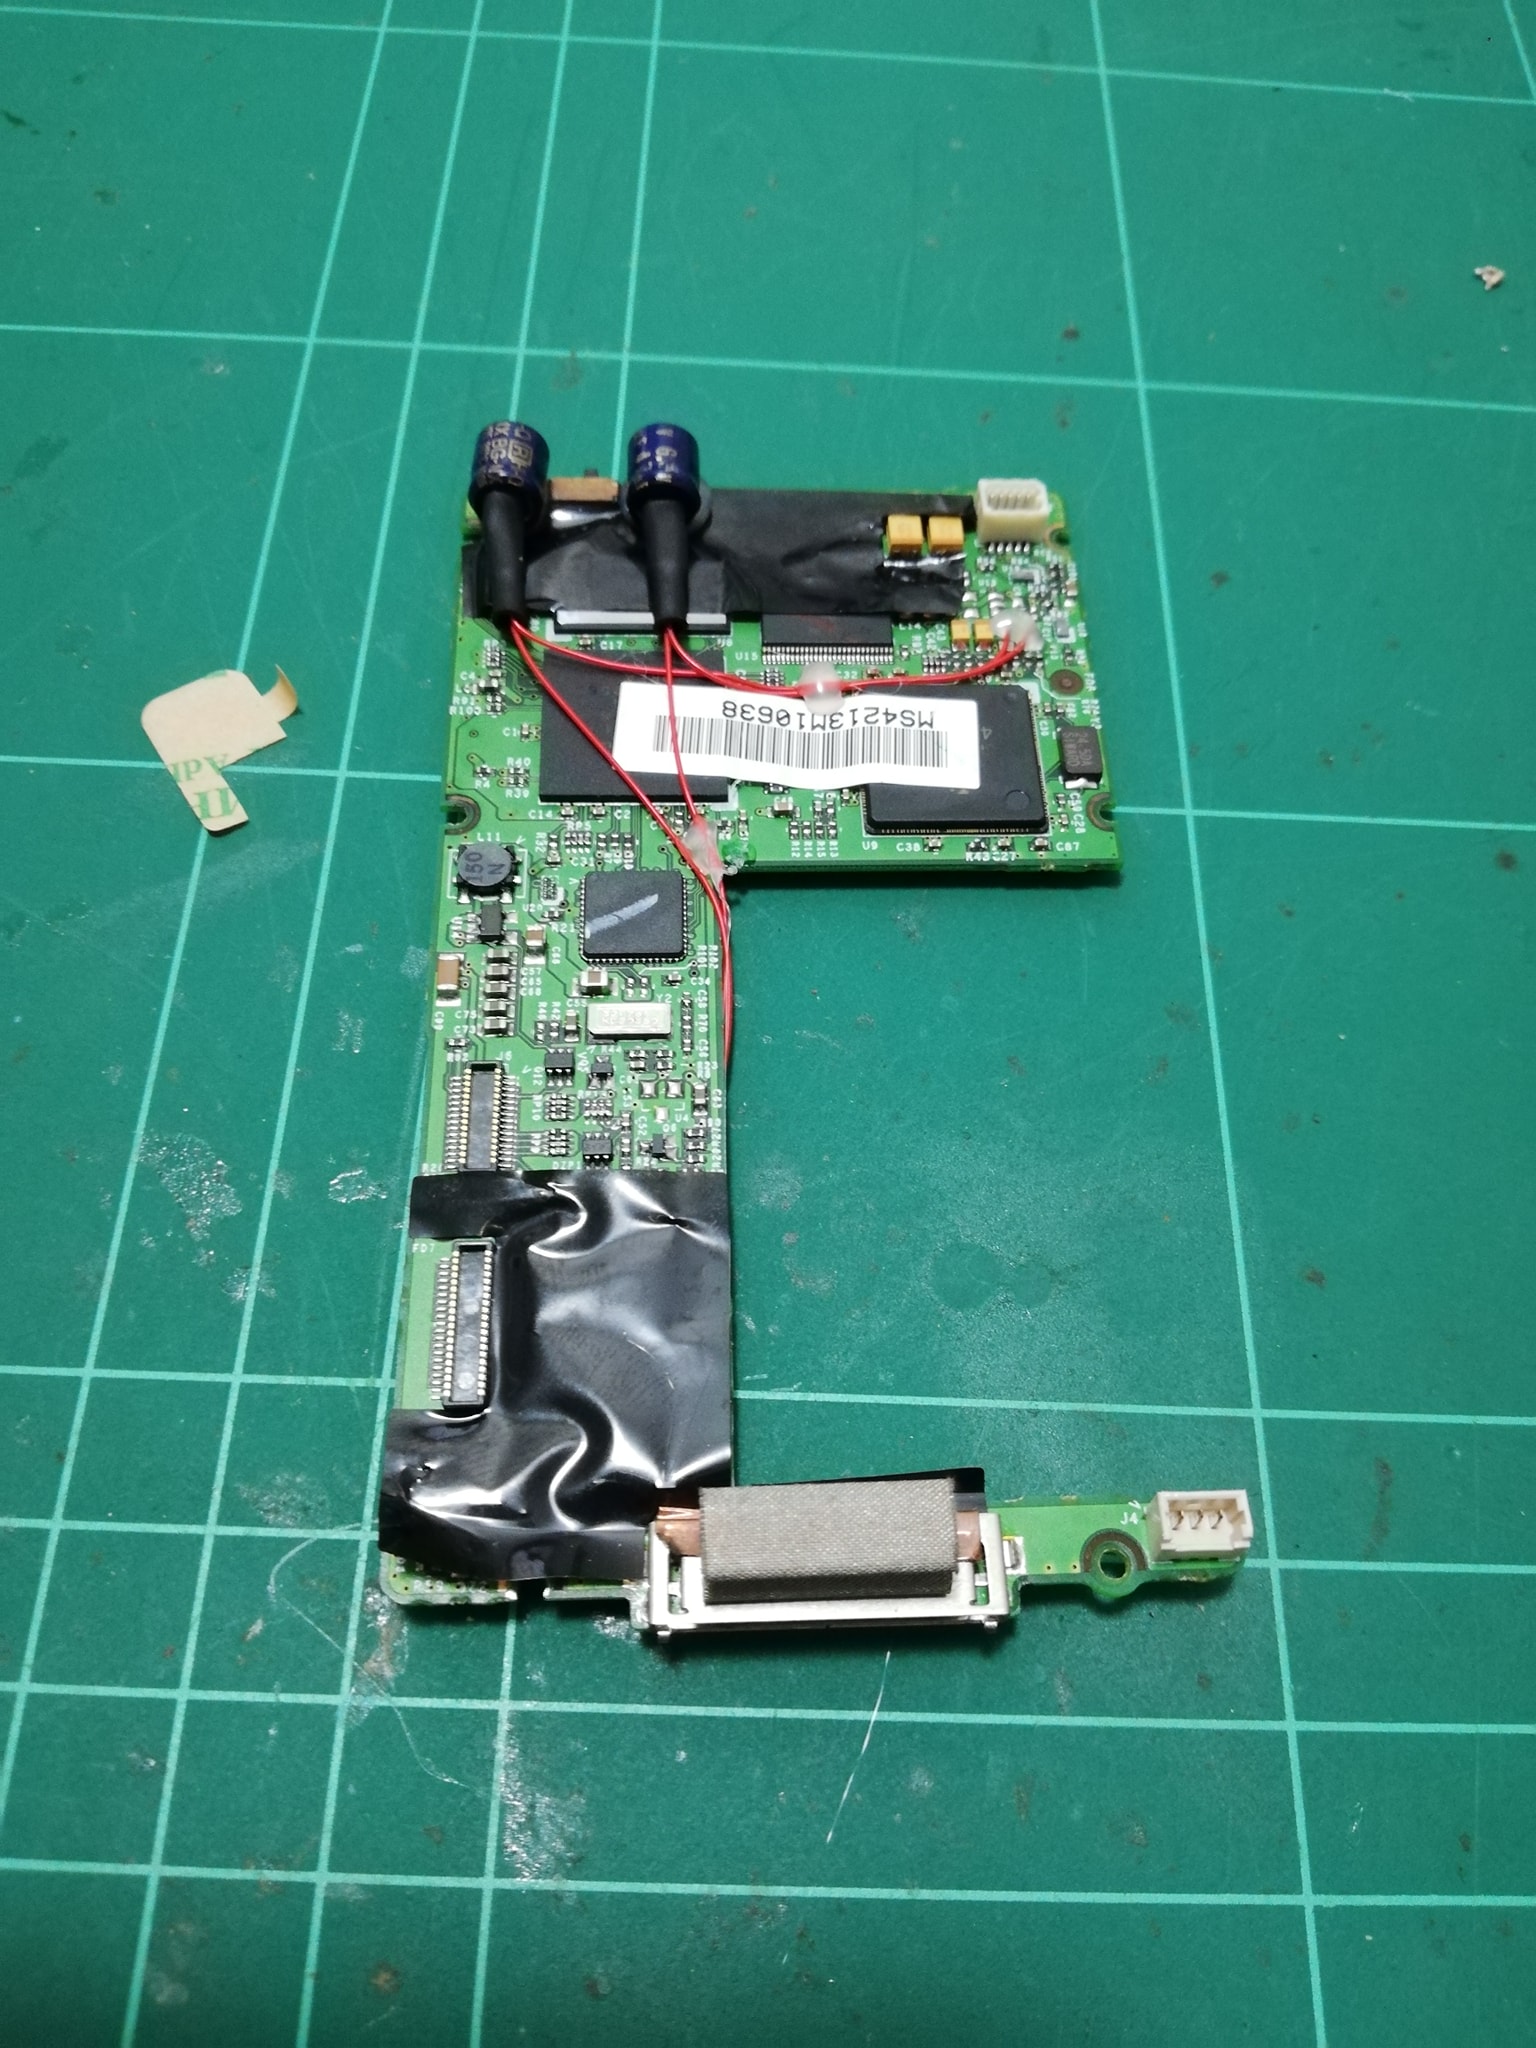
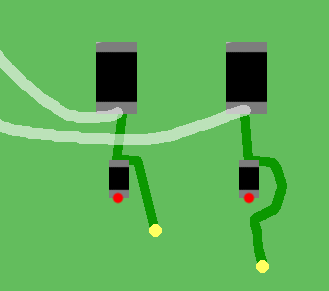
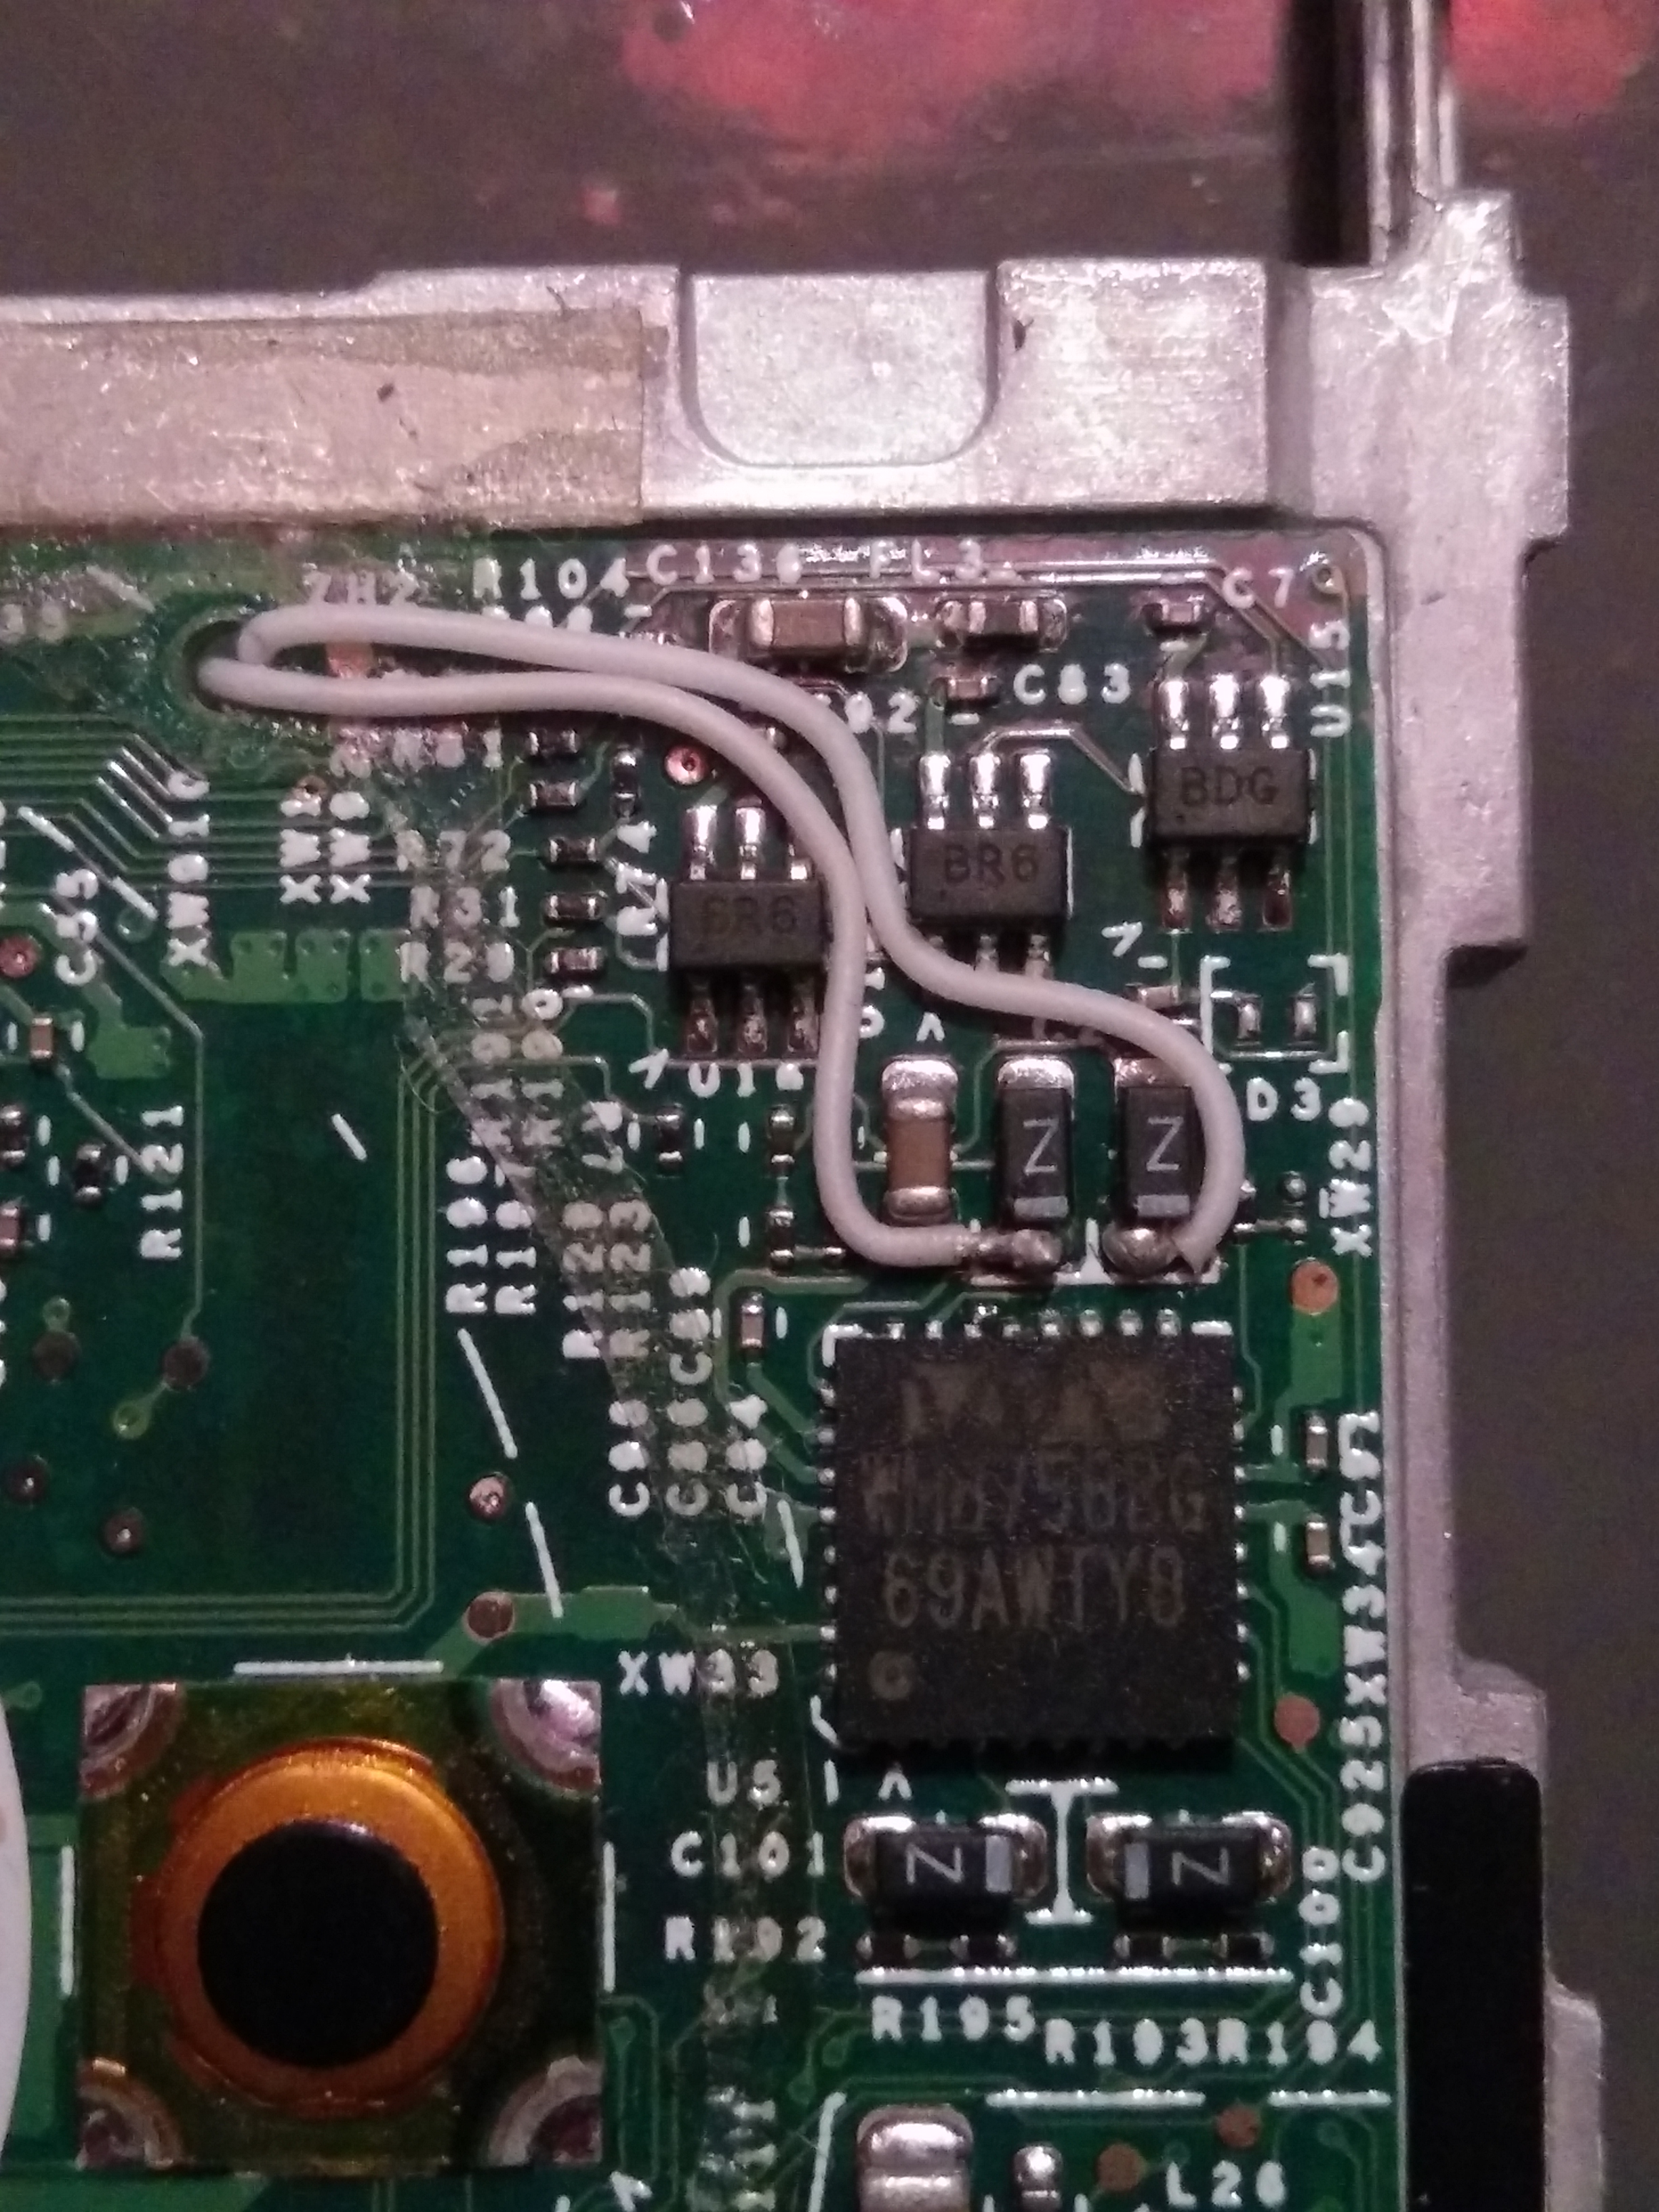
Pictures: