haha, yeah it's a direct rip-off. Unfortunately the Superlux sounds terrible (and certainly nothing like it's Beredynamic twin. It's no biggie though, as I literally only bought them for the headband (to repair the soundMAGICs). You can also use the Superlux HD330, which is an open version of the 660. The Superlux HD330/660 can be had as cheap as $15-$20usd, so it's a no-brainer. It also comes with a hard carry/storage case, so that is like a free bonus.
As far as using them to repair the soundMAGICs, there are a few steps but nothing impossible if you know how to solder. I worked on this problem for close to a year (including trying to repair the broken joint, trying to make my joints to replace the broken soundMAGICs joints, and trying a number of other headphones before finding a compatible headband). The Superlux method is literally the only way I've found to repair the soundMAGICs and make them usable again.
I haven't done a detailed How2 yet, but it sounds like I probably should.
Basically, there's 3 main areas involved (2 of which are related to the wire):
1. Soldering a new wire between the cups
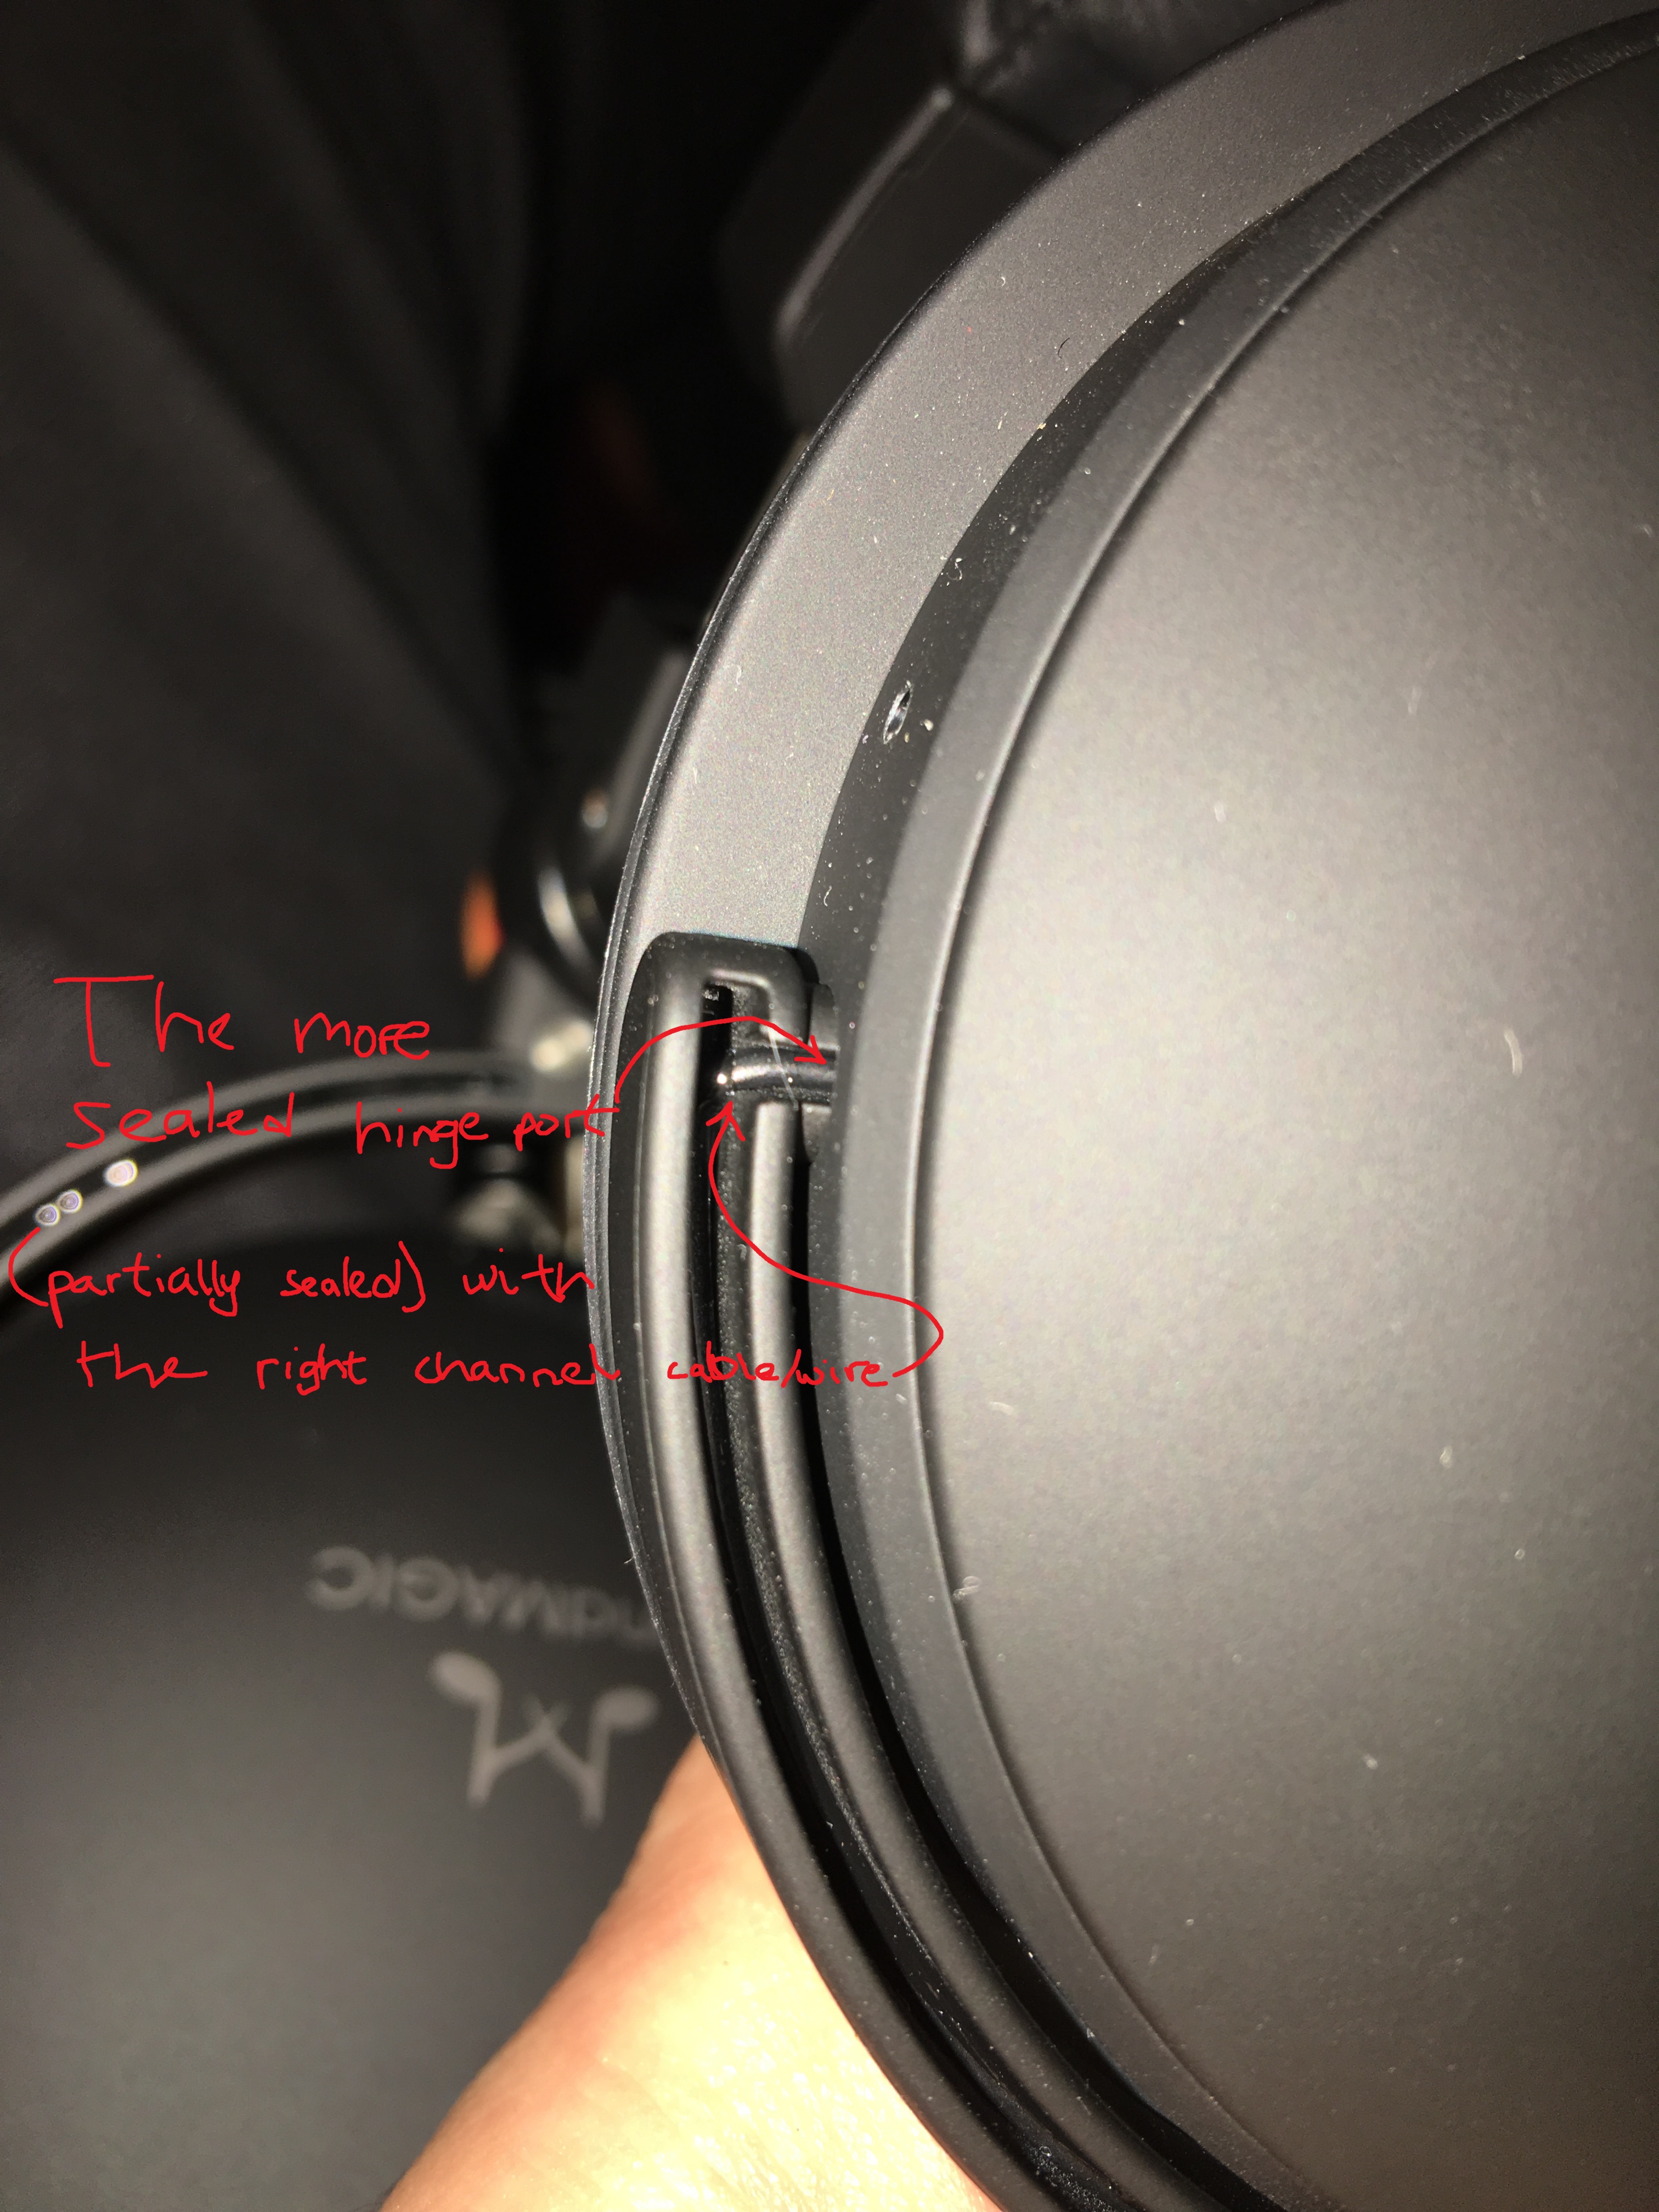
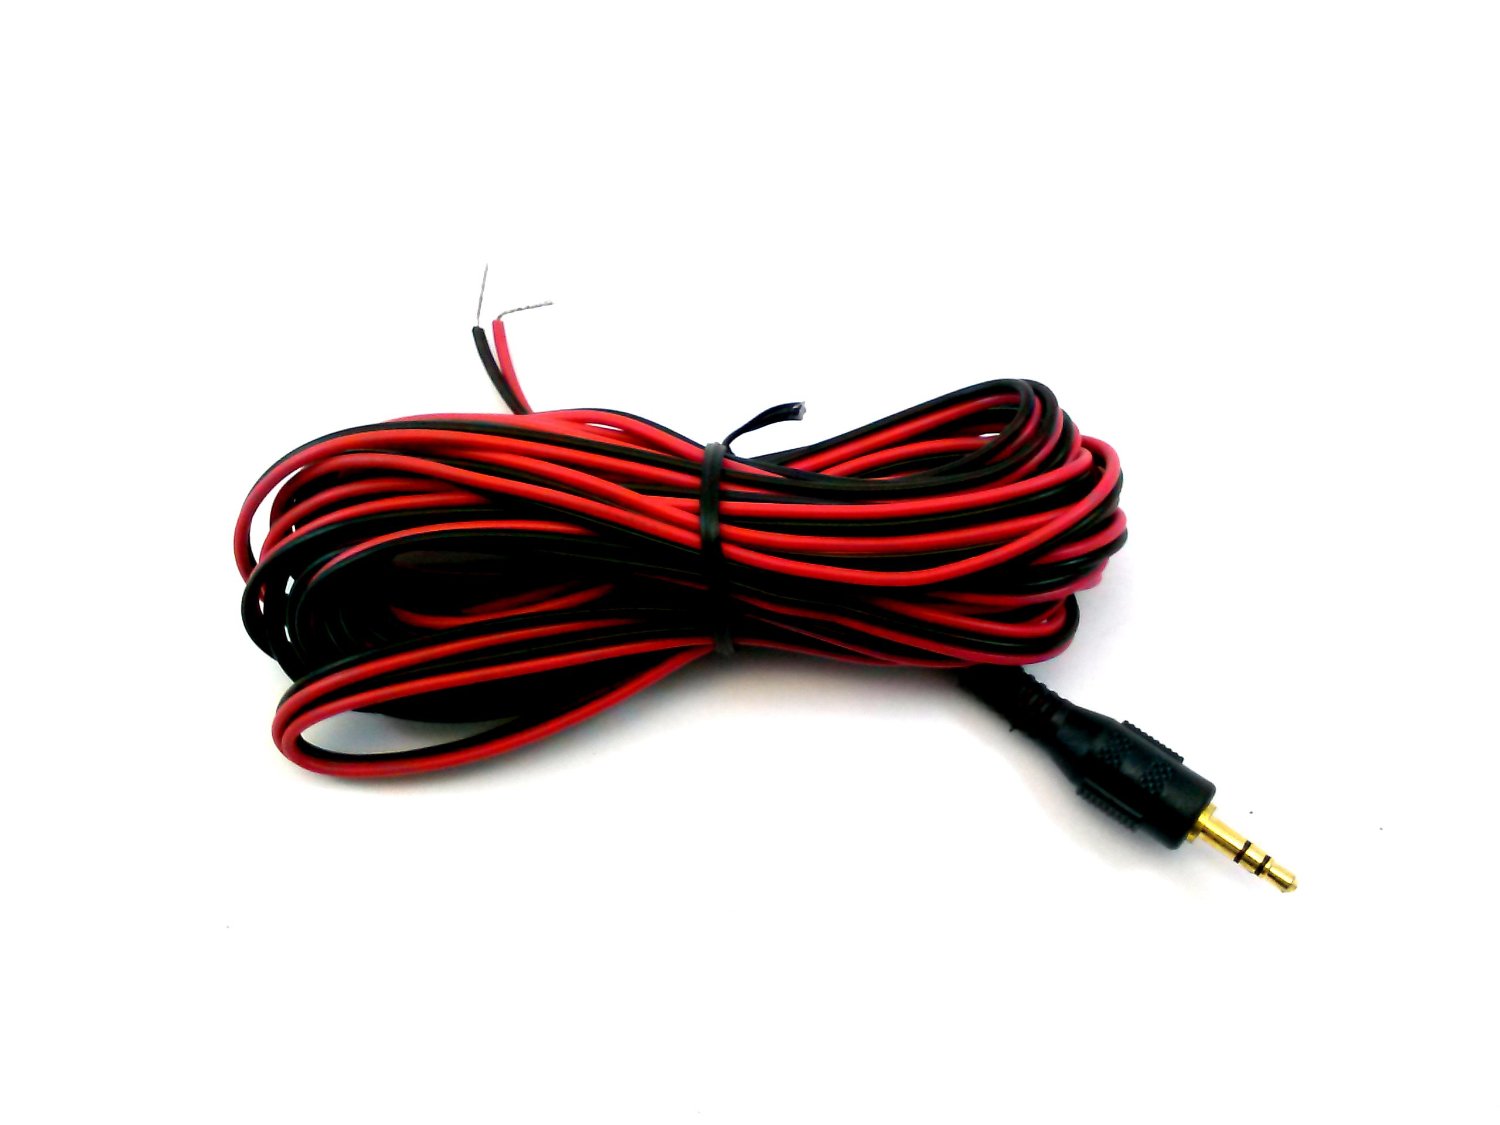
You can't reuse the stock wire from the soundMAGICs, because of the way it's routed through the headband and cups. So plan on soldering on a new wire between the cups once you mount them to the Superlux headband. You have 2 options - (desolder and) reuse the stock wire on the Superlux, or use a new wire. I used an AUX cord with nice OFC copper conductors that I just cut the ends off of, but you can use any small wire really (a good choice is also silver-plated wire from navships on ebay). Make sure you write down how the wiring goes on the soundMAGIC so you don't accidentally solder it incorrectly (swap channels, wire out of phase, etc). And like soldering on any headphone driver, you have to desolder and resolder very fast (<1 sec of soldering iron time) or you risk damaging the driver.
2. Routing the new wire
If you reuse the stock Superlux wire this step is done. If you want to use a new wire, routing a new wire through the Superlux headband is easy because the Superlux headband pad simply snaps on and off (just like a Beyerdynamic). You just have to make sure to leave a tiny bit of slack so the cups can tilt.
3. Mounting the cups
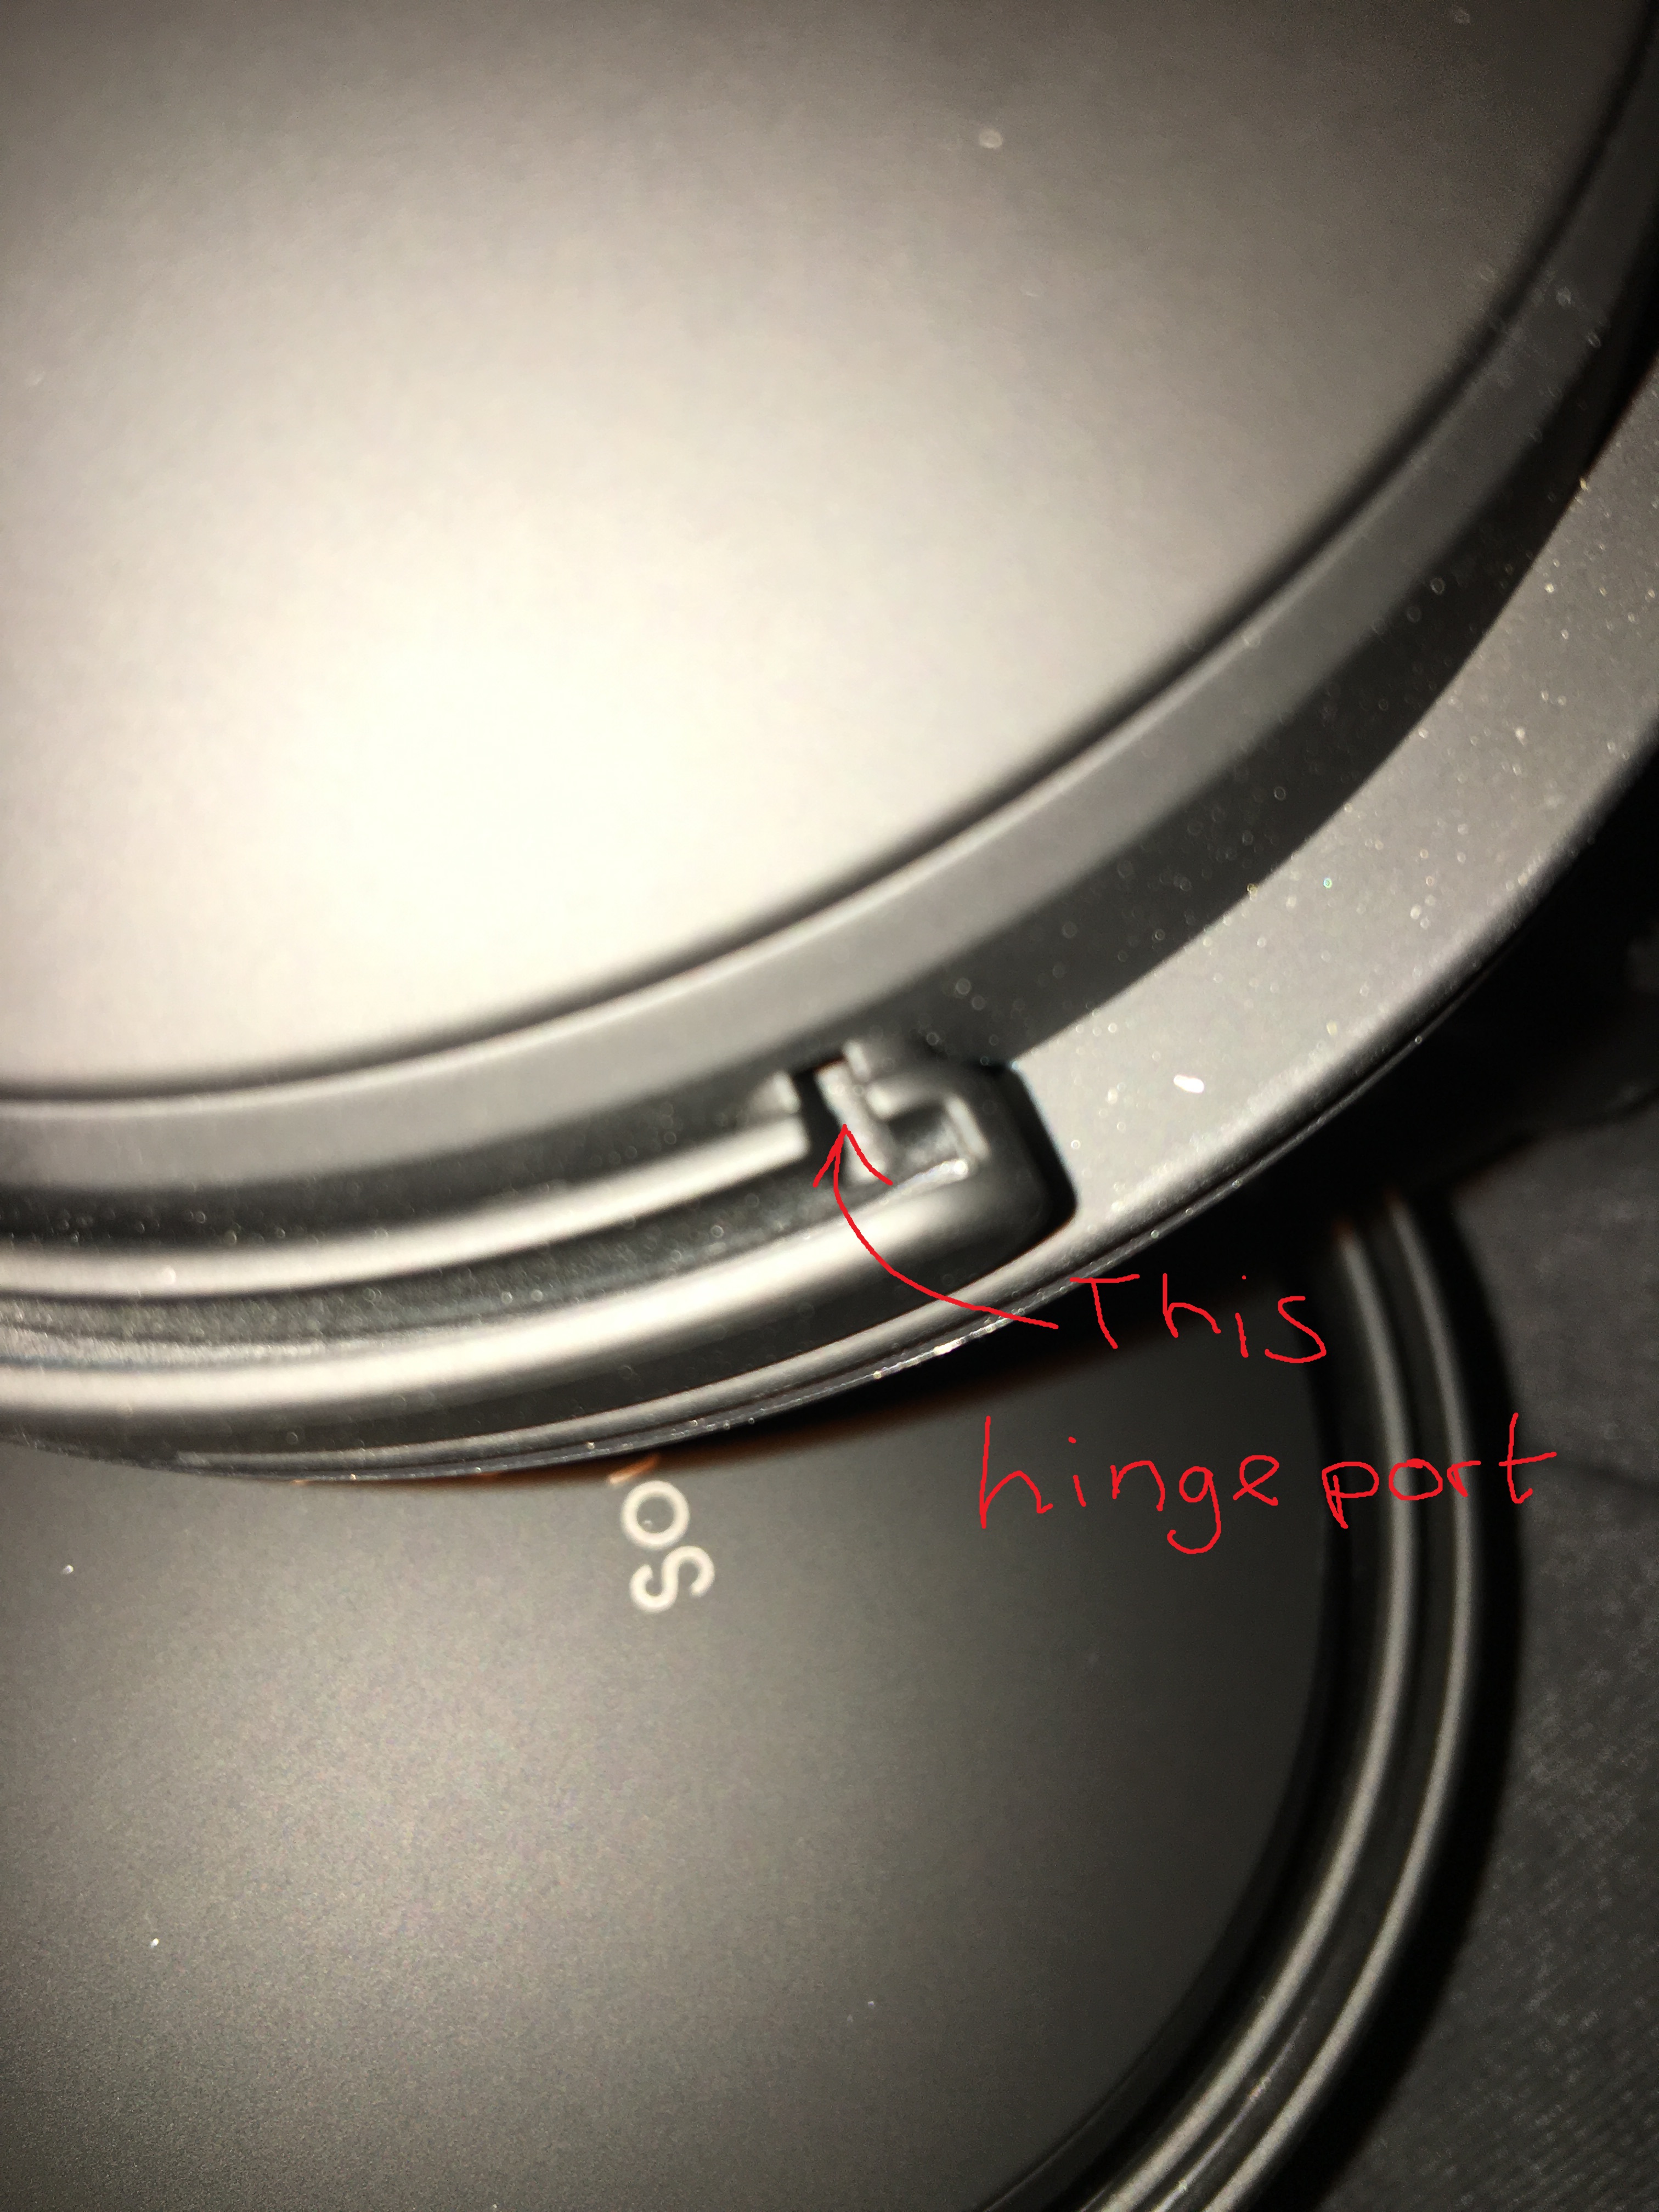
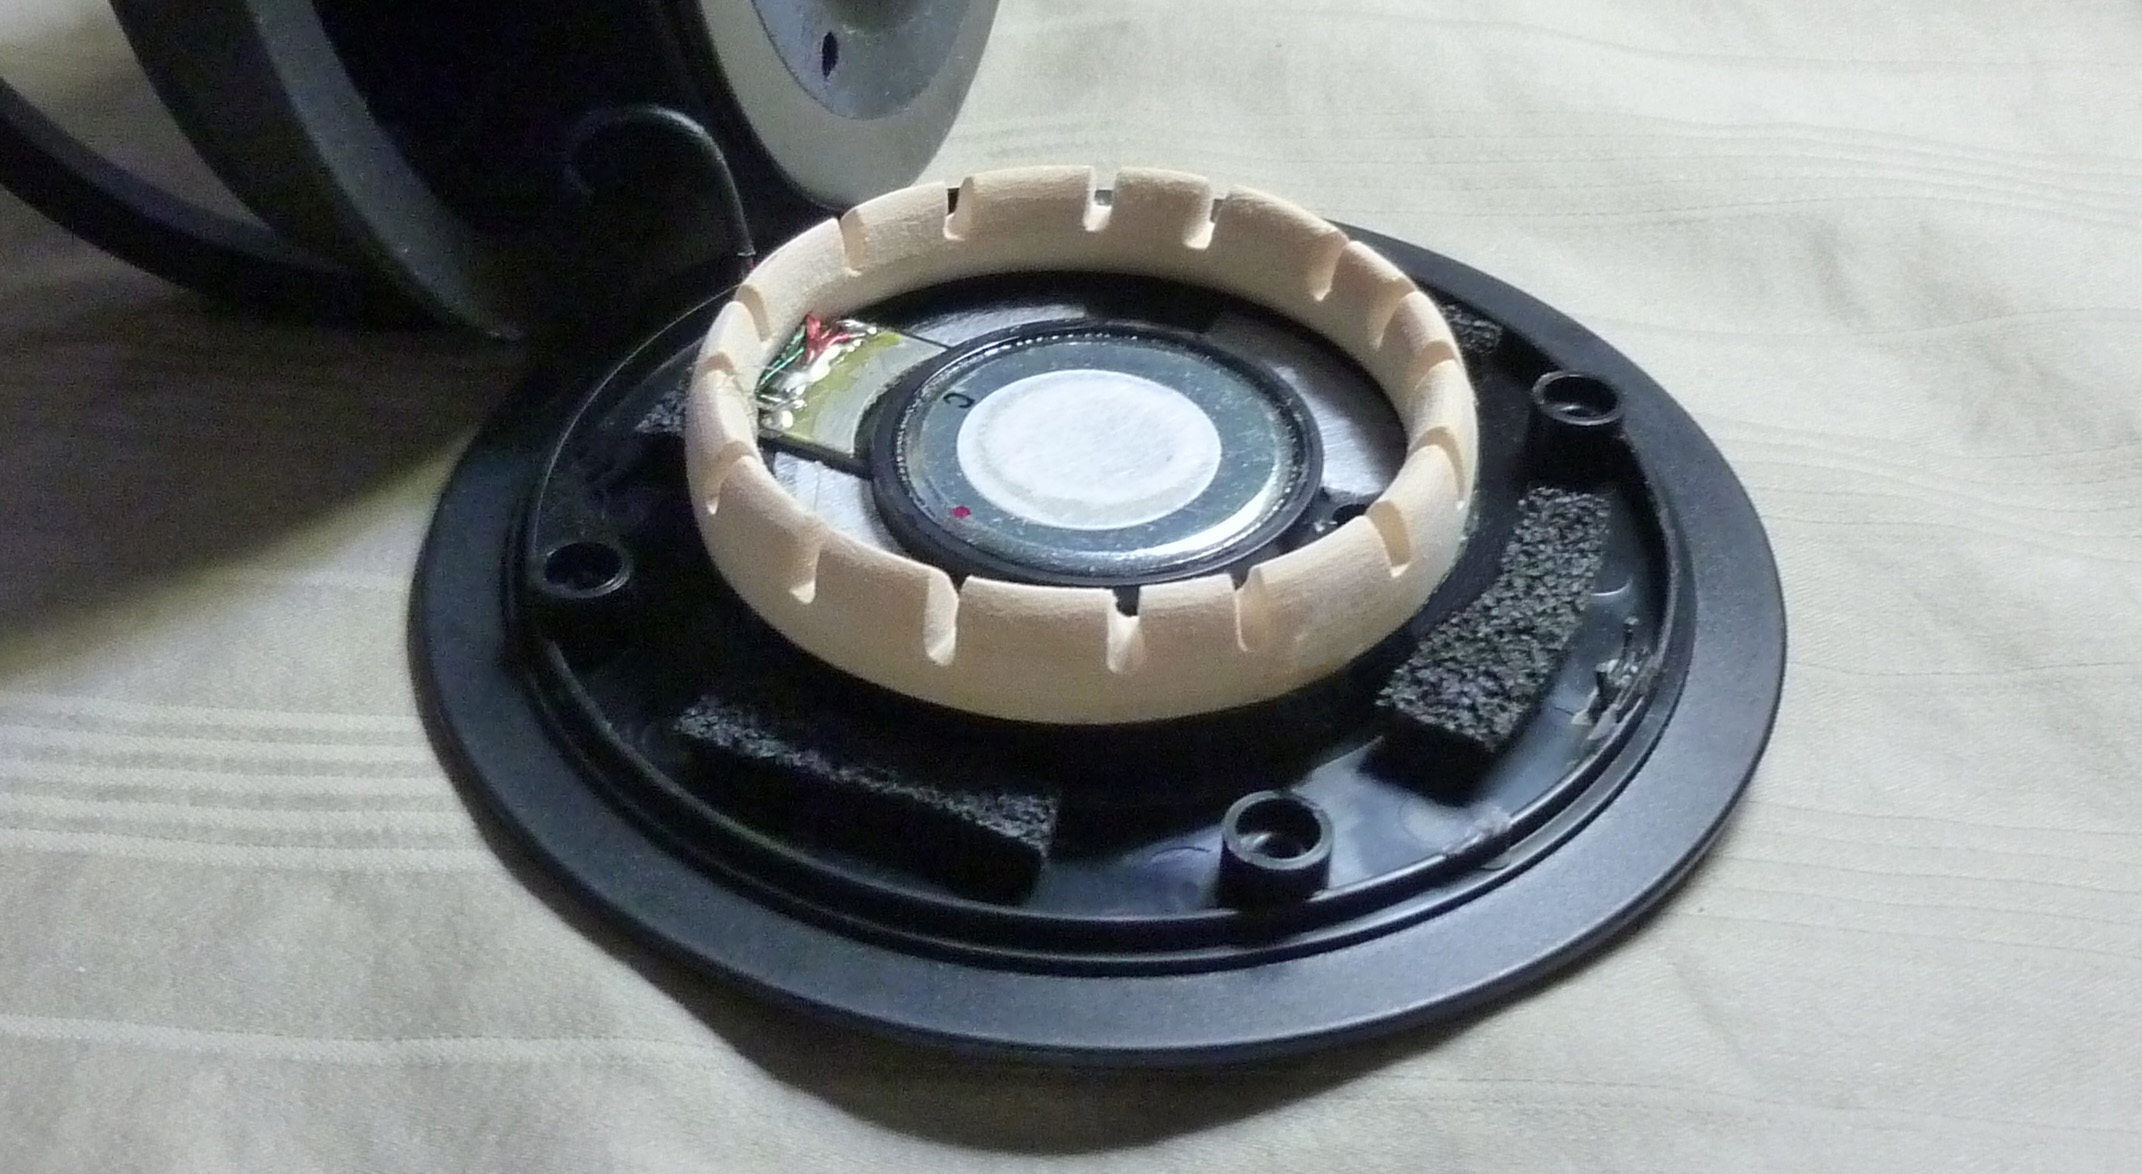
To get the soundMAGIC cups to fit onto the Superlux headband you have to reverse the little plastic ends - ie flip them around backwards. This is because there's a little protrusion on the plastic ends that acts as a 'cup stop', but this same protrusion interferes with the soundMAGIC cups. So flipping them around gets the protrusion out of the way. The plastic ends are held on by a tiny screw, and it only takes a few seconds to flip all 4 of them around.
Other than those things, it's a direct swap and perfect fit with the cups. And this is the best way to repair the soundMAGICs because you aren't just doing a driver swap - you are doing a cup swap. So the soundMAGICs will sound exactly the same. You can even swap the soundMAGIC ear pads with the Superlux pads, because they're the same diameter.
Be aware that you also lose all folding and rotation with the Superlux (just like with the Beredynamic) - the soundMAGIC becomes just a 'plain' headband, and has sliding adjustment only. But then again, the complicated and fragile DJ style folding/rotating system is what causes the soundMAGICs to fail in the 1st place.
I'll post a photo in a little bit showing how the plastic ends need to be swapped.


 .
.