Review: ZERO 24 BIT/192KHz DAC/Headphone Amp/Pre-Amp
Aug 21, 2008 at 4:00 PM Post #5,431 of 9,388
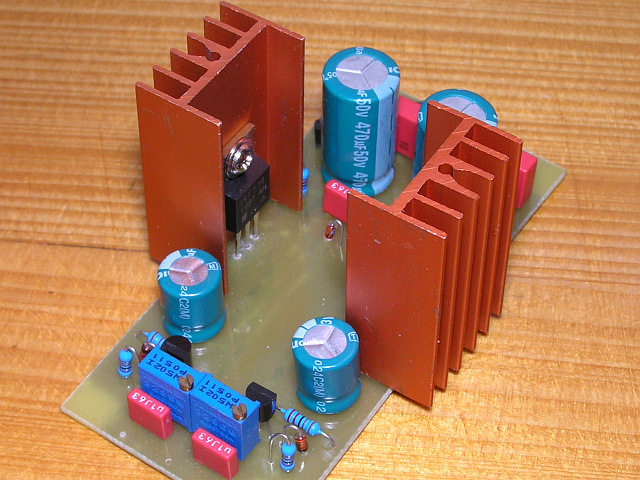
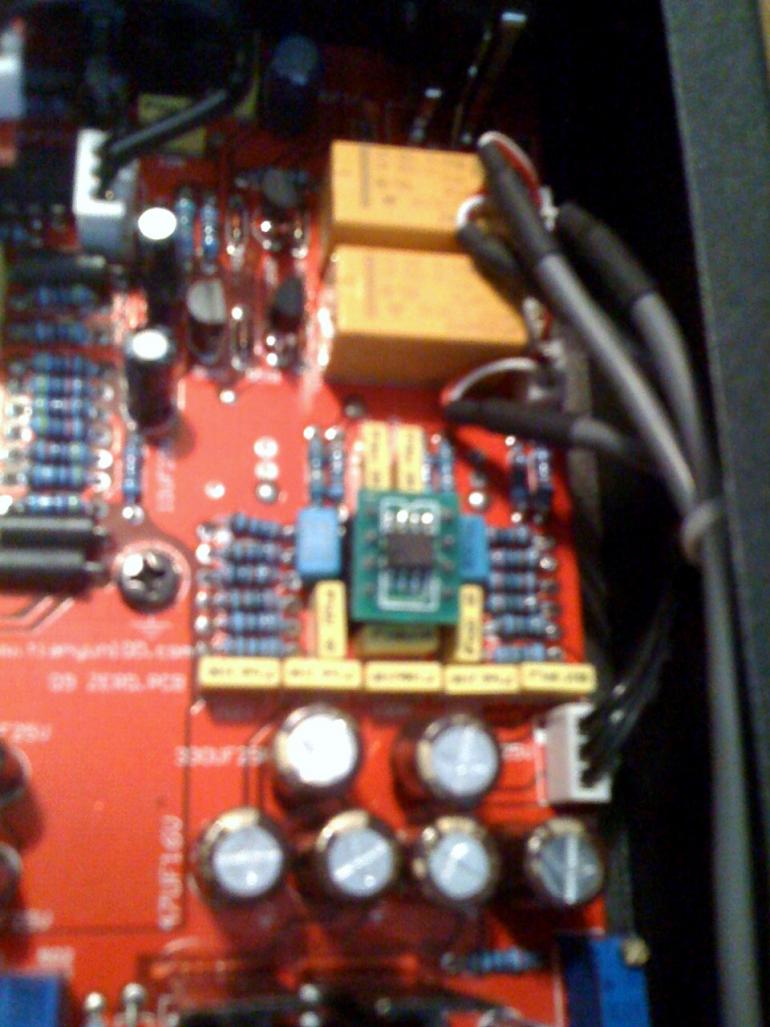
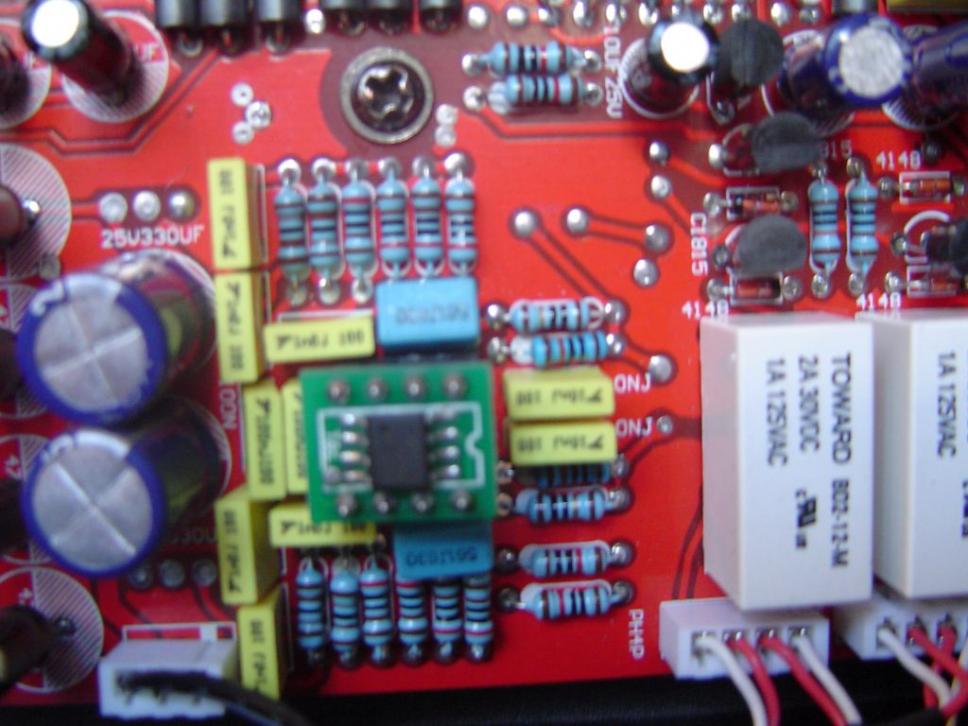
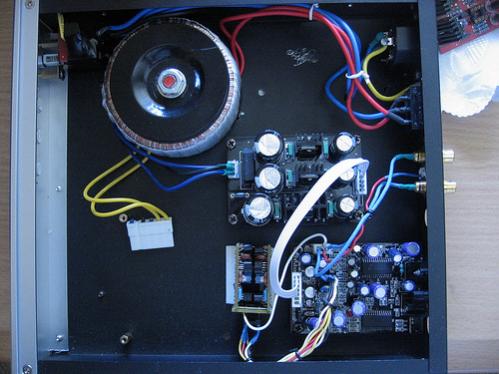
just some more photo of OPA
 
Aug 21, 2008 at 4:05 PM Post #5,432 of 9,388
I got my sun and earth today, so now i have HDAM, Earth, Sun. The green led on the sun is pretty nice
tongue_smile.gif
Mine came with extension cable :S


Aug 21, 2008 at 4:49 PM Post #5,433 of 9,388
OK so went to radio shack and got everything... except the 3rd hand thing - guy there said they stopped carrying it a few years back. Anyway is there some tip someone can give as to what to do instead, or maybe somewhere else that might caryy something like that... I'm determined to do this tonight! heh...

EDIT: ok I went to RadioShack.com and found this:
http://www.radioshack.com/product/in...entPage=search

Is that it? If so they have one at another Radio Shack nearby - but it is a little pricey if I can do okay without it... any suggestions?
 
Aug 21, 2008 at 5:28 PM Post #5,434 of 9,388
I was wondering if you guys might be able to help me as I am a bit of a newb. I recieved my Zero DAC from Lawrence a few days ago with upgraded opamp chips (he used a combination of the 627s (DAC) and 637s (headphone Amp)). It sounds fantastic with my HD570s. But last night I noticed a loud crackling sound out of the right channel that comes up every few seconds when my headphones are just idling with no sound playing. I plugged in my 2.1 speakers (Klipsch GMXs) and they have the same problem. Tried unplugging the optical cable running from the onboard Intel audio on my motherboard to the DAC, and the problem persists, so it's definitely the unit itself. I also noticed by touching the top of the unit that it's getting exceptionally hot and producing a faint "burning electronics" smell. I tried unplugging the power cable and letting it sit overnight. Initially the problem seemed to be gone, but I queued up a bunch of songs and let it play for awhile, and again it got hot and started making the crackling sound. Any idea what's going on? Is the unit overheating like I suspect? Should I contact Lawrence Chan, and how is he as far as repairing/replacing things? I'm really not looking forward to having to wait for weeks and weeks for the thing to ship from Hong Kong if this has to be replaced.
 
Aug 21, 2008 at 5:36 PM Post #5,435 of 9,388
Quote:

Originally Posted by ScottieB /img/forum/go_quote.gif
OK so went to radio shack and got everything... except the 3rd hand thing - guy there said they stopped carrying it a few years back. Anyway is there some tip someone can give as to what to do instead, or maybe somewhere else that might caryy something like that... I'm determined to do this tonight! heh...

EDIT: ok I went to RadioShack.com and found this:
RadioShack.com - Cables, Parts & Connectors: Tools & soldering equipment: General tools & tool sets: Kronus™ Helping Hands

Is that it? If so they have one at another Radio Shack nearby - but it is a little pricey if I can do okay without it... any suggestions?


That's the one Scottie. You don't need one but it's nice to have one. I went without one for years and then got one and wondered why I waited so long to get it...but I do a lot of DIY stuff so I need it.

You can also get away without removing the old solder. That isn't a really big issue although Enthusia is correct about doing what he suggests as well. I've never noticed a difference in sound in any solder type so I remain unconvinced the new silver solder etc makes a difference at all....another thing to note..if you heat the old solder all of it will melt so it's just resetting the joint with the new section of wire in it. The tinned end of the stripped wire will be more than enough extra solder that you'll need anyway. Remember these solder points are tiny so they don't need much solder to begin with nor do they require a lot of heat to reset....get the skinniest tip you can find...you can use a standard tip...it'll work you just have to be very careful with placement and very steady with the hand holding it...as in don't move at all....

Look up tinning wires on google so you get the idea on how to do it. The tinning process with a new iron and tip is as follows.....plug in your new iron..let it preheat for at least 5 minutes, while waiting for it to preheat get the sponge on the tray/holder damp with cool water (buy a stand/holder if the iron doesn't come with one).....once the iron is up to temp take a small amount of new solder and tin the tip on the new iron...make sure you cover the point and angled area...let it sit for a few seconds..then wipe clean on the damp sponge...you are now ready to tin the bare leads you've stripped earlier in the prep process...

During the tinning procedure...only use enough solder to do the job..less is better than more since the original solder will still be in place. Look up cold solder joint while your at it...read up and do the fix either tonight once you understand it all or when your comfortable and confident you've got all the angles covered. It really is much harder to describe than it is to do
smily_headphones1.gif


Let me know how you get along
smily_headphones1.gif


Peete.
 
Aug 21, 2008 at 5:43 PM Post #5,436 of 9,388
Quote:

Originally Posted by cmdrmonkey /img/forum/go_quote.gif
I was wondering if you guys might be able to help me as I am a bit of a newb. I recieved my Zero DAC from Lawrence a few days ago with upgraded opamp chips (he used a combination of the 627s (DAC) and 637s (headphone Amp)). It sounds fantastic with my HD570s. But last night I noticed a loud crackling sound out of the right channel that comes up every few seconds when my headphones are just idling with no sound playing. I plugged in my 2.1 speakers (Klipsch GMXs) and they have the same problem. Tried unplugging the optical cable running from the onboard Intel audio on my motherboard to the DAC, and the problem persists, so it's definitely the unit itself. I also noticed by touching the top of the unit that it's getting exceptionally hot and producing a faint "burning electronics" smell. I tried unplugging the power cable and letting it sit overnight. Initially the problem seemed to be gone, but I queued up a bunch of songs and let it play for awhile, and again it got hot and started making the crackling sound. Any idea what's going on? Is the unit overheating like I suspect? Should I contact Lawrence Chan, and how is he as far as repairing/replacing things? I'm really not looking forward to having to wait for weeks and weeks for the thing to ship from Hong Kong if this has to be replaced.


Take the cover off and carefully re-seat the opamps in their sockets, they probably came loose a little during shipment. That should take care of the problem. Note the orientation of the opamps before re-seating them in the sockets. All markings (crescent, dot, circle face towards rear of unit if the front faceplate is towards you).

Google opamp orientation if you need further instruction. I have to pop out for a couple hours at 2 pm today so I will answer any more questions you may have until them....many fellow Zero owners are equally helpful....welcome the Zero owners group...pull on a set of cans and pop a cd in..
smily_headphones1.gif


Peete.
 
Aug 21, 2008 at 5:43 PM Post #5,437 of 9,388
Thanks, Peete. I have been doing tons of research already and will practice a few times before I do the real thing. Here's a question - what's my margin for error? Like if I botch it on the first attempt with the solder that's already there, how feasible is it to just remove it and start all over? How sturdy should this thing be once it is fixed? It is pretty tough gettng this thing in the Zero so I need them to have some strength - certainly more than they have now!

As for the helping hands thing, I don't do a lot of DIY stuff, but I may start - if I didn't get it, do you have any ideas? What did you do before you had it?
 
Aug 21, 2008 at 5:48 PM Post #5,438 of 9,388
I hope that's it CDR....it sounds like what happens with mine if has travelled a bit and the HDAM gets shifted during transit...I reseat mine and it's good to go...

It's possible the 627's or 637's are defective...but lets take it one step at a time...try the suggested re-seating of the opamps..then report back

Peete.
 
Aug 21, 2008 at 5:59 PM Post #5,439 of 9,388
Wow Pricklely Peete you amaze me with your knowledge about this Zero Dac unit. I'd like to thank you for answering so many questions here and helping people out. Anyways when are you going to announce your upgrade for the HD/amp section of the Zero. I already ordered my zero and am just waiting for the thing to arrive. I ordered with "head-fi" deal plus the Alps pot upgrade.
 
Aug 21, 2008 at 6:01 PM Post #5,440 of 9,388
Quote:

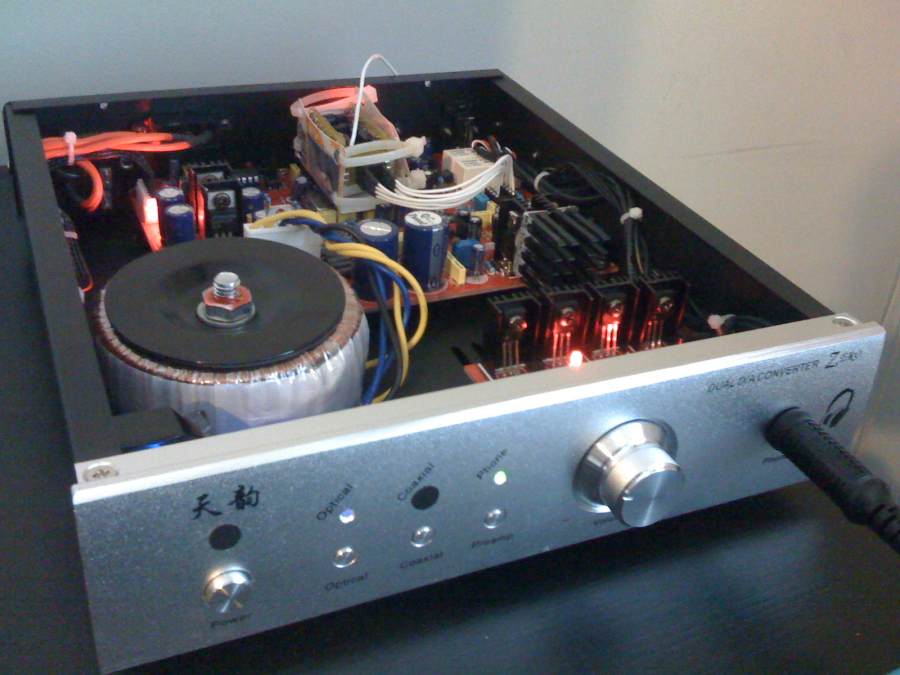
Originally Posted by davve /img/forum/go_quote.gif
I got my sun and earth today, so now i have HDAM, Earth, Sun. The green led on the sun is pretty nice
tongue_smile.gif
Mine came with extension cable :S


Well how did the HDAM's sound??
 
Aug 21, 2008 at 6:03 PM Post #5,441 of 9,388
Quote:

Originally Posted by ScottieB /img/forum/go_quote.gif
Thanks, Peete. I have been doing tons of research already and will practice a few times before I do the real thing. Here's a question - what's my margin for error? Like if I botch it on the first attempt with the solder that's already there, how feasible is it to just remove it and start all over? How sturdy should this thing be once it is fixed? It is pretty tough getting this thing in the Zero so I need them to have some strength - certainly more than they have now!

As for the helping hands thing, I don't do a lot of DIY stuff, but I may start - if I didn't get it, do you have any ideas? What did you do before you had it?


It'll be pretty sturdy Scottie. With all very light gage multi strand wiring the stripping process and solder process have to be done with precision and care. Be careful not to cut any strands of wire when taking the plastic off the wire...I suspect the person that did the stripping cut most of the wire when he or she stripped that end(s) making for a very weak connection. If you strip the cable ends without cutting the wires you'll have a very strong connection certainly strong to with stand repeated installations and removals. Like anything delicate it's best to be careful as you know.

You won't botch it on your first crack...the tinning process makes the wire solid so you'll have a hard time messing it up.Once you practice a couple times you'll see what I mean.

Before I had the 3rd hand tool I struggled big time using anything I could to hold, prop on an angle....the piece being worked on. Mostly I used old cut ends of pressure treated 2x4 from the scraps left over from deck and fence builds...cut some grooves in them to make a crude holder, but it was always a half ass ed solution ...the magnifying glass on the 3rd hand is invaluable for me now since my vision isn't what it used to be after years of doing this stuff...I have to wear 5 X power reading glasses all the time now for work on any pcb no matter how big or small...

Does that help ? I think I've covered most of it...let me know if I haven't...my head is a little fuzzy today...only had 3.5 hours of sleep last night ( 5 th night in a row of 4 hrs or less).....working my ass off to get everything ready to go in Sept
smily_headphones1.gif


I gotta go....sheesh time flies...be back in a bit...

Peete
 
Aug 21, 2008 at 6:05 PM Post #5,442 of 9,388
For this 562 page thread to mean something to anyone other than the core group of DIYers, it needs a summary. Correct me if I’m wrong, but it seems you start with a Zero ($130), upgrade the pot ($10), add either a Sun or Moon amp board ($30 each) and then add some special connectors. Then you have a super DAC and HP amp for about $200.

I realize this may take away some of the DIY fun, but wouldn’t a Behringer SRC-2496 Ultramatch Converter for $130 be almost as good and be even more fun because it has many more buttons and comes with a one year US warranty?
wink_face.gif
 
Aug 21, 2008 at 6:08 PM Post #5,443 of 9,388
Quote:

Originally Posted by LeBuLLeT /img/forum/go_quote.gif
Wow Pricklely Peete you amaze me with your knowledge about this Zero Dac unit. I'd like to thank you for answering so many questions here and helping people out. Anyways when are you going to announce your upgrade for the HD/amp section of the Zero. I already ordered my zero and am just waiting for the thing to arrive. I ordered with "head-fi" deal plus the Alps pot upgrade.


If everything goes as planned (and it is so far) the first week of Sept...is the target ...

Thanks for the kind words
smily_headphones1.gif
I've learned a mountain of stuff since joining back in the winter, but 30 + years of being a tweaker and audiophile have helped quite a bit...I sure don't know everything...but I would like to try and learn it all (if that's possible in a single life time
smily_headphones1.gif
)

I appreciate the kind words, thank you...I like helping other audio nuts and DIY tweakers...if I can...

Peete.
 
Aug 21, 2008 at 6:22 PM Post #5,444 of 9,388
Quote:

Originally Posted by wae5 /img/forum/go_quote.gif
For this 562 page thread to mean something to anyone other than the core group of DIYers, it needs a summary. Correct me if I’m wrong, but it seems you start with a Zero ($130), upgrade the pot ($10), add either a Sun or Moon amp board ($30 each) and then add some special connectors. Then you have a super DAC and HP amp for about $200.

I realize this may take away some of the DIY fun, but wouldn’t a Behringer SRC-2496 Ultramatch Converter for $130 be almost as good and be even more fun because it has many more buttons and comes with a one year US warranty?
wink_face.gif


You have a point about the thread, that will be taken care of in a new DIY thread to come. Behringer ? LOL....enjoy that Chinese built Behringer....OMG irony of ironies...sorry I don't mean to offend...I couldn't resist.

I gotta go....be back in a few.

Peete.
 
Aug 21, 2008 at 6:52 PM Post #5,445 of 9,388
Quote:

Originally Posted by ScottieB /img/forum/go_quote.gif
Thanks, Peete. I have been doing tons of research already and will practice a few times before I do the real thing. Here's a question - what's my margin for error? Like if I botch it on the first attempt with the solder that's already there, how feasible is it to just remove it and start all over? How sturdy should this thing be once it is fixed? It is pretty tough gettng this thing in the Zero so I need them to have some strength - certainly more than they have now!

As for the helping hands thing, I don't do a lot of DIY stuff, but I may start - if I didn't get it, do you have any ideas? What did you do before you had it?


Scottie,

I've been soldering for years and haven't touched any 3rd hand tools. They do look useful, but it's easy enough to substitute when you don't have the right tools available.

What I'd do:-

Trim 1-2mm(no more) of insulation off that broken wire.
Find an old hardback book, around the size of a sheet of paper. Something big enough to...
Tack the unit down onto the book, using a strip of insulation tape or masking tape.
Tack down one side of the plug that sits inside the opamp socket.
I use 18w soldering iron for jobs like this. 25w and above can quickly cause damage, much below 18w and you'll struggle to get the heat in quickly enough.
Tin the end of the wire - touch the soldering iron on the bare wire, whilst adding a touch of solder. You won't need a lot.
Use left hand to bring wire to the broken section on the opamp socket.
Push it into place, touch the joint for around a second - just long enough for the solder to flow and make a solid connection.

You really will find it easy after a little practise. And you'll soon learn to spot when the solder joint has been successfully made - you don't need any extra heat than that which is required.

Un-tack the unit and socket. Apply a - very - small amount of stress onto the new solder joint to ensure it's not about to fall off. Job done.
smily_headphones1.gif


If you're cautious, you're welcome to mail it to me(I'm in the UK) and I'll take care of it for you.
smily_headphones1.gif


~Phewl.
 

Users who are viewing this thread

Back
Top