


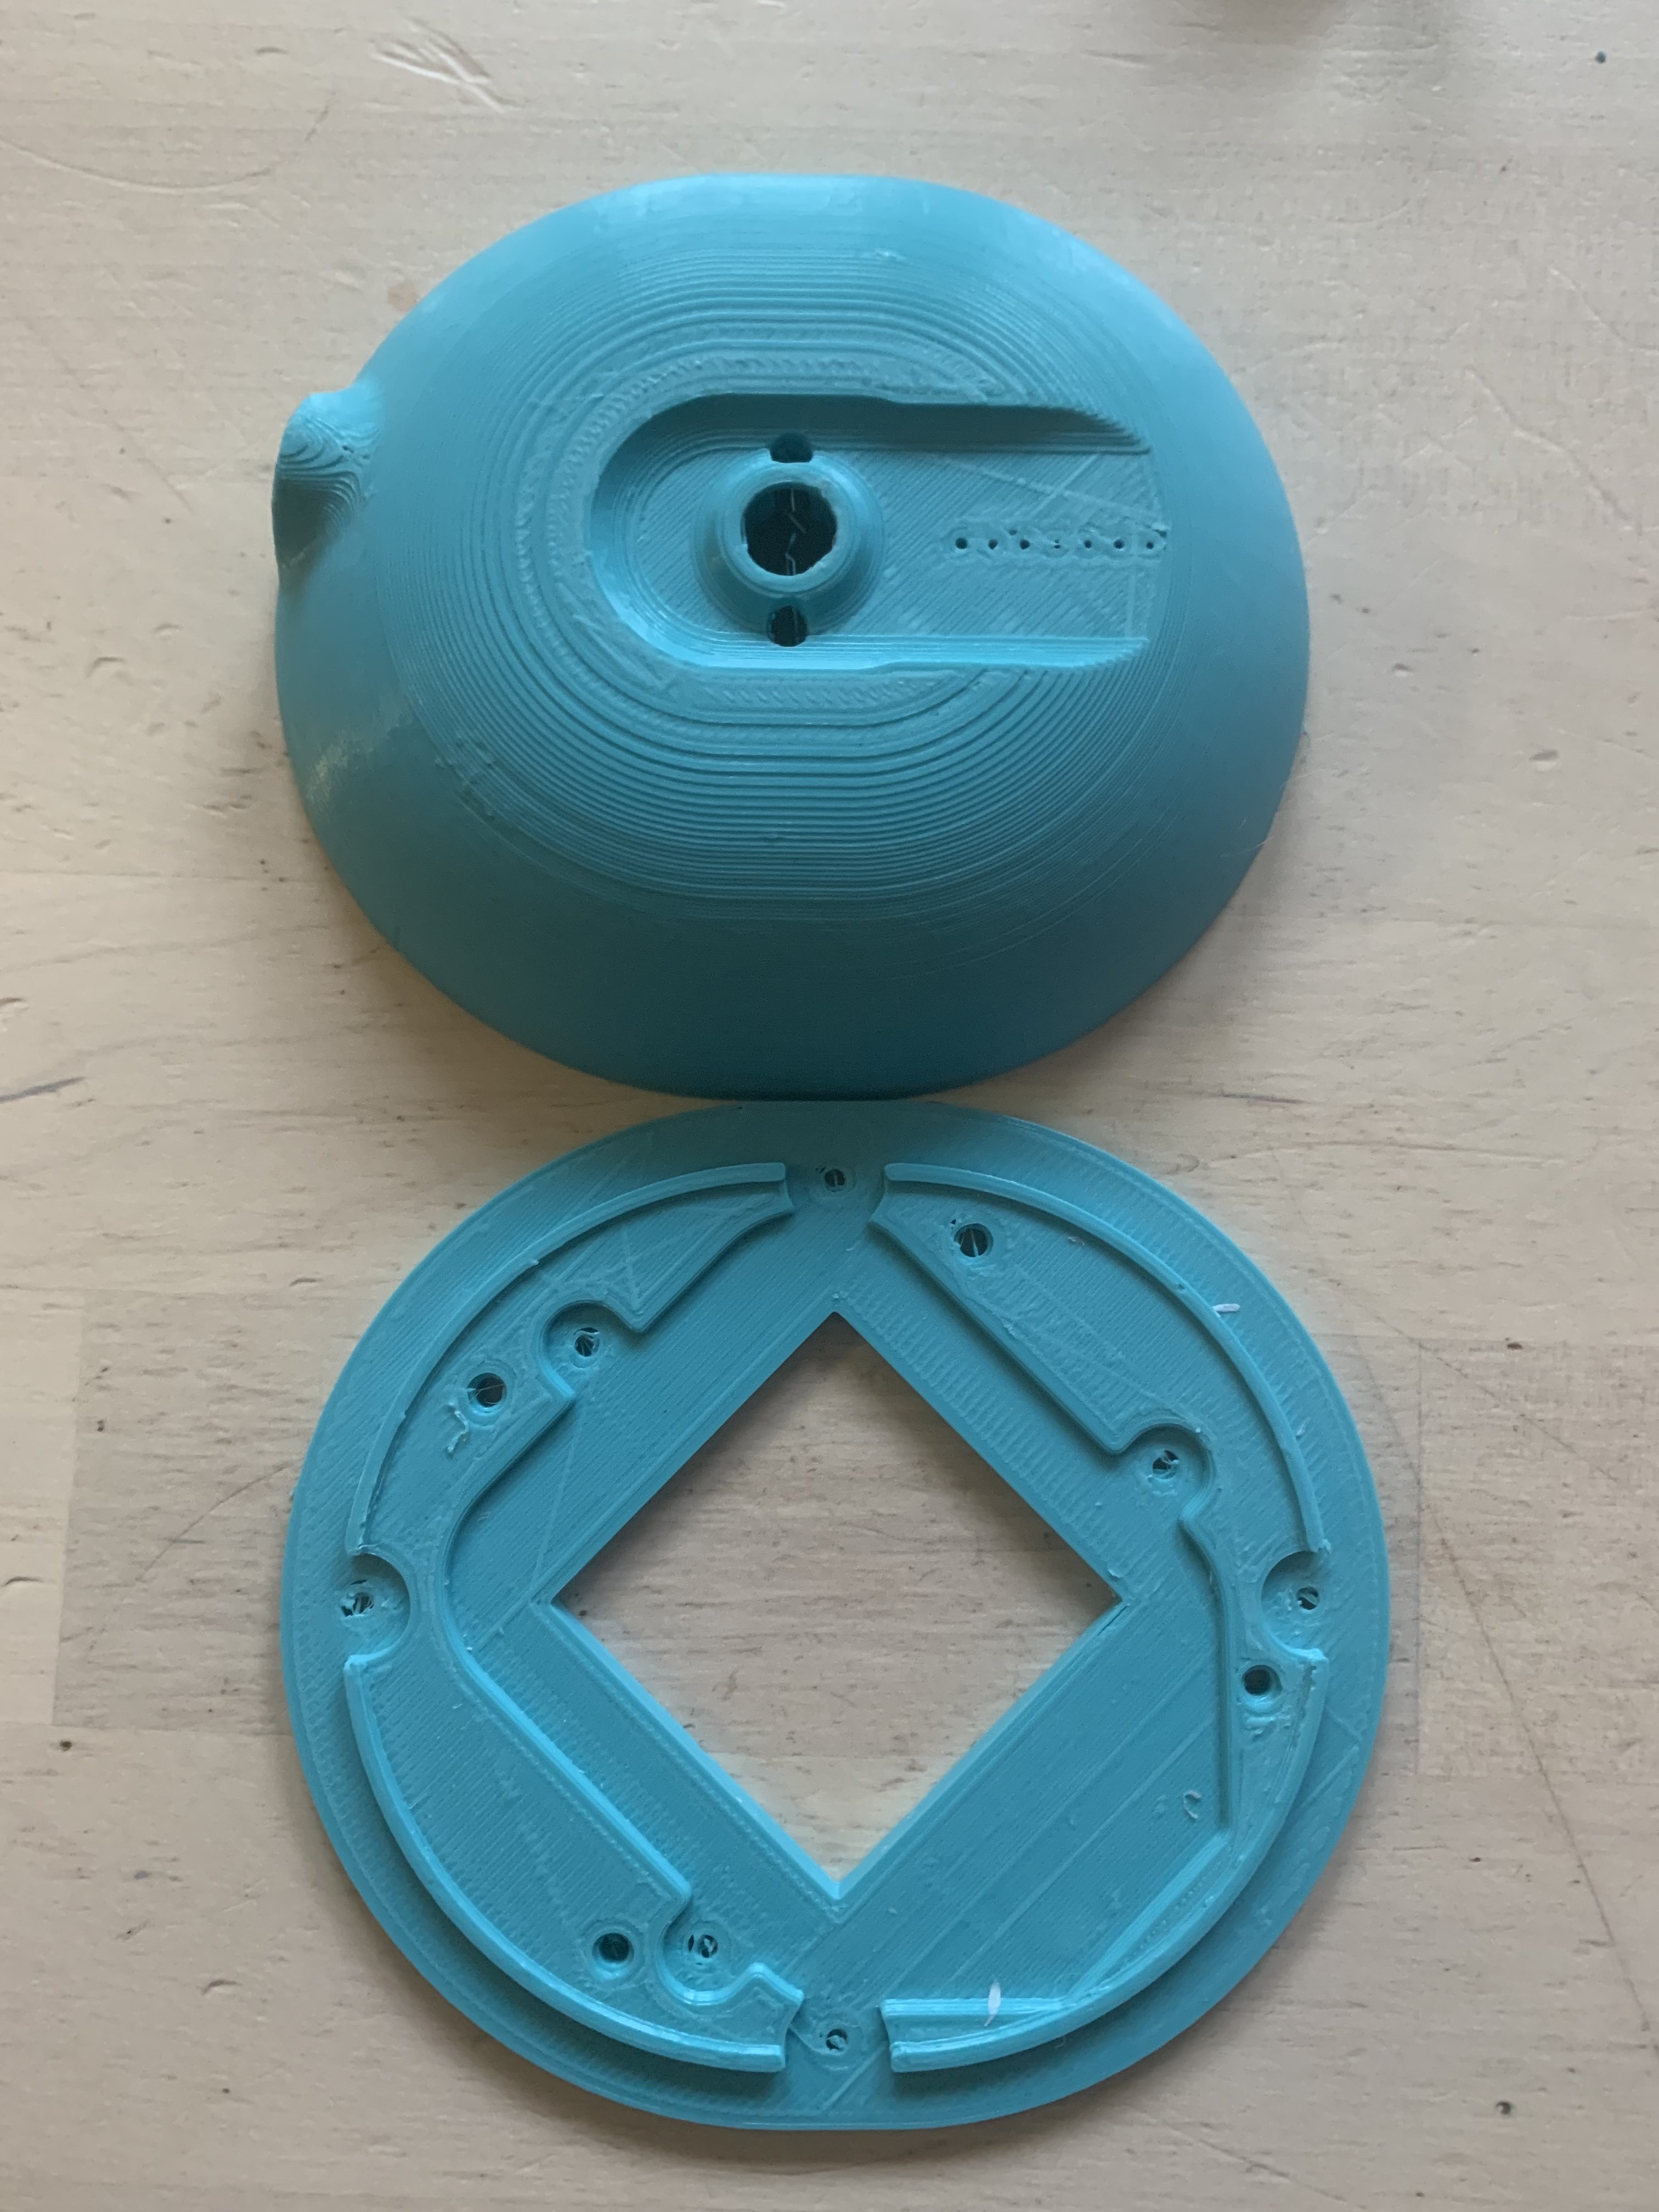
You need jacks where the nut is on the jack side and not the tab side; you wouldn't be able to secure the ones you linked.I'm confused about parts and construction if someone can help me please. I have printed the two part baffles and cups. I still need:
- 2.5mm headphone jacks. Would these work? https://uk.farnell.com/multicomp-pro/mj-165h/socket-2-5mm-jack-2pole-pk2/dp/1267391
- Sound damping foam - Akasa paxmate is mentoned which is 4mm think, it is quite expensive, anyone got a cheaper alternative? Could you use a cheap mousemat for example?
- Some kind of "wool felt" or "closed cell foam" to surround the baffle on the ear side - anyone got a recommendation for this? Can the same material be used as the foam above?
- "Soft closed cell foam" to make a gasket, any recommendations? i don't want to use silicone!
Are those the main parts required apart from earpads and cables? Did I miss anything?
Thanks for any help!
You are using an out of date browser. It may not display this or other websites correctly.
You should upgrade or use an alternative browser.
You should upgrade or use an alternative browser.
"Open Alpha" T50 3D printed headphone project from MrSpeakers
- Thread starter mrspeakers
- Start date
SeEnCreaTive
500+ Head-Fier
- Joined
- Oct 6, 2014
- Posts
- 667
- Likes
- 269
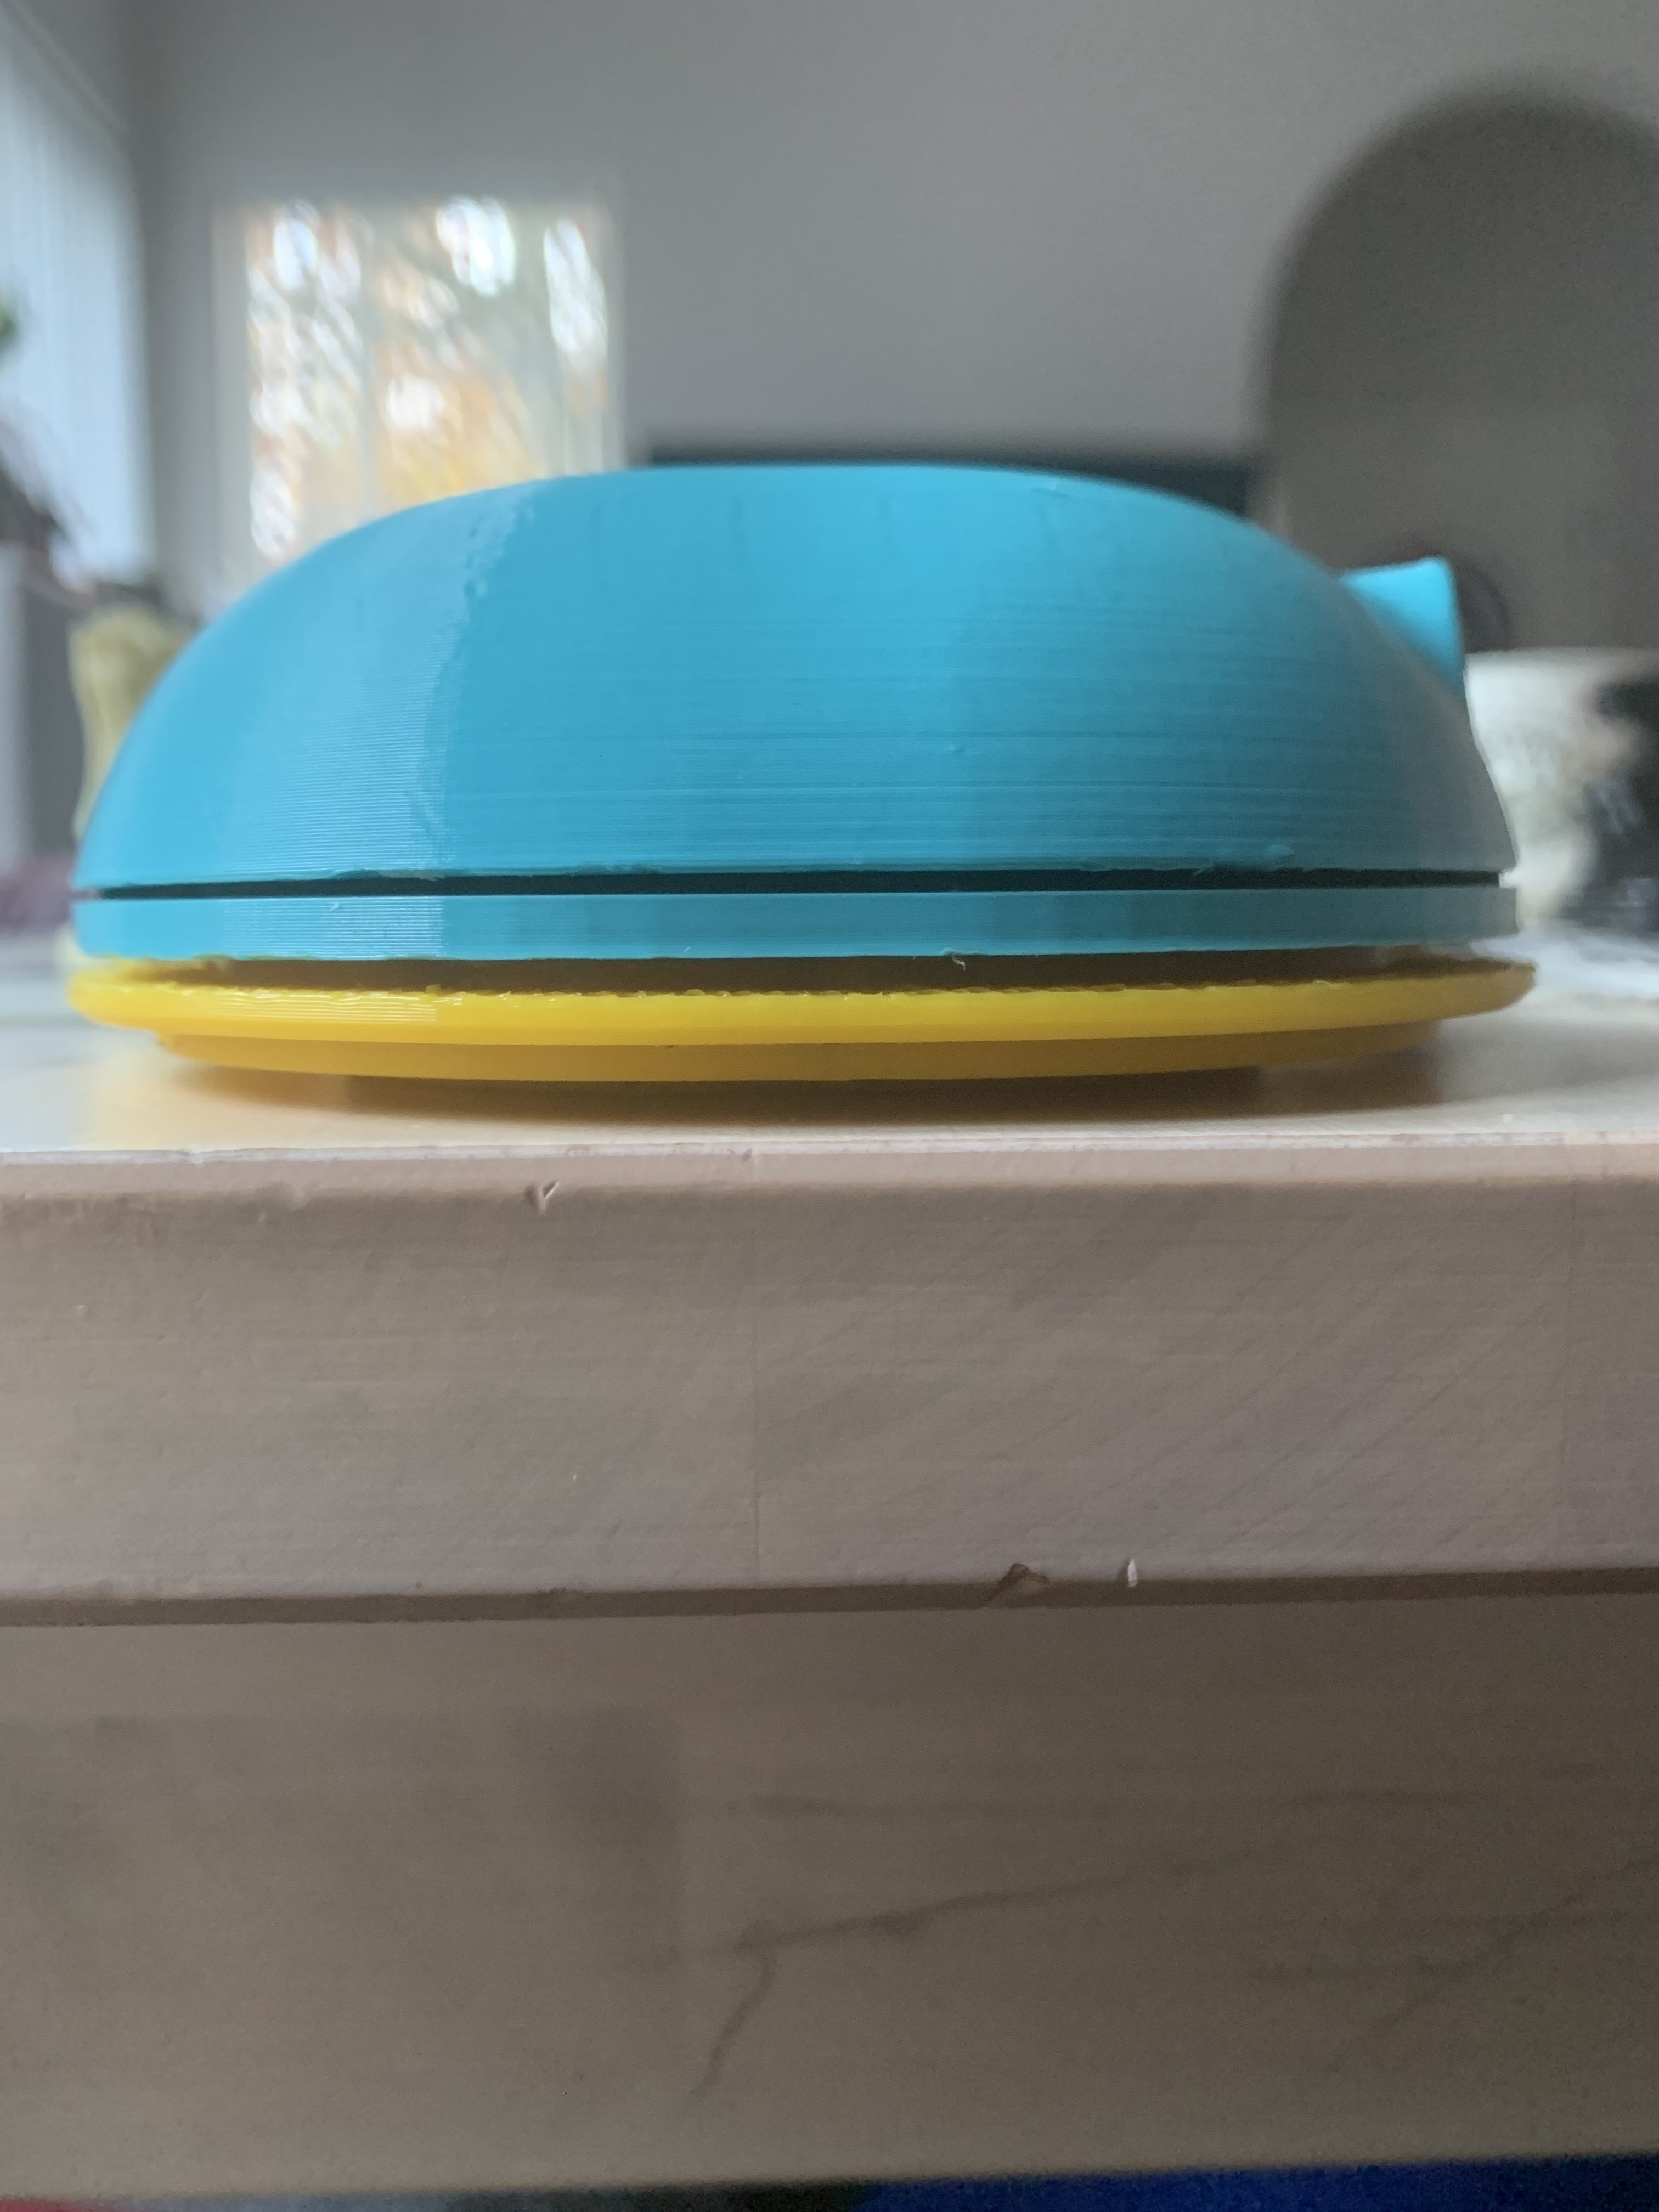
To be very specific, I used the normal 4mm foam, but I cut it in half height wiseI am also interested in what people used for gasket material. I would assume that it has to compact to be very thin? I probably will be opening and closing several times for tuning so would prefer not to use silicone.
Longfellow78
100+ Head-Fier
- Joined
- Feb 8, 2014
- Posts
- 160
- Likes
- 78
Thanks, I was thinking of doing the same thing!To be very specific, I used the normal 4mm foam, but I cut it in half height wise
Longfellow78
100+ Head-Fier
- Joined
- Feb 8, 2014
- Posts
- 160
- Likes
- 78
Thanks, nice idea, I will try and reuse the 4mm foam cut in half as suggested by another poster.I've used 1.5mm craft foam and 1mm silicone sheet; the silicone sheet is super easy to use, seals well, is reusable, and is easy to cut.
Longfellow78
100+ Head-Fier
- Joined
- Feb 8, 2014
- Posts
- 160
- Likes
- 78
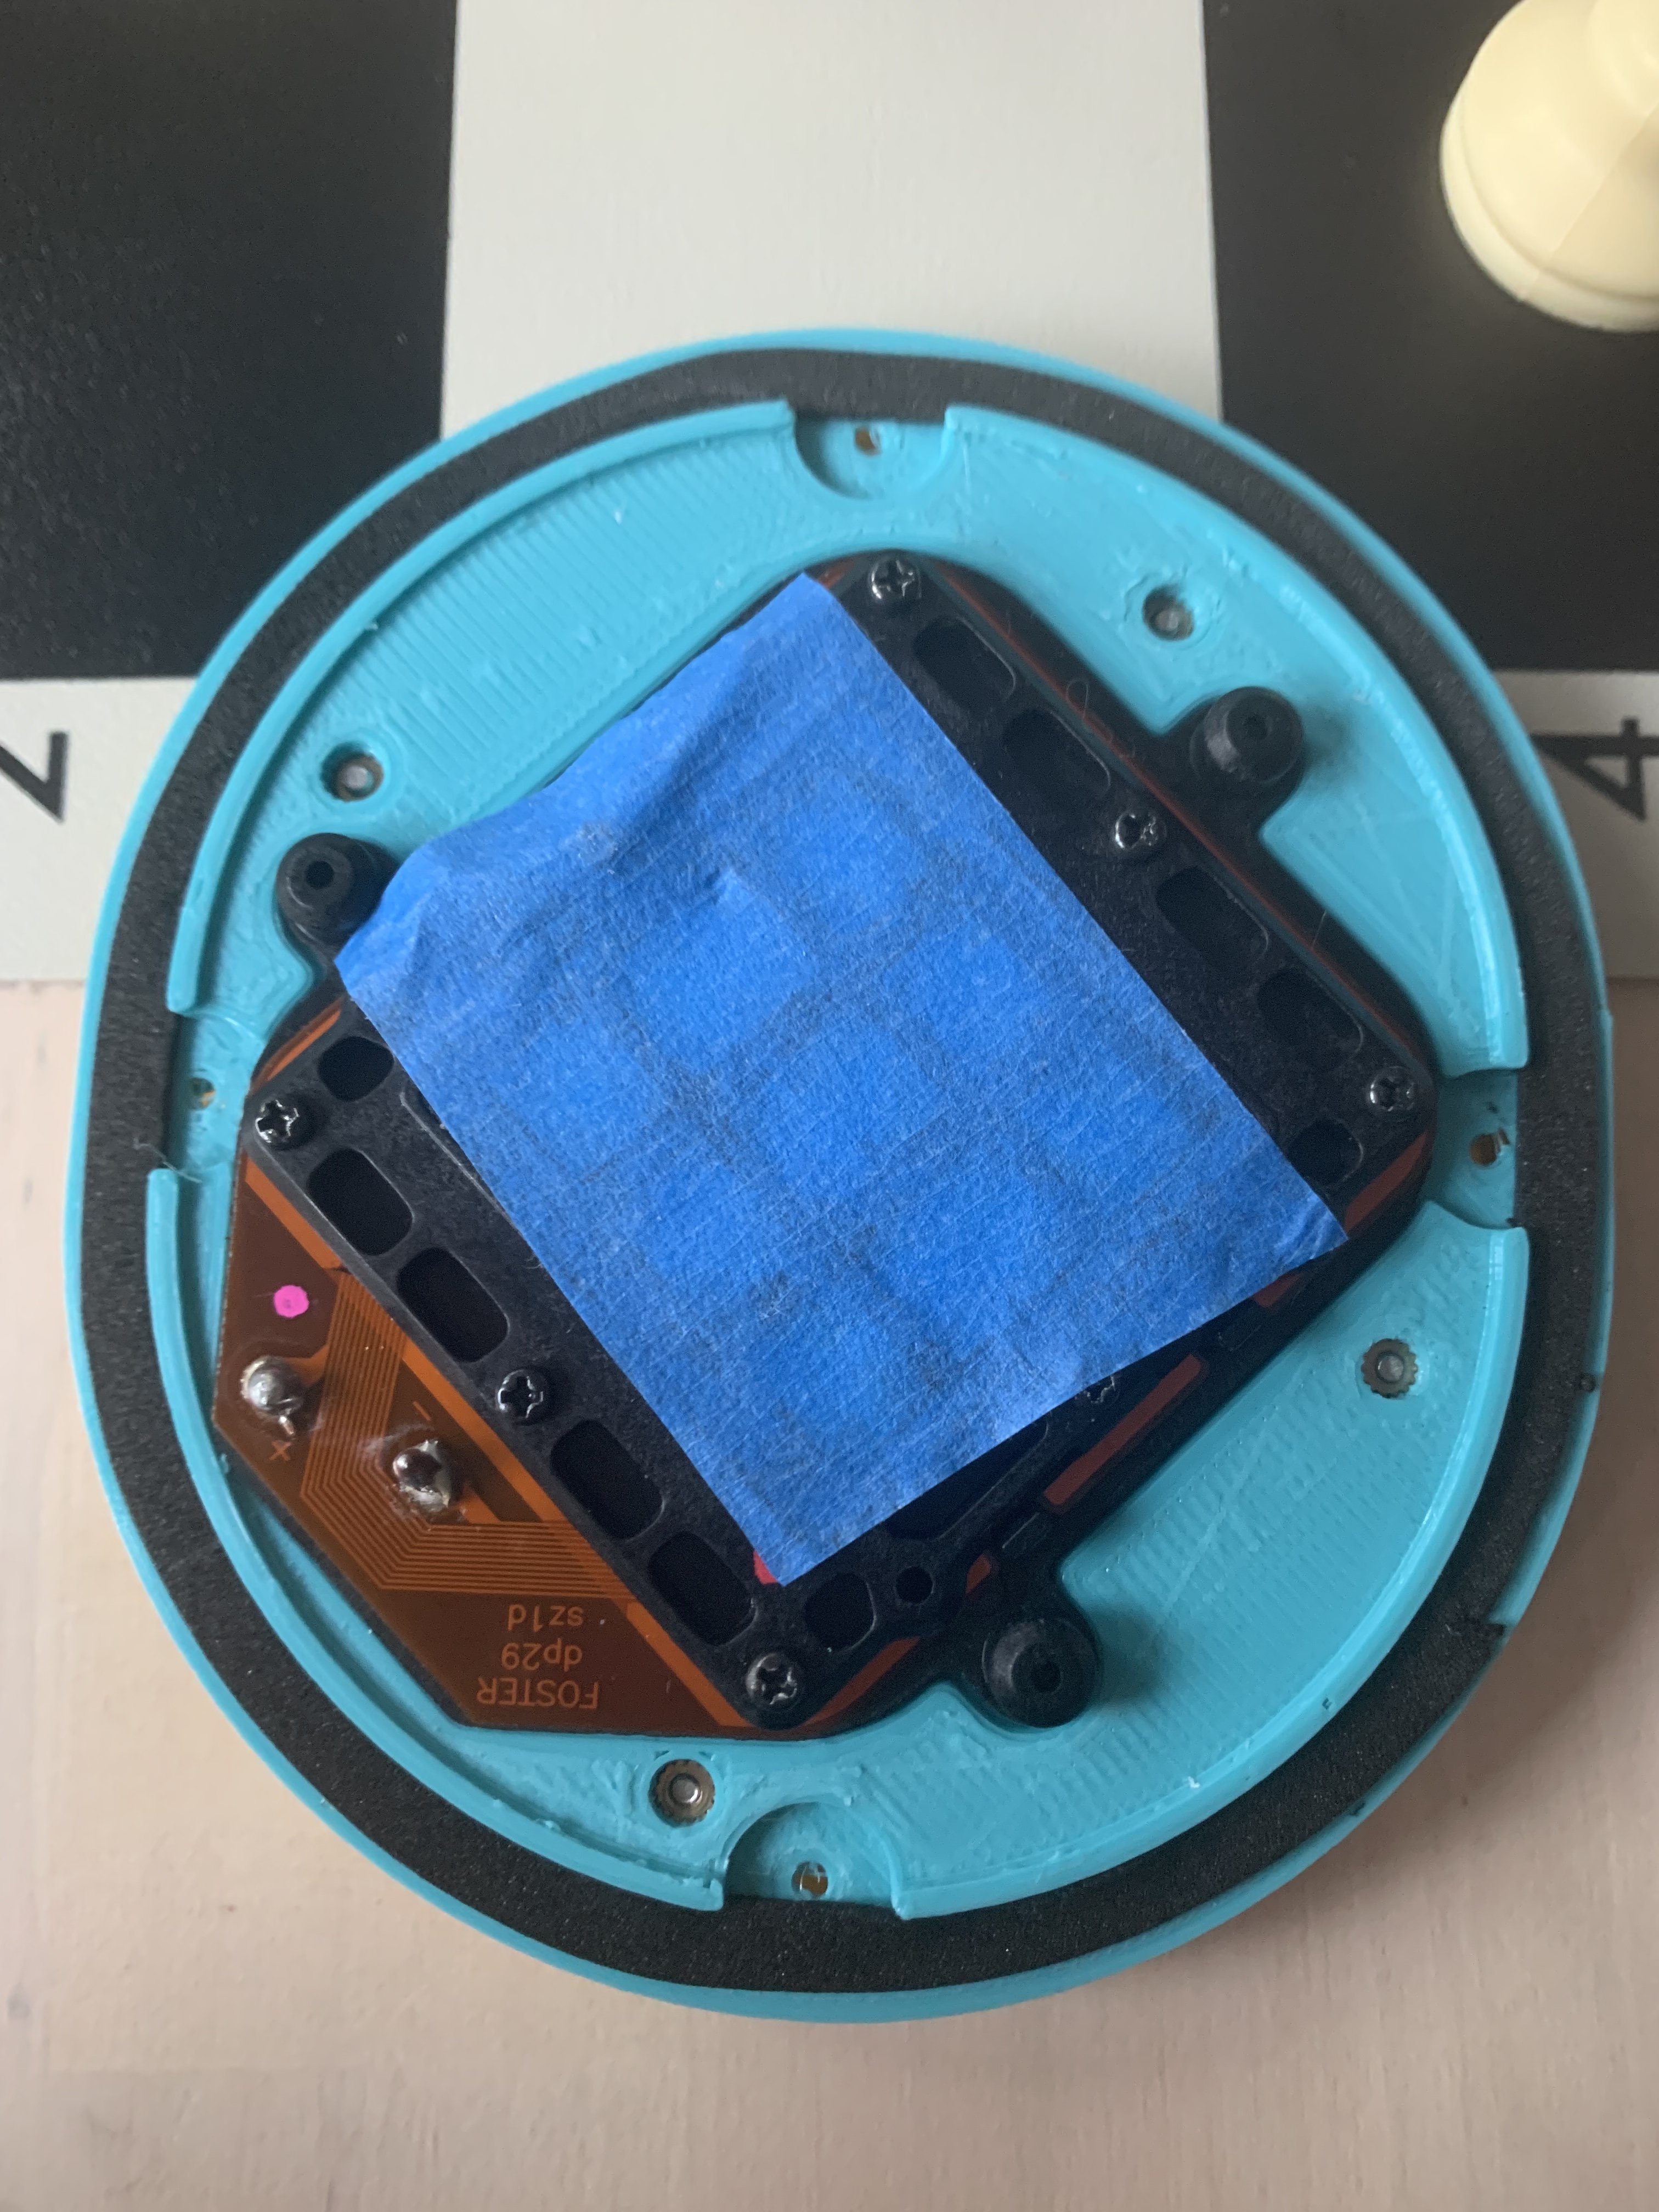
Thanks I have found some different ones that are 3.5mm that should fit. Cheers.You need jacks where the nut is on the jack side and not the tab side; you wouldn't be able to secure the ones you linked.
1mm EPDMI am also interested in what people used for gasket material. I would assume that it has to compact to be very thin? I probably will be opening and closing several times for tuning so would prefer not to use silicone.
https://www.ebay.com/itm/4019112576...qCPDT9puzoXASrrBBbI2DvJdAqk=|tkp:BFBM2vr8rfhg
Longfellow78
100+ Head-Fier
- Joined
- Feb 8, 2014
- Posts
- 160
- Likes
- 78
Excellent! Thank you, I have ordered that.
 ioAAOSw2XdeUQNo&amdata=enc:AQAHAAAA0BIqi0yVePBwYkLS1Z0OOZeNMfyKKlAQz/5a3ho3Rq5PLoGjfByd5UDGNXjFRxxfEK94STWbAIBcp3Sr7MfmwEqGySwBBH+ZPGGIko6VaXJ12xIsJVaPZNxsUDfjeJkWU+SD7smmjgIjpBVaEEFFSGvtvd5x1tgmZTpLbrXbvBg/DfKTdTahq18+ocpcIN14b0fLskiKnVVsgWPRbxVjeVNn14wHHlsKV5Z2uFAqDukd+oIt4E28QPbNtxO8qCPDT9puzoXASrrBBbI2DvJdAqk=|tkp:BFBM2vr8rfhg
Longfellow78
100+ Head-Fier
- Joined
- Feb 8, 2014
- Posts
- 160
- Likes
- 78
Very cool. What finish did you apply? I am printing mine in two colour pink and blue silk filament, but don't know if I should leave them raw, or try and sand or apply some lacquer. What did you do as yours look excellent? Thanks.Thank you! The pictures really does not do them justice. Its a special color plastic that was used to print them. In sunlight it turs coral green, looks stunning when you have them in hand and turn them towards the light.
You can kind of tell from the picture that there is something special about the color... The green specks in the last pic")
sand , filler, sand, filler .....or try and sand or apply some lacquer. What did you do as yours look excellent? Thanks.

Longfellow78
100+ Head-Fier
- Joined
- Feb 8, 2014
- Posts
- 160
- Likes
- 78
Ha. But he said the colour came from the filament. Hence can't have filler.....sand , filler, sand, filler .....
Use epoxyHa. But he said the colour came from the filament. Hence can't have filler.....

Longfellow78
100+ Head-Fier
- Joined
- Feb 8, 2014
- Posts
- 160
- Likes
- 78
Ohh, transparent filler? Didn't think of that!Use epoxy
Hi all,
I've been excited to do this project and I am familiar with CAD, so I have made some modifications to the original design to use threaded inserts, I haven't tested the design yet, but it is meant to use M2xOD3.2xH2.5 threaded inserts and M2x8 screws.

Find all CAD files and OBJ files here:
https://mega.nz/folder/jooDAIDD#GtaZl4e_go8DDi-u3JKzSw
Do let me know if you need any help.
I've been excited to do this project and I am familiar with CAD, so I have made some modifications to the original design to use threaded inserts, I haven't tested the design yet, but it is meant to use M2xOD3.2xH2.5 threaded inserts and M2x8 screws.
Find all CAD files and OBJ files here:
https://mega.nz/folder/jooDAIDD#GtaZl4e_go8DDi-u3JKzSw
Do let me know if you need any help.
SeEnCreaTive
500+ Head-Fier
- Joined
- Oct 6, 2014
- Posts
- 667
- Likes
- 269
Beautiful, that is spectacular, thank youHi all,
I've been excited to do this project and I am familiar with CAD, so I have made some modifications to the original design to use threaded inserts, I haven't tested the design yet, but it is meant to use M2xOD3.2xH2.5 threaded inserts and M2x8 screws.
Find all CAD files and OBJ files here:
https://mega.nz/folder/jooDAIDD#GtaZl4e_go8DDi-u3JKzSw
Do let me know if you need any help.
jgs2n
New Head-Fier
I love the idea of threaded inserts. I am interested in your experiences with this. Specifically, what is the easiest way to insert threads?Beautiful, that is spectacular, thank you
Looking forward to updates.
