


jgs2n
New Head-Fier
I am no expert but I printed with supports and without skirts. The infill % definitely impacts print time. What did you use for this?I did apply “supports” and added “skirts”. Were supports unnecessary?
I am no expert but I printed with supports and without skirts. The infill % definitely impacts print time. What did you use for this?I did apply “supports” and added “skirts”. Were supports unnecessary?
yes.Is there anything I might be able to do to reduce print time?
The closest I can find with quick shipping on amazon is M2 x 3.2 x 3. Ill probably buy these and hopefully the extra .5mm in height will not be a problem.you can mirror them in slicer as @Atlantic kindly reminded me. I am looking for a source of inserts that are the right size. So far have found them only on aliexpress.
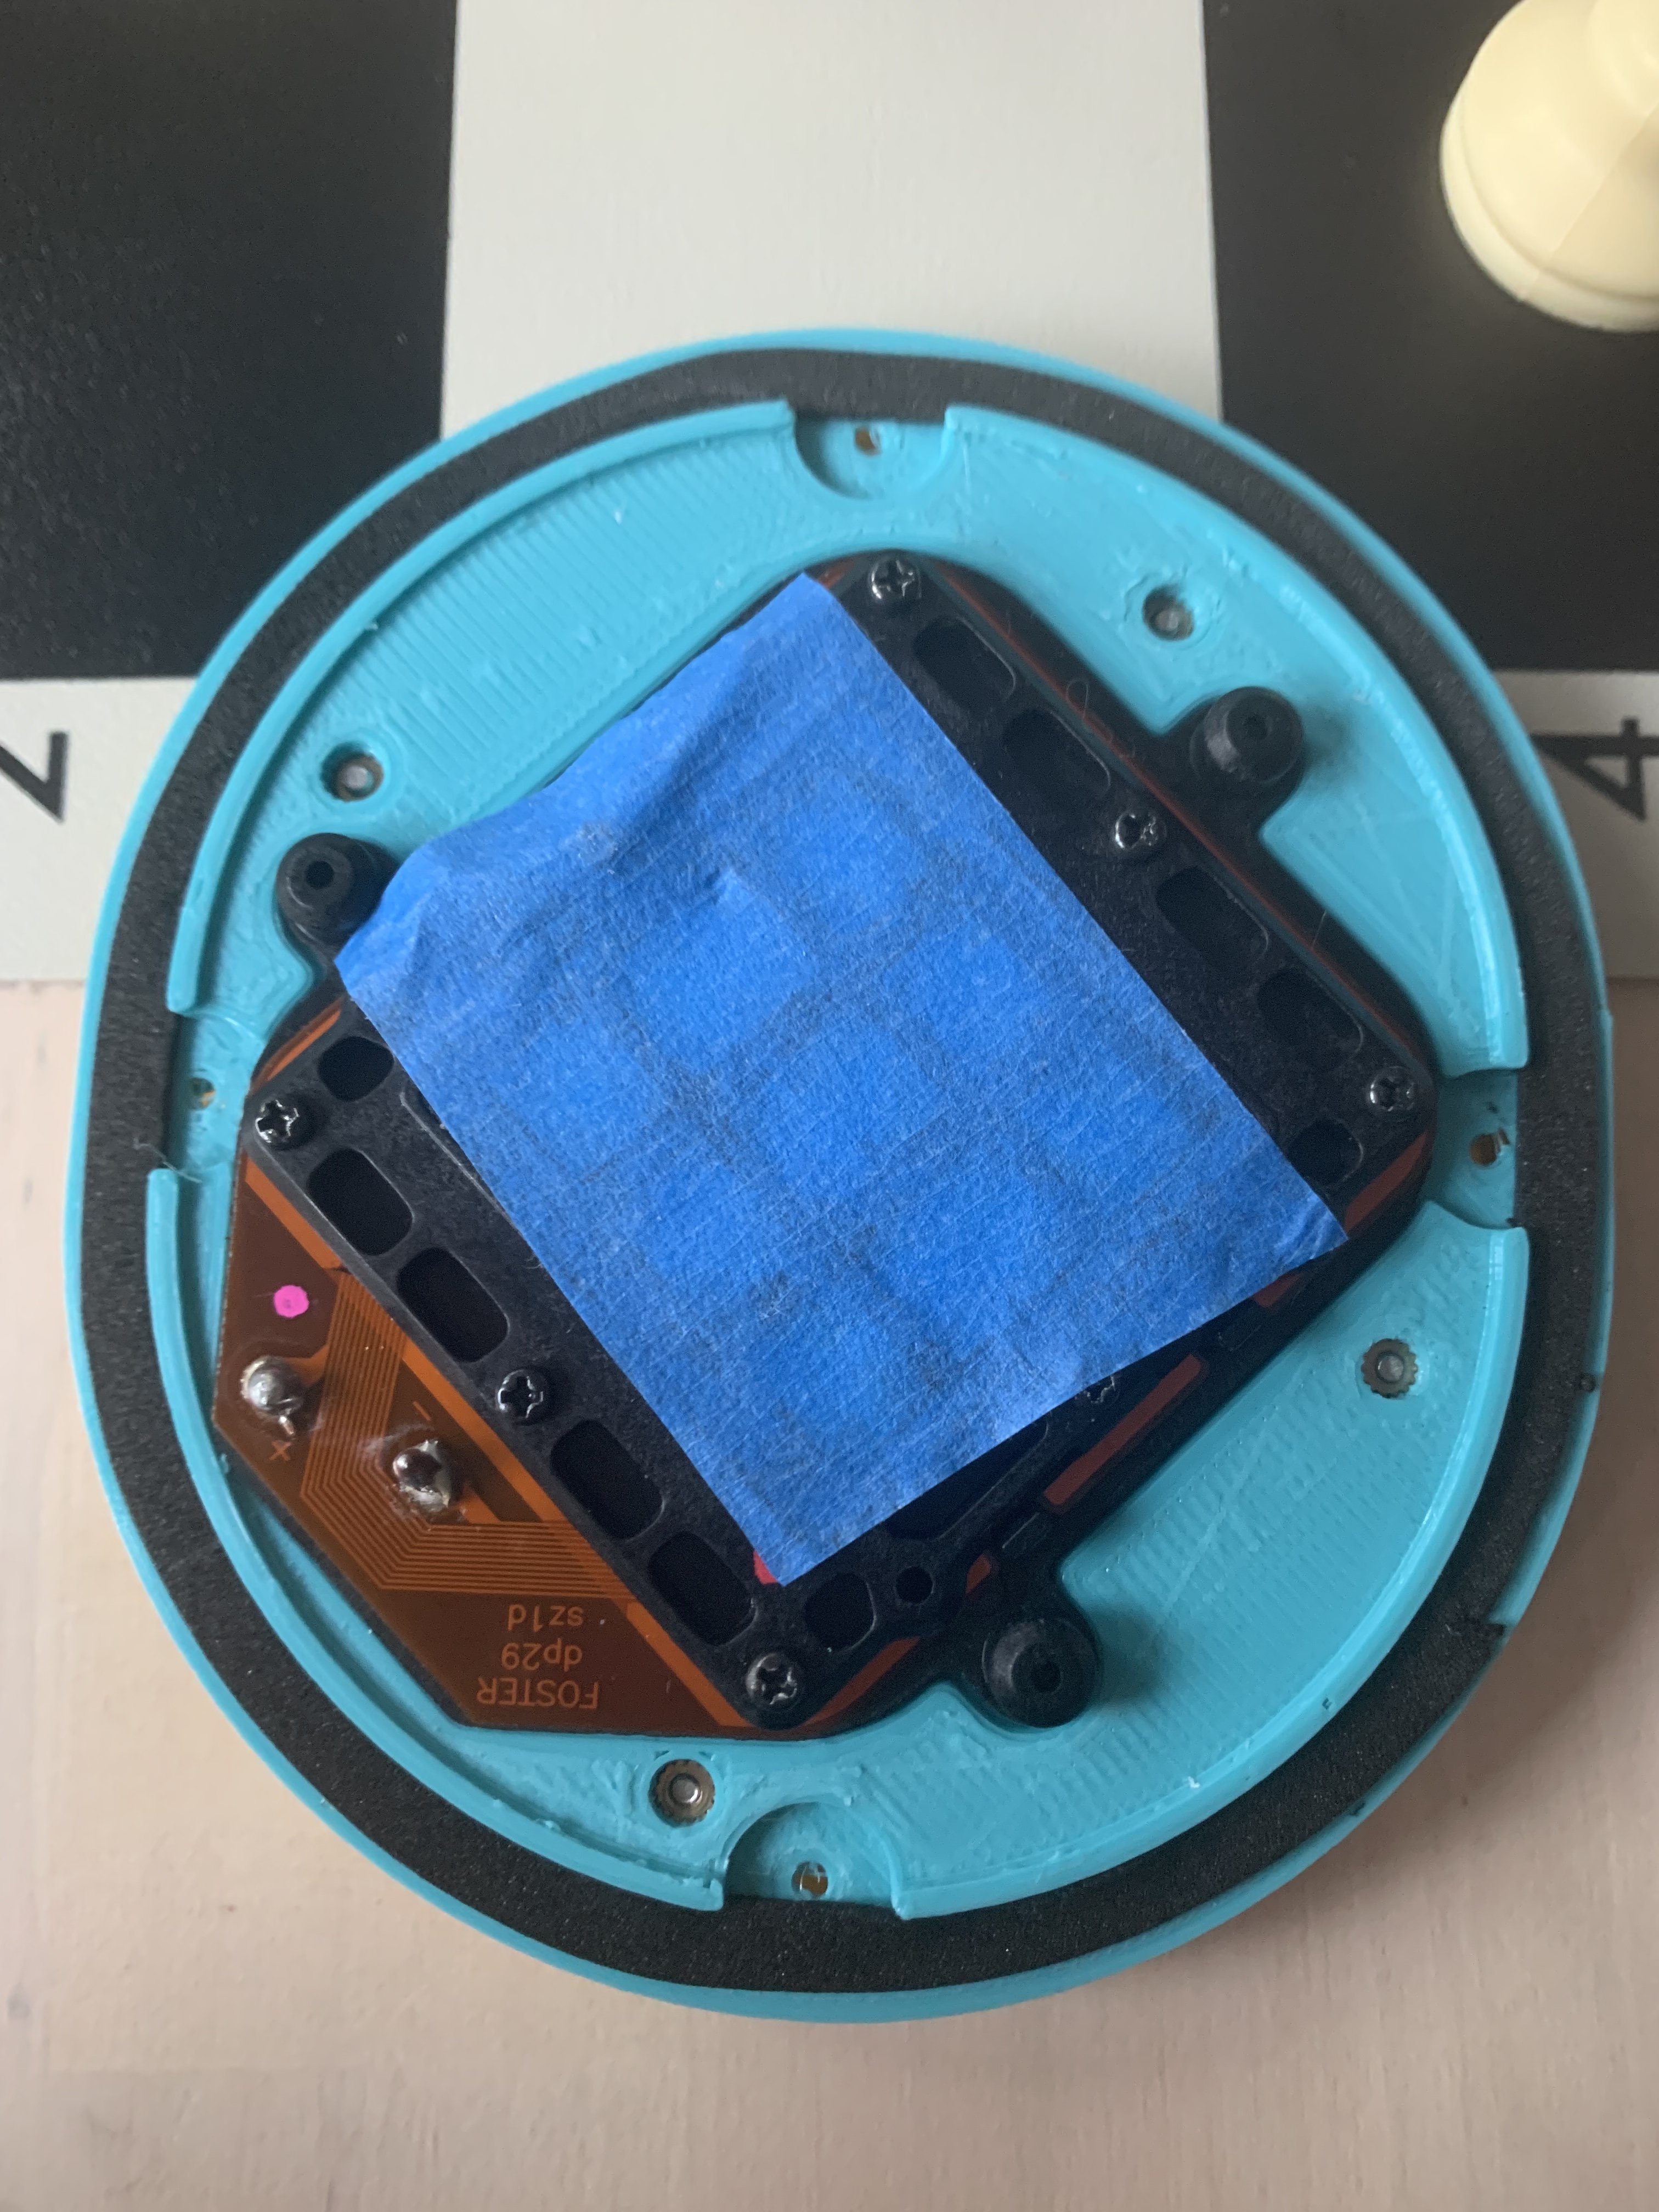
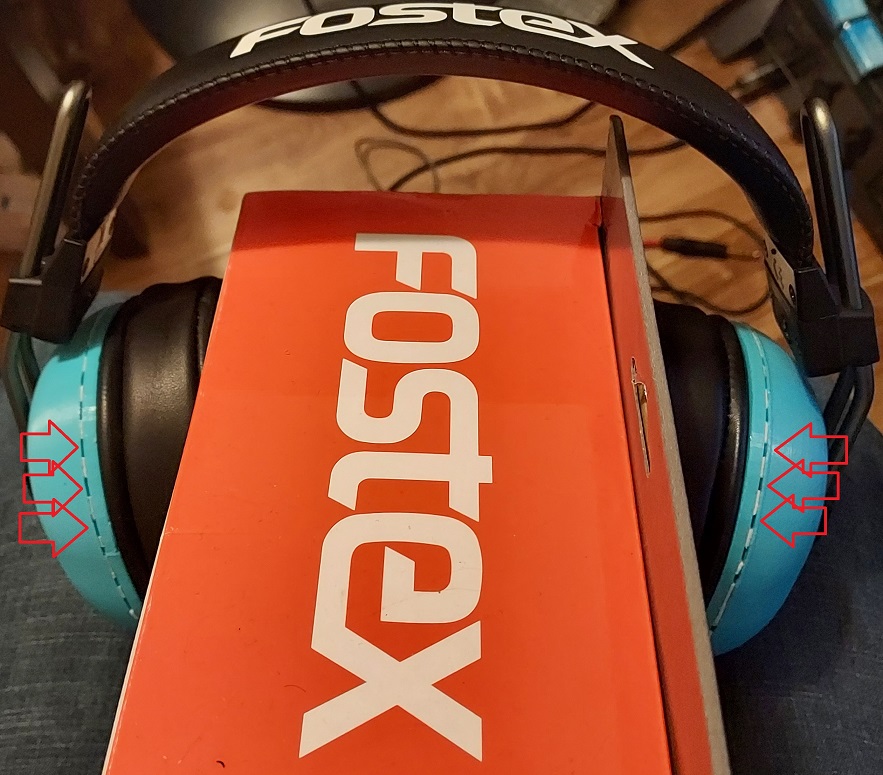
Not sure which ones you printed but I printed cups with the adjustable bass. I used an M3 screw tap before putting the bass screw in as advised somewhere on the many pages of this forum. Without the screw tap, you risk inserting the bass screw and never getting it out or being able to adjust it. A 12mm M3 set screw (no head) worked for me.I printed a set of the 3.5mm cups because hirose is pricey. Is there a version though with 3.5mm connectors and space for screw inserts?
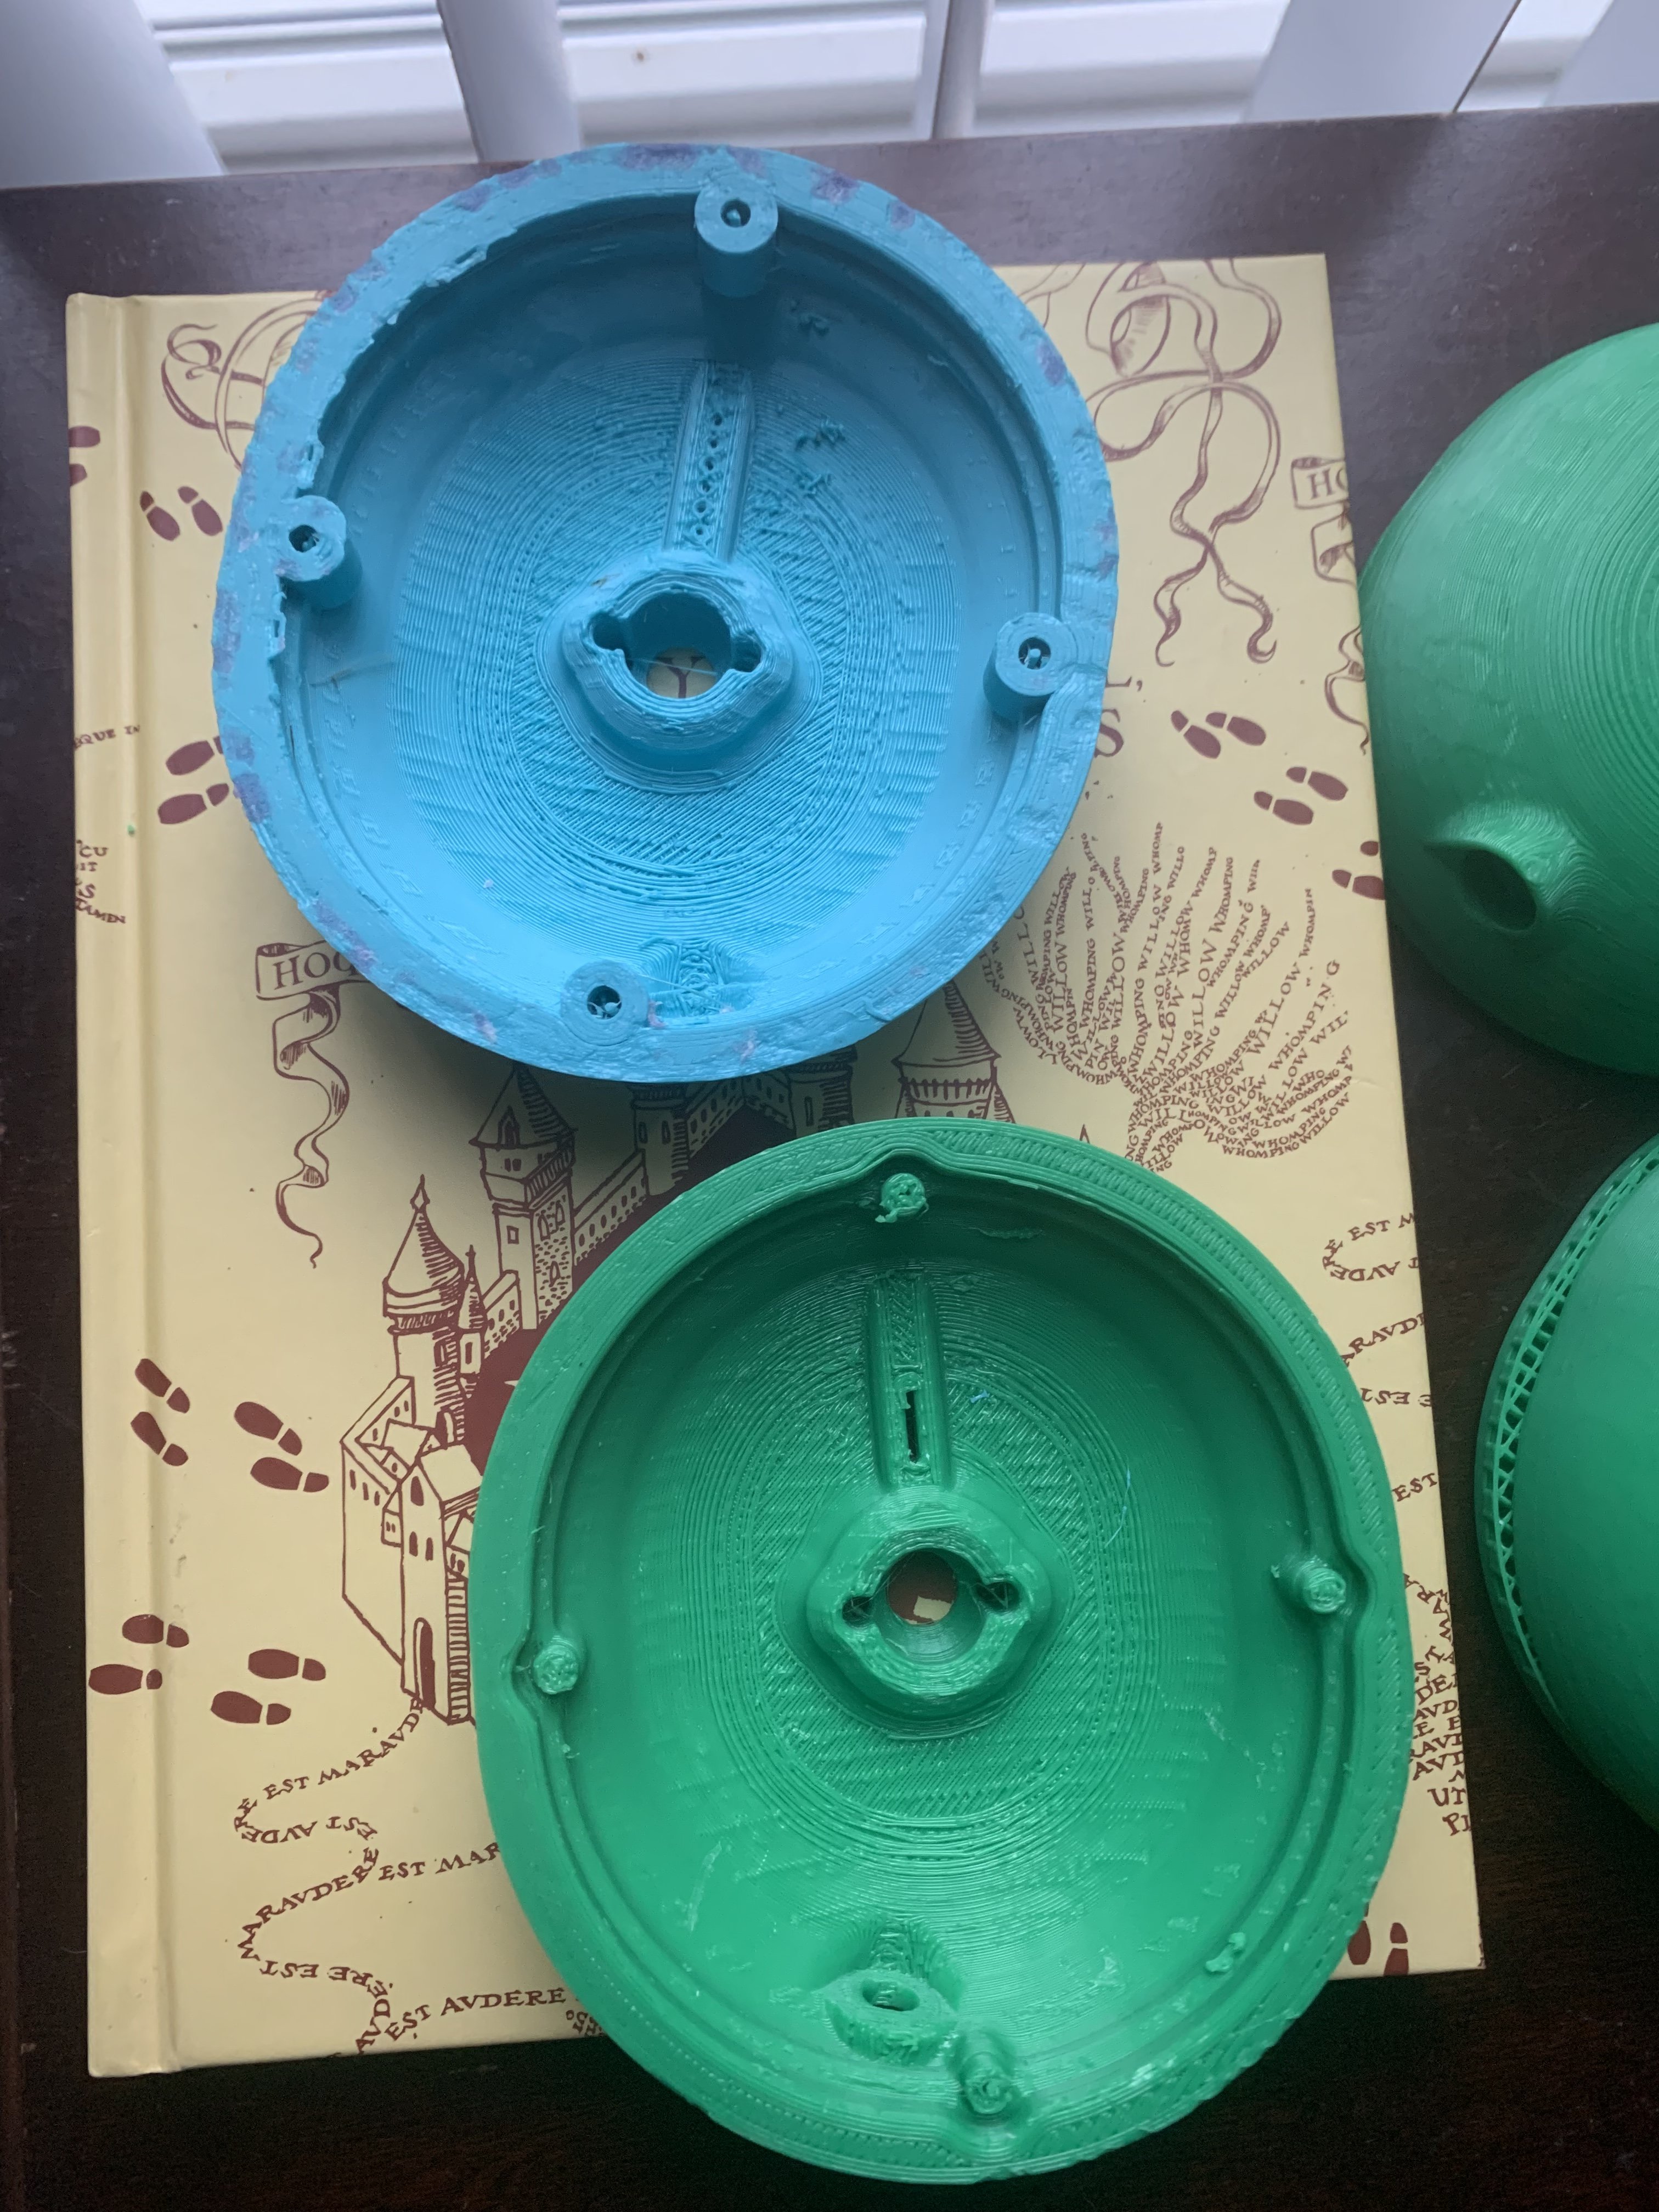
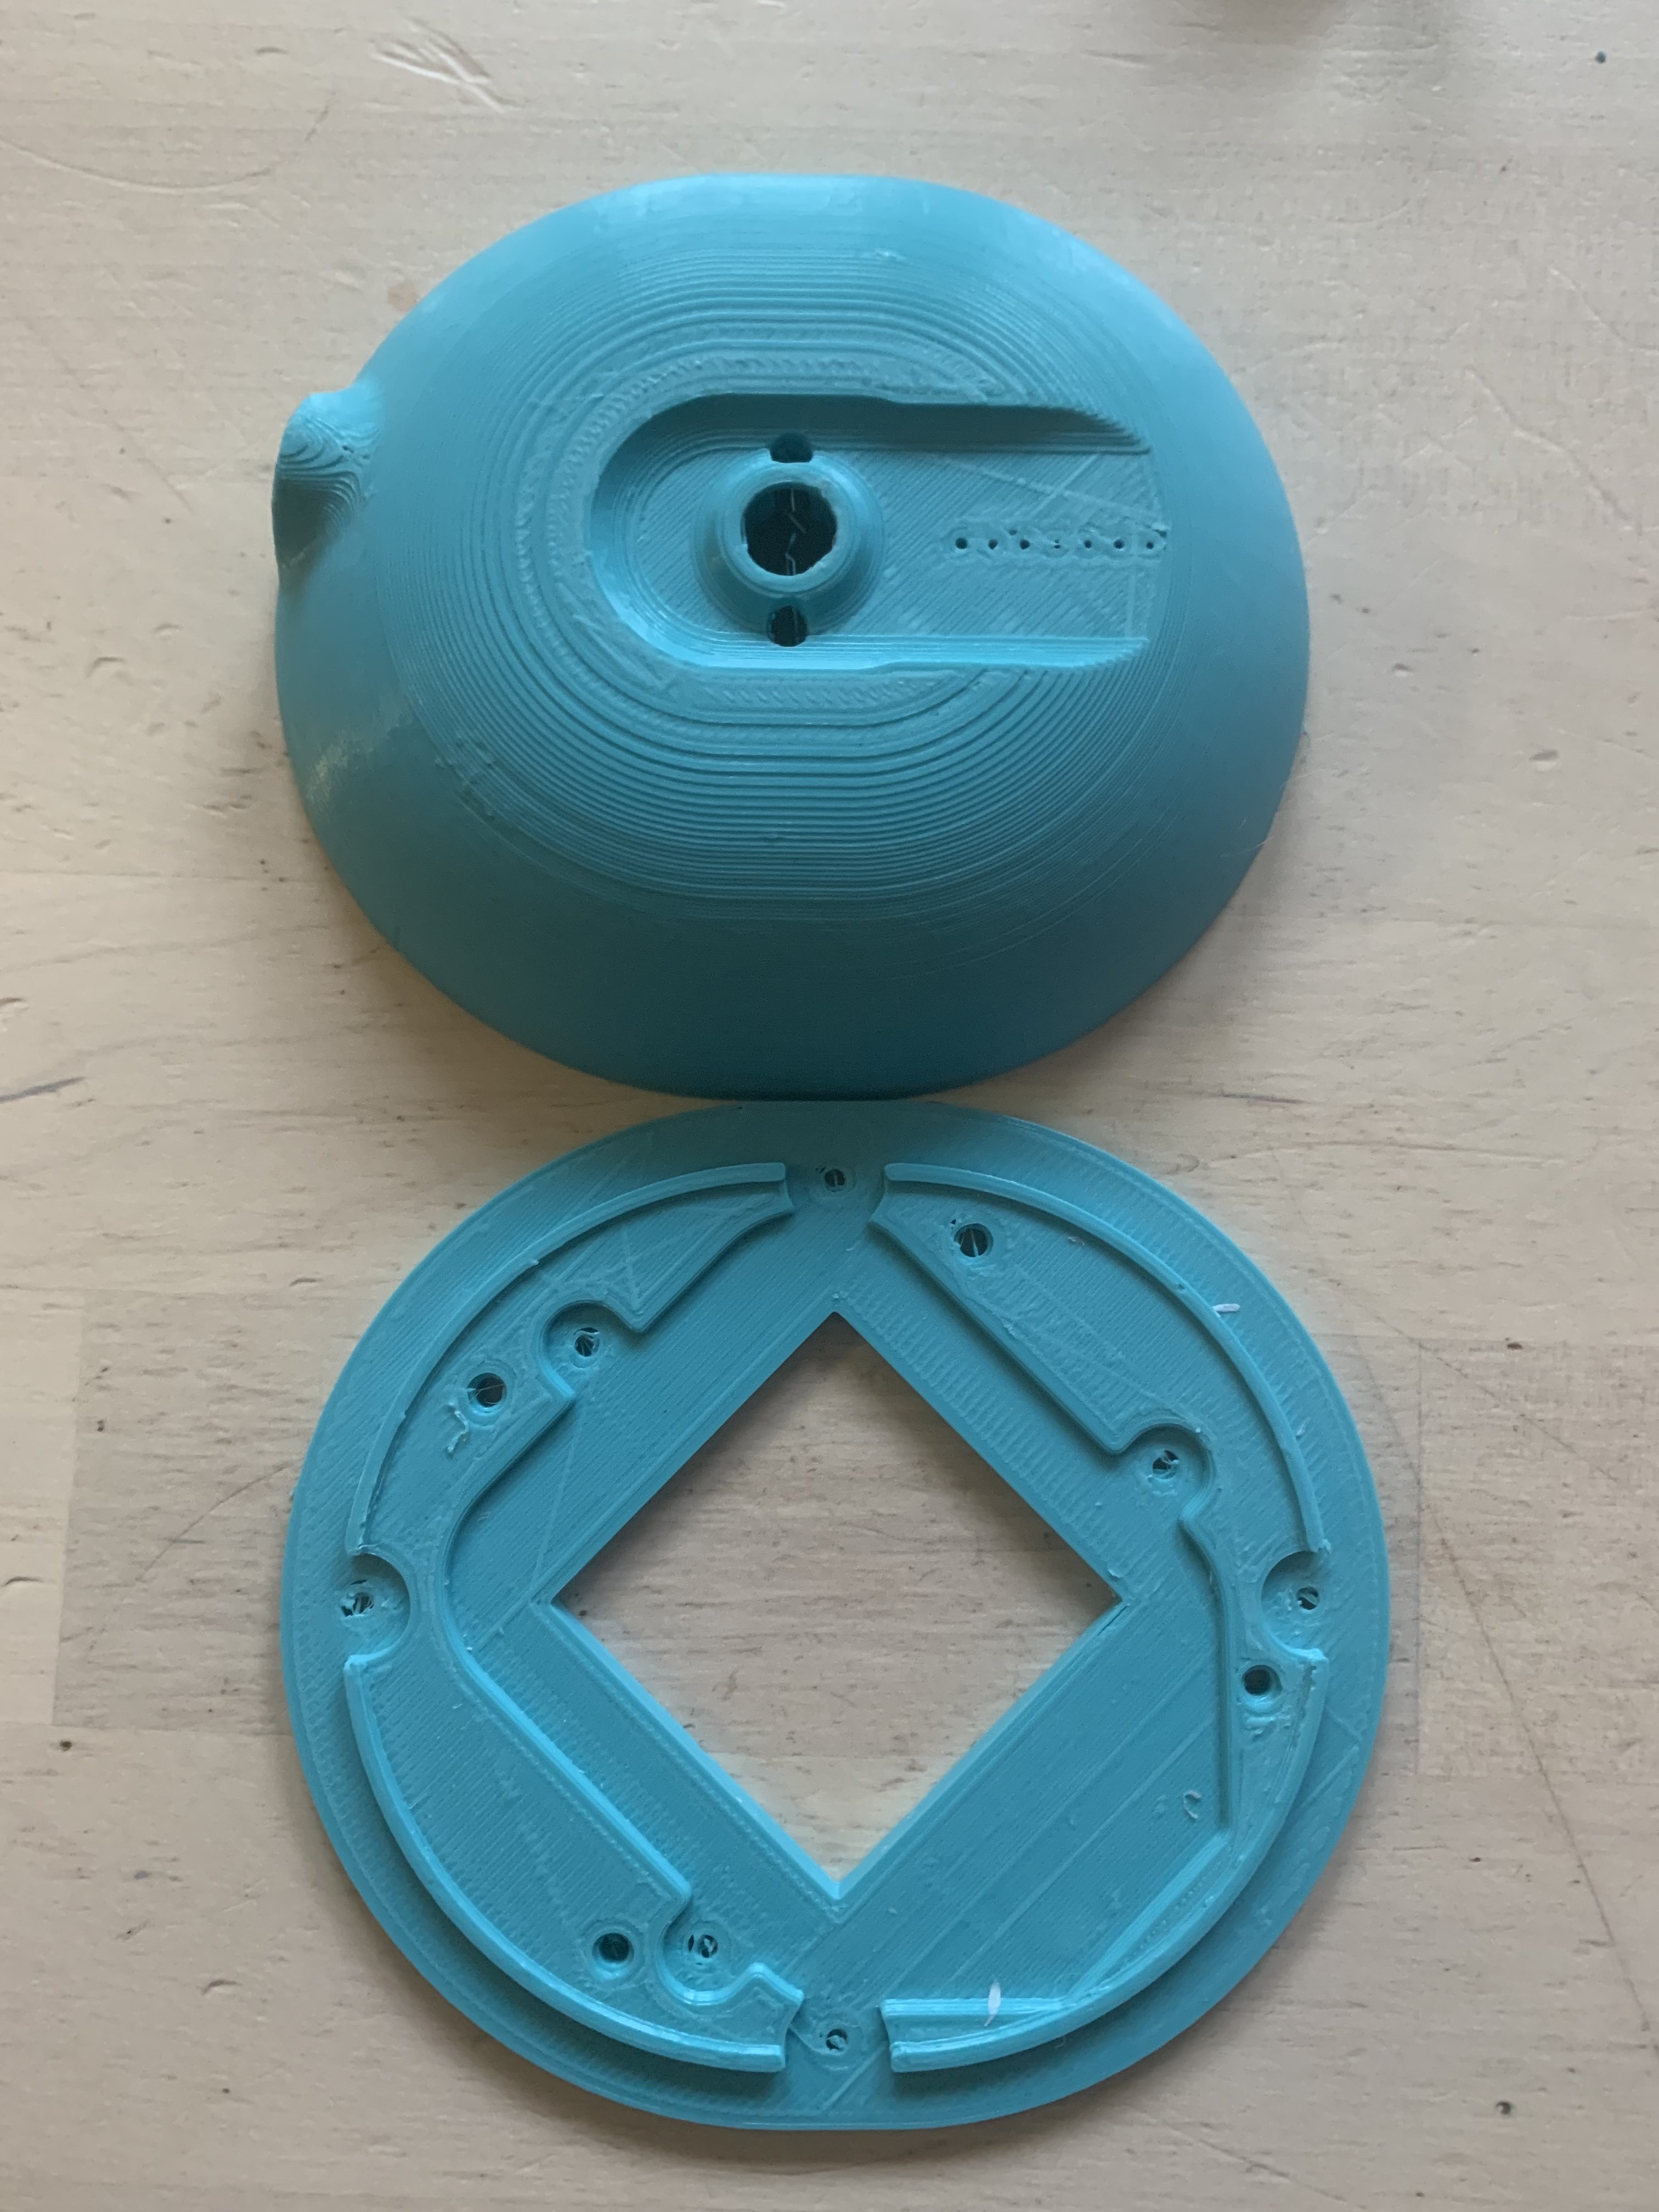
Here where the screw holes are a bit occluded will the screws cut through that or do I need to remove the excess filament first? Like by cutting away or drilling. Or just use self tapping screws in the right size. What is the right size?
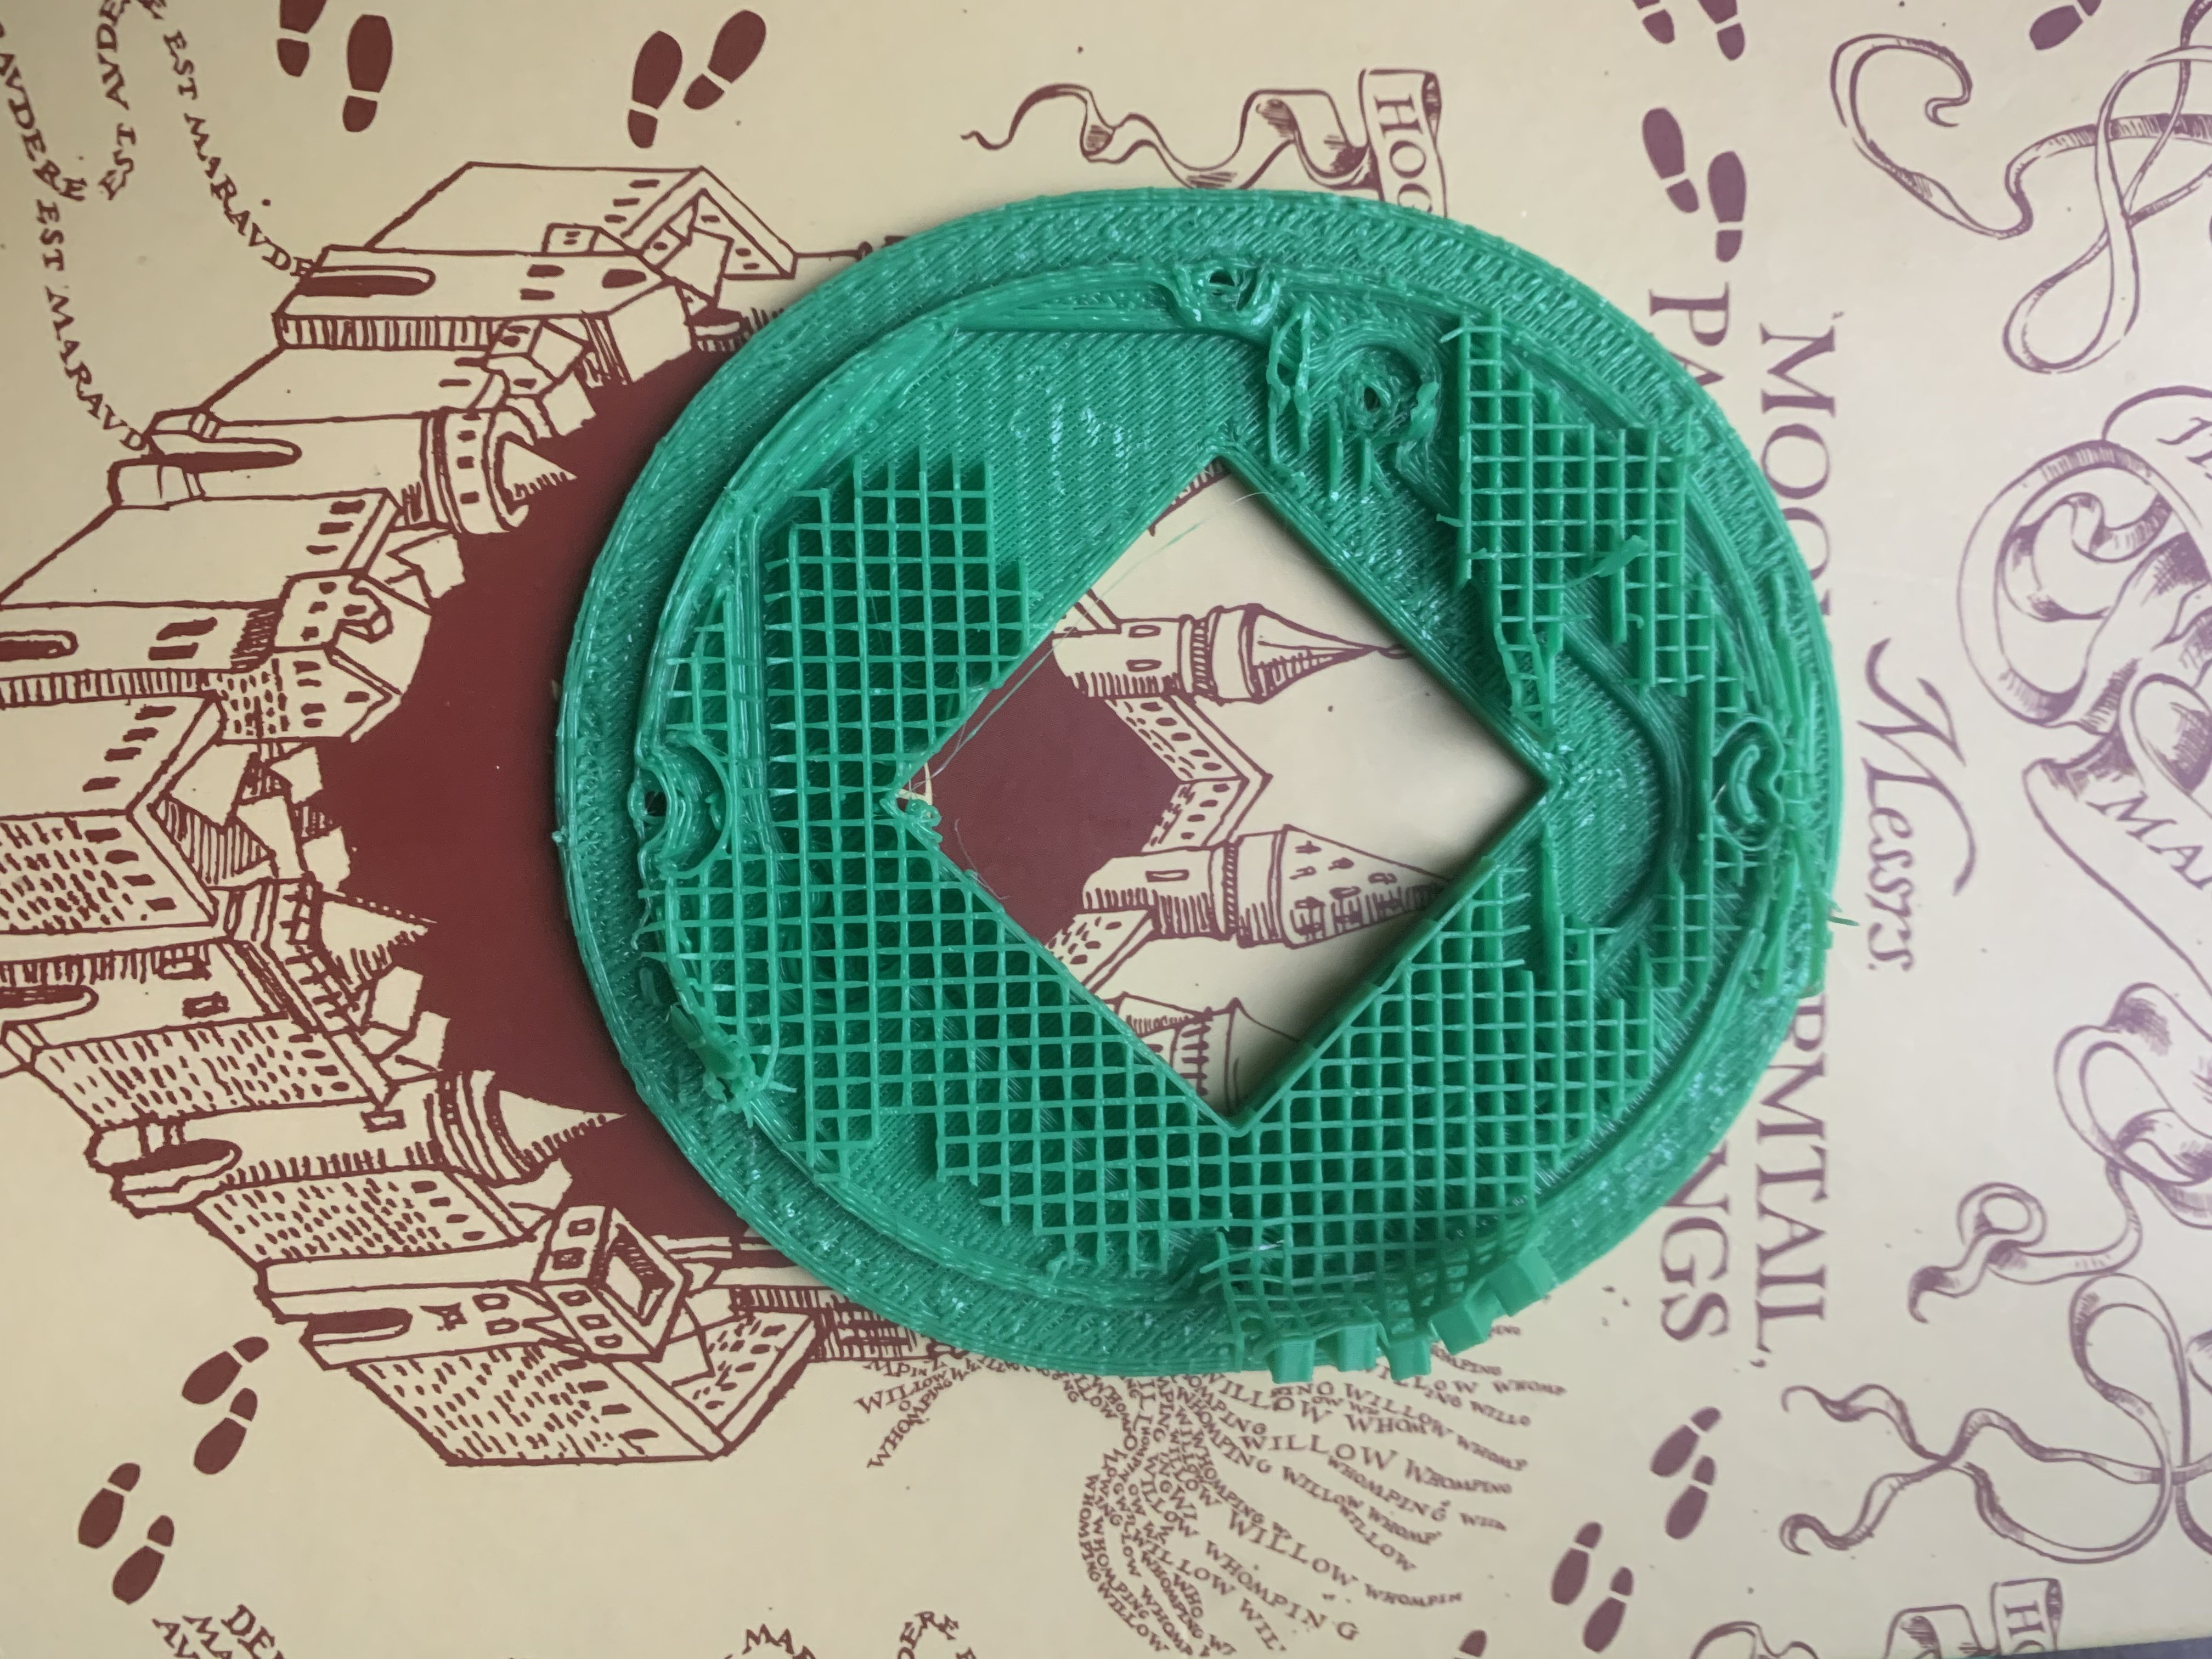
flip the baffle in your slicerSupports on the driver baffle can be difficult to remove. Any tips?

Hey Phil, use a small long nose pliers and pull it out.Supports on the driver baffle can be difficult to remove. Any tips?