Quote:
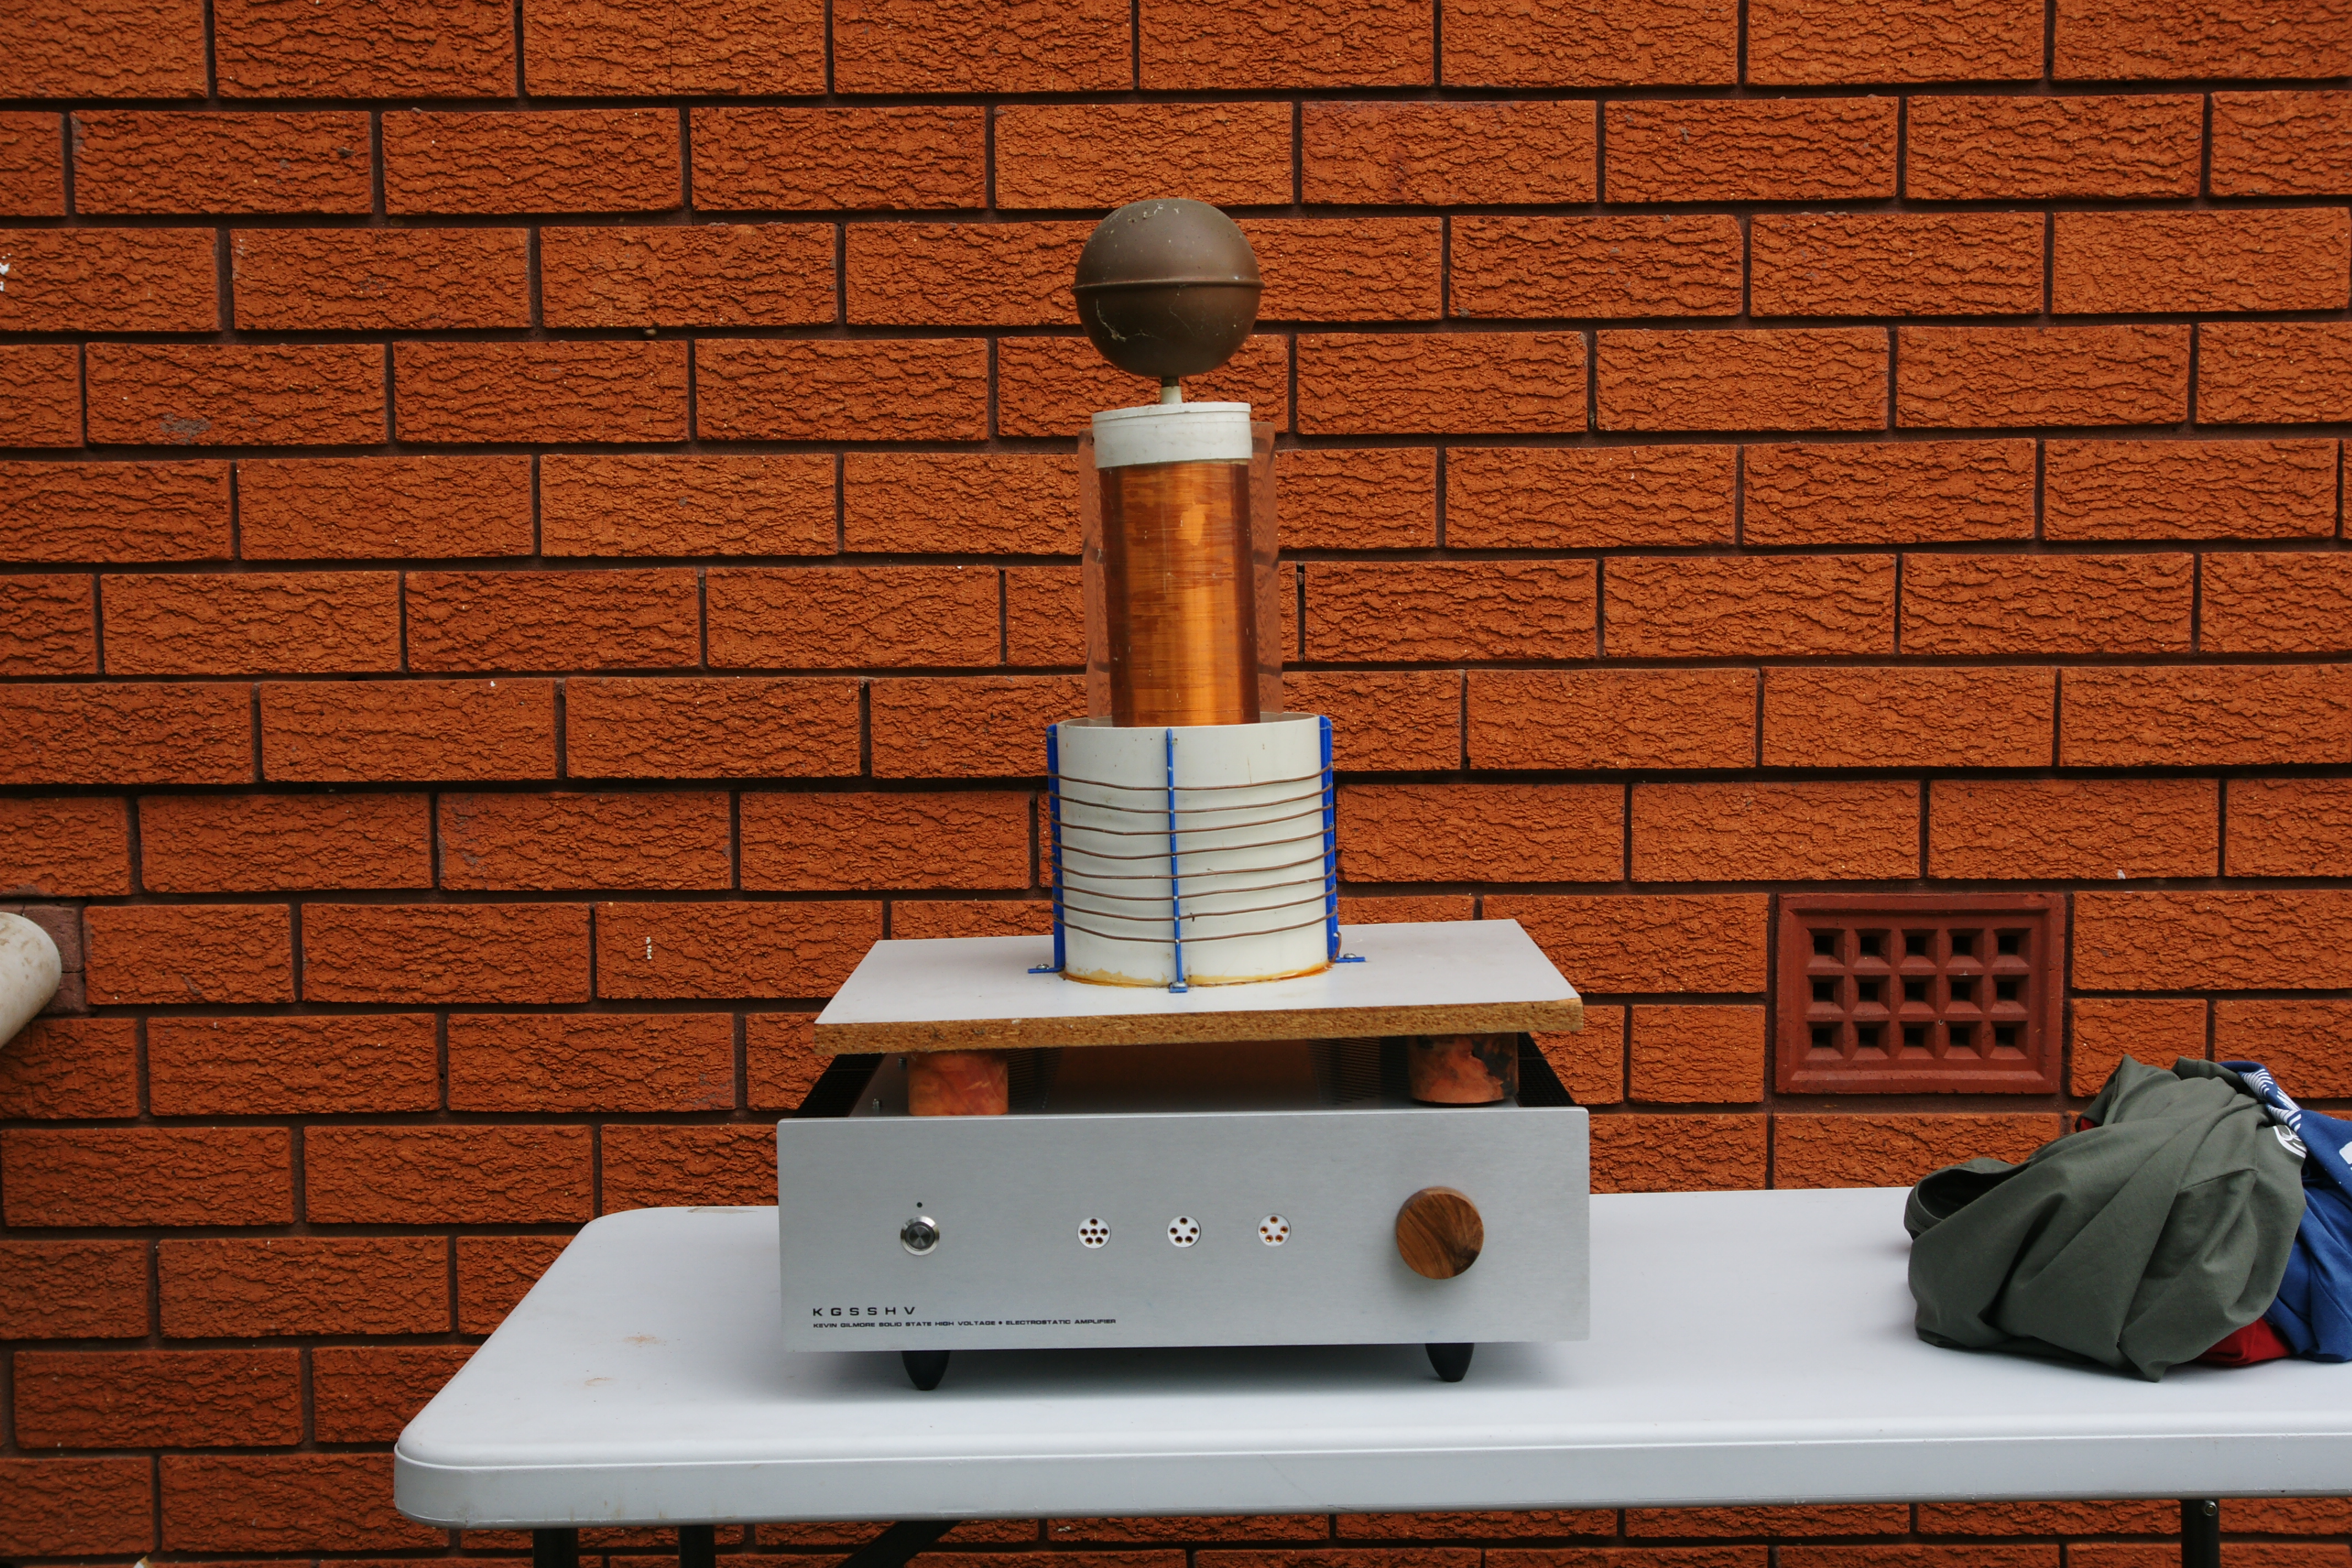
Doesn't look too shabby at all HDMan, well done fitting it all in that chassis.
With regards to your problem and solution...... etiquette dictates you describe what the problem was, and how you fixed it. Next person with the same problem can read your post, rather than bothering Kevin.
Well I don't know if it is a problem/solution that will help others, but I accidentaly shorted the circuit, testing it while it was out of the case. After numerous attempts firing the bad channel board up to locate the problem, I then started to notice that the .47uf/50v resistors were colouring a dark colour. It is very difficult testing capacitors and transistors in circuit it seems.
Not boasting, but it would seem that actualy first time round all components were correctly mounted (accept for the heatsinks) (then I shorted the circuit, I think it was cause of the heatsinks not being mounted properly). Not bad for a first attempt, the only other time I had ever soldered was with my headphones to do a recable. I am mechanicaly minded though, spent many hours under the hood of my car. I probably should have done some practice soldering first, but I figured that I had some spare PSU boards anyway, so I started with the PSU first. Watched a few youtube vids from some professionals, crash course, lol. (don't try this at home kiddies)
Quote:
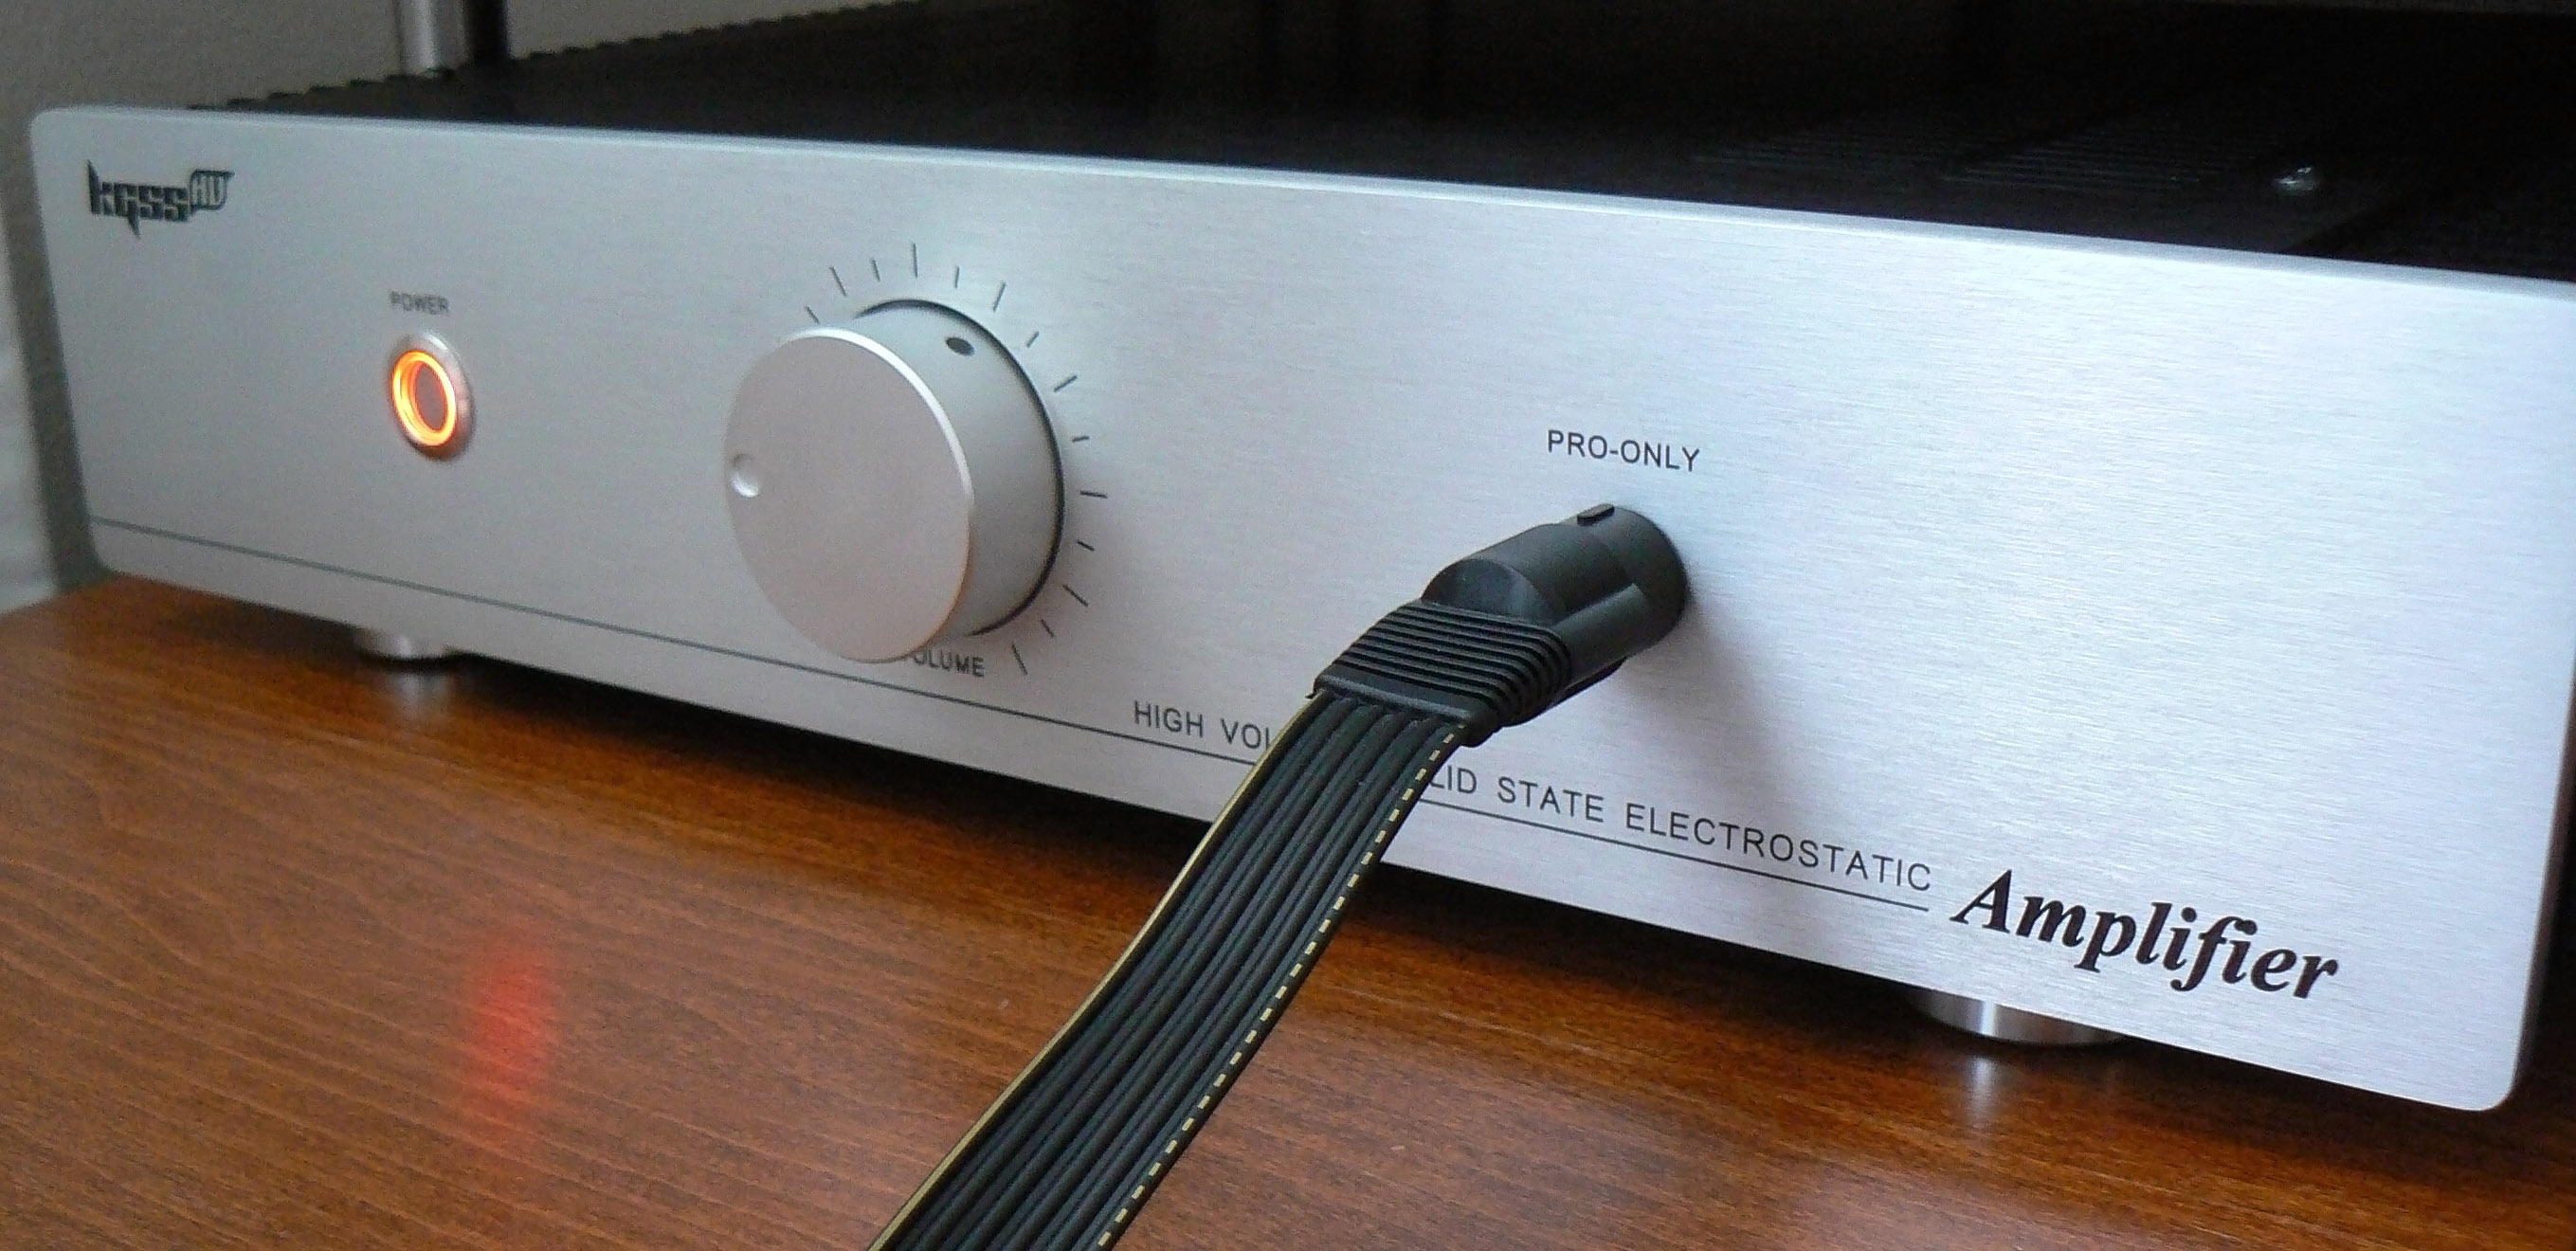
Lets see, correctly assembled, correctly wired, correctly grounded.
And it works.
Looks good to me.
Much bigger pictures are required.
Thanks Kevin, good to know I got the basics right.
Can you give some insight into the version I built. It is the IXTP01N100D optional current source, with the all out 500v PSU (It was a bit ambitious). I know that many others are using the 500v PSU for the off board version. I can build a 450v PSU, replace it and use the 500v for the next off board build. The heat doesn't seem outrageous to me, although you may know more about the longevity of the parts at that temperature.
How does it differ from the 450v and how does the IXTP01N100D differ from the 2SA1968, someone was saying the 2SA1968 sound sweeter? I may use that transistor next time round.


")


