= Hifiman HE500 & HE400 Jergpad Mod v2.5 =
Mar 1, 2013 at 1:44 PM Post #422 of 1,710
Quote:
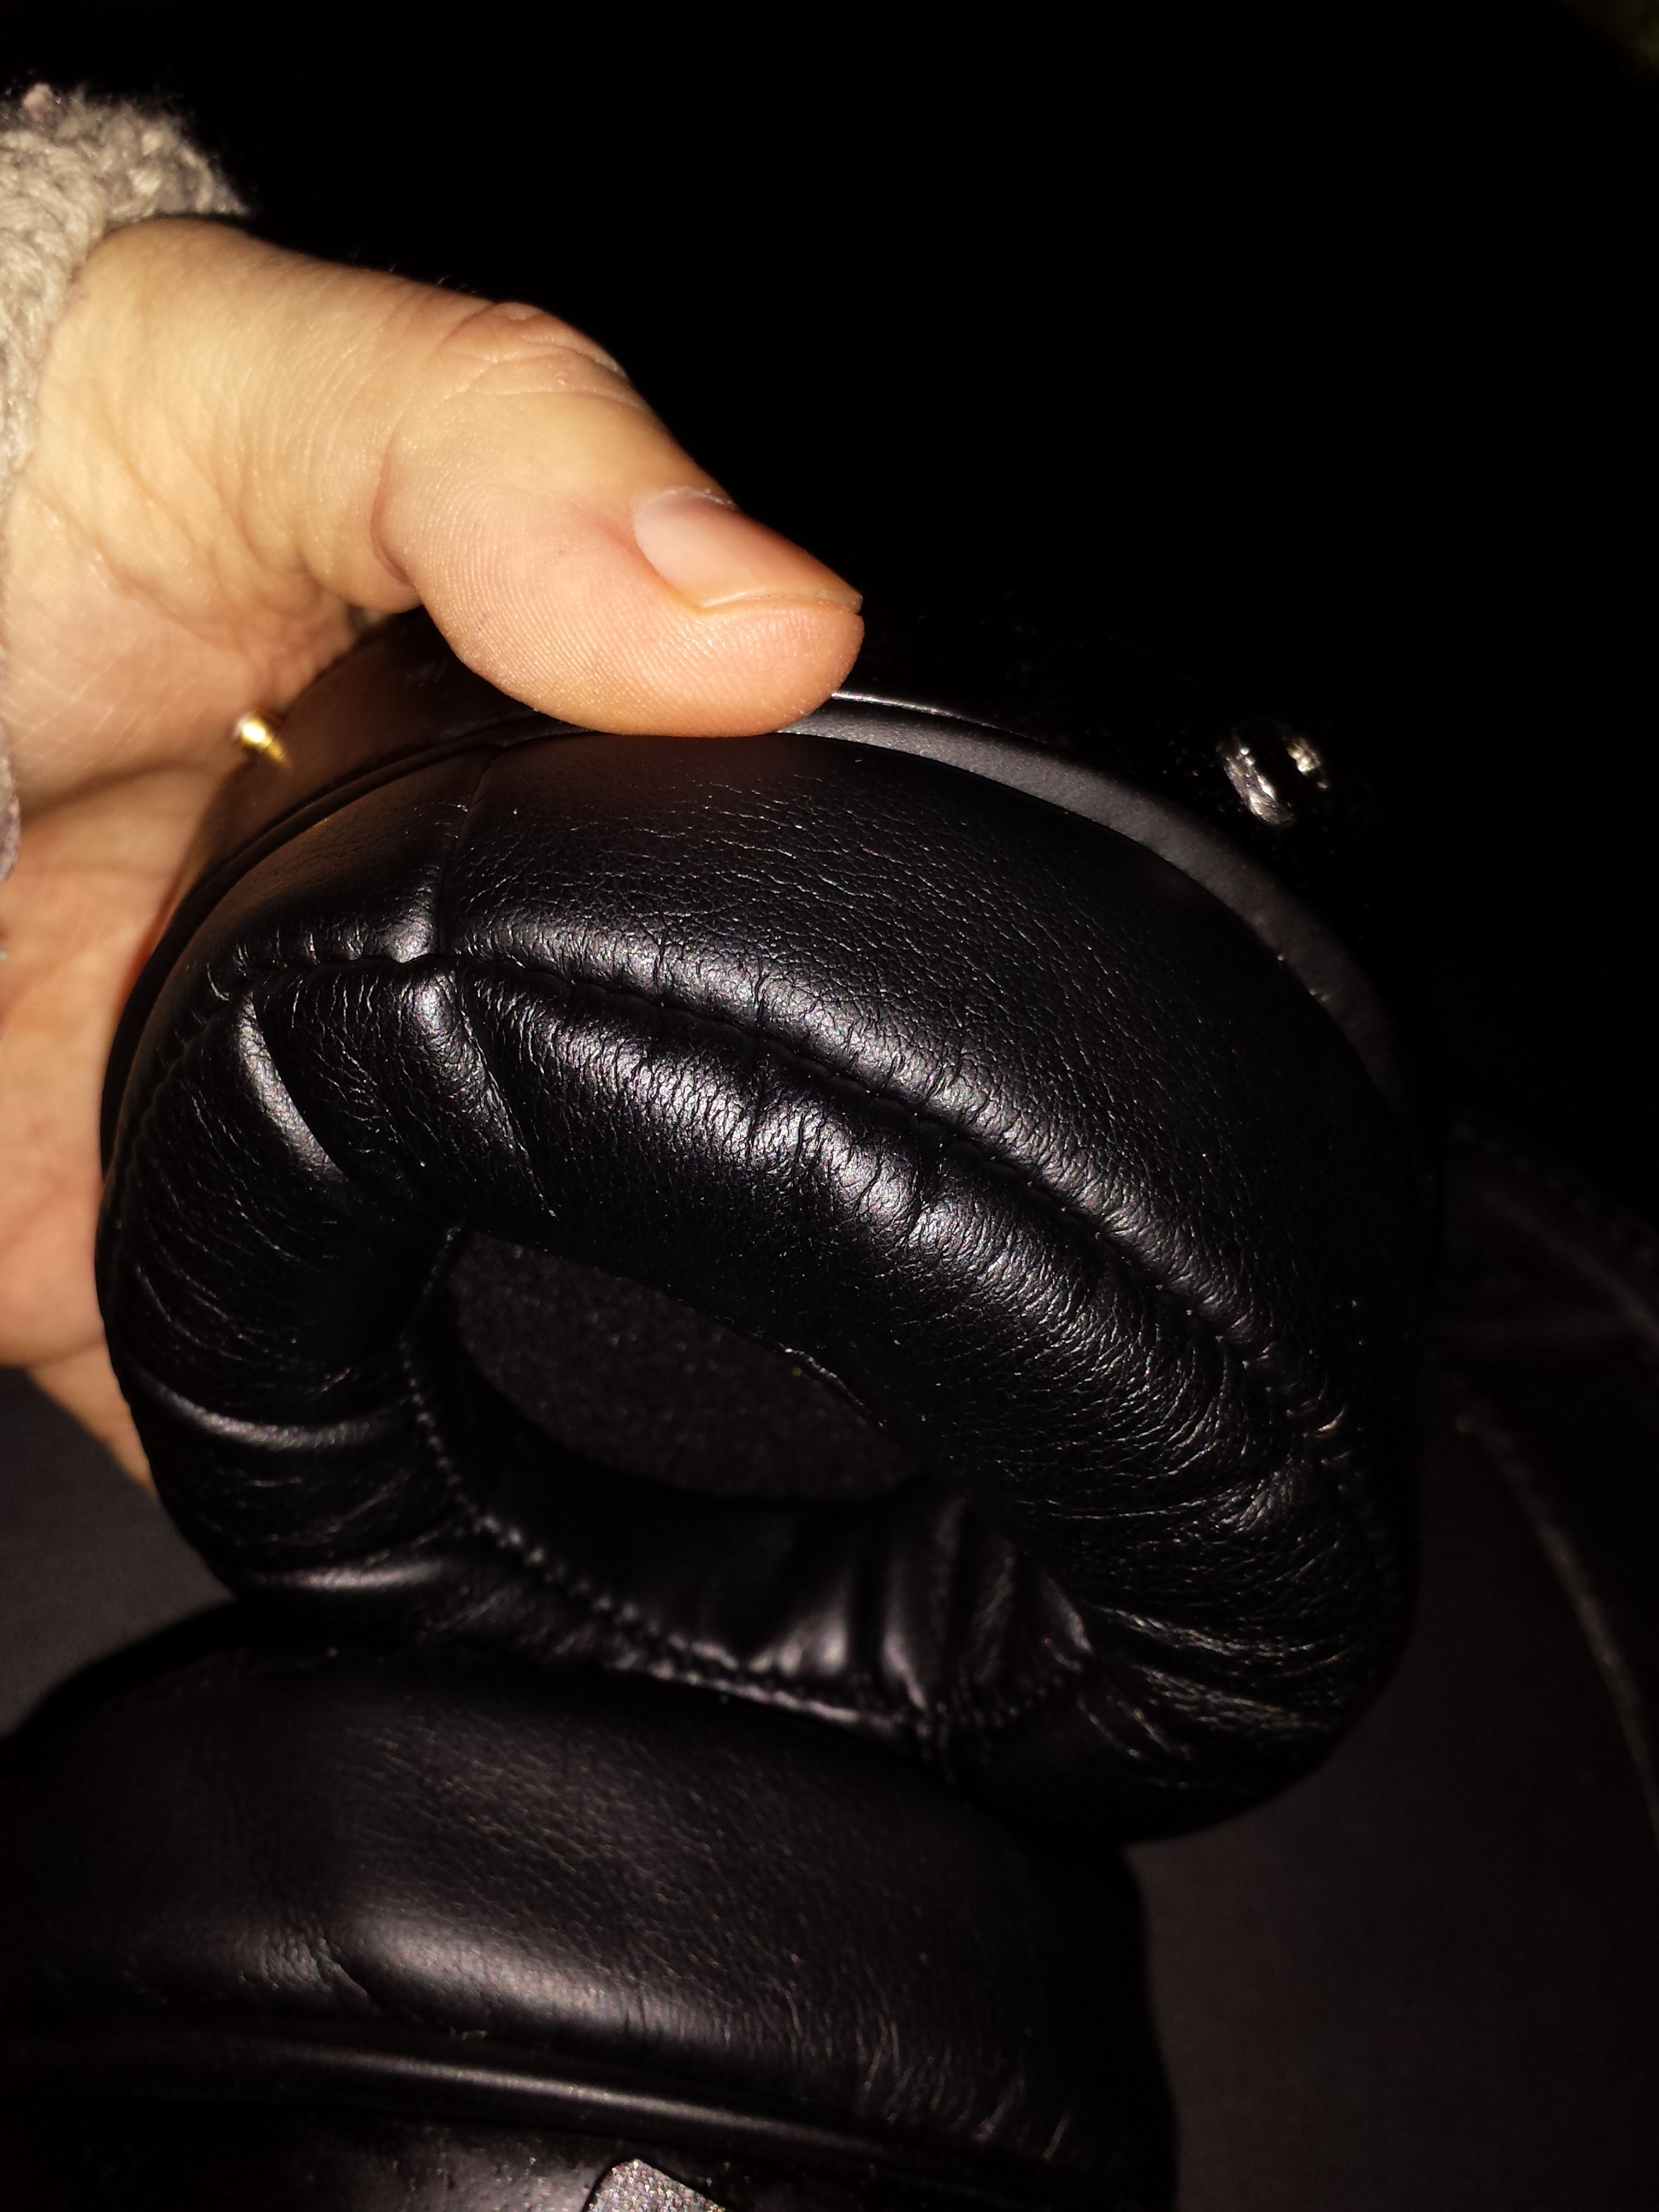
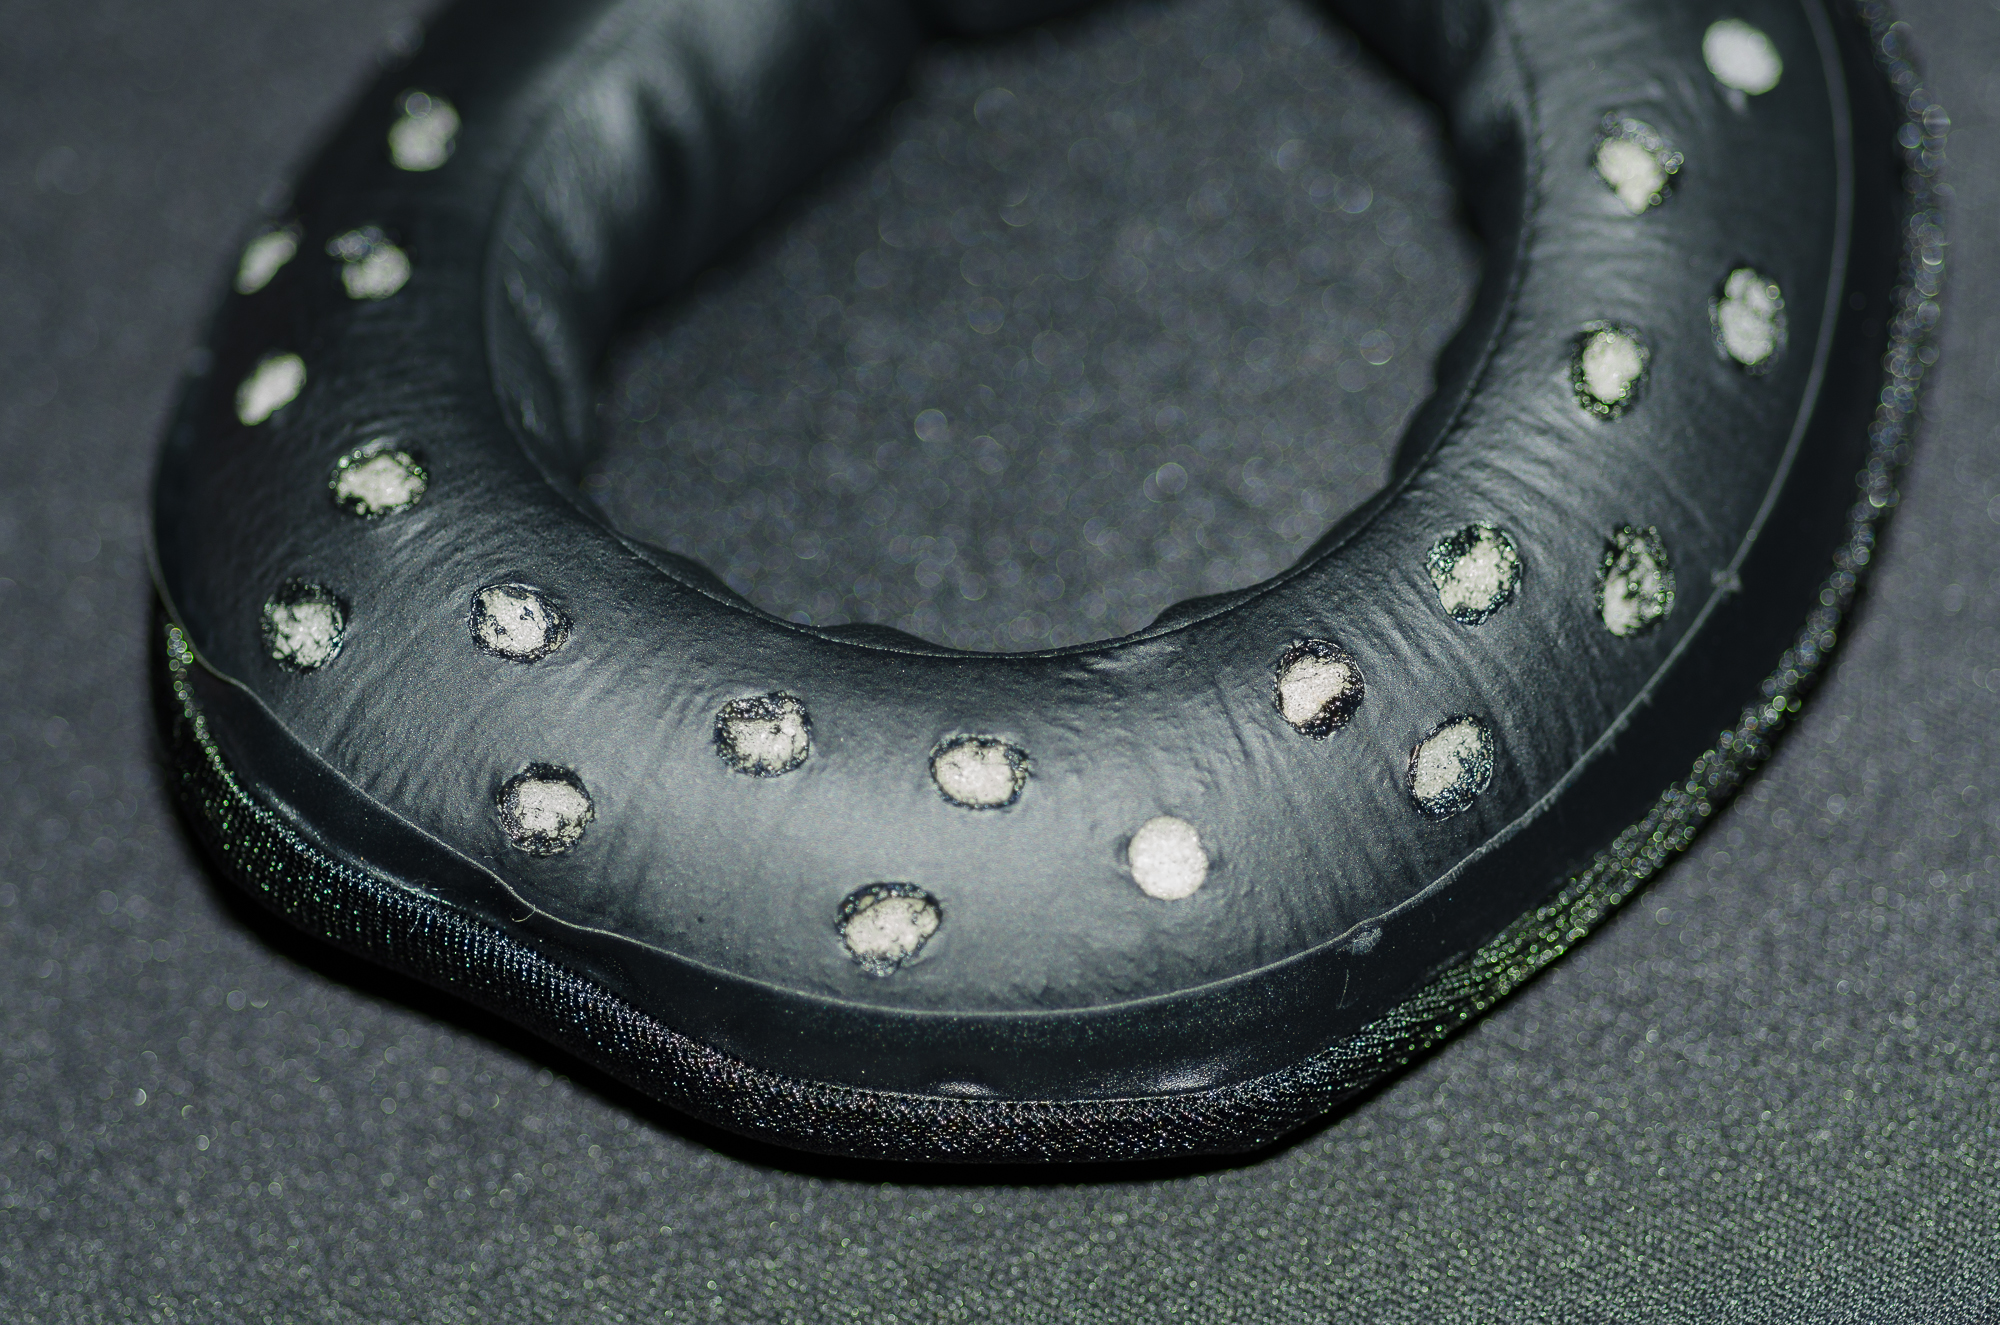
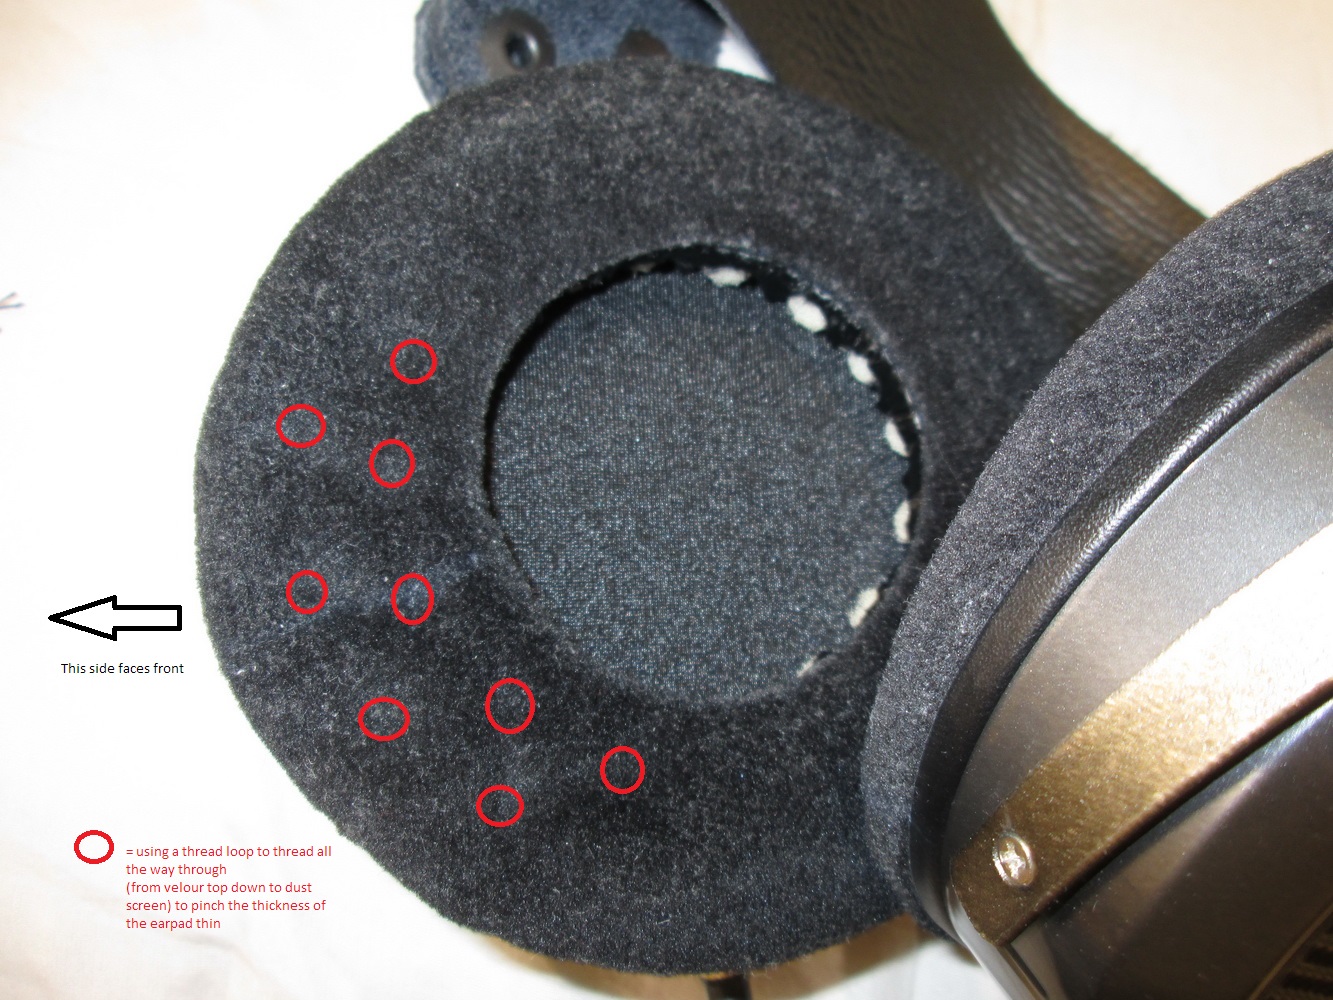
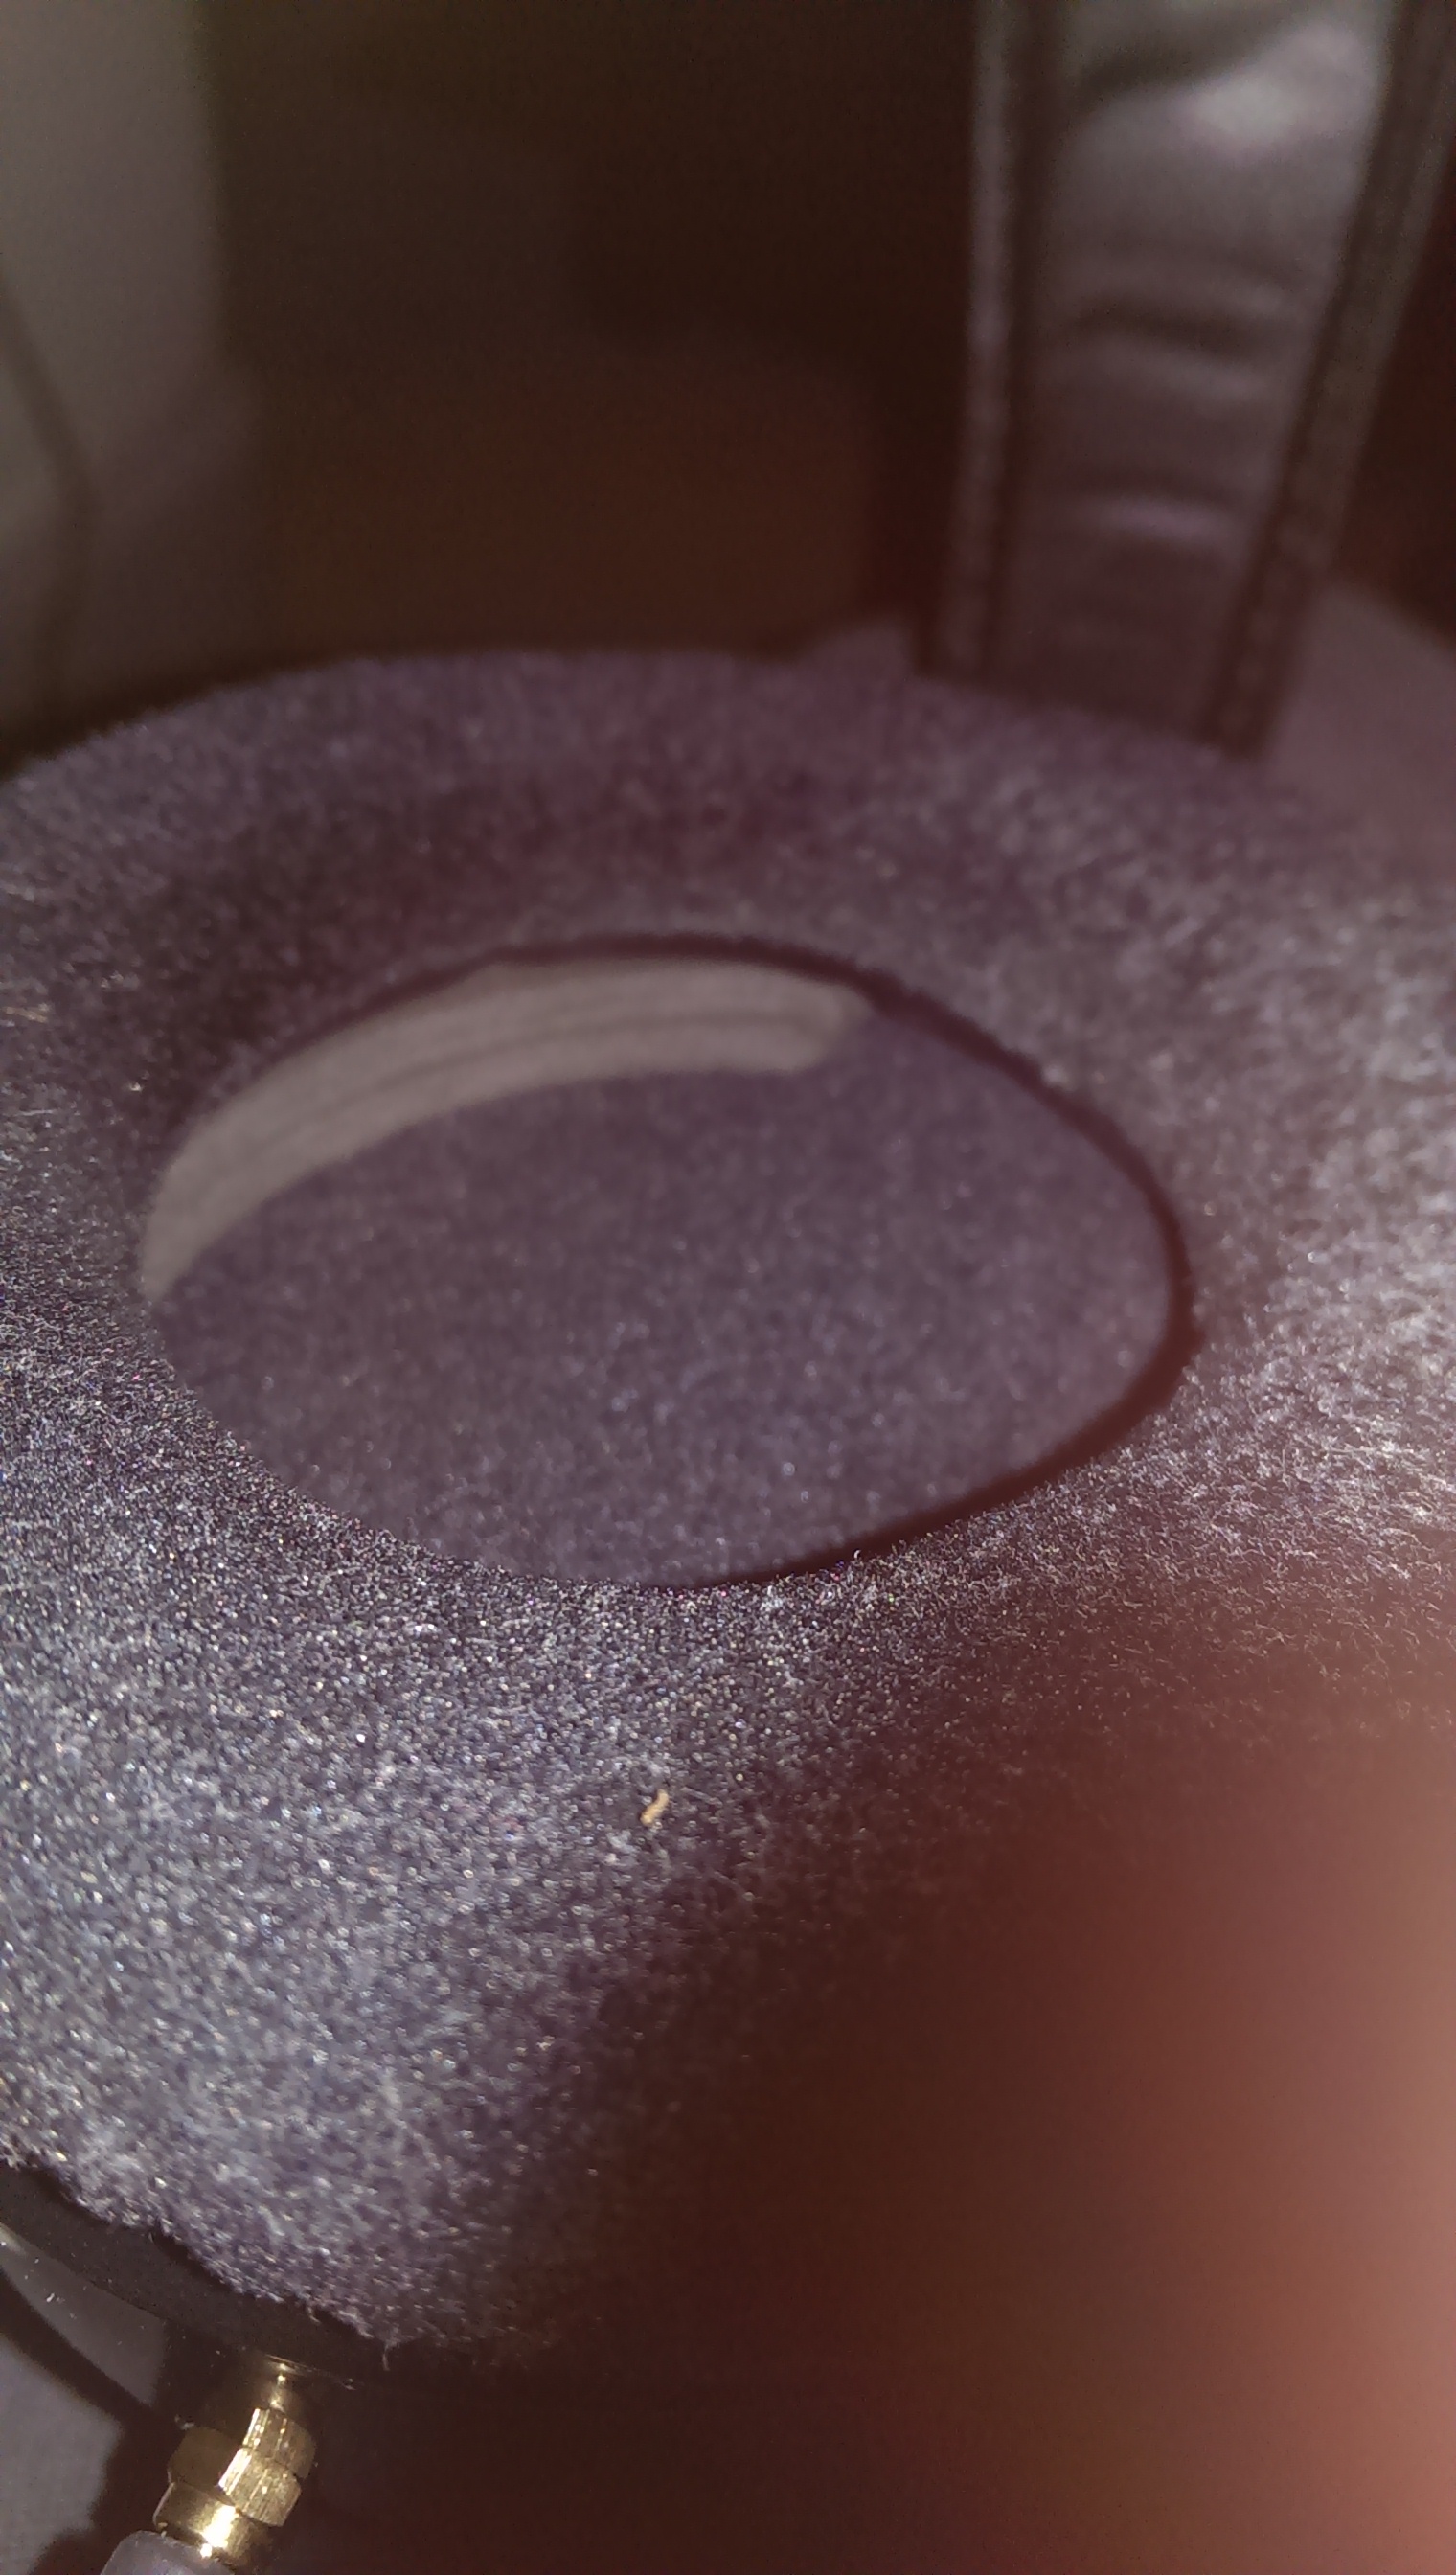
But your pictures show you stuck them closer to the inward edges.


Btw isn't the outer edge of the mounting ring slightly lowered, so wouldn't it make more sense to tape the inner side which is raised higher?

Oh I didn't clarify enough: I meant the outer edge of the raised portion. If you did actually cover those areas then it's alright.
 
Mar 1, 2013 at 2:03 PM Post #423 of 1,710
Quote:
Oh I didn't clarify enough: I meant the outer edge of the raised portion. If you did actually cover those areas then it's alright.

 
Great, Im sure they're covered. I'll report back when I get some listening done, probably tomorrow cause of a really bad headache 
frown.gif

 
Mar 1, 2013 at 6:52 PM Post #424 of 1,710
Quote:
 
I went ahead and used double sided tape. No word on sound yet, but the pads feel more secure and sturdy this way. They don't rotate which felt somewhat 'cheap' for lack of a better word.


No, "cheap" is the right word.
 
Anyone know when all this is coming out as a commercial venture? Because that's the only way I'll get to try it.
tongue.gif

 
Mar 2, 2013 at 5:13 AM Post #425 of 1,710
I got some listening done and Im happy to say the subbass mod does exactly what it's supposed to do, to my ears at least. Coming from the velour which has the best sub bass extension for the HE400, going to the modded jergpads I don't feel like im missing anything. It sounds similar which is all i wanted. This along with the improved midrange, less tizzy sound, and improved comfort seals it for me, these are my number one pads for the HE400 
biggrin.gif

 
Mar 2, 2013 at 7:31 AM Post #426 of 1,710
Quote:
I would like to ask as newbie again... is physical modding like this superior in any way than parametric EQing ? I mean if u have EQ available. I feel like I can cure nearly all imperfection by EQ, if I'am willing to invest some time in it and question in my head is "Is physical mod like this able to provide better SQ than just EQ?"

Remember that there are other variables than the frequency response alone. You also need to consider the time it takes for the sound to decay and the like.
 
@Jerg
Any csd plots out there, where you can see the mid range ringing?
 
Mar 2, 2013 at 9:43 PM Post #427 of 1,710
So, for my 2nd attempt at this I did all 4 steps and I have to say the HE500's are now everything I imagined they would be when I bought them.
 
The only problem I [constantly] have is getting the mounting ring to snap back into place. Those L clip things are a pain in the pipe.
 
 
Jerg - again Thank you.
 
All 4 pieces make for a very satisfying listening experience. At $20 and some tape - by far the most cost efficient and rewarding system upgrade ever.
 
Mar 3, 2013 at 6:34 AM Post #428 of 1,710
Just did step 1 on my two day old HE-500s and I'm quite pleased with the difference.  I watched Lord of the Rings: Fellowship of the Ring while reading about the mod, and all I have with me at work is the cans and the pleather pads so I decided to perform step 1 tonight and then watch the Two Towers to see the difference, and man what a difference.  The movie is much more immersive, I can't want to do steps 2-4 tonight.  I'll let y'all know how it went tonight.  Any good DIY cables for these babies?  I noticed two extra connectors while unboxing and I can't wait to get my hands on them.
 
Mar 3, 2013 at 3:36 PM Post #429 of 1,710
I haven't done any of these mods-just my reluctance to mess with expensive gear I suppose. I was pondering if any mods could be done in a none-destructive way. Would you get an improvement by sticking a piece of pleather inside the velour pads between the velour and foam? This is effectively what the 'velour top' mod does but would be reversible. Holes could be inserted in the pleather if required.
 
Mar 3, 2013 at 4:48 PM Post #430 of 1,710
I haven't done any of these mods-just my reluctance to mess with expensive gear I suppose. I was pondering if any mods could be done in a none-destructive way. Would you get an improvement by sticking a piece of pleather inside the velour pads between the velour and foam? This is effectively what the 'velour top' mod does but would be reversible. Holes could be inserted in the pleather if required.


Replacement pleathers $20
Replacement velours. $10
Perfection in your $600 headphones priceless.
 
Mar 3, 2013 at 5:28 PM Post #431 of 1,710
Quote:
I haven't done any of these mods-just my reluctance to mess with expensive gear I suppose. I was pondering if any mods could be done in a none-destructive way. Would you get an improvement by sticking a piece of pleather inside the velour pads between the velour and foam? This is effectively what the 'velour top' mod does but would be reversible. Holes could be inserted in the pleather if required.

To open up the velours, you are cutting it open, which is VERY destructive lol.
 
And adding a piece onto an earpad is much easier and less messy than trying to squeeze a piece into the insides of an earpad.
 
Not to mention there is no telling how the sound would change, maybe it gets nasty.
 
The modification I outlined here is tried and true, IMO if all the steps are done, there is nothing left to be desired in the sound.
 
Mar 3, 2013 at 10:25 PM Post #433 of 1,710
Quote:
I haven't done any of these mods-just my reluctance to mess with expensive gear I suppose. I was pondering if any mods could be done in a none-destructive way. Would you get an improvement by sticking a piece of pleather inside the velour pads between the velour and foam? This is effectively what the 'velour top' mod does but would be reversible. Holes could be inserted in the pleather if required.

 
The quasi destruction to the pleather pads is a) not very hard and b) totally worthwhile IMHO; the sonic difference with that mod alone is worth all the trouble and angst.  That brings me to steps 2-4 which I am going to embark on tonight, and I need some advise.  Honestly the hardest part for me was getting the plastic base to properly seat while still keeping the pad on.  With that excess trimmed from the pad they wanted to come off as I was trying to get those stupid clamps to attach to the driver, what worries me is how I'm going to do this with a bunch of double-sided tape bunging things up, or does the tape make it easier?  Should I start with the clamps on the raised side and work towards the front or should I get the first couple of clamps and tape attached and work towards the back?
 
Mar 3, 2013 at 10:36 PM Post #434 of 1,710
Quote:
 
The quasi destruction to the pleather pads is a) not very hard and b) totally worthwhile IMHO; the sonic difference with that mod alone is worth all the trouble and angst.  That brings me to steps 2-4 which I am going to embark on tonight, and I need some advise.  Honestly the hardest part for me was getting the plastic base to properly seat while still keeping the pad on.  With that excess trimmed from the pad they wanted to come off as I was trying to get those stupid clamps to attach to the driver, what worries me is how I'm going to do this with a bunch of double-sided tape bunging things up, or does the tape make it easier?  Should I start with the clamps on the raised side and work towards the front or should I get the first couple of clamps and tape attached and work towards the back?

If you ever have trouble installing the pads, use a credit card to push the tabs in.
 

Users who are viewing this thread

Back
Top