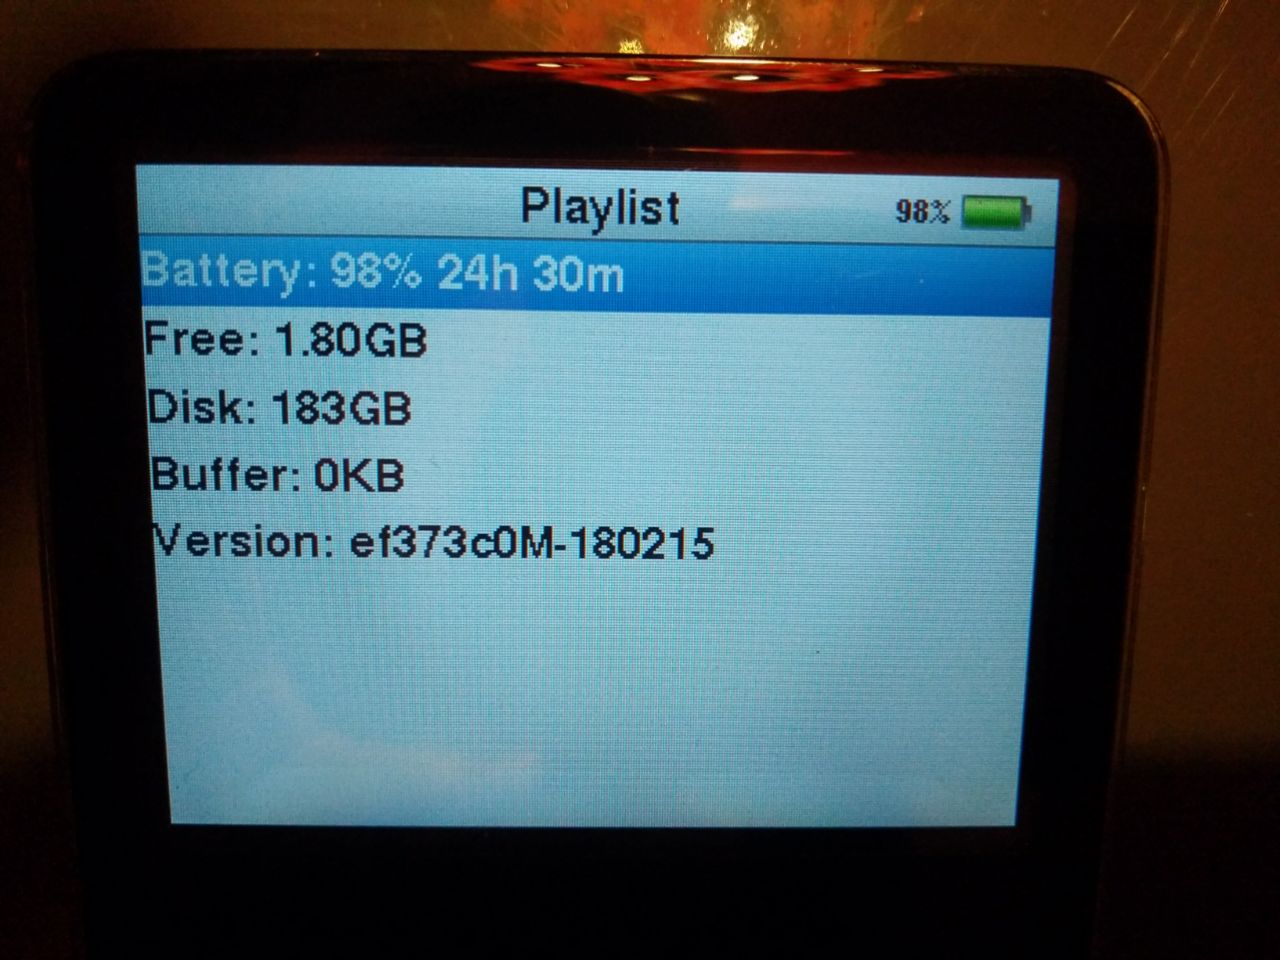
Ok i just did the iMod for the iPod video and I changed the existing hard drive to a Tarkan's iFlash-DUAL SDXC Adapter. I also bought a 2000mah battery but it hasn't arrived by post yet.
Here are some tips from my experience for people who are worried about doing it for the first time. If what I wrote below is too long (tl;dr), then just remember the common adage:
measure twice and cut once and have
patience.
1.
Patience... seriously take your time doing the iMod (whether that is removing the caps with a soldering iron, pulling the ribbon cable tabs upward, or flicking the battery catch upwards... these parts are all very delicate and hard to replace if broken). I took my time doing the whole iMod process because I didn't want to screw up anything.
2.
Use a soldering iron with a fine tip... unless your soldering iron is the specialised and expensive type with an existing fine soldering tip. Most soldering irons have interchangeable tips anyway so you could just buy some interchangeable fine tips.
3.
Have steady hands... try not to have caffeine 12 hours before you start and most certainly don't have alcohol before you start. When soldering the PCB, a sudden accidental jerk of hand movement could melt something and screw up your circuit (yes... the PCB and its components are a lot smaller than they seem in picture).
4.
Be alert... the PCB circuit solder in the iPod is very quick to melt when removing the components and you wouldn't want to accidentally burn your other components either.
5.
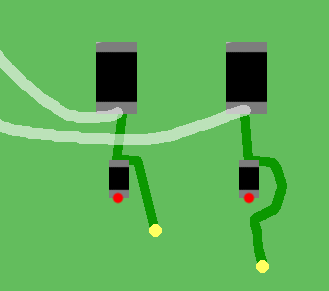
When removing components from the PCB, don't use force to yank it out... you risk pulling the solder feet off, just yank the components off the PCB gently. Or even better, use a small forcep to pick the components out.
6.
Use a hookup wire that is smaller than 30AWG... if not you may not be able to fit the cable inside the iPod Video's front cover.
----- The sound-quality difference -----
Although some claim that there is no sound-quality difference after doing the iMod whereas some people revel the iMod process, I have noticed 2 differences after doing the iMod:
1. The soundstage has increased, 3D-imaging has vastly improved... I mainly use etymotic ER4s and iMod has benefited these earphones a lot.
2. The level of detail has improved... e.g. I can hear finer detail now like the high-hat (drum) closing with better bass detail.
However... my music memory is not the best (I am a noob myself) so please take my opinion with a pinch of salt.
----- The iMod process -----

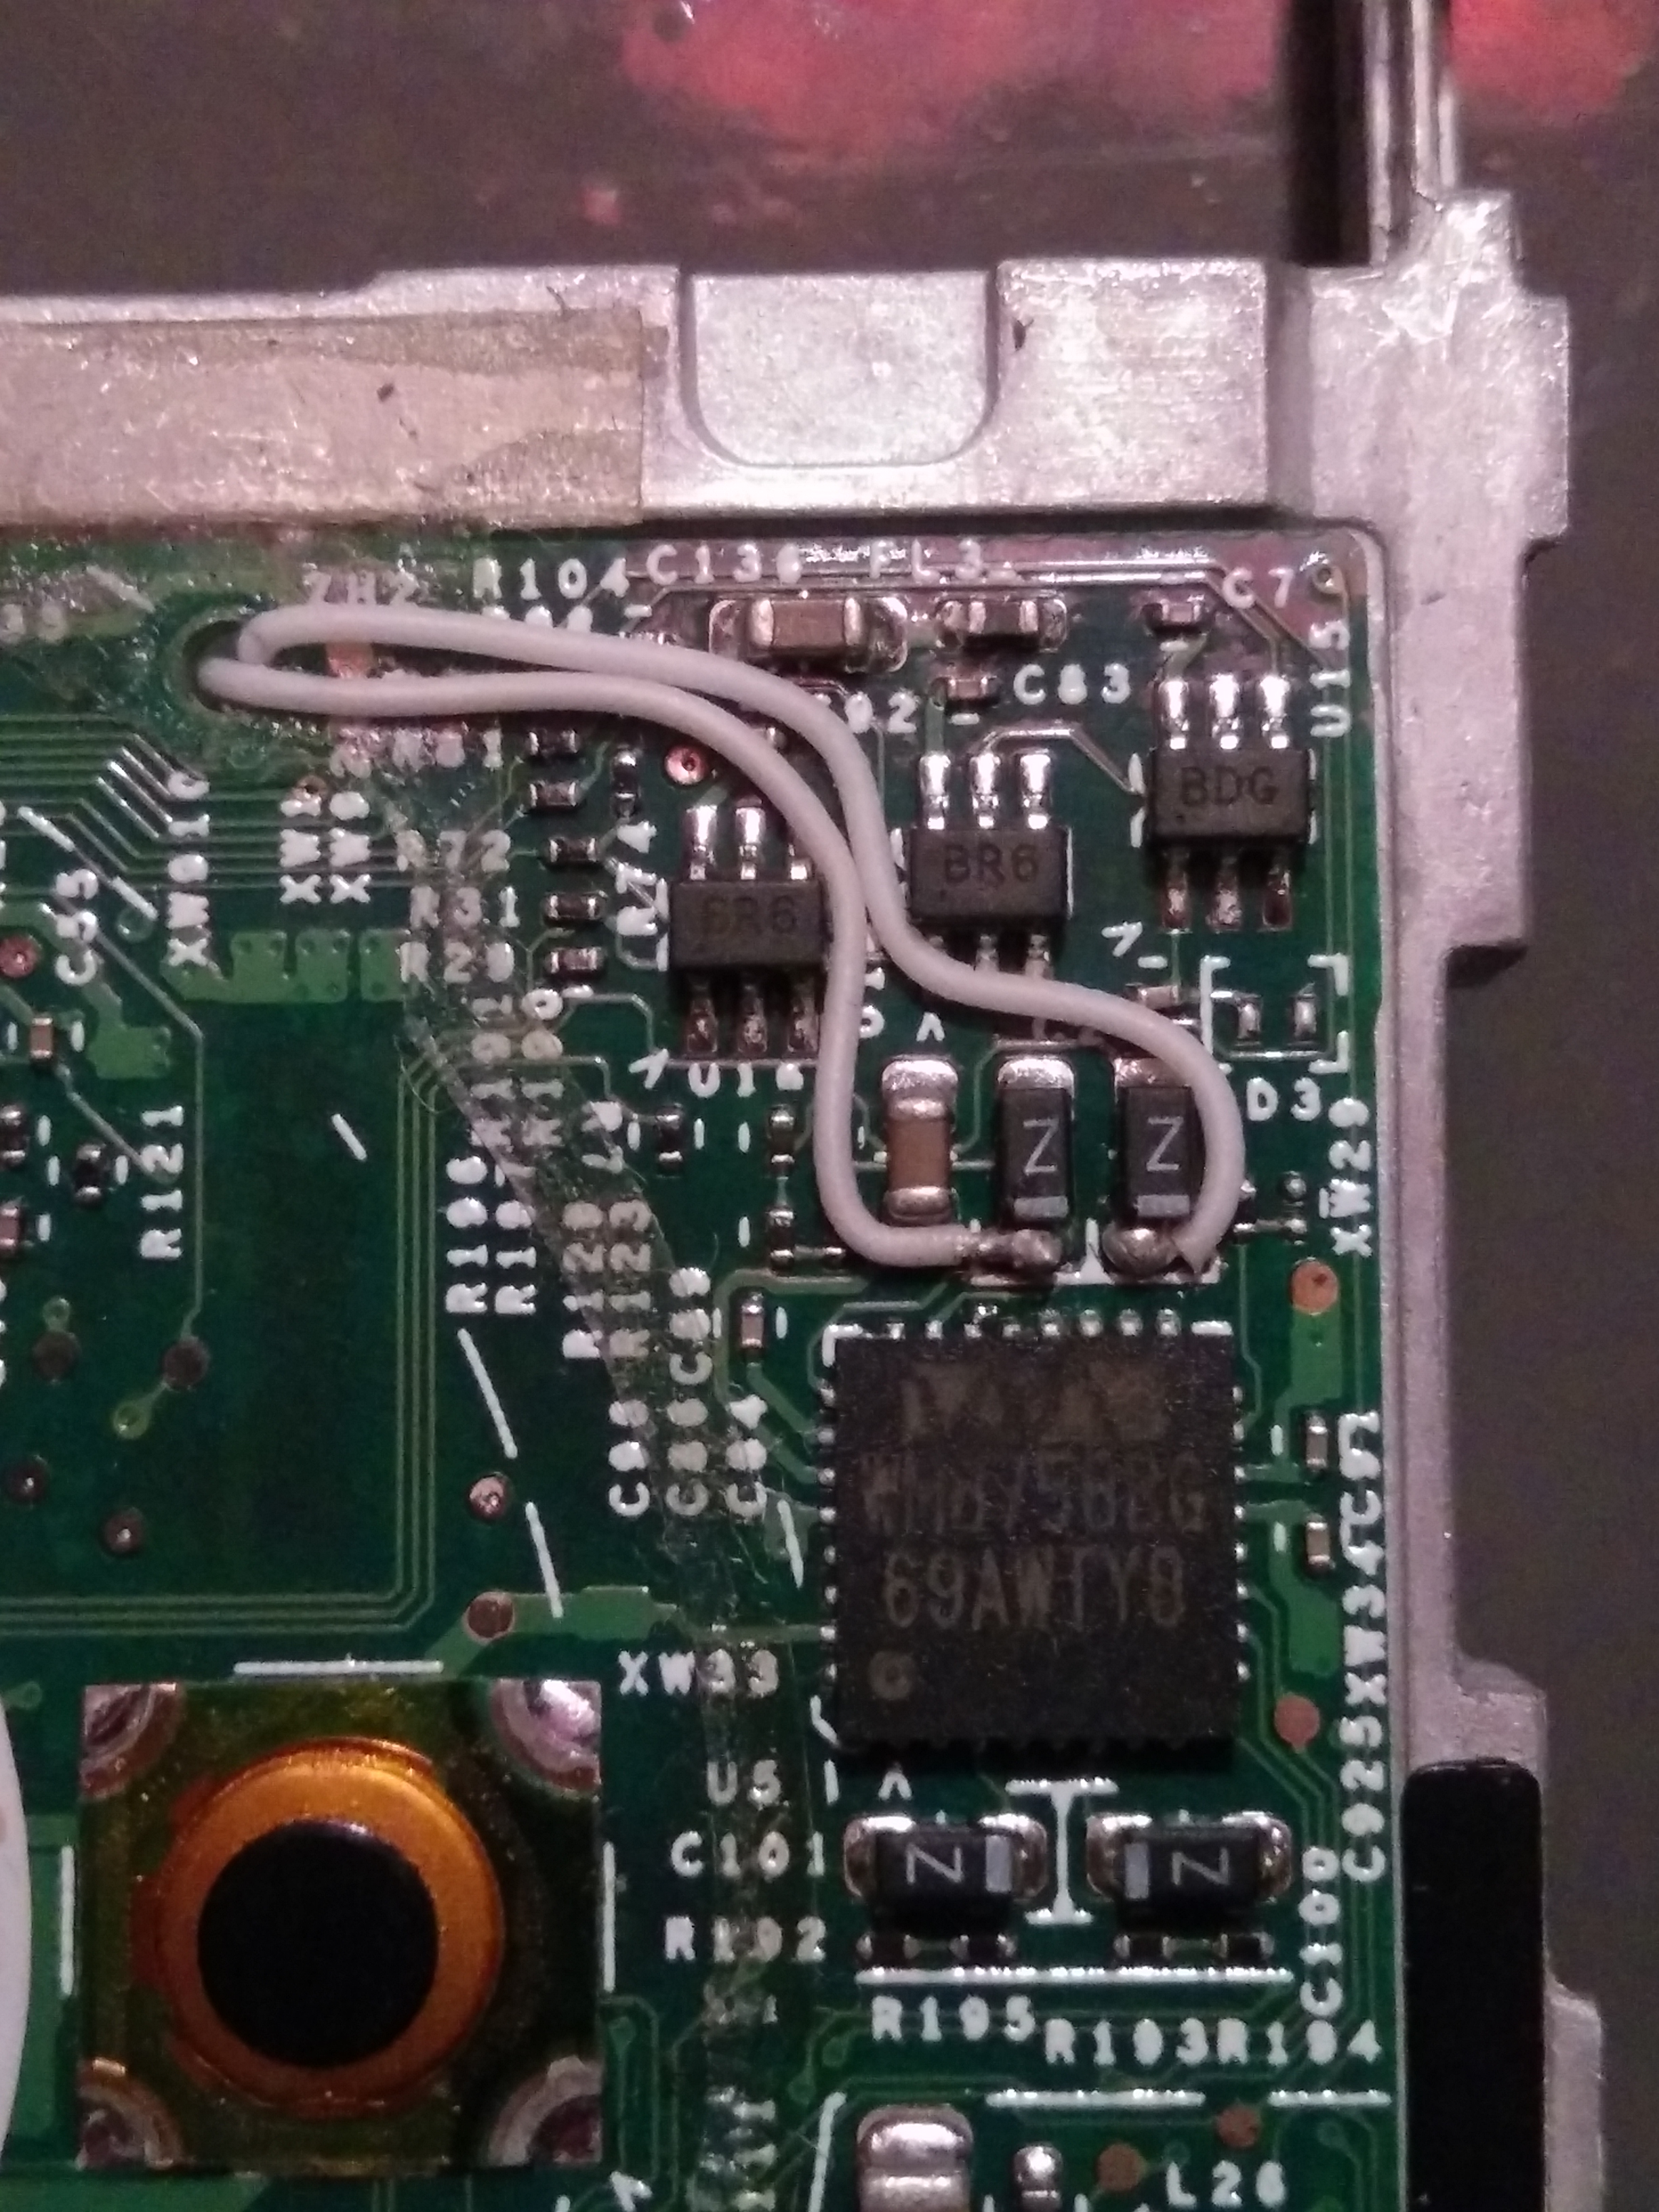
Components used for iMod:
- Cardas Quad Eutectic Solder
- Neotech SOST solid core silver wires 30AWG
- Elna Silmic II 47uf 6.3v cap (will be used later to make a LOD)

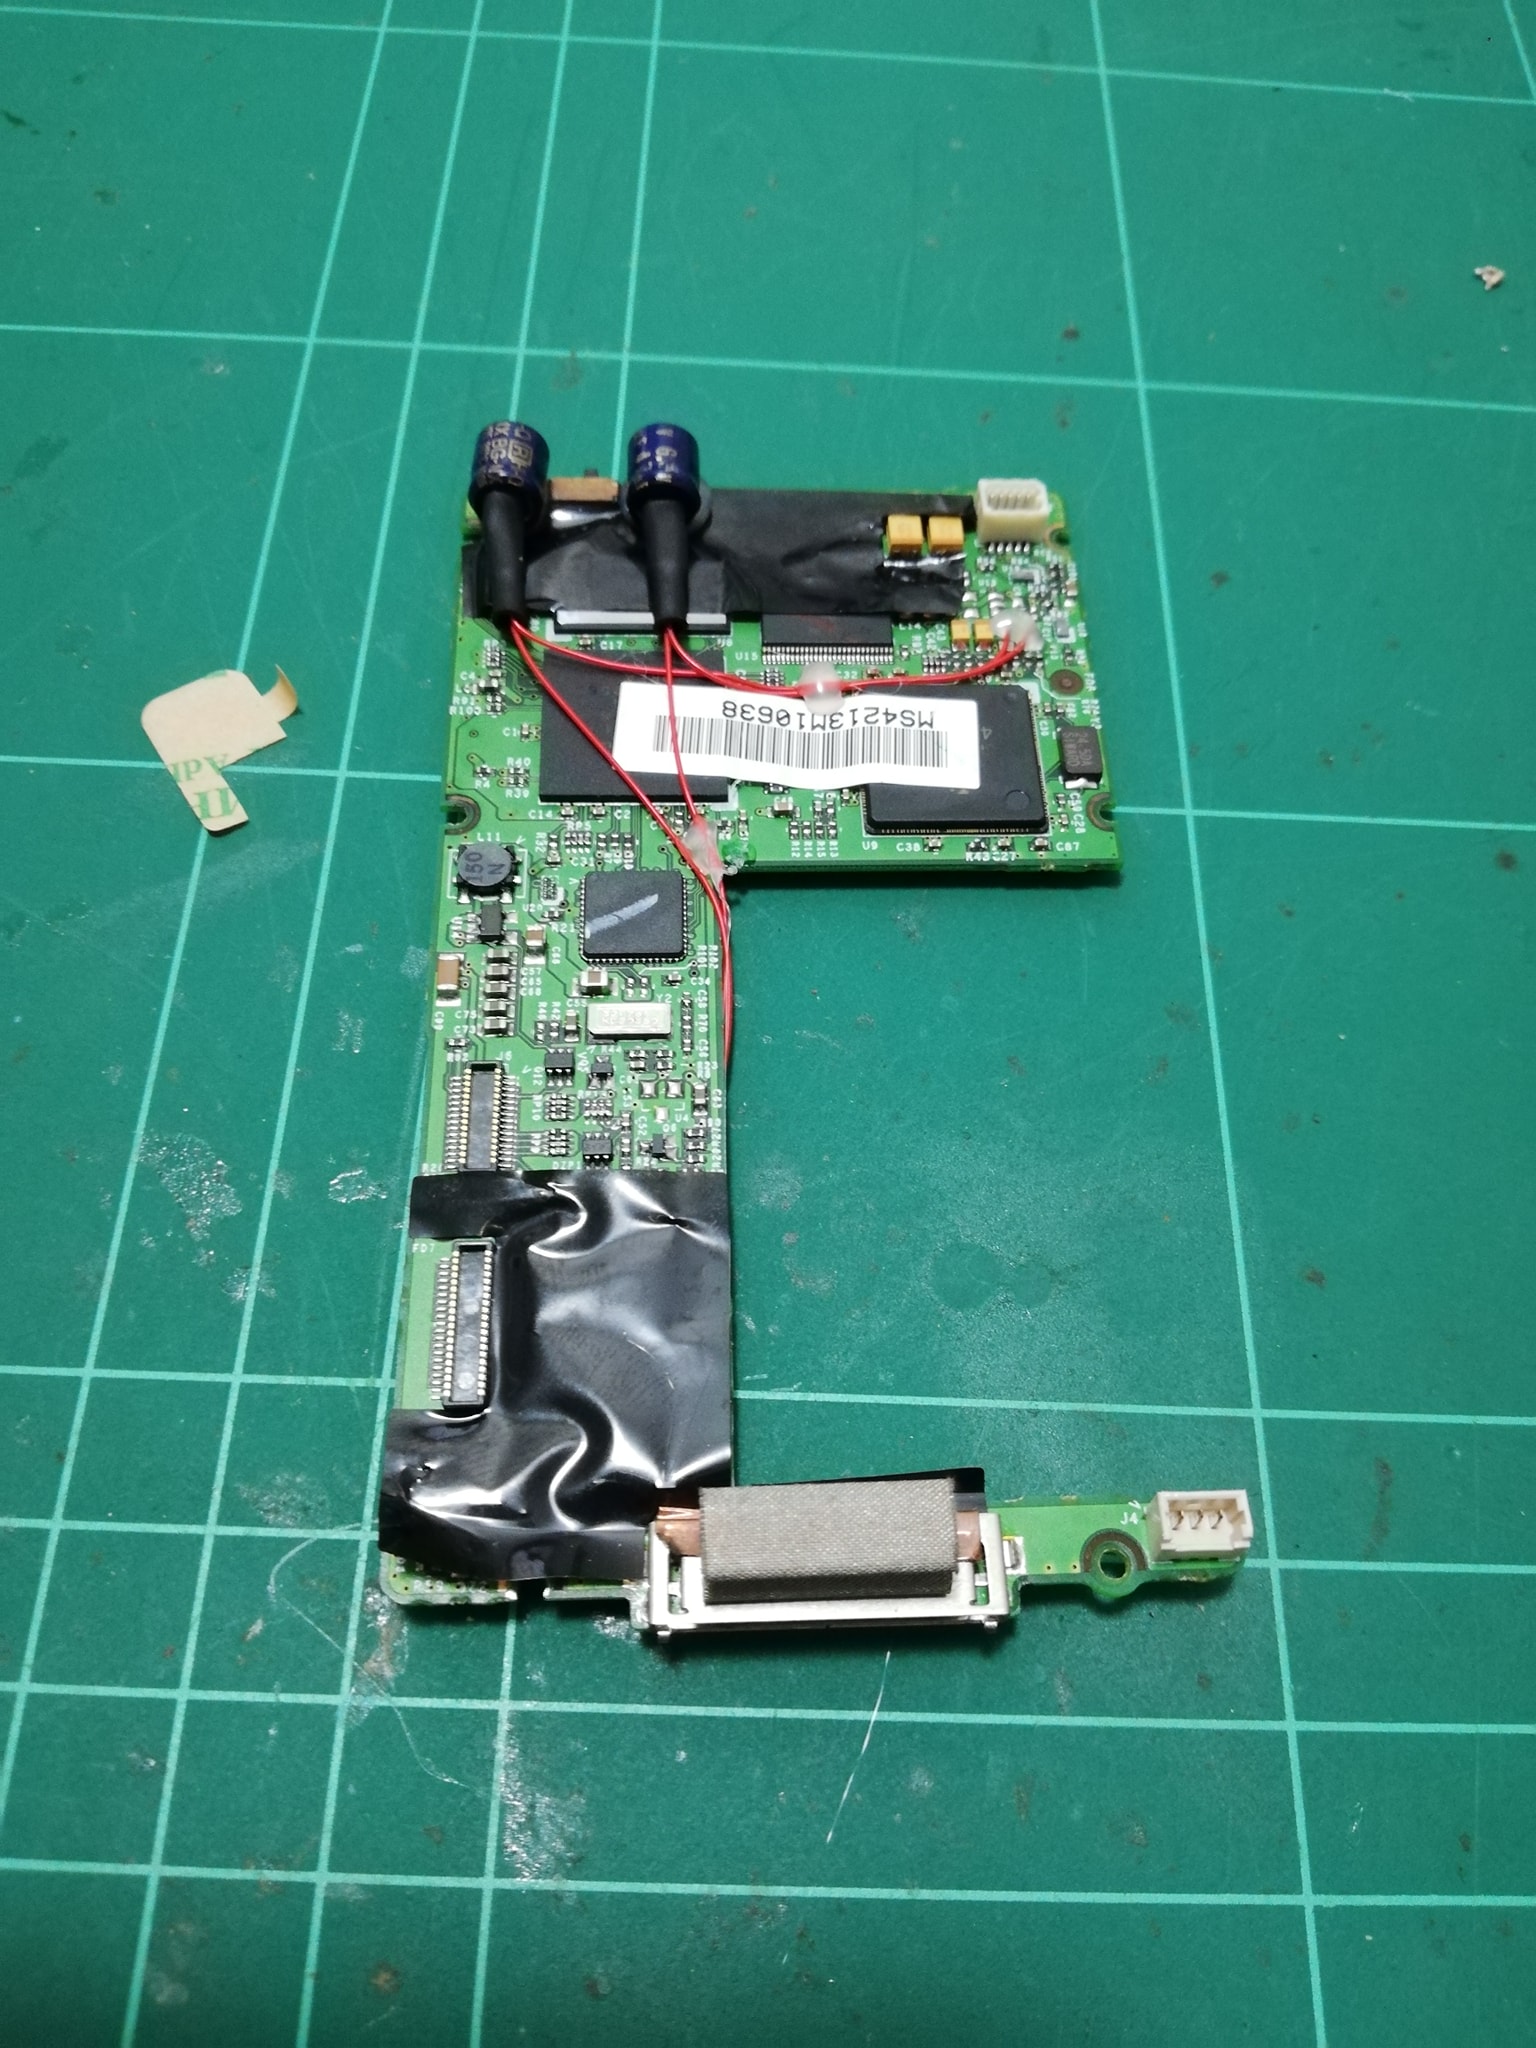
Take the iPod apart and get ready to solder. No caffeine or alcohol before doing it remember.

See how small the caps and inductors are. This is why you need a soldering iron with a fine tip and a lot of patience, care, and awareness.

Voila.

Hooked it up to my Fiio E7 + Etymotic ER4s with a Generic LOD cable (the LOD cable itself doesn't have any capacitors inside but, I was desperate to check out the audio quality while making sure that the audio channels were correct). I will make a LOD later on using those Elna Silmic II 47uf 6.3v capacitors. Apparently you are not supposed to use a LOD adapter that doesn't have internal caps (like the one pictured) as it may damage the iPod or amp.