


utilisateur
100+ Head-Fier
- Joined
- Sep 7, 2006
- Posts
- 285
- Likes
- 11
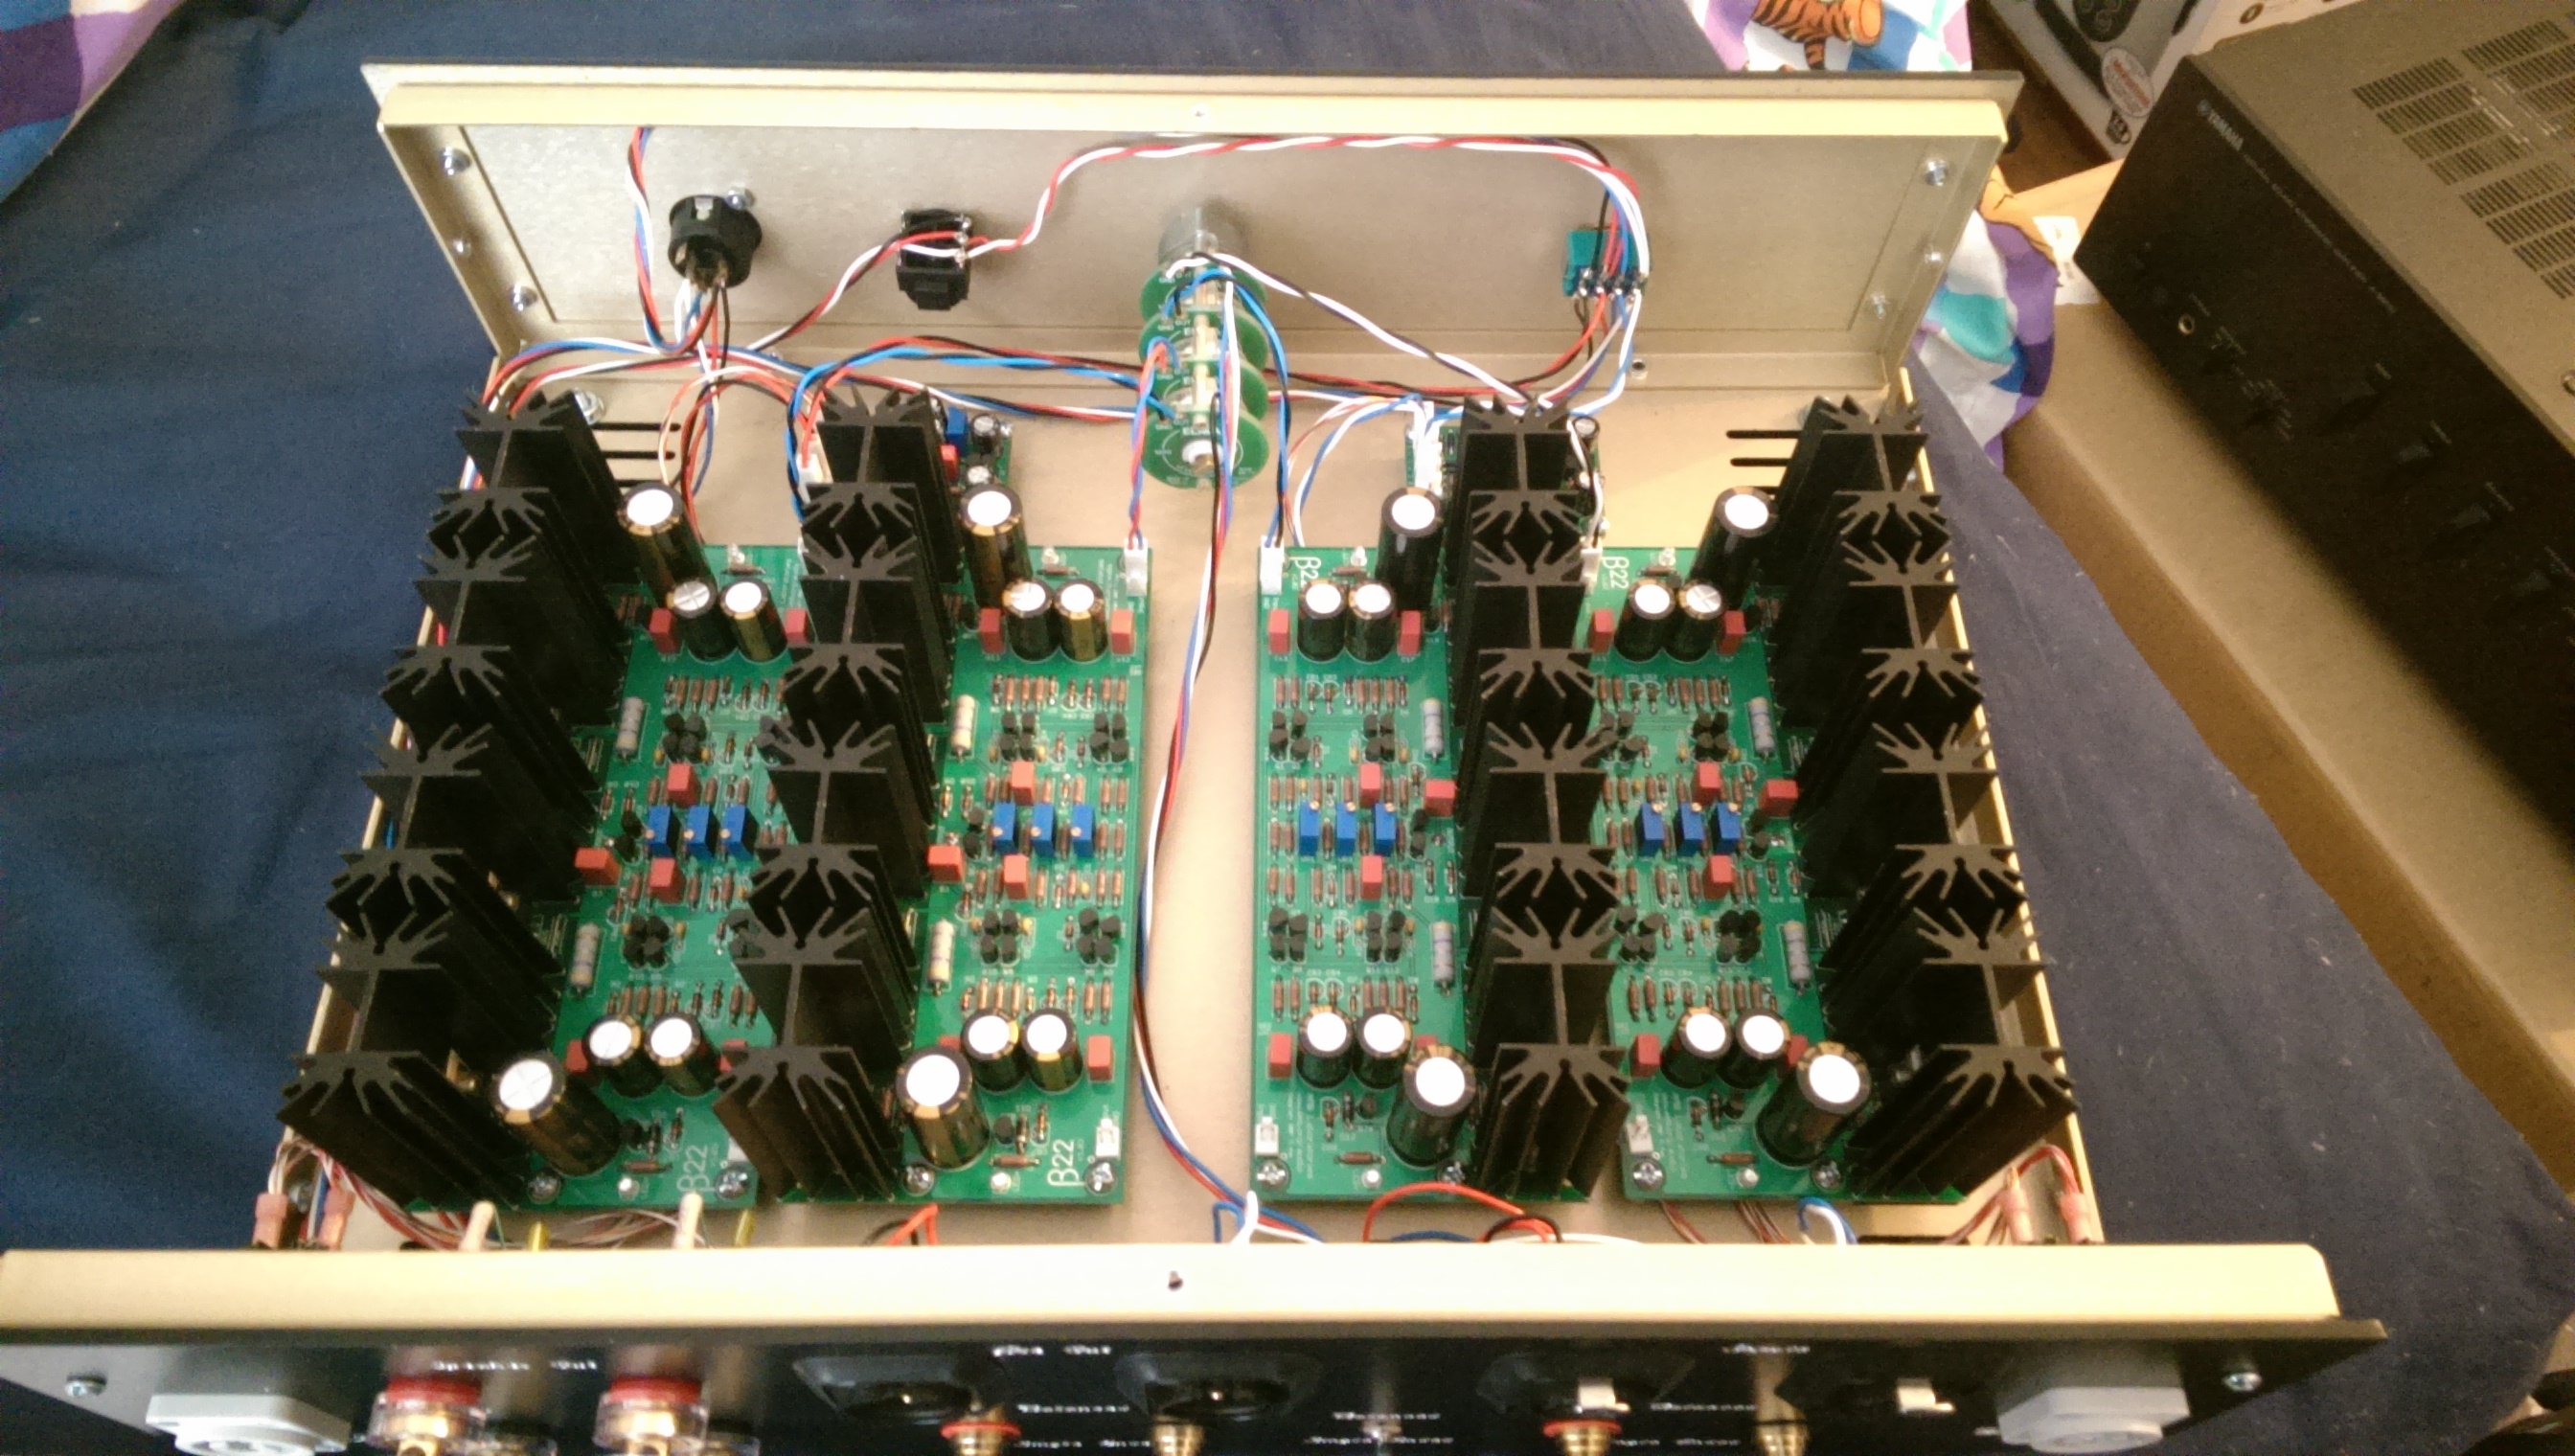
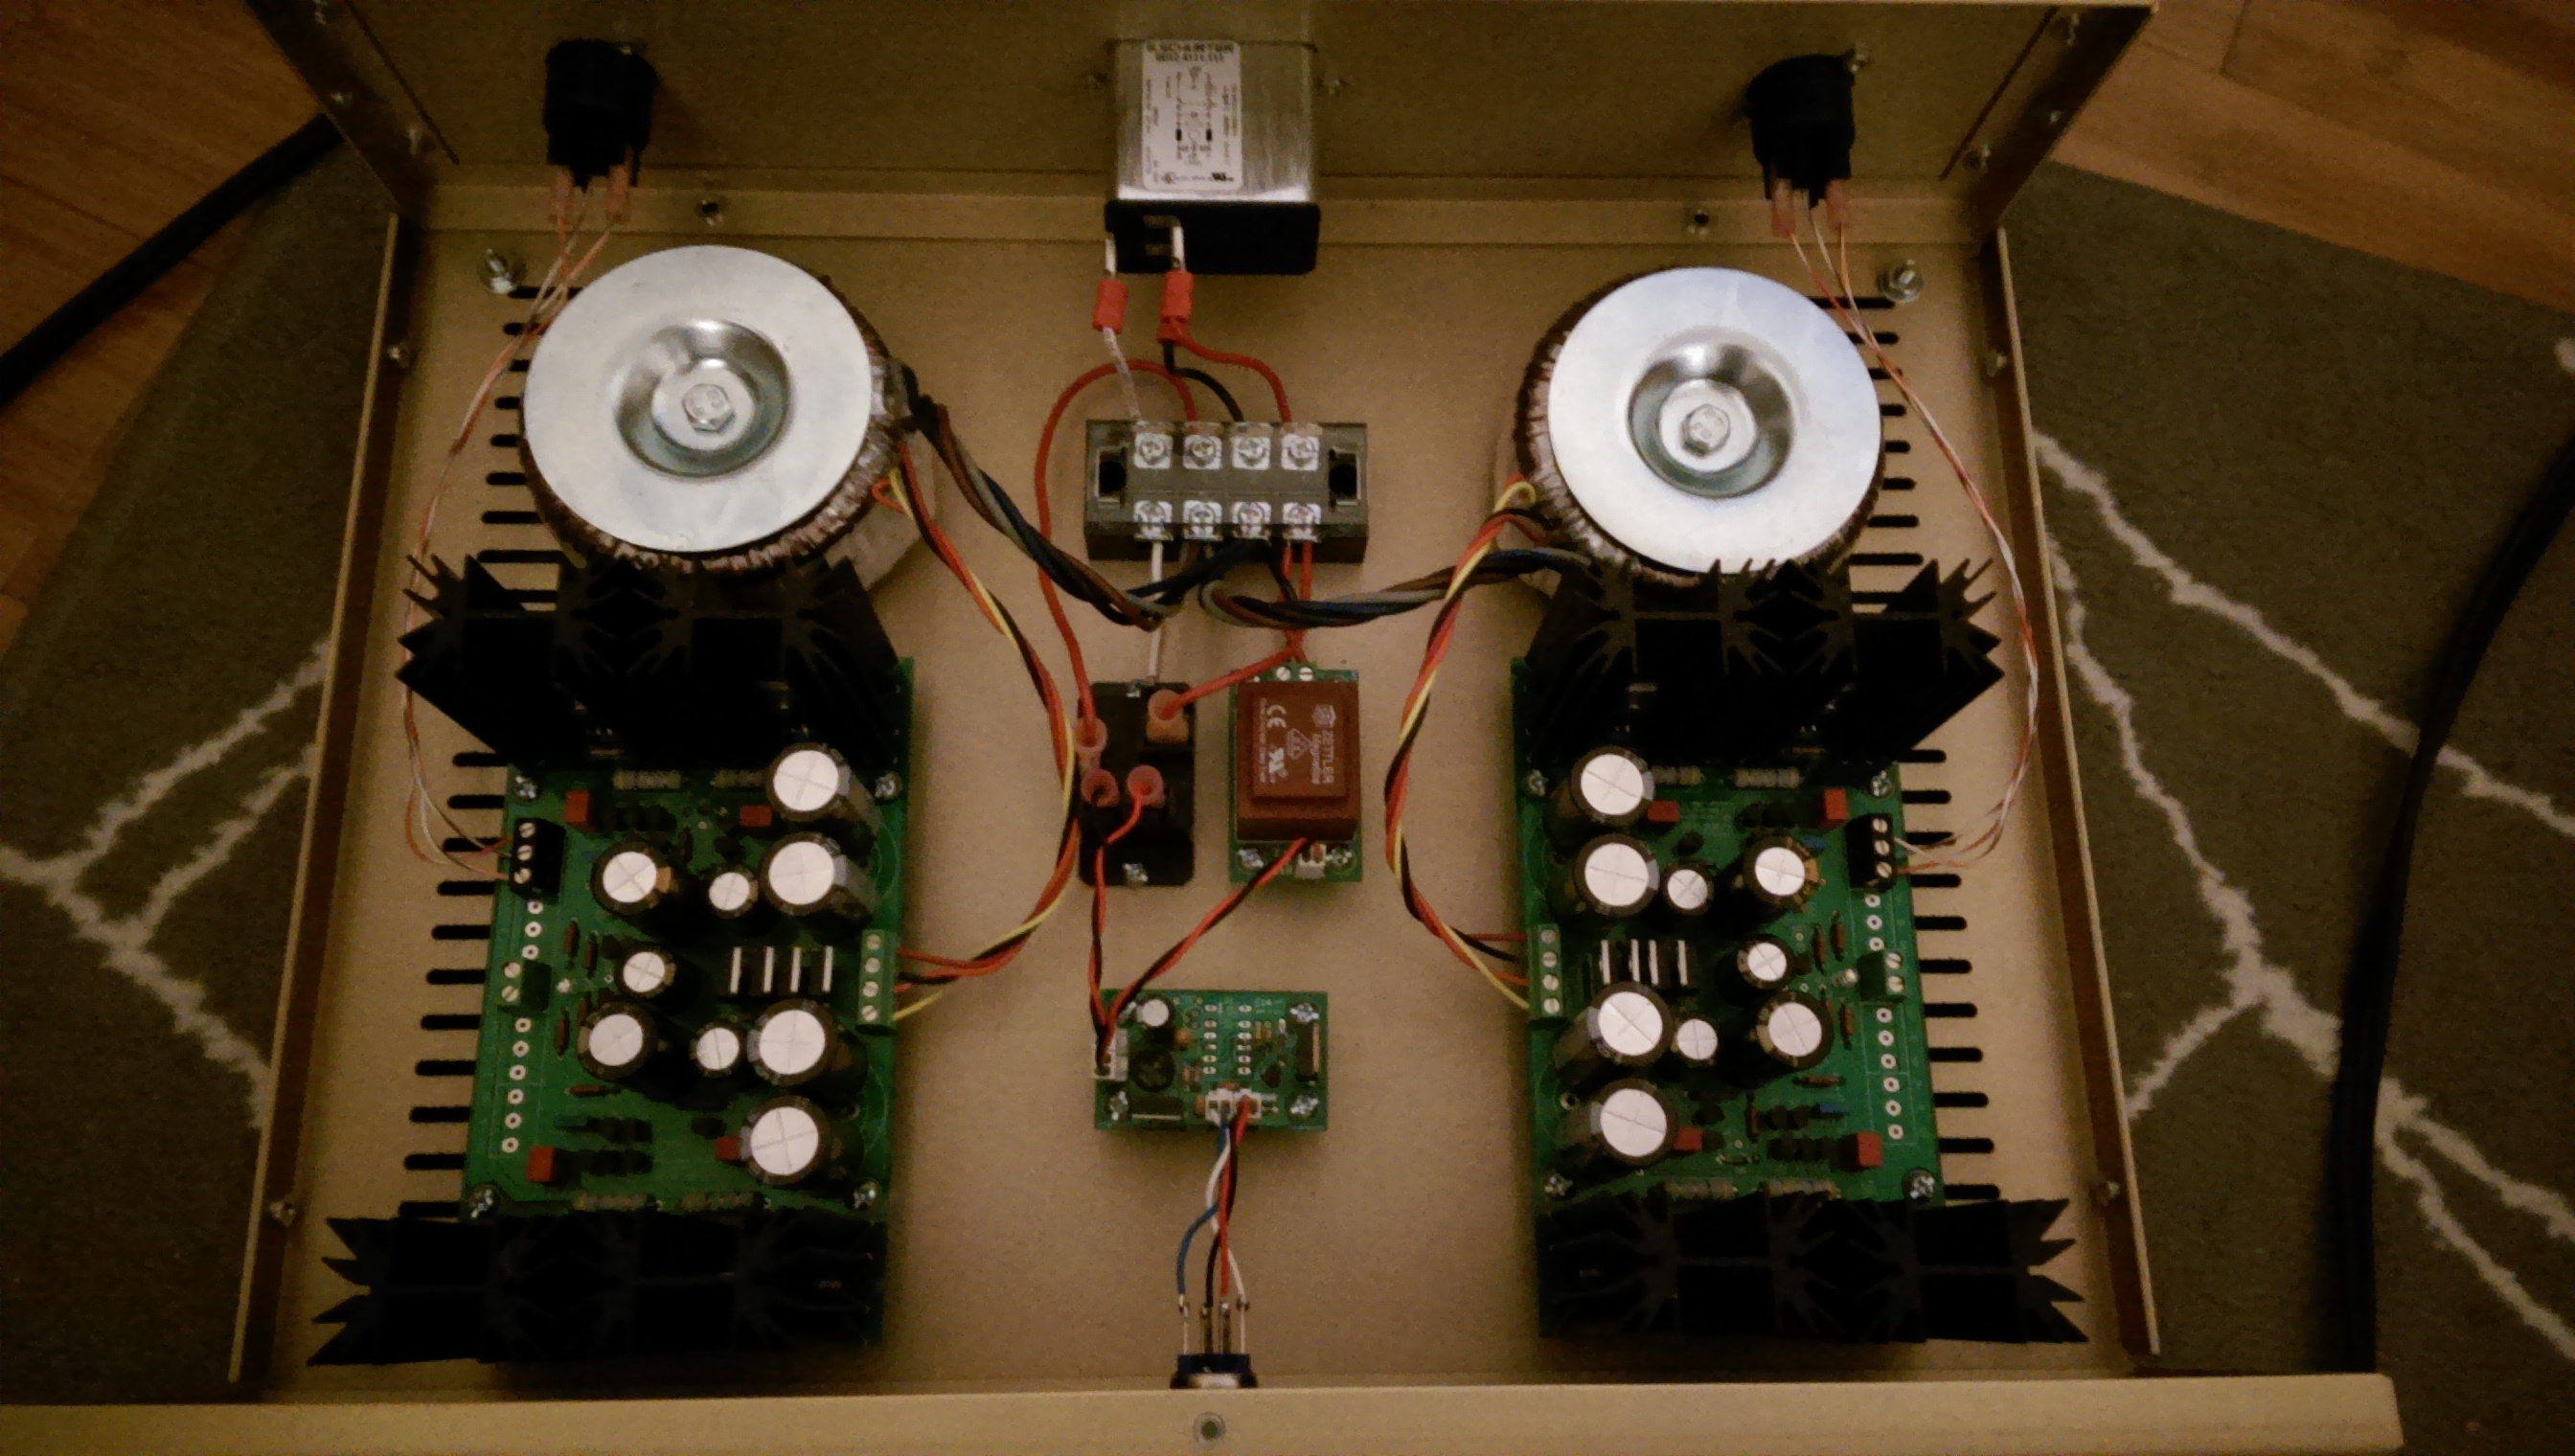
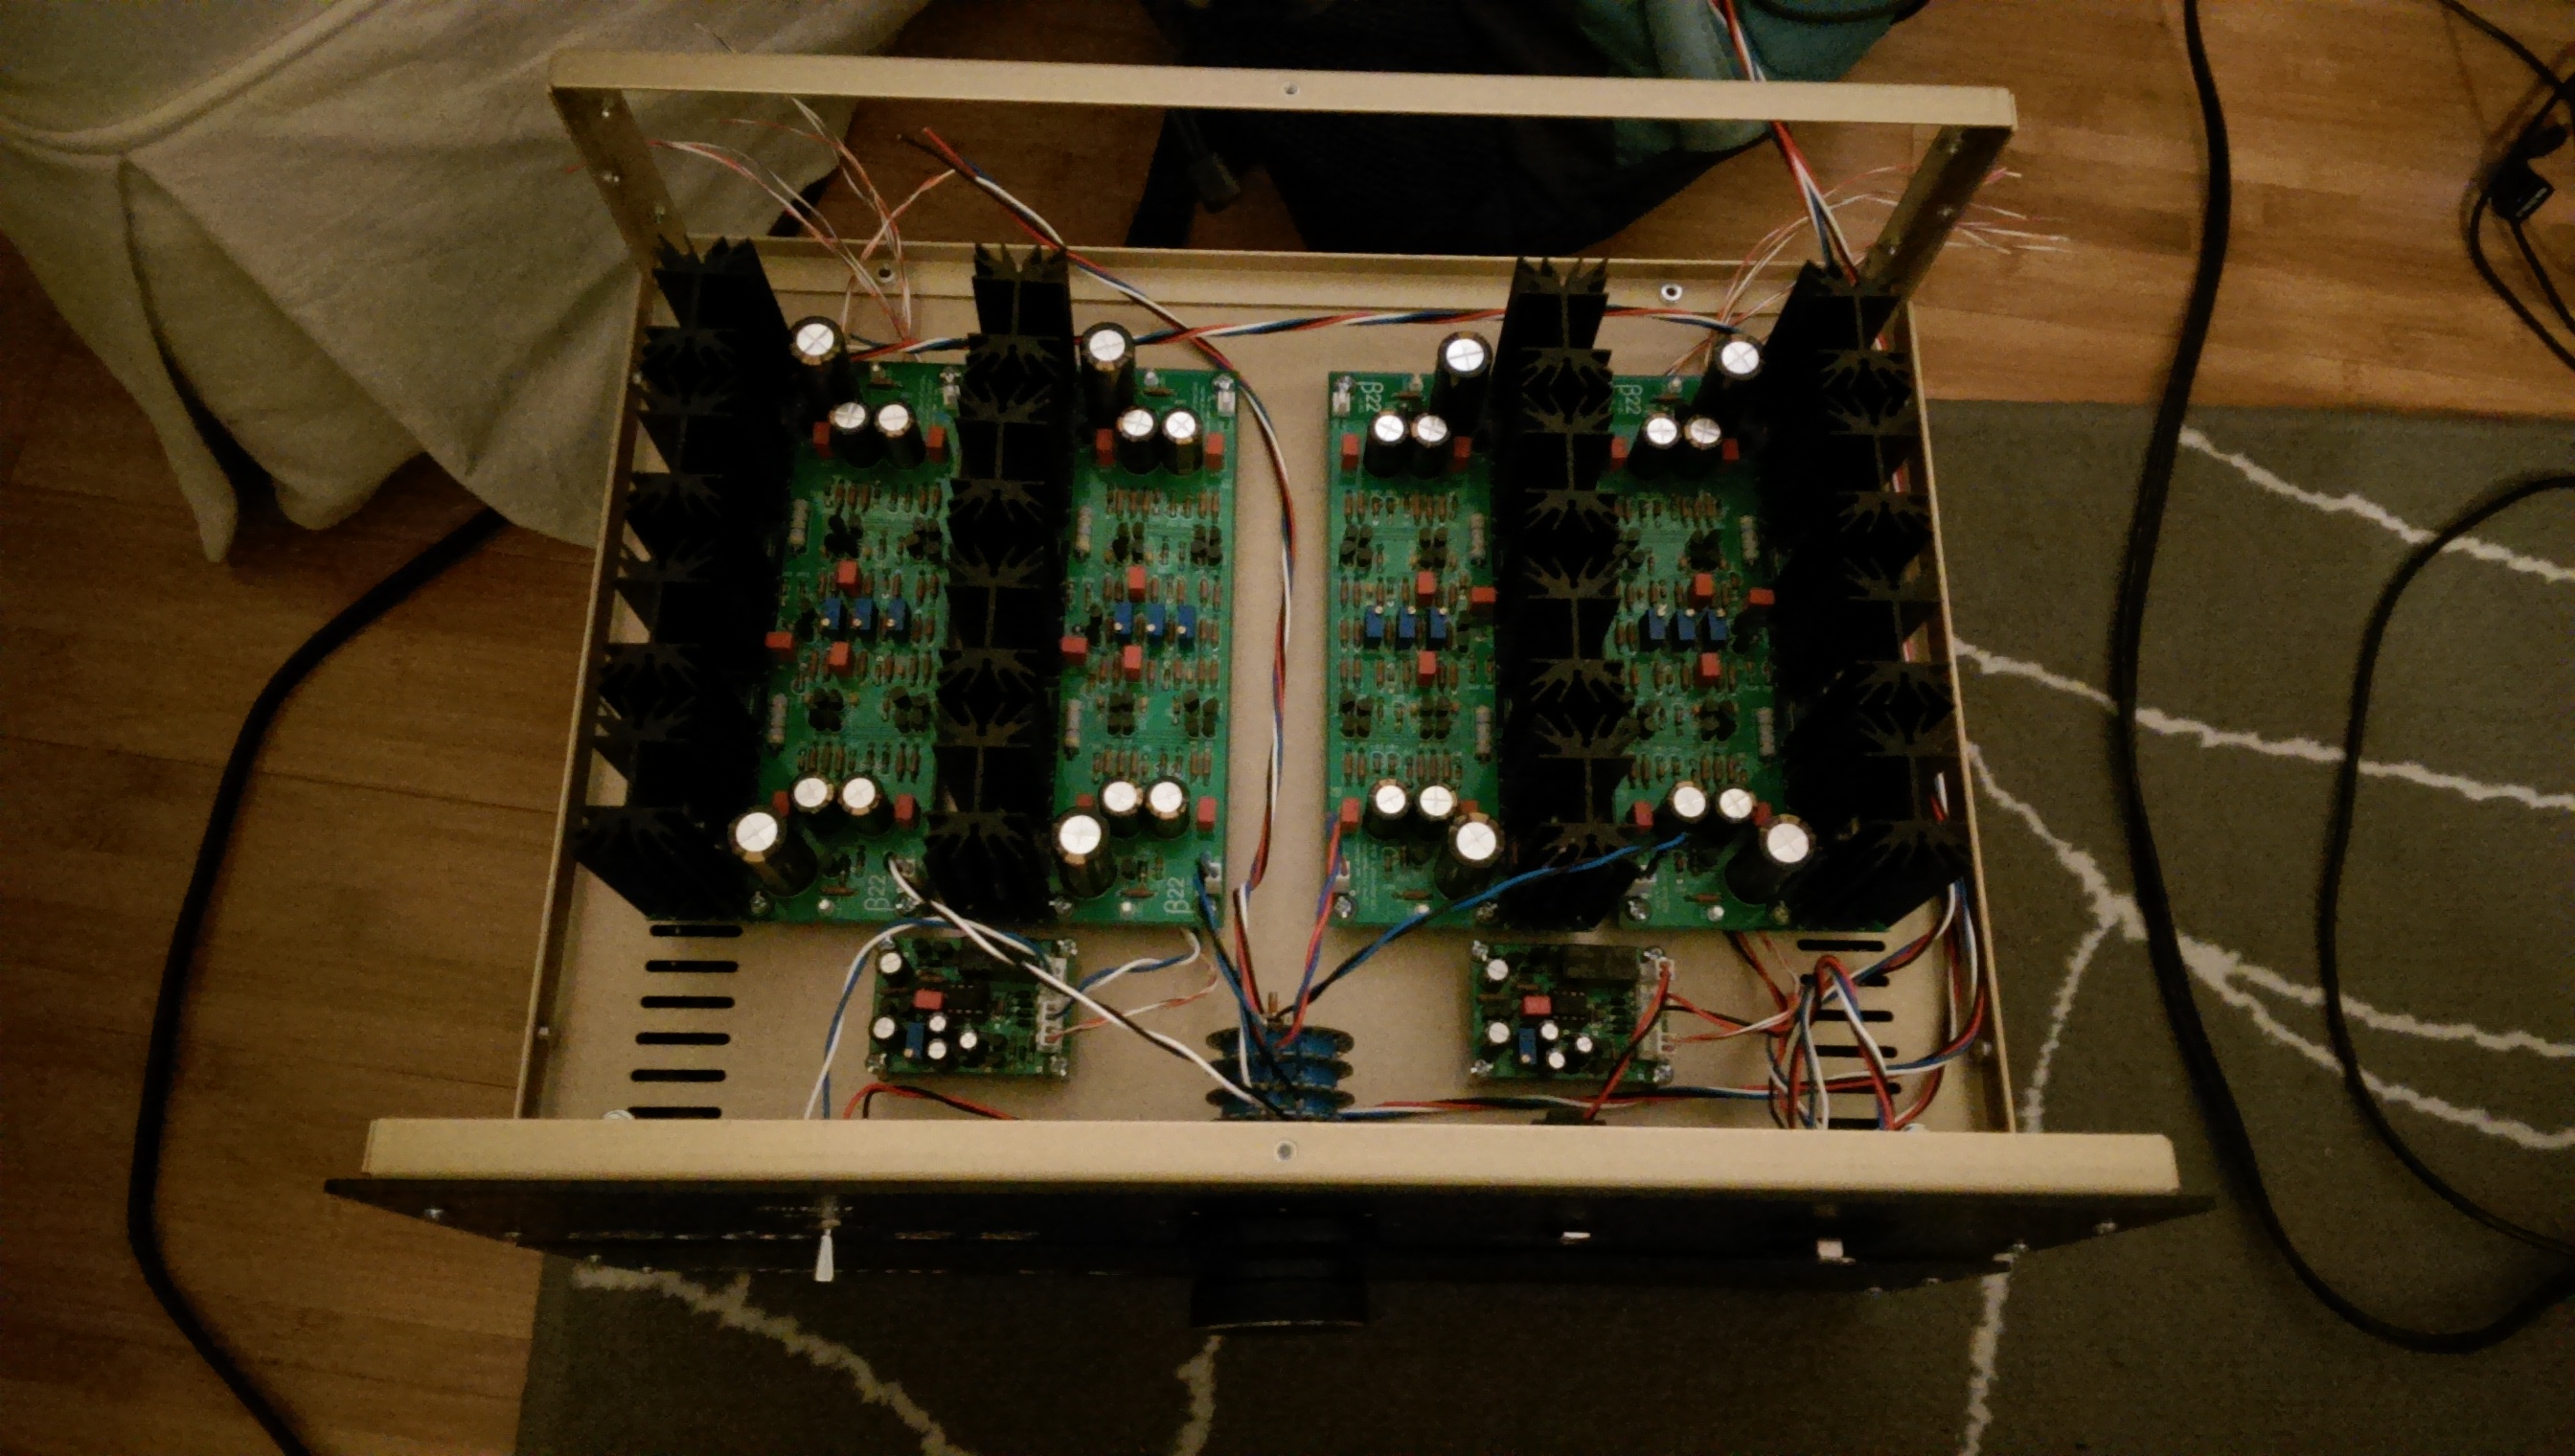
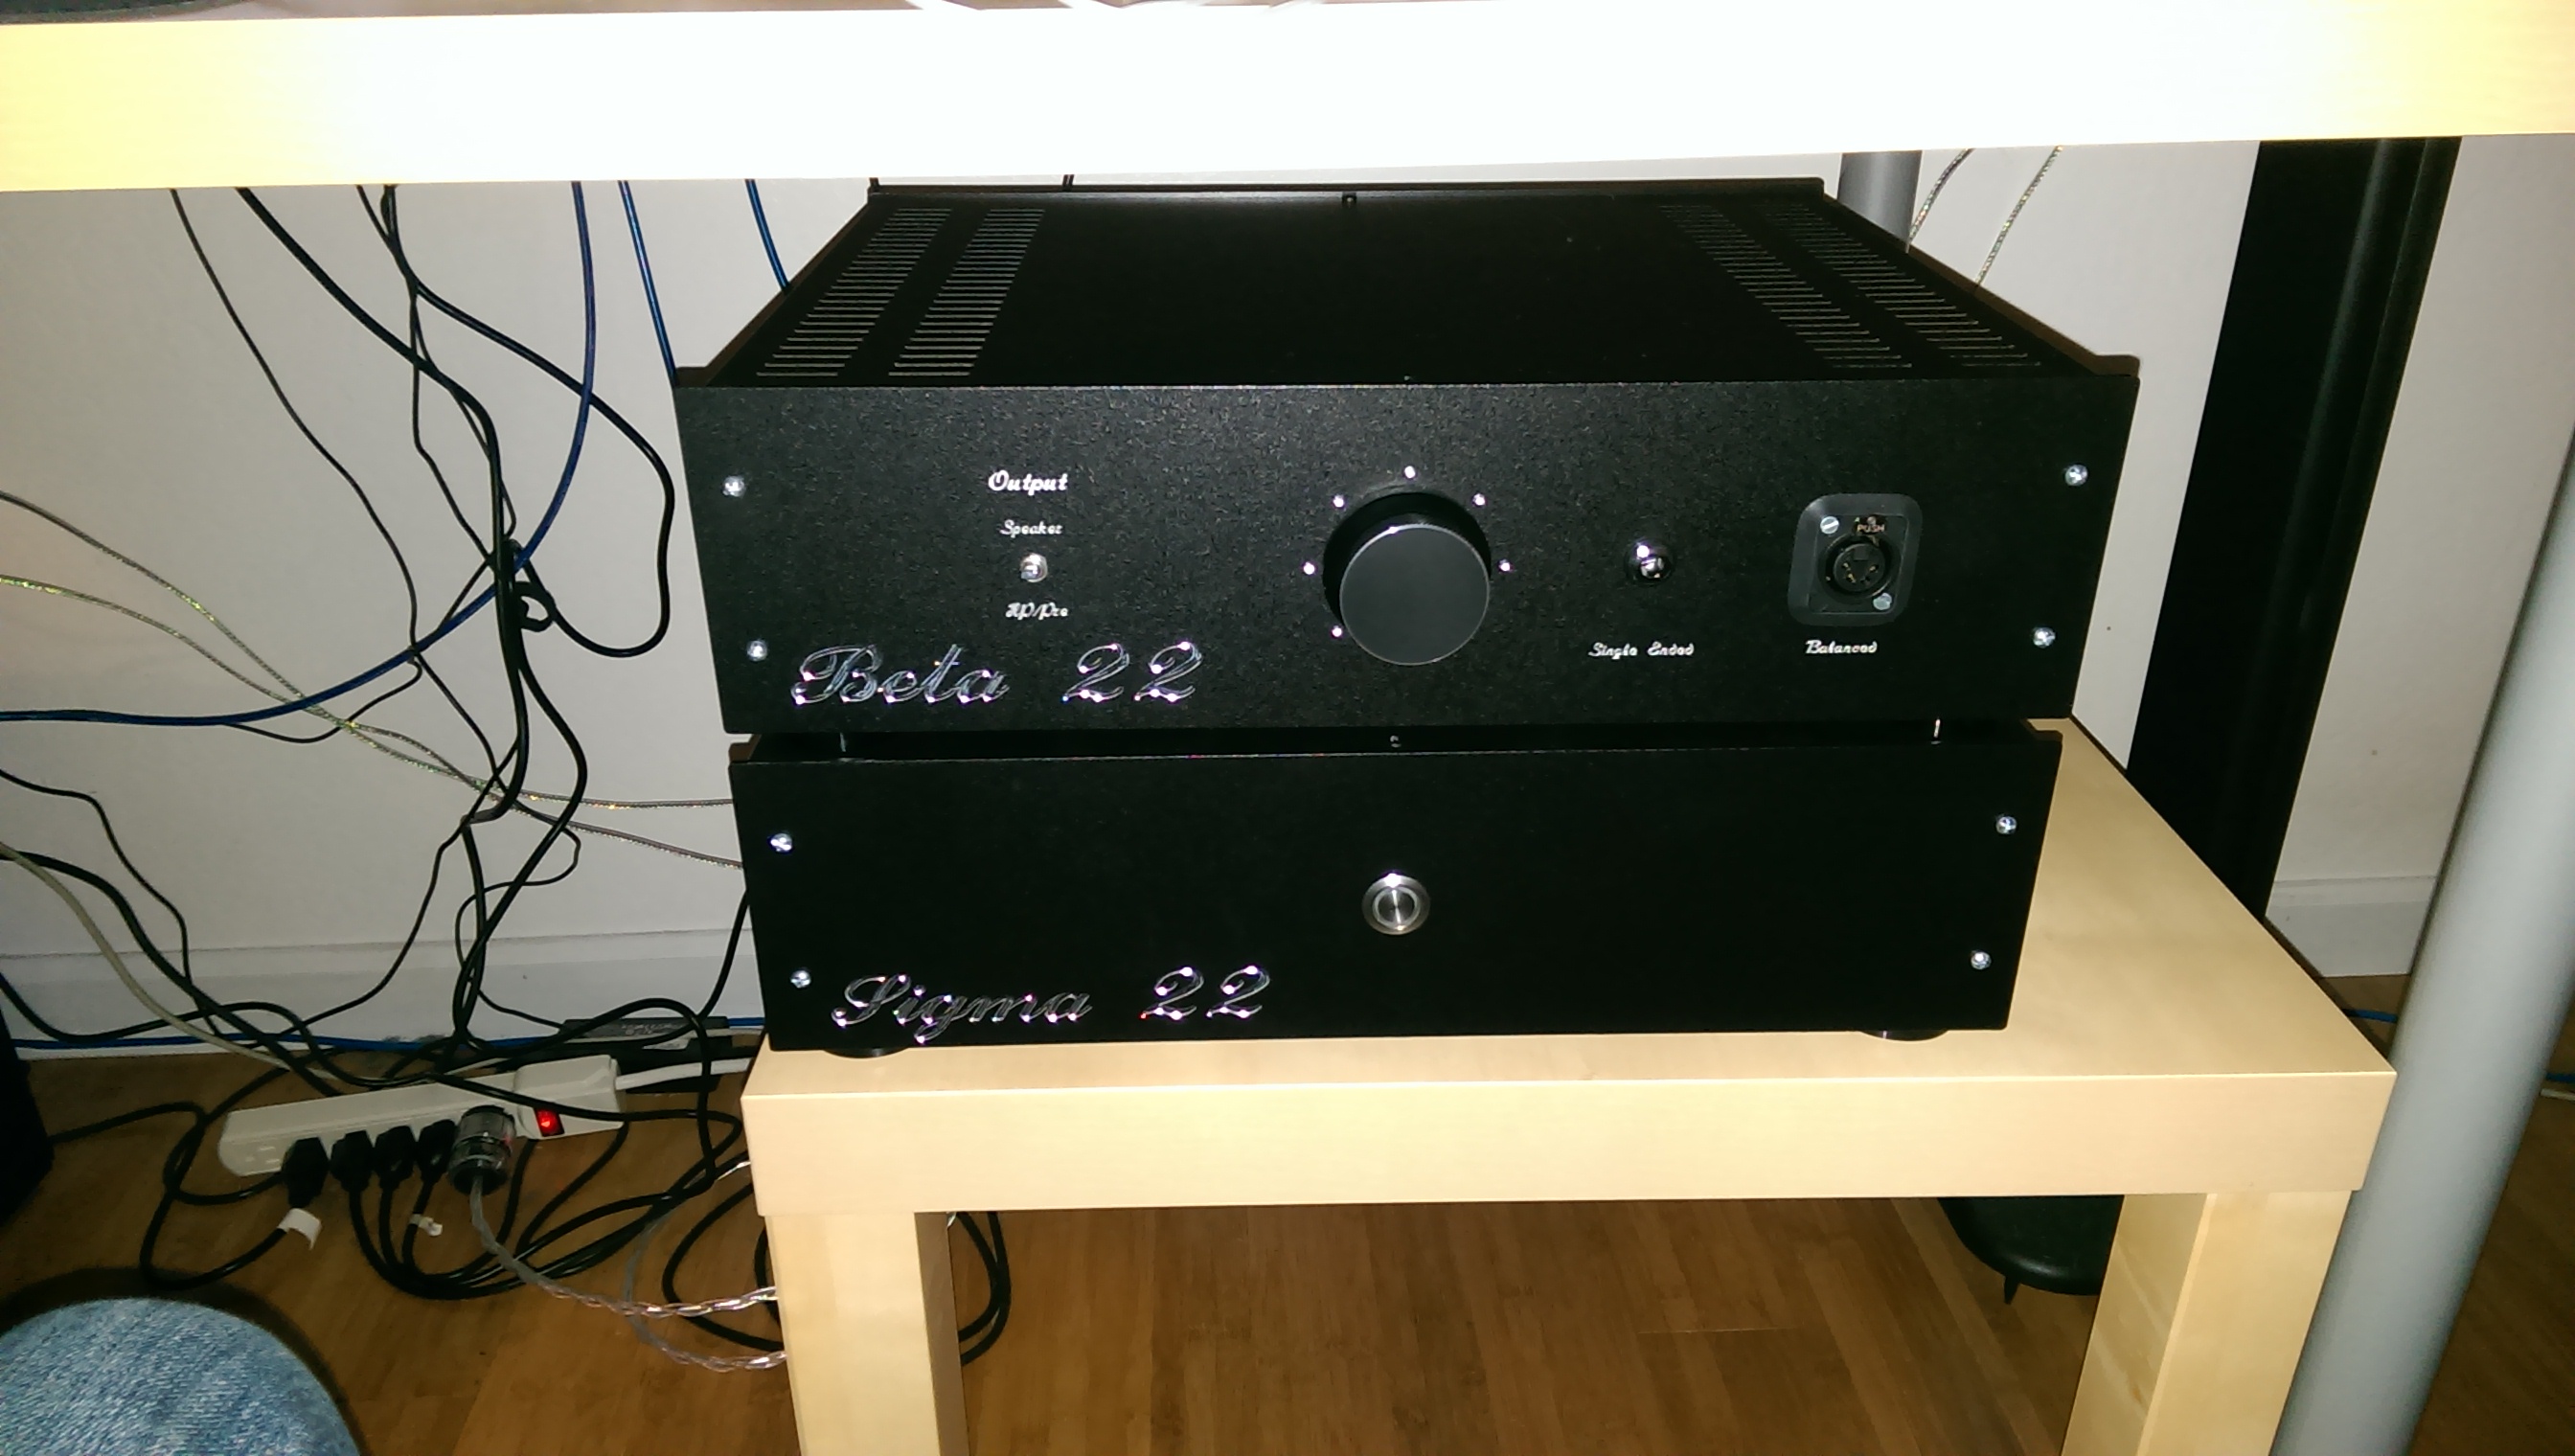
I'm resurrecting my β22 boards and have some setup problems
I bet the answers are already somewhere in the headwize thread but headwize is down

So when i try to do the initial setup i cant adjust the Voltage across R9, VR1 makes minimal changes i have 1,3V across R9 with VR1 turned fully ccw and 1,8V with VR1 fully CW

maybe someone has a clue or plain knows what is wrong or what i should check to find out
I'd really appreciate your help !
I bet the answers are already somewhere in the headwize thread but headwize is down
So when i try to do the initial setup i cant adjust the Voltage across R9, VR1 makes minimal changes i have 1,3V across R9 with VR1 turned fully ccw and 1,8V with VR1 fully CW

maybe someone has a clue or plain knows what is wrong or what i should check to find out
I'd really appreciate your help !


