pupDAC Step-by-Step Build Thread
Nov 26, 2014 at 6:51 PM Post #301 of 359
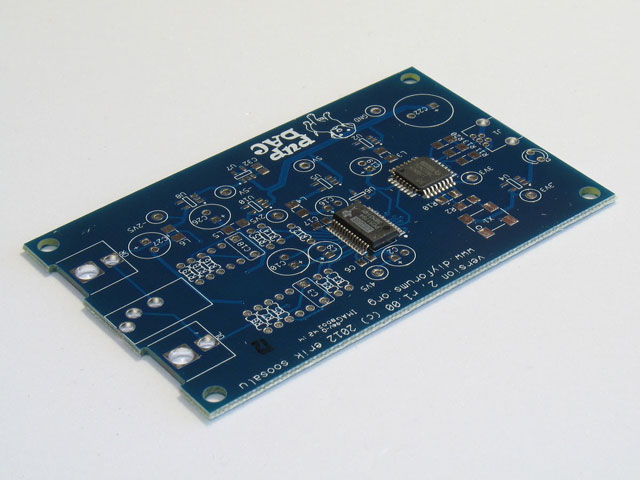
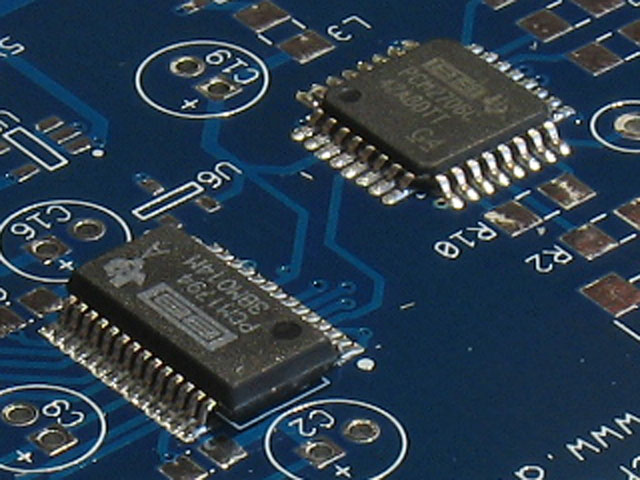
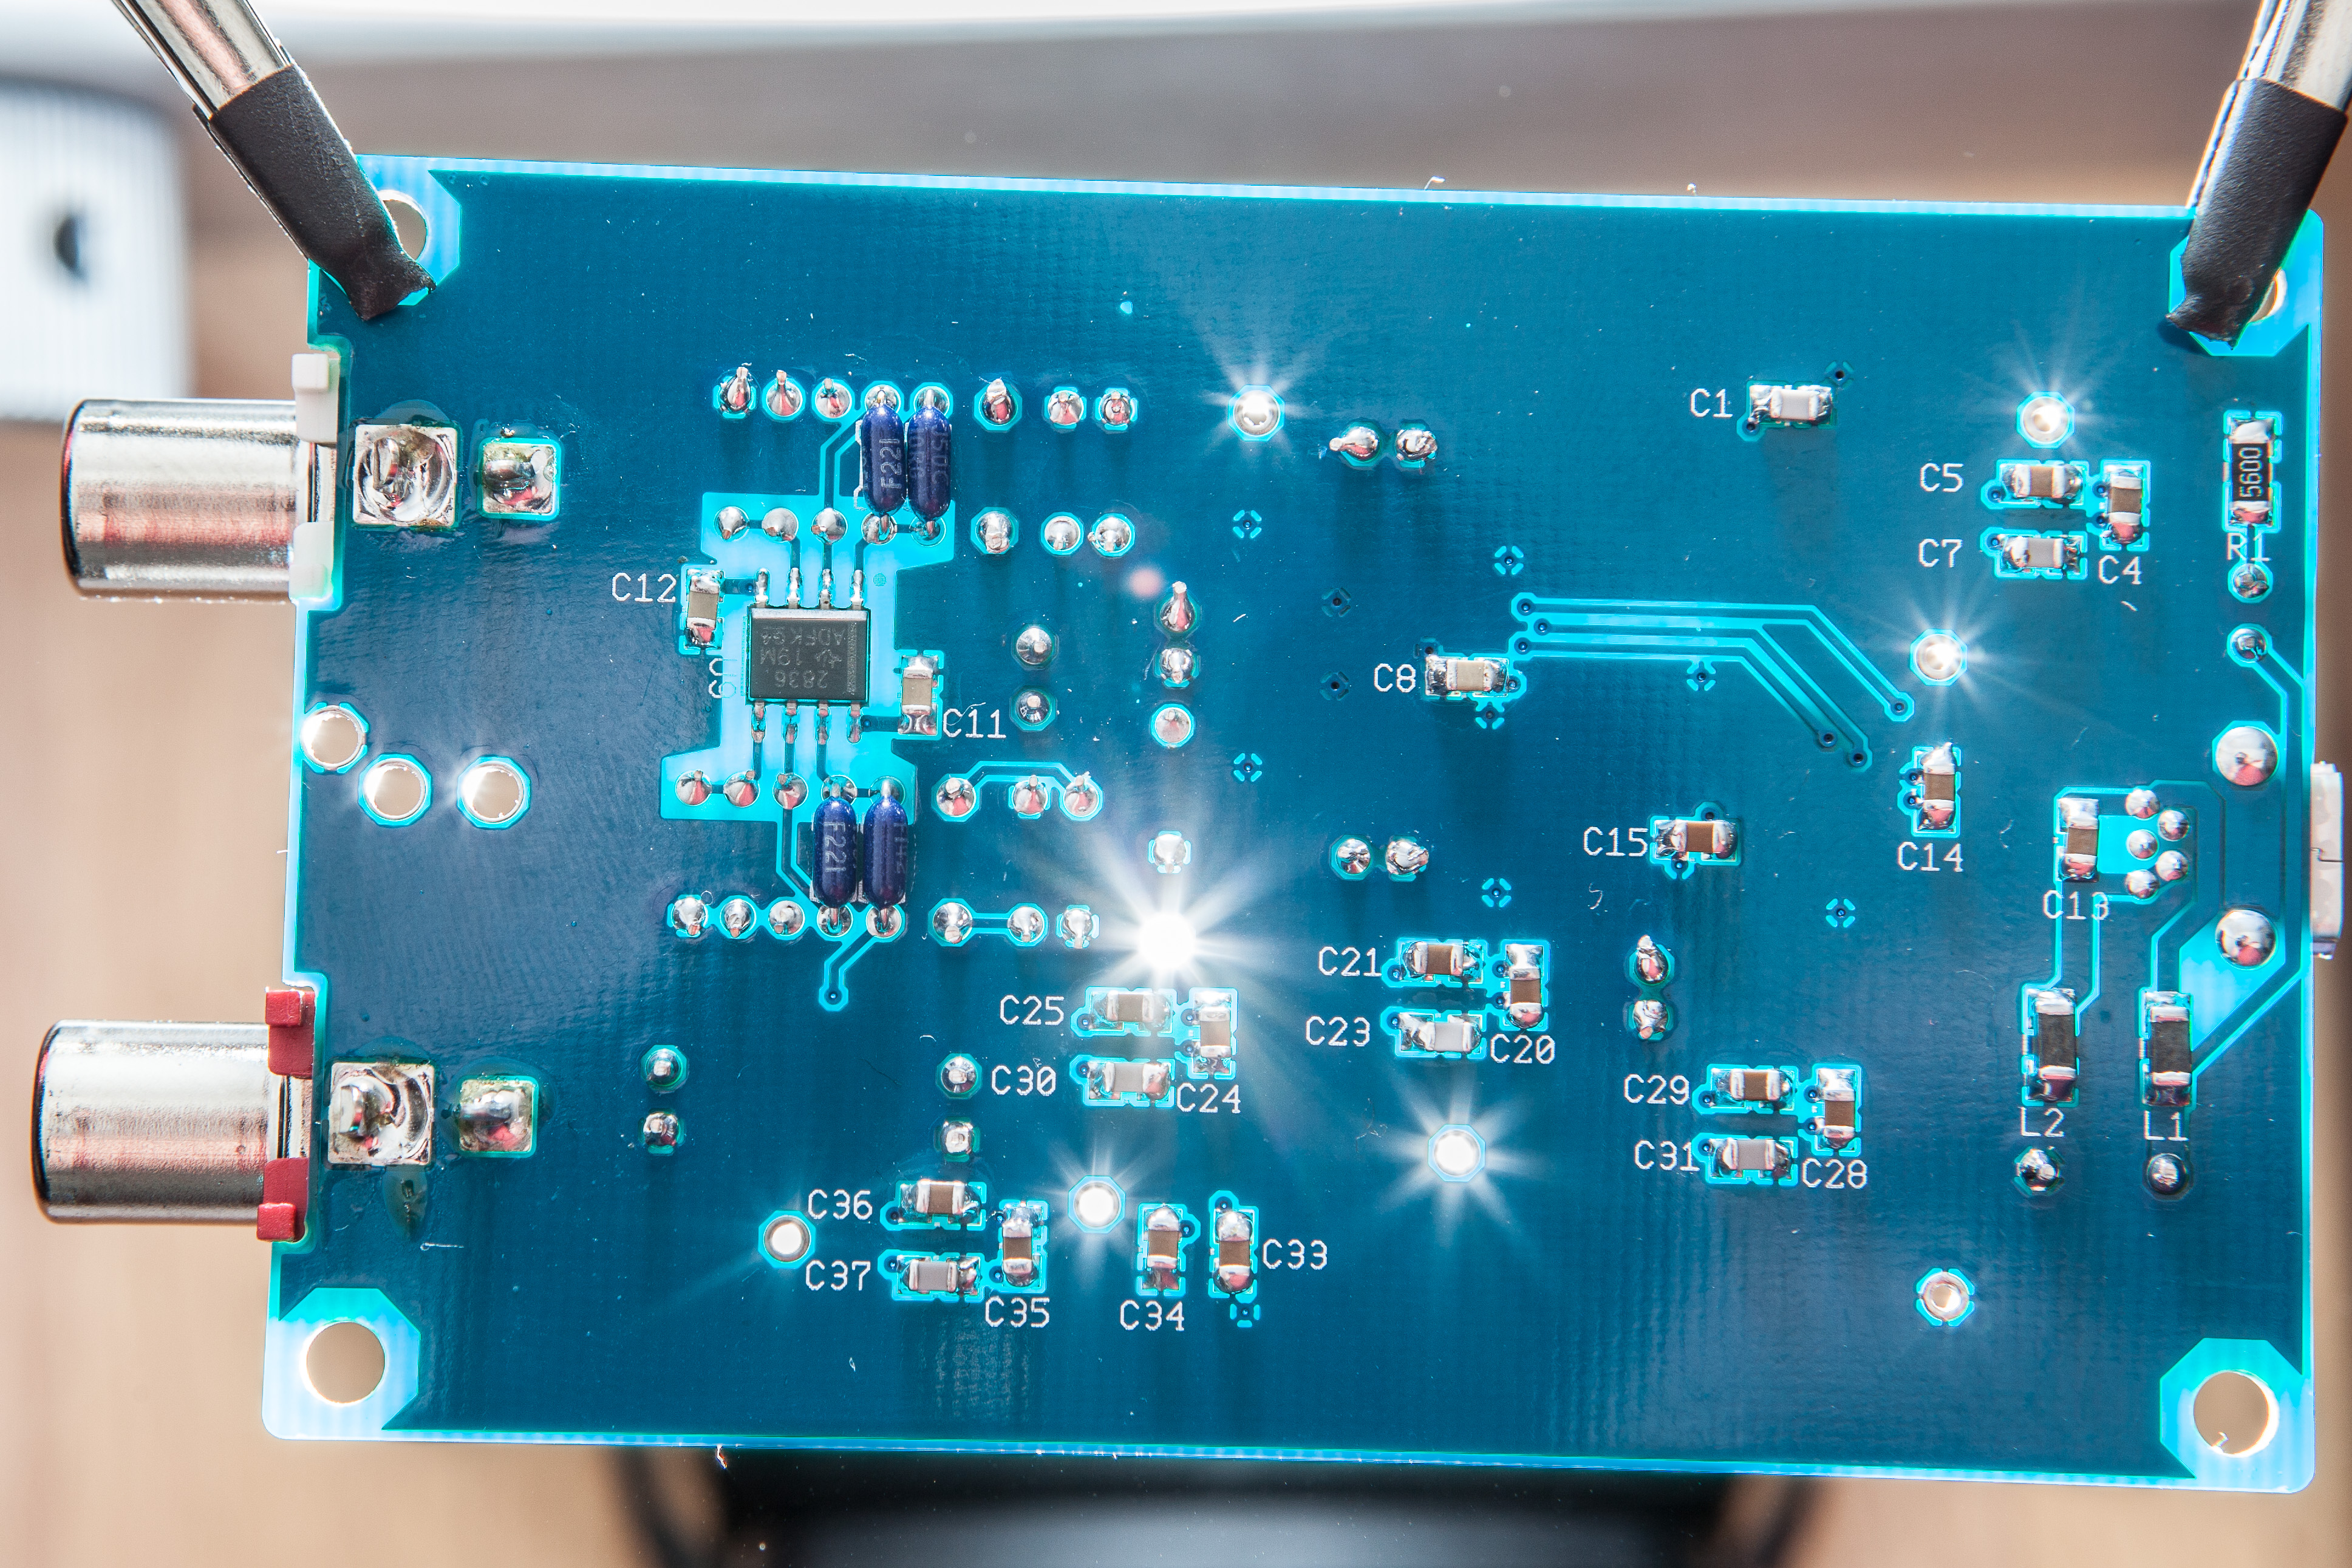
I finished my second pupDAC today - I soldered the integrated circuits at the university lab and it was a breeze. Solder paste makes it sooo much easier, just dispense that stuff and wipe the edges of the pins with the soldering iron to get almost machine-quality joints - the hardest thing about the whole process is to get the amount of paste exactly right so it looks perfect.
 
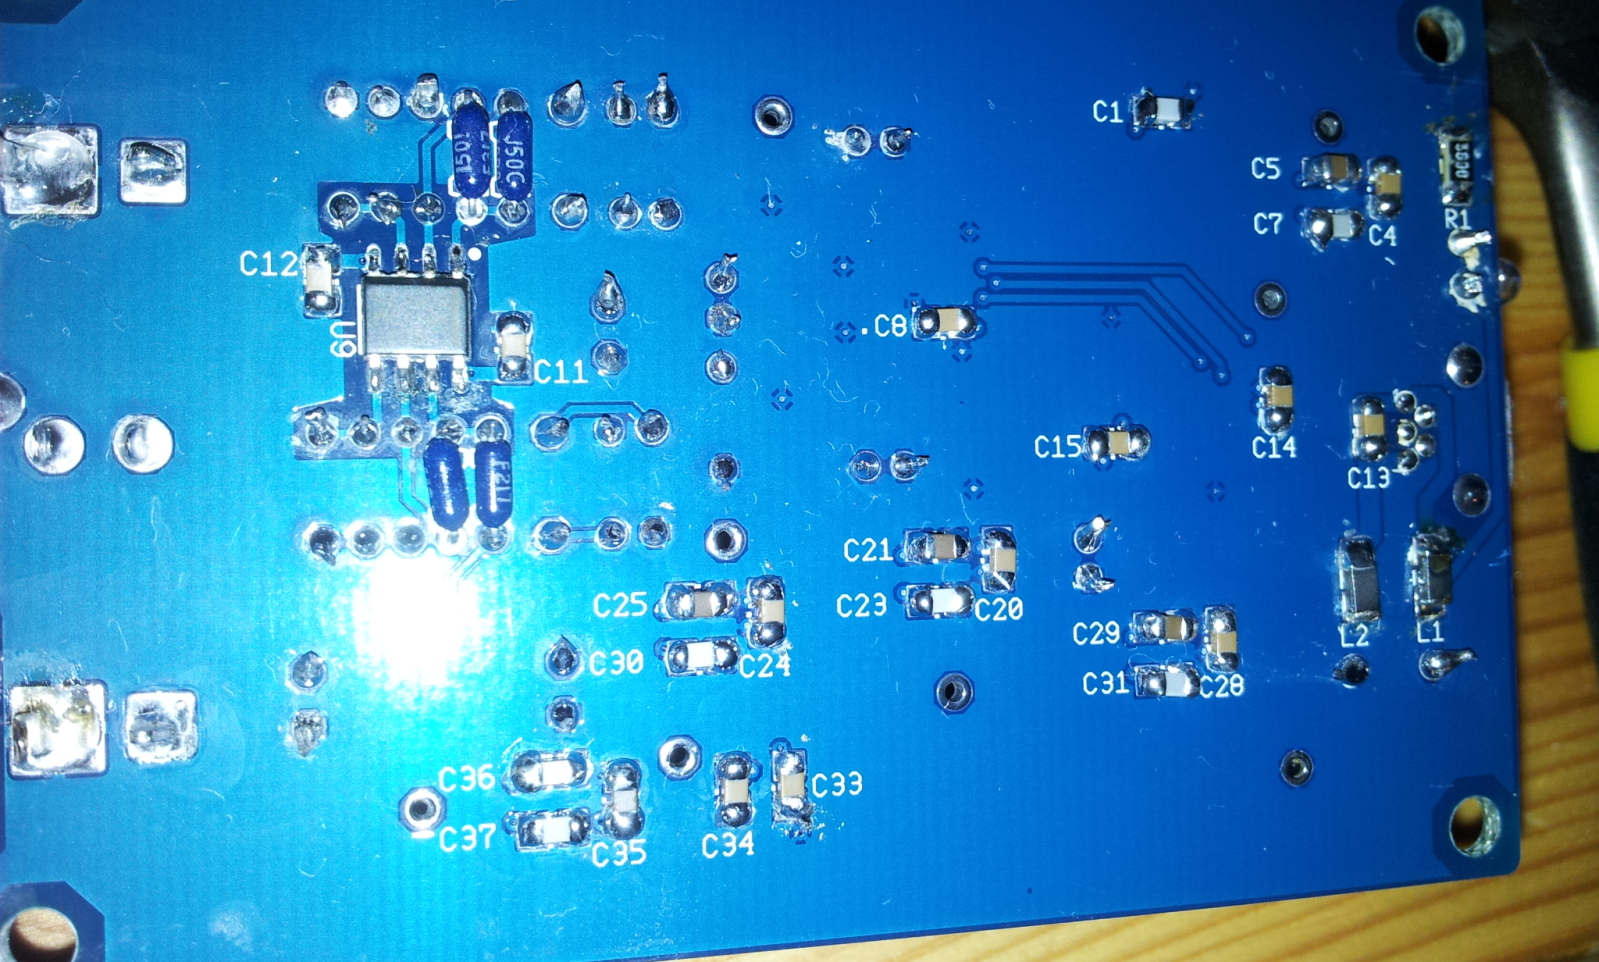
I did have a bit of a scare at first, as the supply voltages were all a bit too low (3.1V instead of 3.3 and stuff like that) and the DAC stopped working after playing for about half a minute. I did some multimetering and noticed the resistance between the 2.5V and ground pads was a constant 280 ohms. I guessed correctly (a rare occurrence in situations like this one) that C11 was to blame. I just KNEW it couldn't have been an IC as I'd inspected everything closely under the microscope and didn't have to apply excessive heat to any of the chips. I desoldered C11 and it was indeed blown, I measured a rather low resistance across the desoldered cap. I didn't have any 100nF caps laying around so I substituted two 1uF X7R MLCCs for C11 and C12, they seem to be doing their job fine. This is actually the first time I've managed to kill an MLCC, and I've definitely abused many of them rather badly.
 
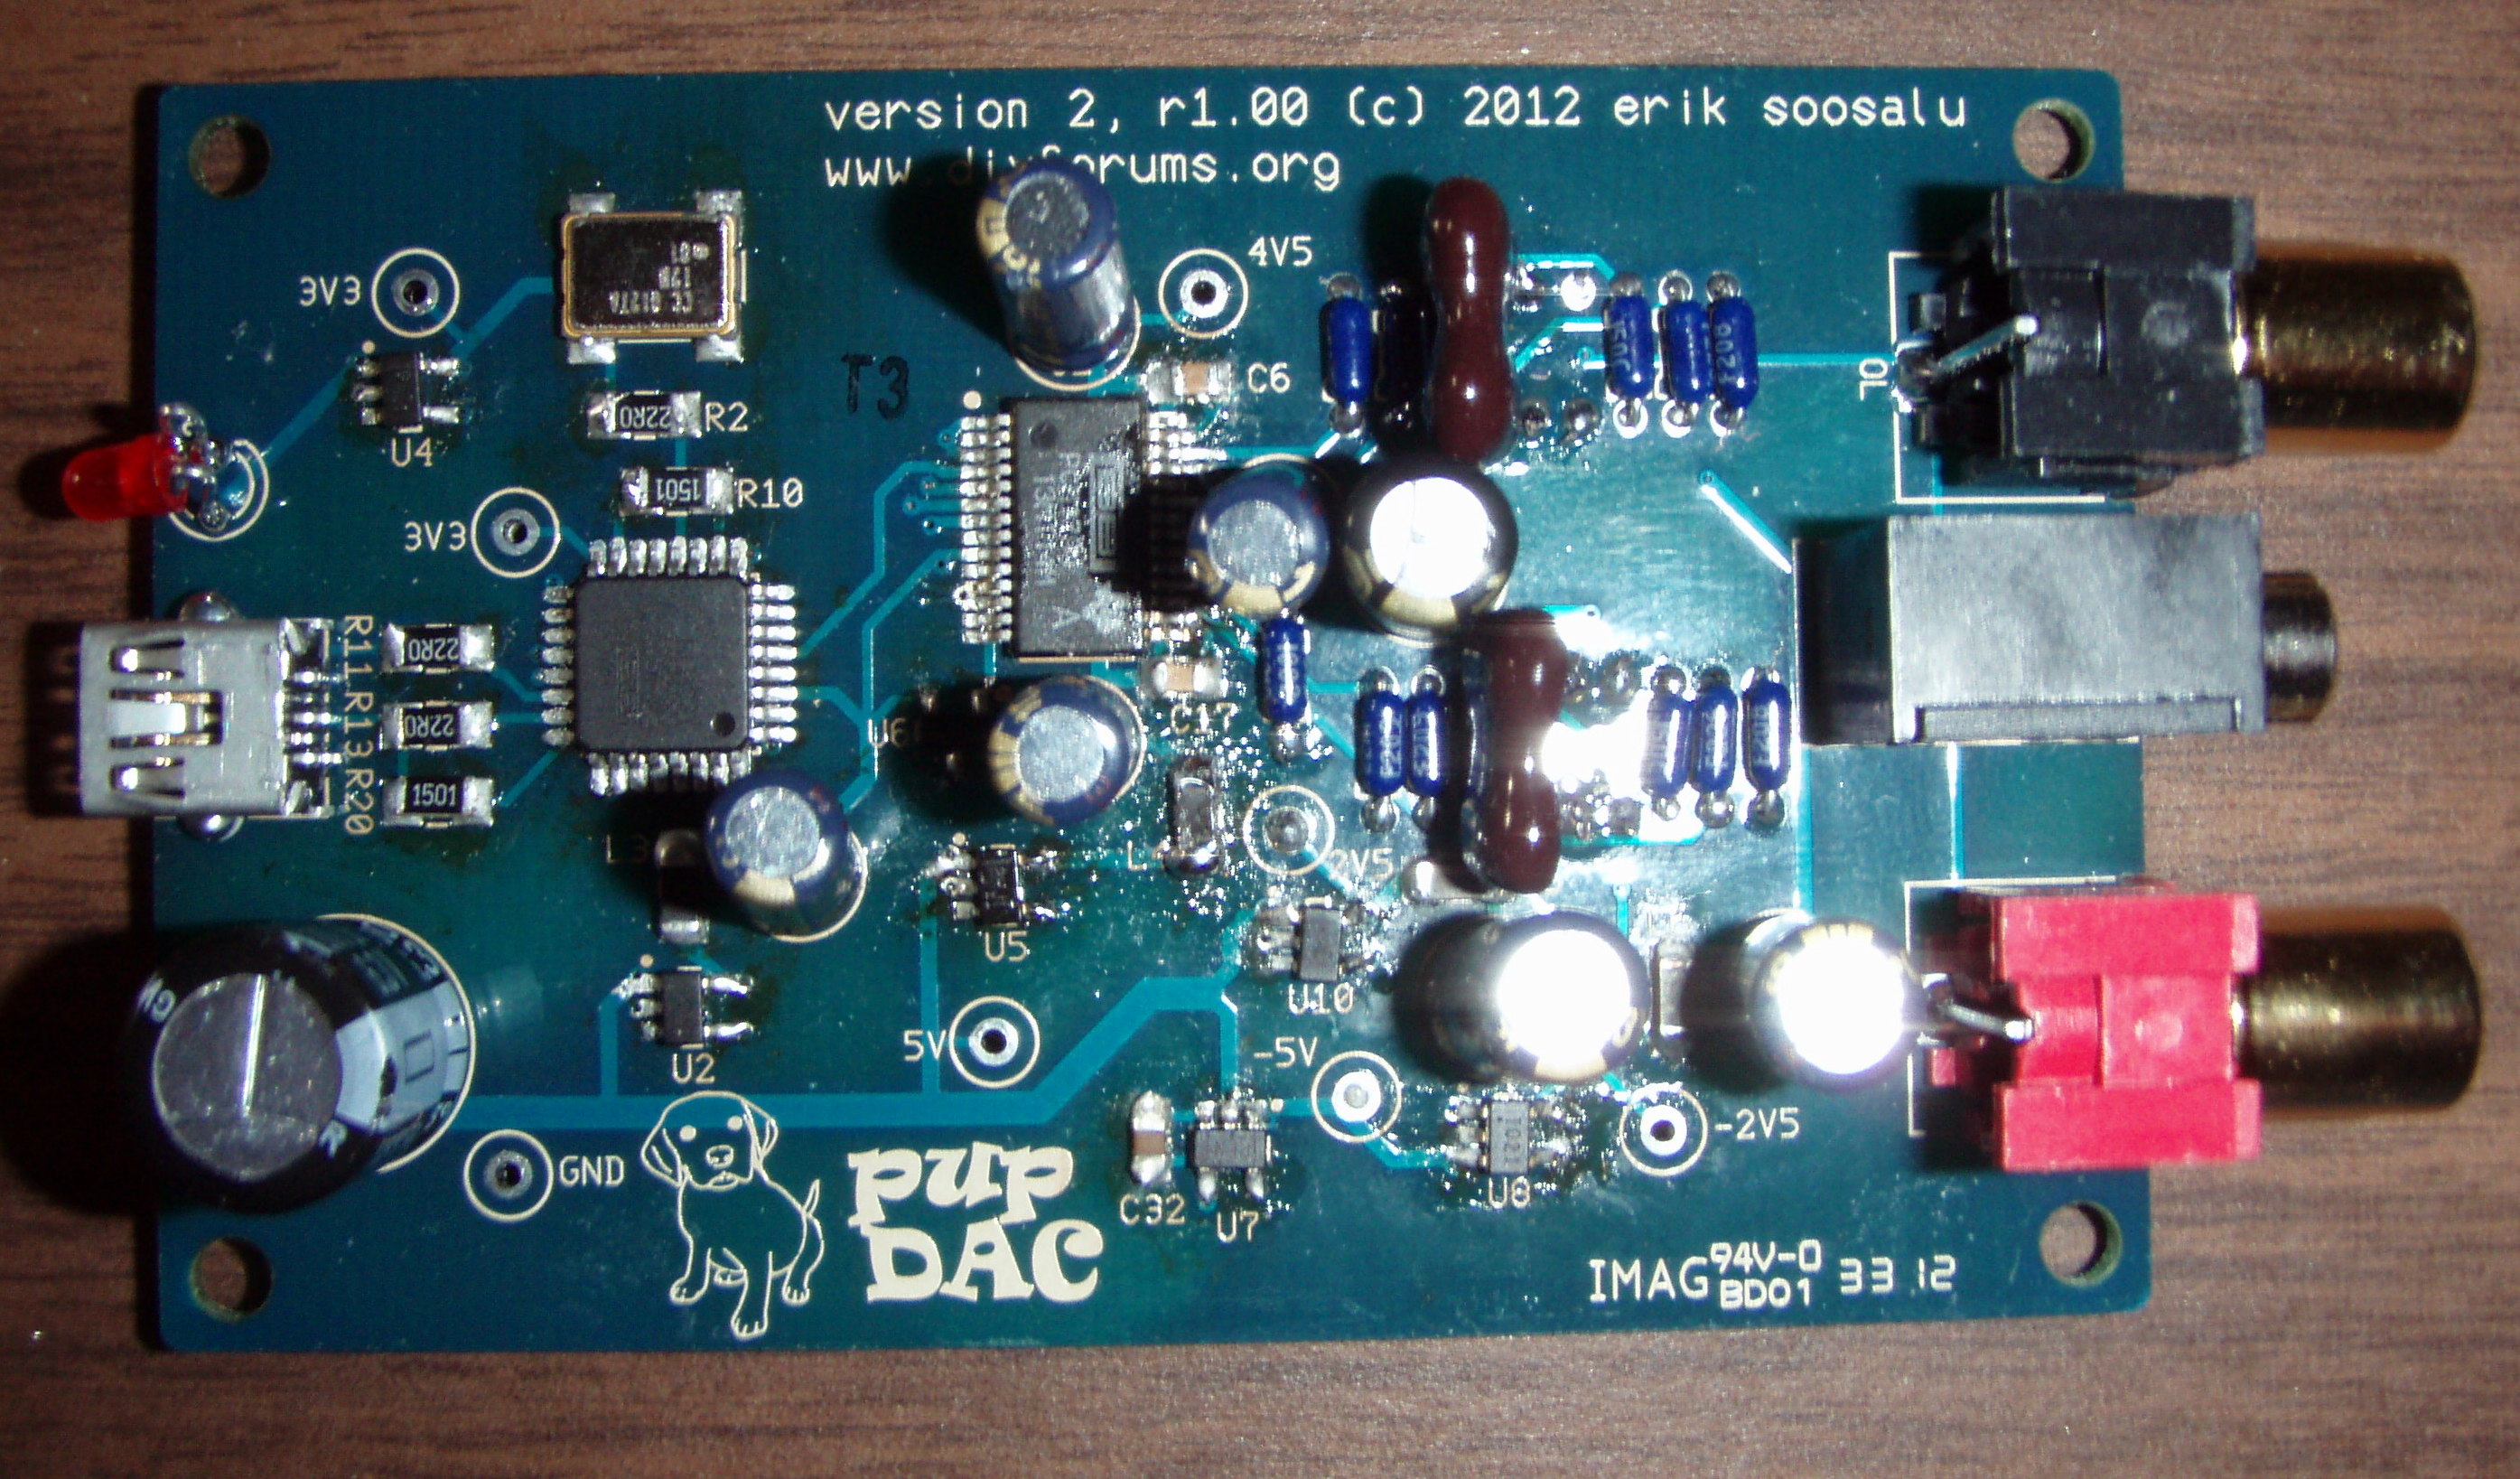
Here are my two "puppies" next to each other - the one I built today is connected in the picture:

 
Jan 8, 2015 at 6:49 AM Post #302 of 359
How are you guys downsampling hi-rez files with the PupDac?
I'm using JRIVER and just today have tried downsampling 96khz to 48khz and find it has a more natural feel than when the 96khz is downsampled to 44.1khz.  I think the 24 bits are simply 'chopped' to 16 bits and I can't notice any degradation in sound from when I use a hi-rez.
 
The PupDac has such a clean, studio-like sound to it without being fatiguing that I really don't mind having hi-rez files downsampled to 48khz (from 96khz or 192khz) or 44.1khz (from 88.2khz).  Just goes to show, it's not about the specs of the DAC, it's the implementation that matters most.  I'd be interested to hear other peoples' impressions....
 
Jan 9, 2015 at 8:15 AM Post #303 of 359
  How are you guys downsampling hi-rez files with the PupDac?
I'm using JRIVER and just today have tried downsampling 96khz to 48khz and find it has a more natural feel than when the 96khz is downsampled to 44.1khz.  I think the 24 bits are simply 'chopped' to 16 bits and I can't notice any degradation in sound from when I use a hi-rez.
 
The PupDac has such a clean, studio-like sound to it without being fatiguing that I really don't mind having hi-rez files downsampled to 48khz (from 96khz or 192khz) or 44.1khz (from 88.2khz).  Just goes to show, it's not about the specs of the DAC, it's the implementation that matters most.  I'd be interested to hear other peoples' impressions....


Sometimes I feel awfully ignorant.  I don't know exactly how this process takes place, but what you describe is accurate.
 
I have many SACD and DVD-A FLAC files that I've downloaded.  They range from 24-bit 88kHz all the way to 24-bit 192KHz.  The biggest apparent difference in my Foobar is the Bitrate column, which I always use in the playlist.  Normal CD FLAC files range from about 700 kbps to 1000 kbps.  However, the SACD and DVD-A files range from 2000 kbps to over 8000 kbps!  In some cases, these are even 6-channel audio and show up as such in the Foobar visualization windows with 6 distinct bars/lines per channel (VU meters, peak meters, oscilloscope, etc.).
 
All I'm doing is playing these files over USB using the PupDAC, a DoodleBug, my Torpedo and Windows 7 (64-bit now, but 32-bit worked just as well).  I have no idea how all of this works.  I've even bought a DVD-A of a Porcupine Tree album and I've read how to convert the files to FLAC, but haven't done it myself, yet.
 
Regardless - as you say - the PupDAC (and my DoodleBug) and Foobar2000 seem to handle all of it in stride.  I would've guessed there would've been some artifacts or other noticeable audio degradation.  Instead, the audio is definitely superior to Redbook-FLAC files and sounds glorious (for lack of a technical term
wink.gif
).
 
So as you've experienced, one doesn't need a 24-bit, 192 kHz DAC to enjoy such files.  It's definitely possible to improve upon Redbook-CD quality simply using 16-bit USB.
 
Jan 9, 2015 at 9:44 AM Post #304 of 359
All the re sampling is done by the Windows Mixer.  Buried inside control panel / sound / playback tab / your device / advanced tab, you can set the default sample rate and bitrate.   Every sound played through windows mixer then gets up sampled or down sampled to that setting.
 
If you want a bit perfect playback you need to use a plugin like WASAPI for Foobar, that will bypass the Windows mixer and pipe the data to the DAC in whatever sample/bit rate the recording is in. Only problem is if you try and play a 24bit recording through a PupDAC all you will get is silence as it can only handle 16bit.
 
If your a purist like me its preferable so nothing is re sampling or modifying the audio source in any way, but a PupDAC 2.0 would be nice
wink_face.gif
 
 
Jan 9, 2015 at 11:55 AM Post #305 of 359
I use the resampler in Foobar2k with wasapi.


My signal chain:


Laptop, Doodlebug, PupDAC, Steve McCormack DNA.5, Martin Logan Sequel II.


Jan 11, 2015 at 12:40 PM Post #306 of 359
I dont know if this is the right place to ask these troubleshooting questions, however my recent build of the pupdac, although it sounds great and works, doesnt light its LED indicator. My guess is, that ive used the wrong Red LED. Instead of using the one recomended by the pupdac, ive used the one recomended for the doodlebug. Does the subtle change between the two LEDs (10ma forward current vs 20ma forward current) be making this LED malfunction? Every checking spot has good readings except the 4.5v one which in displaying 4.8v!! My supicion is that this is because of the LED not forwarding the current.
 
Sorry for my ignorance. And thanks in advance.
 
Jan 11, 2015 at 1:15 PM Post #307 of 359
  I dont know if this is the right place to ask these troubleshooting questions, however my recent build of the pupdac, although it sounds great and works, doesnt light its LED indicator. My guess is, that ive used the wrong Red LED. Instead of using the one recomended by the pupdac, ive used the one recomended for the doodlebug. Does the subtle change between the two LEDs (10ma forward current vs 20ma forward current) be making this LED malfunction? Every checking spot has good readings except the 4.5v one which in displaying 4.8v!! My supicion is that this is because of the LED not forwarding the current.
 
Sorry for my ignorance. And thanks in advance.


An LED will light at 1ma current or less.  I'm probably exaggerating, but the point is, many LED's have a fairly linear performance with current - especially red ones.  In any event, there is no way your LED would not light at 10ma.  10ma is simply a conservative selection to keep the LED lasting longer.
 
I suspect you simply soldered it in backwards.  Take it out, reverse the leads and solder it in again.  It'll probably light right up.  Note that soldering it in backwards should not have damaged it unless you melted it with the soldering iron.
 
Jan 12, 2015 at 11:31 PM Post #308 of 359
  I use the resampler in Foobar2k with wasapi.

 
Ok as I didn't listen with Foobar (only JRIVER), i downloaded the program and tested it.
Indeed, to get bitperfect playback you *must* use the resampler with wasapi.
If you don't, then the hi-rez files go through the windows filter.
Tom - test it out and see what you think.  It's a revelation and a great result for the PupDac that it is not noticeable (at least to my ears) when hi-rez files are resampled!
I guess we would need a PCM1794 that operates > 48khz to know for sure, but when I compare AK4399 @ 192khz and PCM1794 @ 48khz, I know which DAC I prefer (the latter!).
 
Jan 16, 2015 at 1:46 PM Post #309 of 359
thanks for the reply tomb! however i tested the led both ways and still doesnt light up. I know this is a cosmetic thing and besides that the sound is pretty amazing and clear, however Im not sure if this will damage or affect some of the other parts in the long run (Im still getting 4.8-4.9v on the 4.5v spot, although in the other spots its alright). Another thing I noticed is that I cannot control the volume of the dac or mute it in the windows volume manager. Is this normal?
 
Jan 16, 2015 at 2:03 PM Post #310 of 359
Has to be either a bad connection on resistor R1, or the LED is bad.  What i would do is,
 
-Remove the LED and test it, almost all multimeters have a diode test function.
-Measure the voltage across the pads for the LED to confirm power is there, if not measure resistance across R1.
 
Jan 16, 2015 at 4:25 PM Post #311 of 359
Ok, so i tested the resistance of r1 (by desoldering it) and it just works and after putting it back i test the traces and they work. I also tested the traces from the usb connection-L1 to the anode part of the Led everything seems alright. However I changed the diffused Led for a transparent one and it lights very dimly. Then to test if it was the R1, I bypased the R1 by placing a very bright white led (since bypasing the resistor would burn a normal Led in a second because of the current) from the anode through-hole to the first pad of the R1 resistor (bypasing the cathode through-hole and the pad connected to this). The Led turned on very bright. So probably this means that the R1 is or either to resistant for the Led or I just dont know.
 
sorry if it gets confusing to read...
 
Jan 16, 2015 at 4:54 PM Post #312 of 359
Ahh ok, i missed that part. Those LEDs have a very low output so i agree a higher value resistor for R1 is probably needed.  They were used to setup the voltage regulator instead of being used as an actual visual indicator so personally i would just replace it with something more suitable.
 
Jan 27, 2015 at 5:56 PM Post #313 of 359
Hi Guys, I just finished building a pupdac and a doodlebug. I'm having some issues with the pupdac, and was hoping someone could point me in the right direction to fix it.
 
The dac gets detected by windows and audio plays through it, but there's a quite loud ticking or clicking noise with some static noise in the background. It's not related to the output level of the audio I'm playing, as in if I play something loud enough. I can't hear the noise. The test point voltages are all fine apart from the 4.5v, which reads 4.7. But I saw on this thread that it is normal for it to be ~4.7v.
 
The dc offsets are 1.2mv on the right channel, -2.0mv on the left channel.
 
Powering the dac through the doodlebug still has the same static and clicking noise (even when not connected to a PC).
 
Any help would be appreciated. Thanks!
 
Edit:
This was tested using IEMs plugged in directly to the 3.5mm out. The noise is on both channels, it's not a random clicking noise, as in the timing of the clicking stays constant (10clicks a second perhaps). The noise levels keeps going up and down..
 
Jan 27, 2015 at 8:42 PM Post #314 of 359
  Hi Guys, I just finished building a pupdac and a doodlebug. I'm having some issues with the pupdac, and was hoping someone could point me in the right direction to fix it.
 
The dac gets detected by windows and audio plays through it, but there's a quite loud ticking or clicking noise with some static noise in the background. It's not related to the output level of the audio I'm playing, as in if I play something loud enough. I can't hear the noise. The test point voltages are all fine apart from the 4.5v, which reads 4.7. But I saw on this thread that it is normal for it to be ~4.7v.
 
The dc offsets are 1.2mv on the right channel, -2.0mv on the left channel.
 
Powering the dac through the doodlebug still has the same static and clicking noise (even when not connected to a PC).
 
Any help would be appreciated. Thanks!
 
Edit:
This was tested using IEMs plugged in directly to the 3.5mm out. The noise is on both channels, it's not a random clicking noise, as in the timing of the clicking stays constant (10clicks a second perhaps). The noise levels keeps going up and down..


My guess is that you have a bridge or intermittent short somewhere.  There's a capacitor somewhere that's constantly charging/discharging. The discharges are the clicks you hear.  It may need nothing more than a thorough cleaning ... and most important, a thorough drying.  I've had this happen from residual cleaning alcohol retained in or under one of the chips.  Maybe try setting it beneath an incandescent light bulb for awhile?
 
Jan 28, 2015 at 2:06 PM Post #315 of 359
Thanks for the advice TomB.. I cleaned the board with flux cleaner and deionised water, let it dry under a bulb for about 12hrs.. the problem is still there.. On the PCM1794, There's a bridge on pins 11 and 12, I've scratched the soldermask on the via next to these pads so it's impossible to remove that bridge now, on the schematic these two pins are grounded (FMT0 and FMT1), So I left the bridge as it is.. I didn't think this could be the problem as those two pins are connected to the same via (one I managed to scrape the soldermask off) that goes to C8 on the other side anyway...
 
I'm very new at this so I don't know how I should go about checking if a cap is shorting, can I just check the voltage across every cap? I'll try to post some photos if I can get something to focus close enough to see the details of the board.. Thanks again!
 
Edit:
 
Pics:
1794
so4tqh.jpg

 
2707
2vw8ep5.jpg

 
Board top
qnpqmt.jpg

 
Board bottom
kq2qs.jpg


Users who are viewing this thread

Back
Top