


Dr Jekyll
Head-Fier
- Joined
- Oct 30, 2015
- Posts
- 69
- Likes
- 21
Does anyone know a good way to paint the sliders? So far, I know of powder coating or chalkboard paint.
Does anyone know a good way to paint the sliders? So far, I know of powder coating or chalkboard paint.

|
Make every day a fun day filled with music and friendship!
Stay updated on Dan Clark Audio at their sponsor profile on Head-Fi.


|
Just wondering if there are any cons in installing the Hirose receptacles (complete with wire leads) to the cups before lining the inside with acoustic foam, leaving just a small hole for the wires to sneak through the foam and reach the driver pads. I'm asking since It has proven quite awkward to install the connector and secure it in place with the nut if the foam is already applied to the cup. The foam adds enough extra width to the cup, which makes it more difficult to rotate the nut.
Is it really a must to line the cups with acoustic foam before installing the Hirose connectors? Wouldn't be easier to proceed the other way around? Unless it is advisable to keep the connector pins exposed, should it be required to disassemble the connector for any reason... but that's the only dis/advantage I can think of.
I've been working on a stencil to make it easier to cut the acoustic foam to the correct size and with the right "indents", so that it can adhere to the concave surface of the cups properly.
Once I'm confident it is accurate enough, I will share it here on this thread, together with a photo of the cups to show the final result.
|
|
Make every day a fun day filled with music and friendship!
Stay updated on Dan Clark Audio at their sponsor profile on Head-Fi.
|
Just wondering if there are any cons in installing the Hirose receptacles (complete with wire leads) to the cups before lining the inside with acoustic foam, leaving just a small hole for the wires to sneak through the foam and reach the driver pads. I'm asking since It has proven quite awkward to install the connector and secure it in place with the nut if the foam is already applied to the cup. The foam adds enough extra width to the cup, which makes it more difficult to rotate the nut.
Is it really a must to line the cups with acoustic foam before installing the Hirose connectors? Wouldn't be easier to proceed the other way around? Unless it is advisable to keep the connector pins exposed, should it be required to disassemble the connector for any reason... but that's the only dis/advantage I can think of.
I've been working on a stencil to make it easier to cut the acoustic foam to the correct size and with the right "indents", so that it can adhere to the concave surface of the cups properly.
Once I'm confident it is accurate enough, I will share it here on this thread, together with a photo of the cups to show the final result.
So I have done it both ways... my first cup I did with the connector off and then decided the foam was in the way, and wanted the second install to go easier, so I put the connector first and then the foam. My second cup's foam has super ugly edges and couldn't be put in flat. Putting the connector second was easier and cleaner, even if it seems annoying at first. (I didn't use Hirose connectors though).
I wish I had a stencil..... it really makes sense...
It's fine to install the connector first. You might want to loctite the nut in place, it's a drag if the parts work loose.
Oops! Sorry ... I skipped your reply! Many thanks!
Although, as suggested, the added benefit/flexibility coming from lining the acoustic foam first is likely well worth the extra time and dedication required to keep the installation of the Hirose connector as the second step in the cup preparation. It's certainly true that it would be a pain to remove the foam, if - for whatever reasons - there's the need to access the connector again in the future.
Anyway, I'm still debating if a stencil would really be handy to cut the acoustic foam into the correct shape/size and with the required cutouts, so as to apply it inside the cups without creases/wrinkles. It seems to be a must that proper cutouts be in place, in order for the foam to adhere perfectly flat on the concave surface of the cups... but without the back paper layer, the foam might actually be so soft that it could be possible to stretch/compress it as required to avoid the creation of creases during application. Not sure...
The sample photo in the opening post do not show any seams in the foam, so it's not clear if the piece was prepared with proper cutouts to compensate for the concave surface of the cups, as it would be unquestionably required to do if working with anything stiffer than foam.
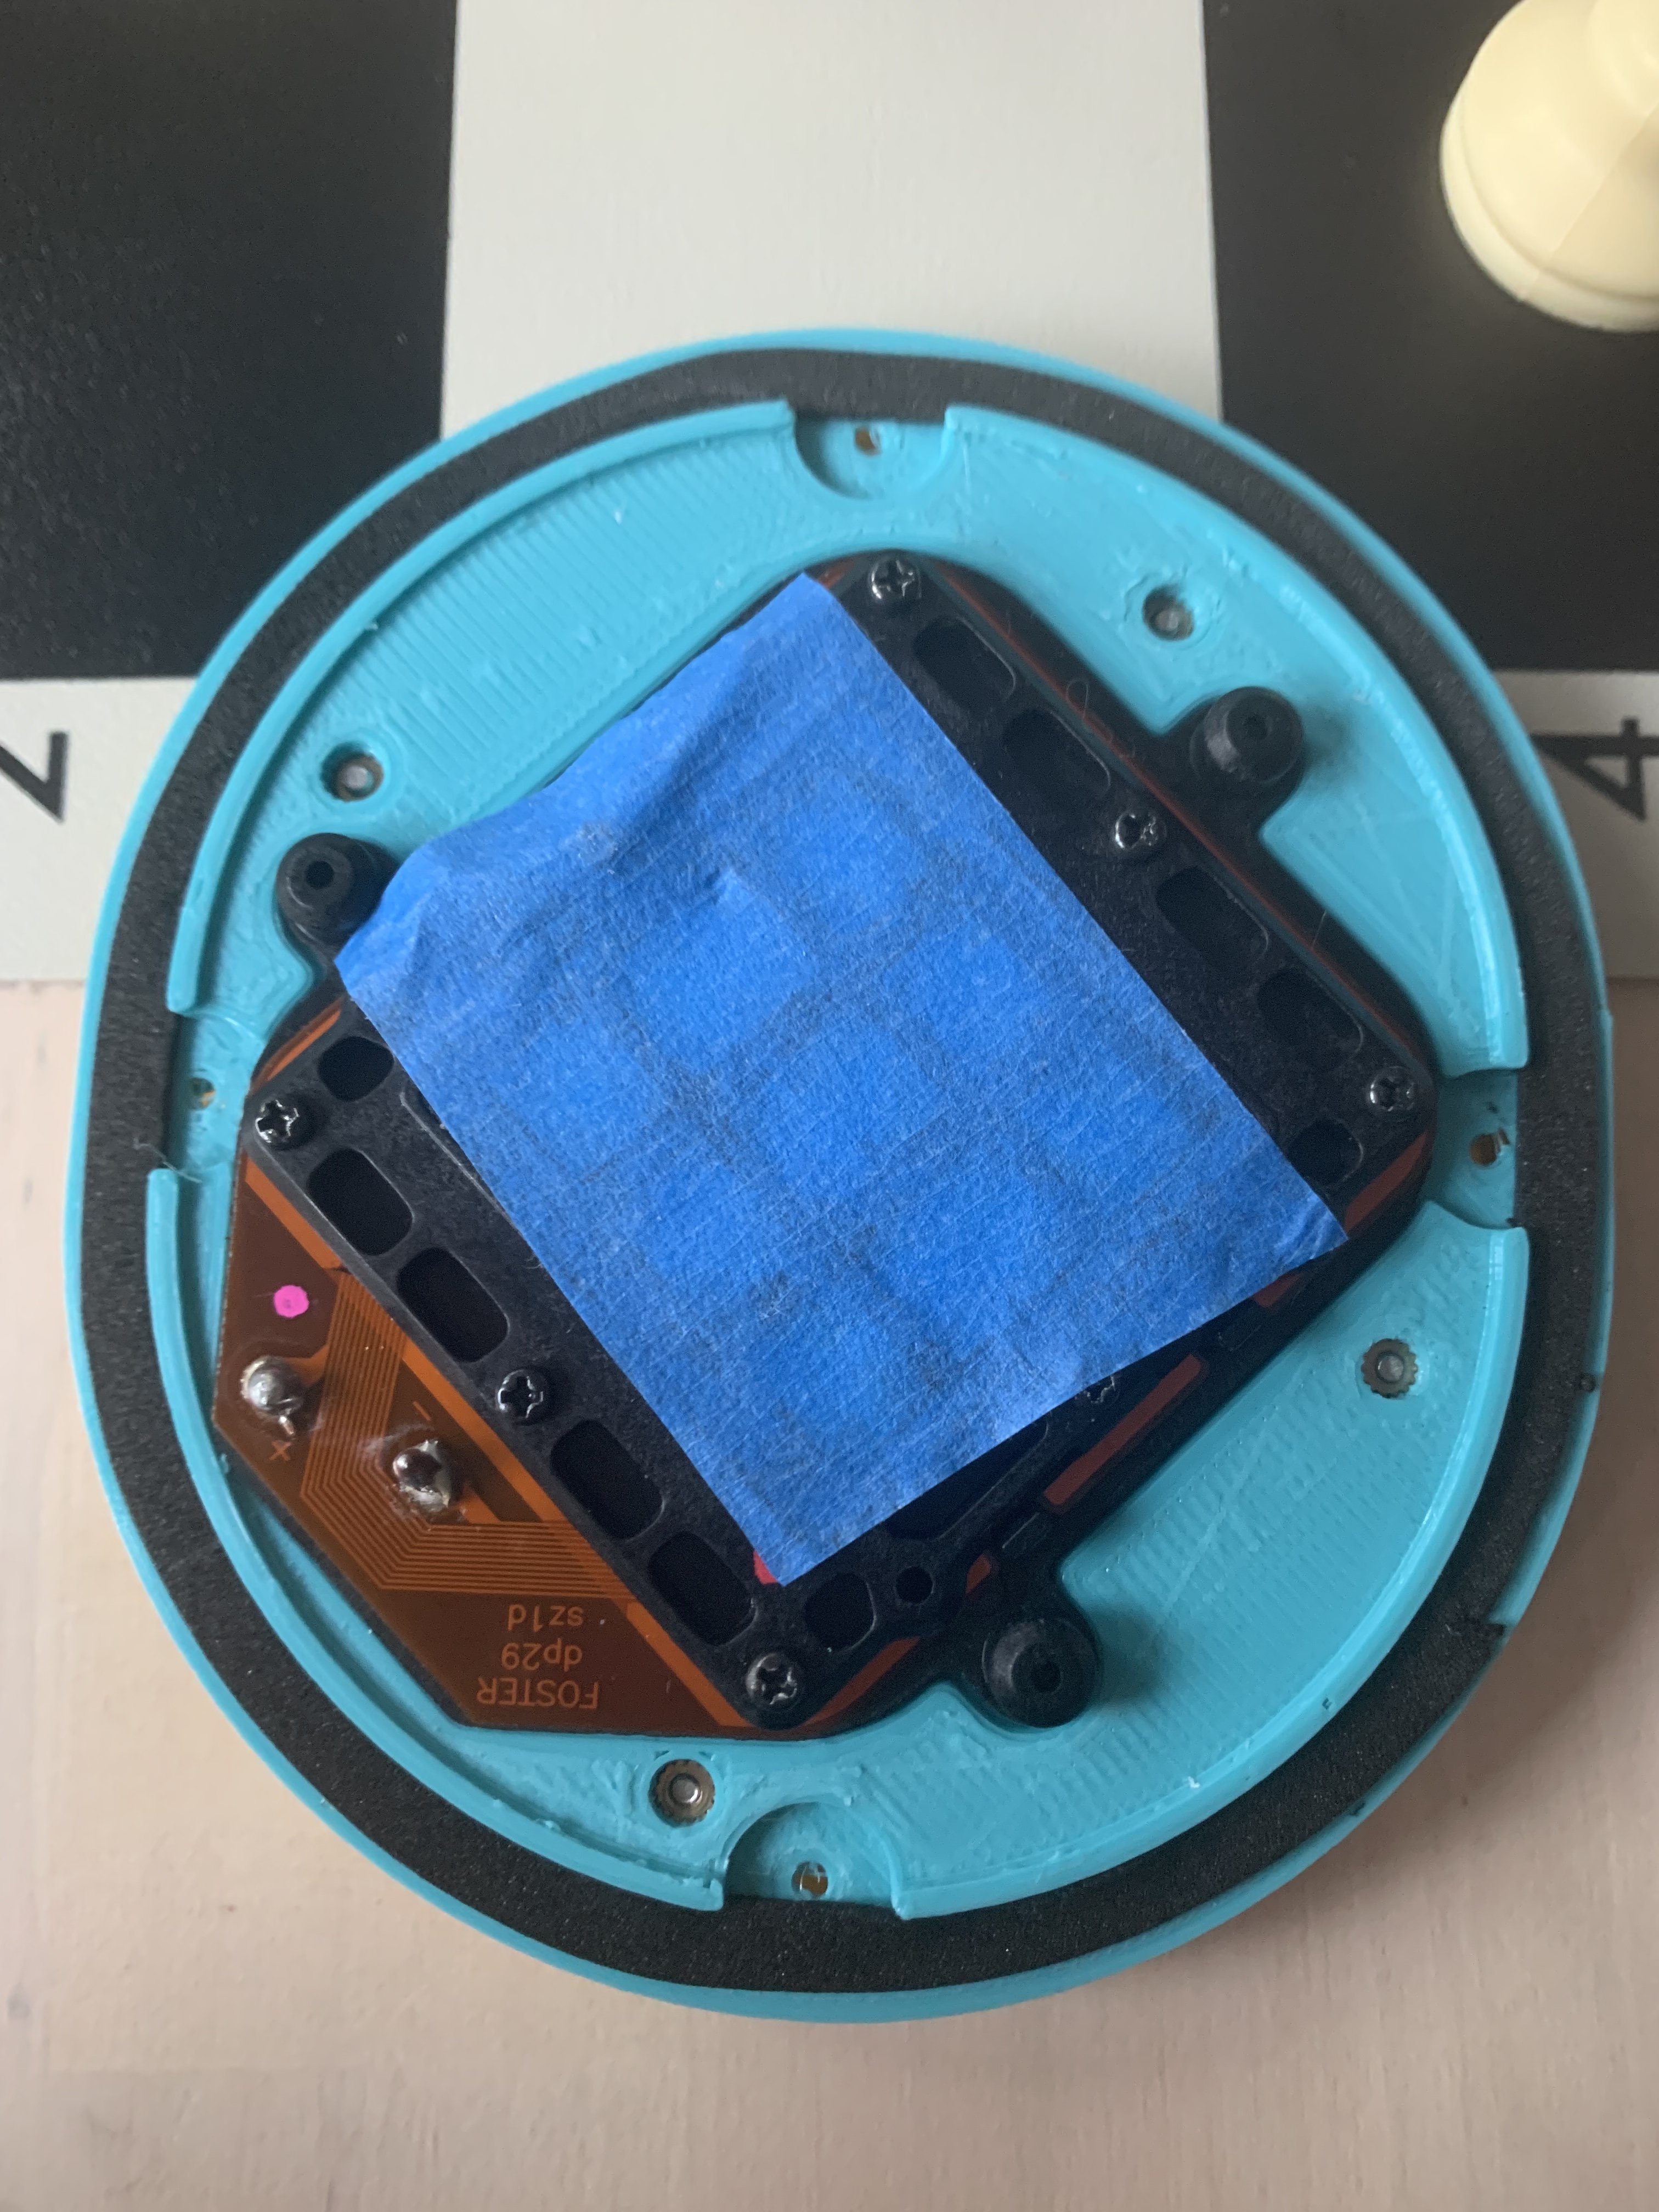
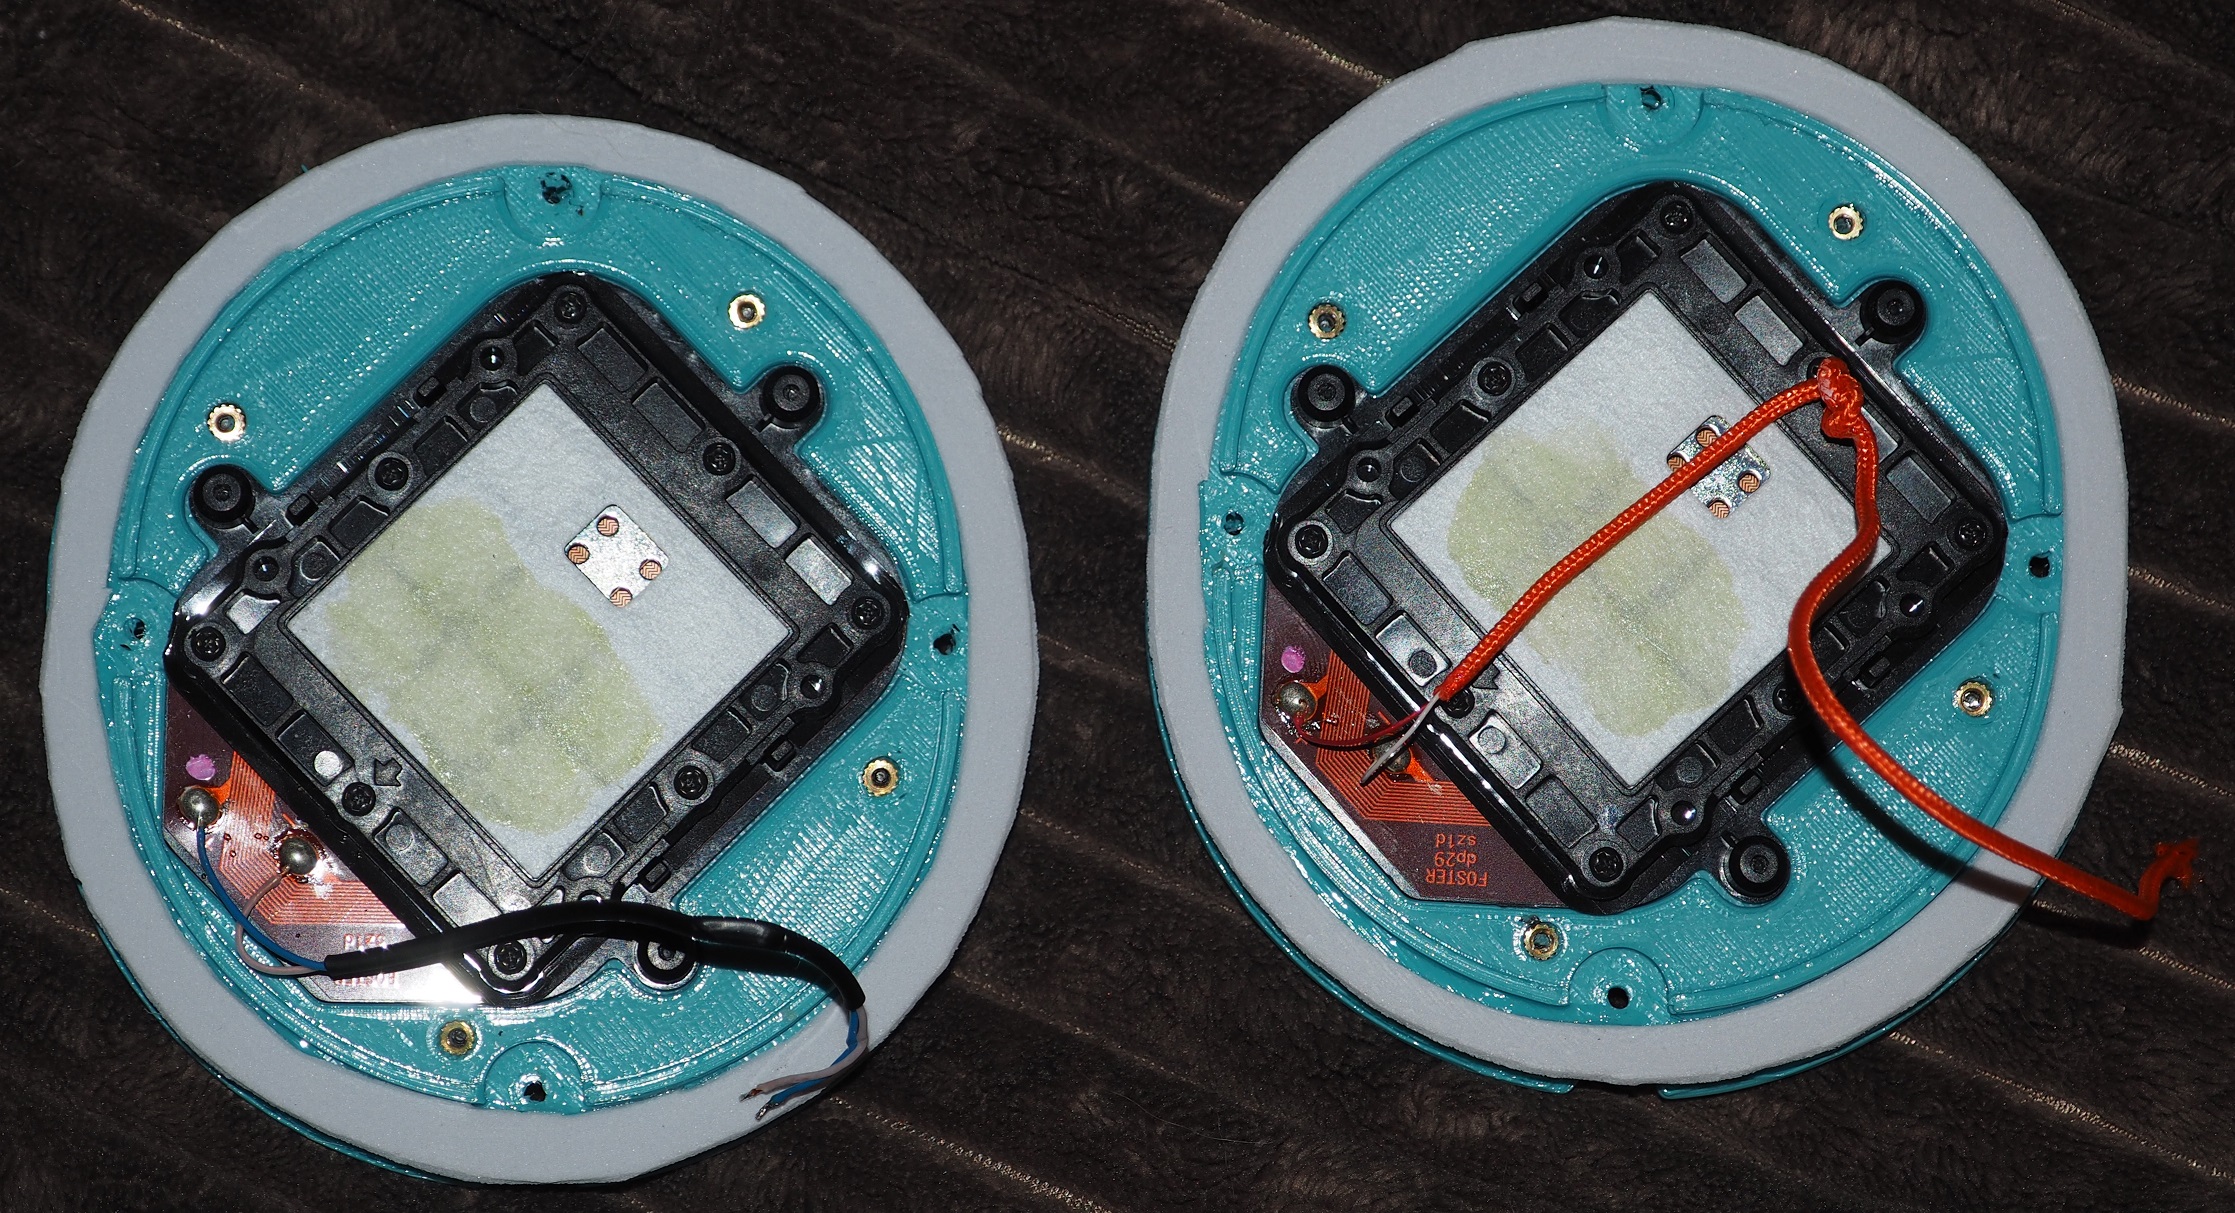
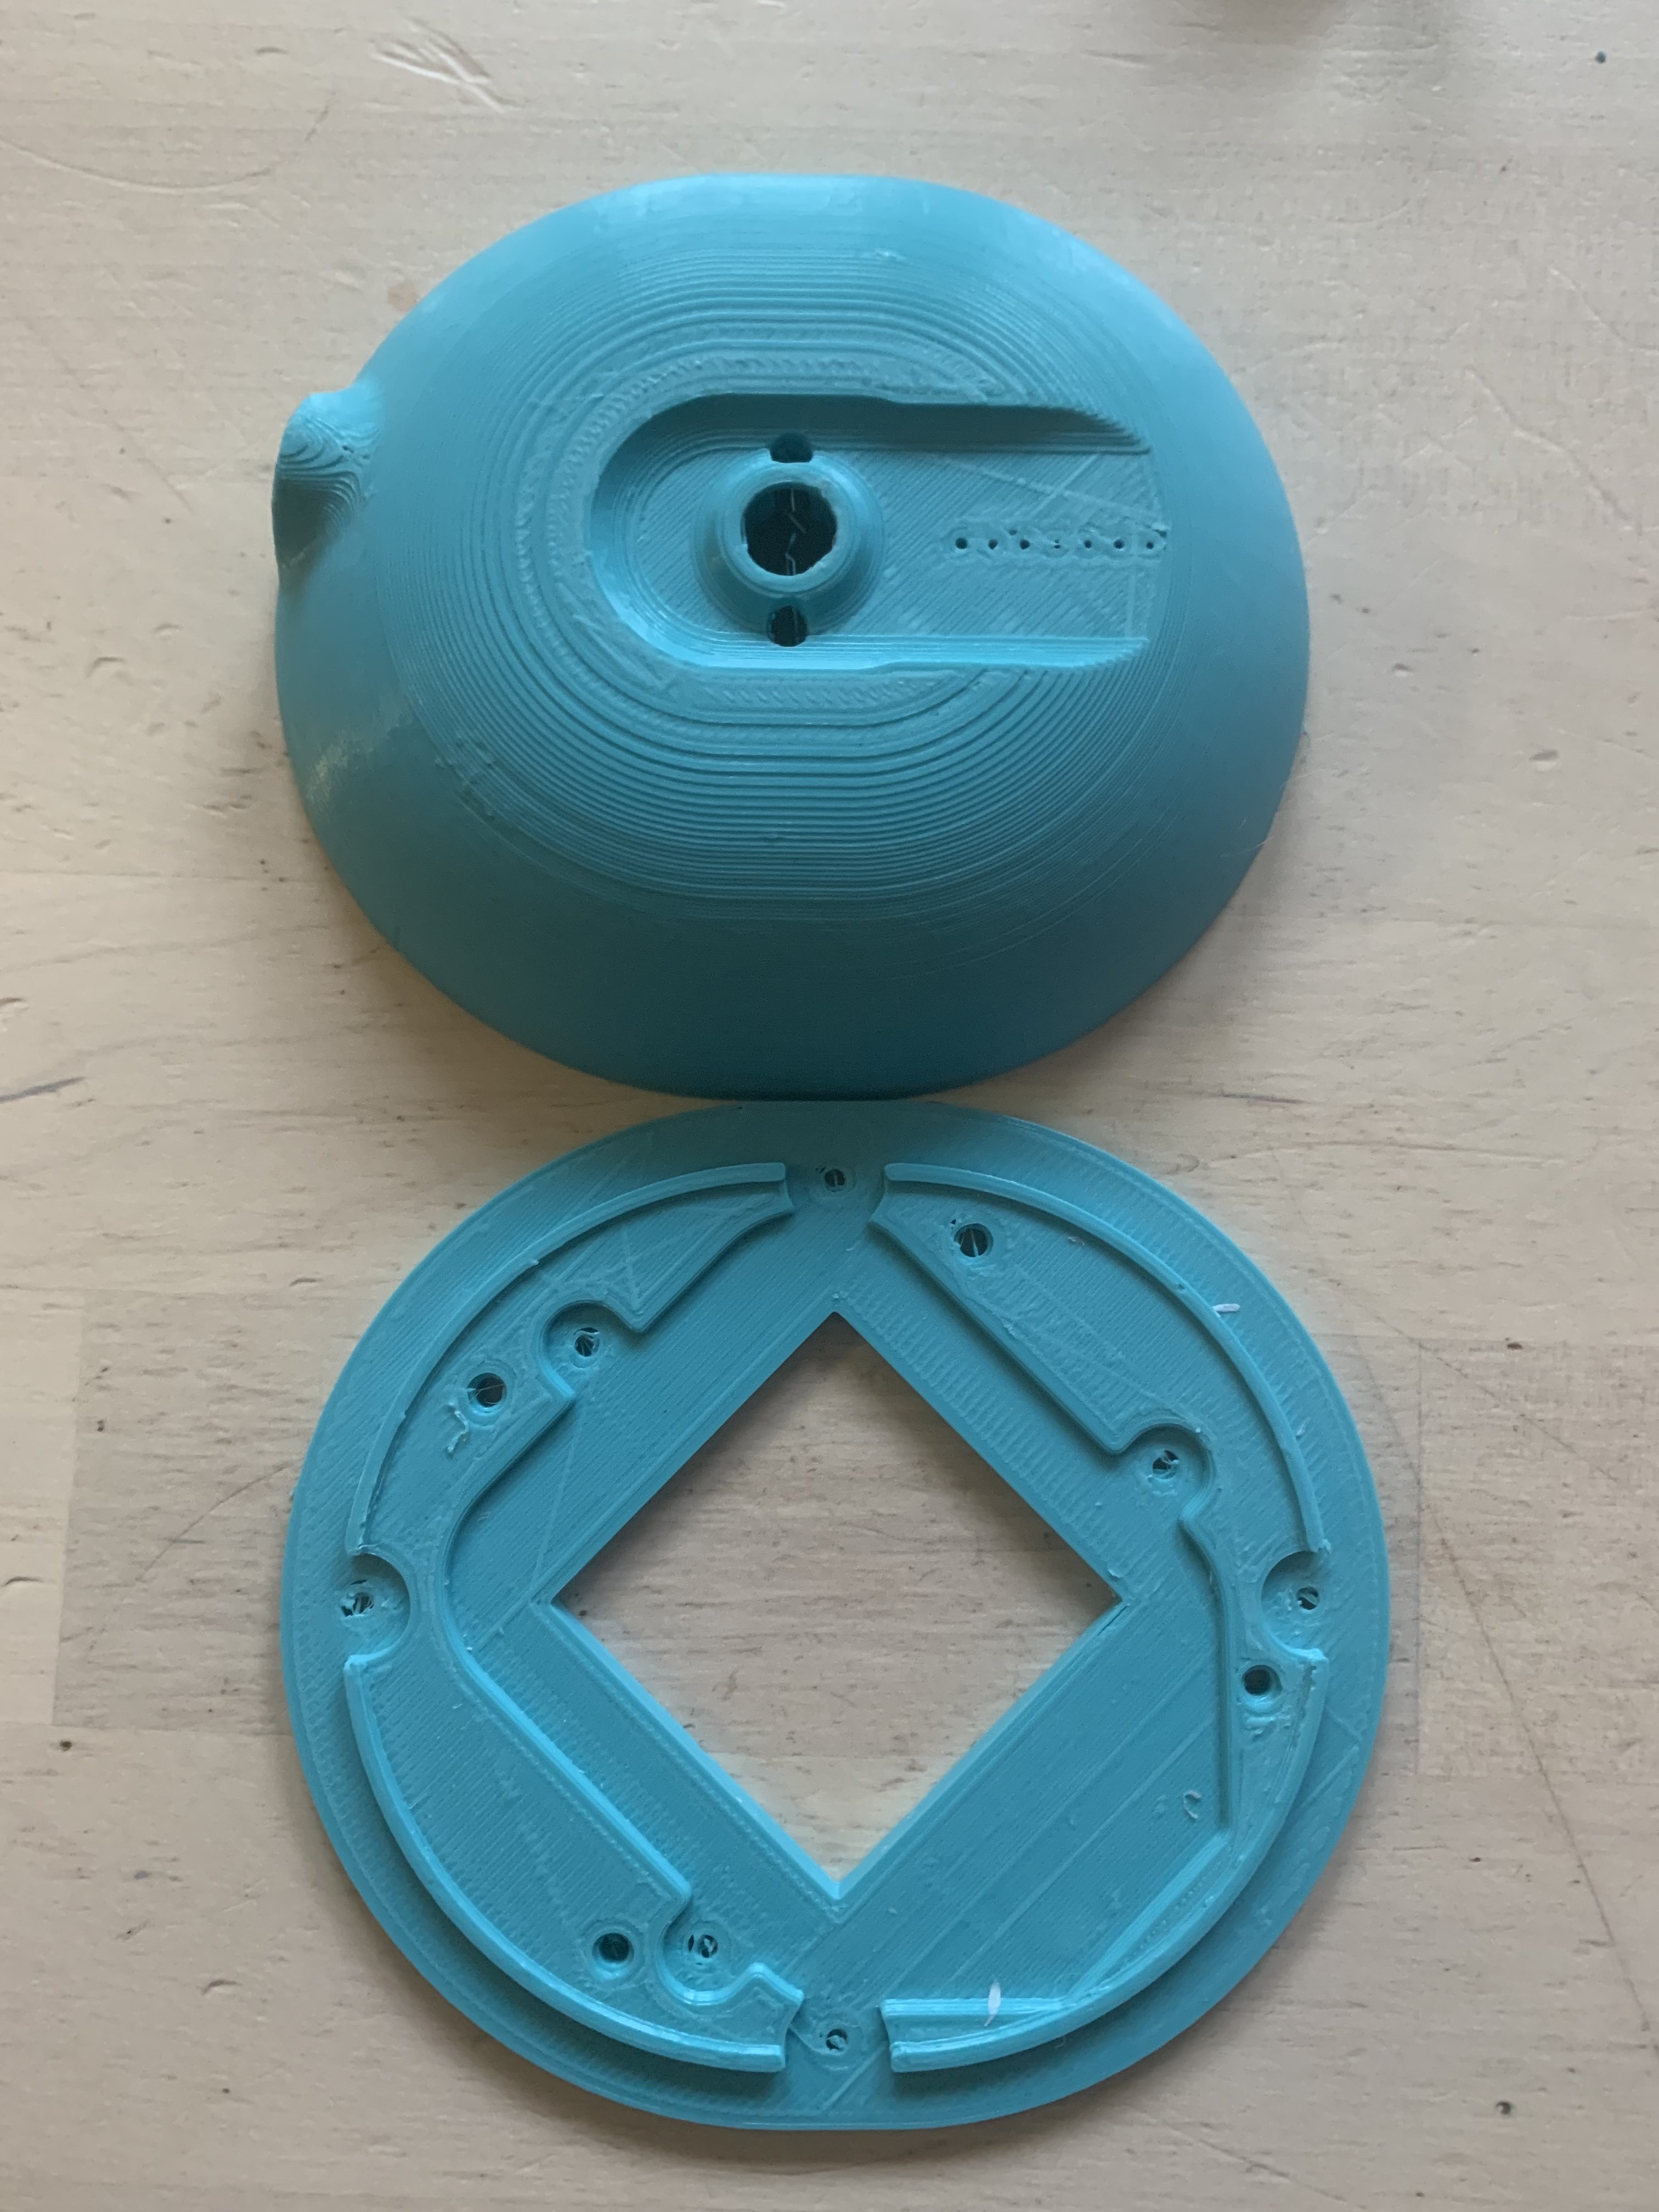
A quick update on the progress made, with a couple photos showing the acoustic foam applied on the cups and the Hirose connectors installed. As suggested, the Hirose connectors were installed after lining the cups with the acoustic foam (Akasa Paxmate).
I've drawn and used a stencil to help myself in cutting the foam to the correct size and with the proper cutouts, as required to avoid that creases would appear during application. I'll upload the stencil to dropbox and share the link on this thread, should it be useful to those who will "venture" in this project. Some very light adjustments were still necessary after application, but the stencil really made a difference and turned out to make the whole process easier... the holes for the connectors were made after the foam was applied on the cups, in order to ensure an accurate alignment.


