


Beautiful, how do they sound to you? Did you have any other questions?

|
Make every day a fun day filled with music and friendship!
Stay updated on Dan Clark Audio at their sponsor profile on Head-Fi.


|
|
|
Make every day a fun day filled with music and friendship!
Stay updated on Dan Clark Audio at their sponsor profile on Head-Fi.
|
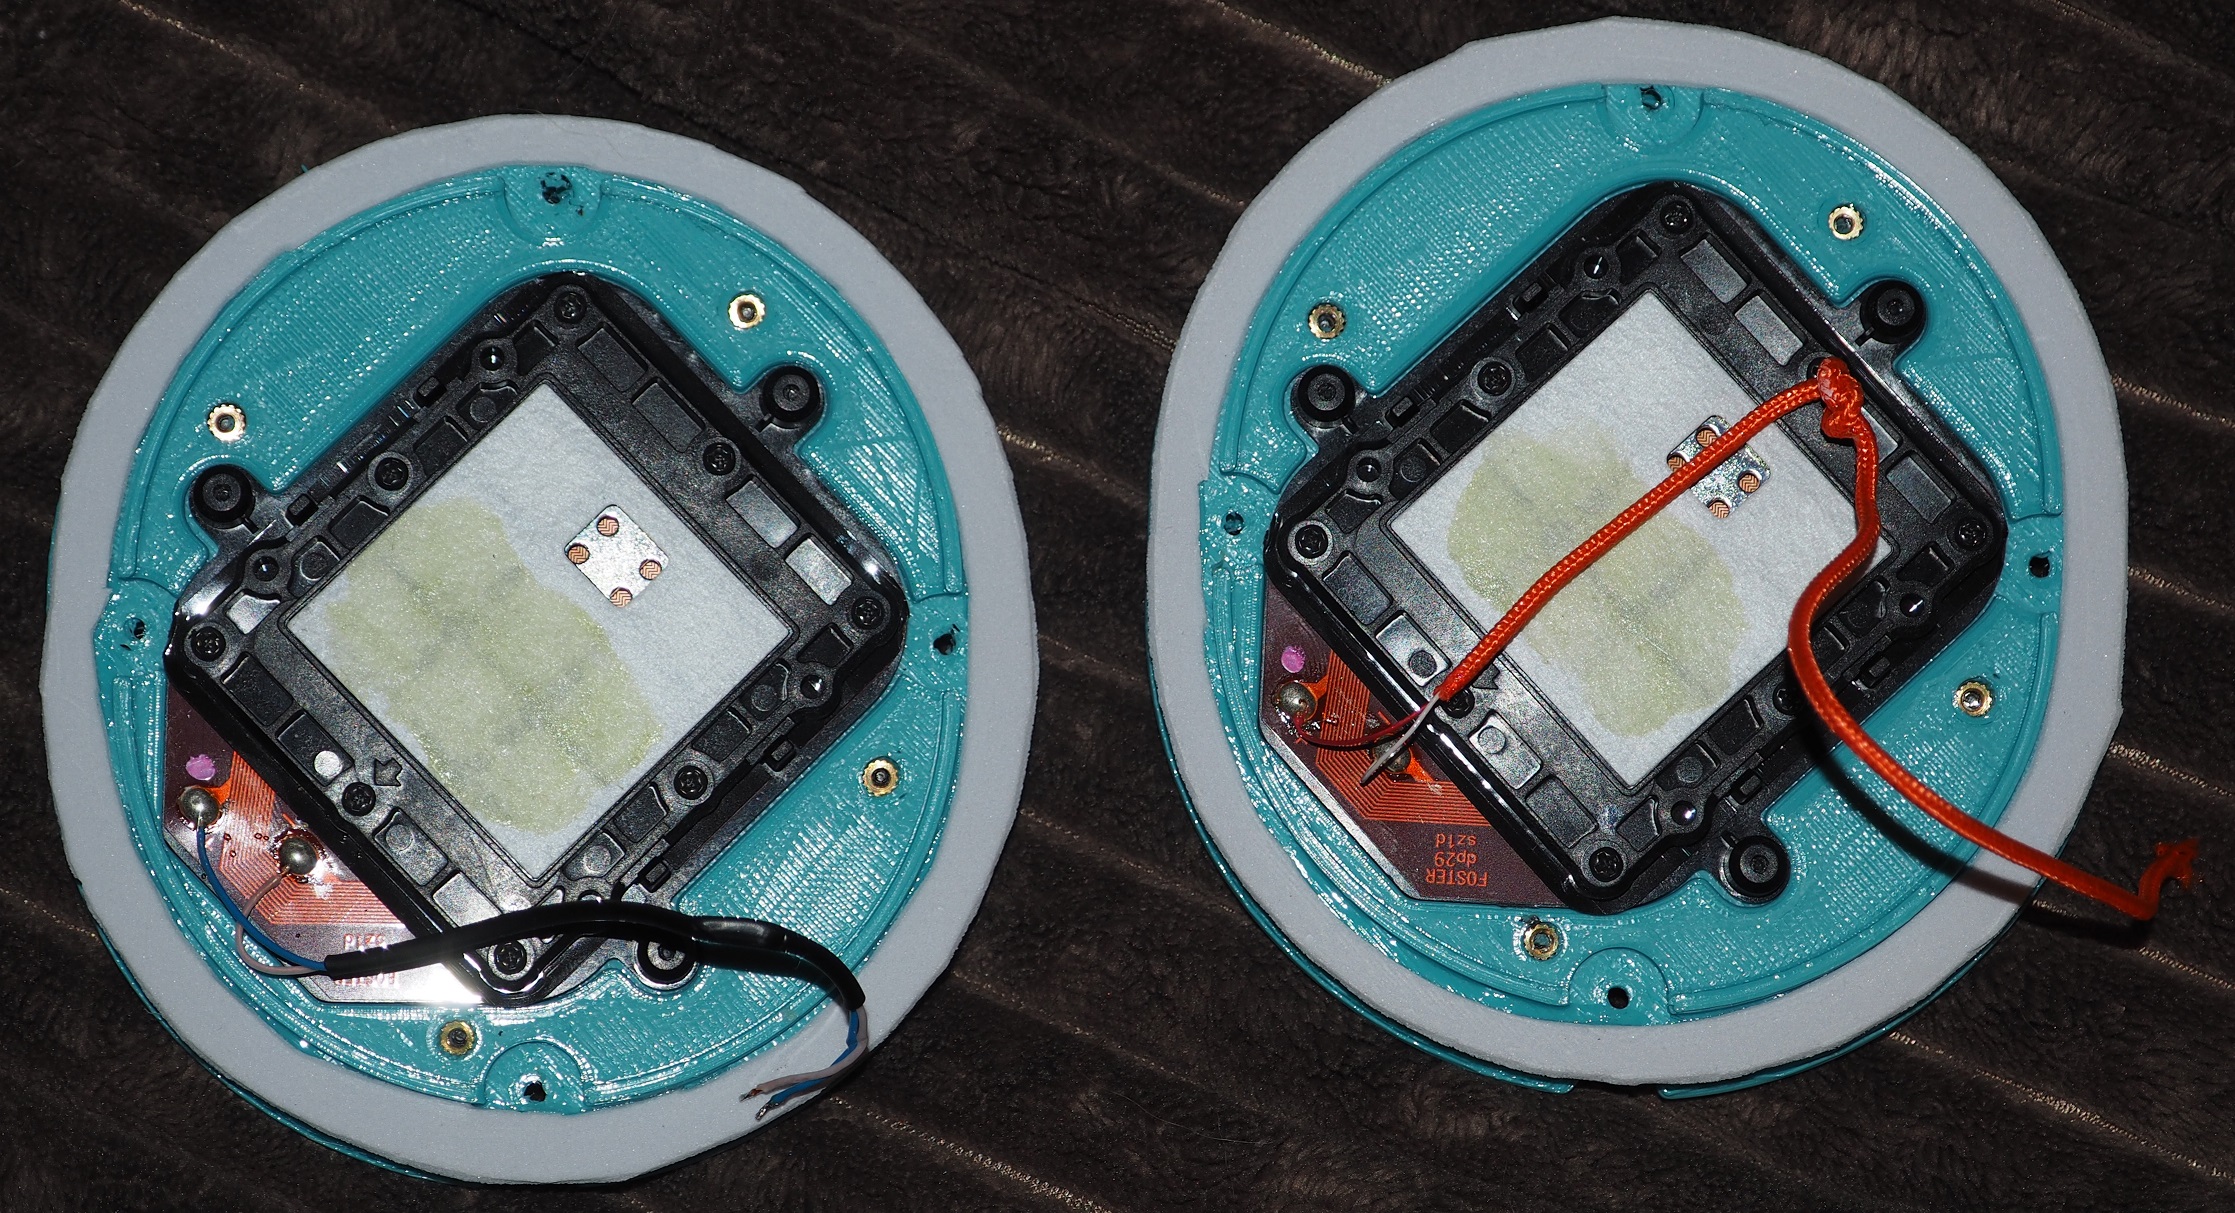
I'll be uploading editable IGIS and Parasolid files for the 3D models to the first post. Have to sort a few issues out to get them posted, it seems.
|
|
Make every day a fun day filled with music and friendship!
Stay updated on Dan Clark Audio at their sponsor profile on Head-Fi.
|
Beautiful, how do they sound to you? Did you have any other questions?
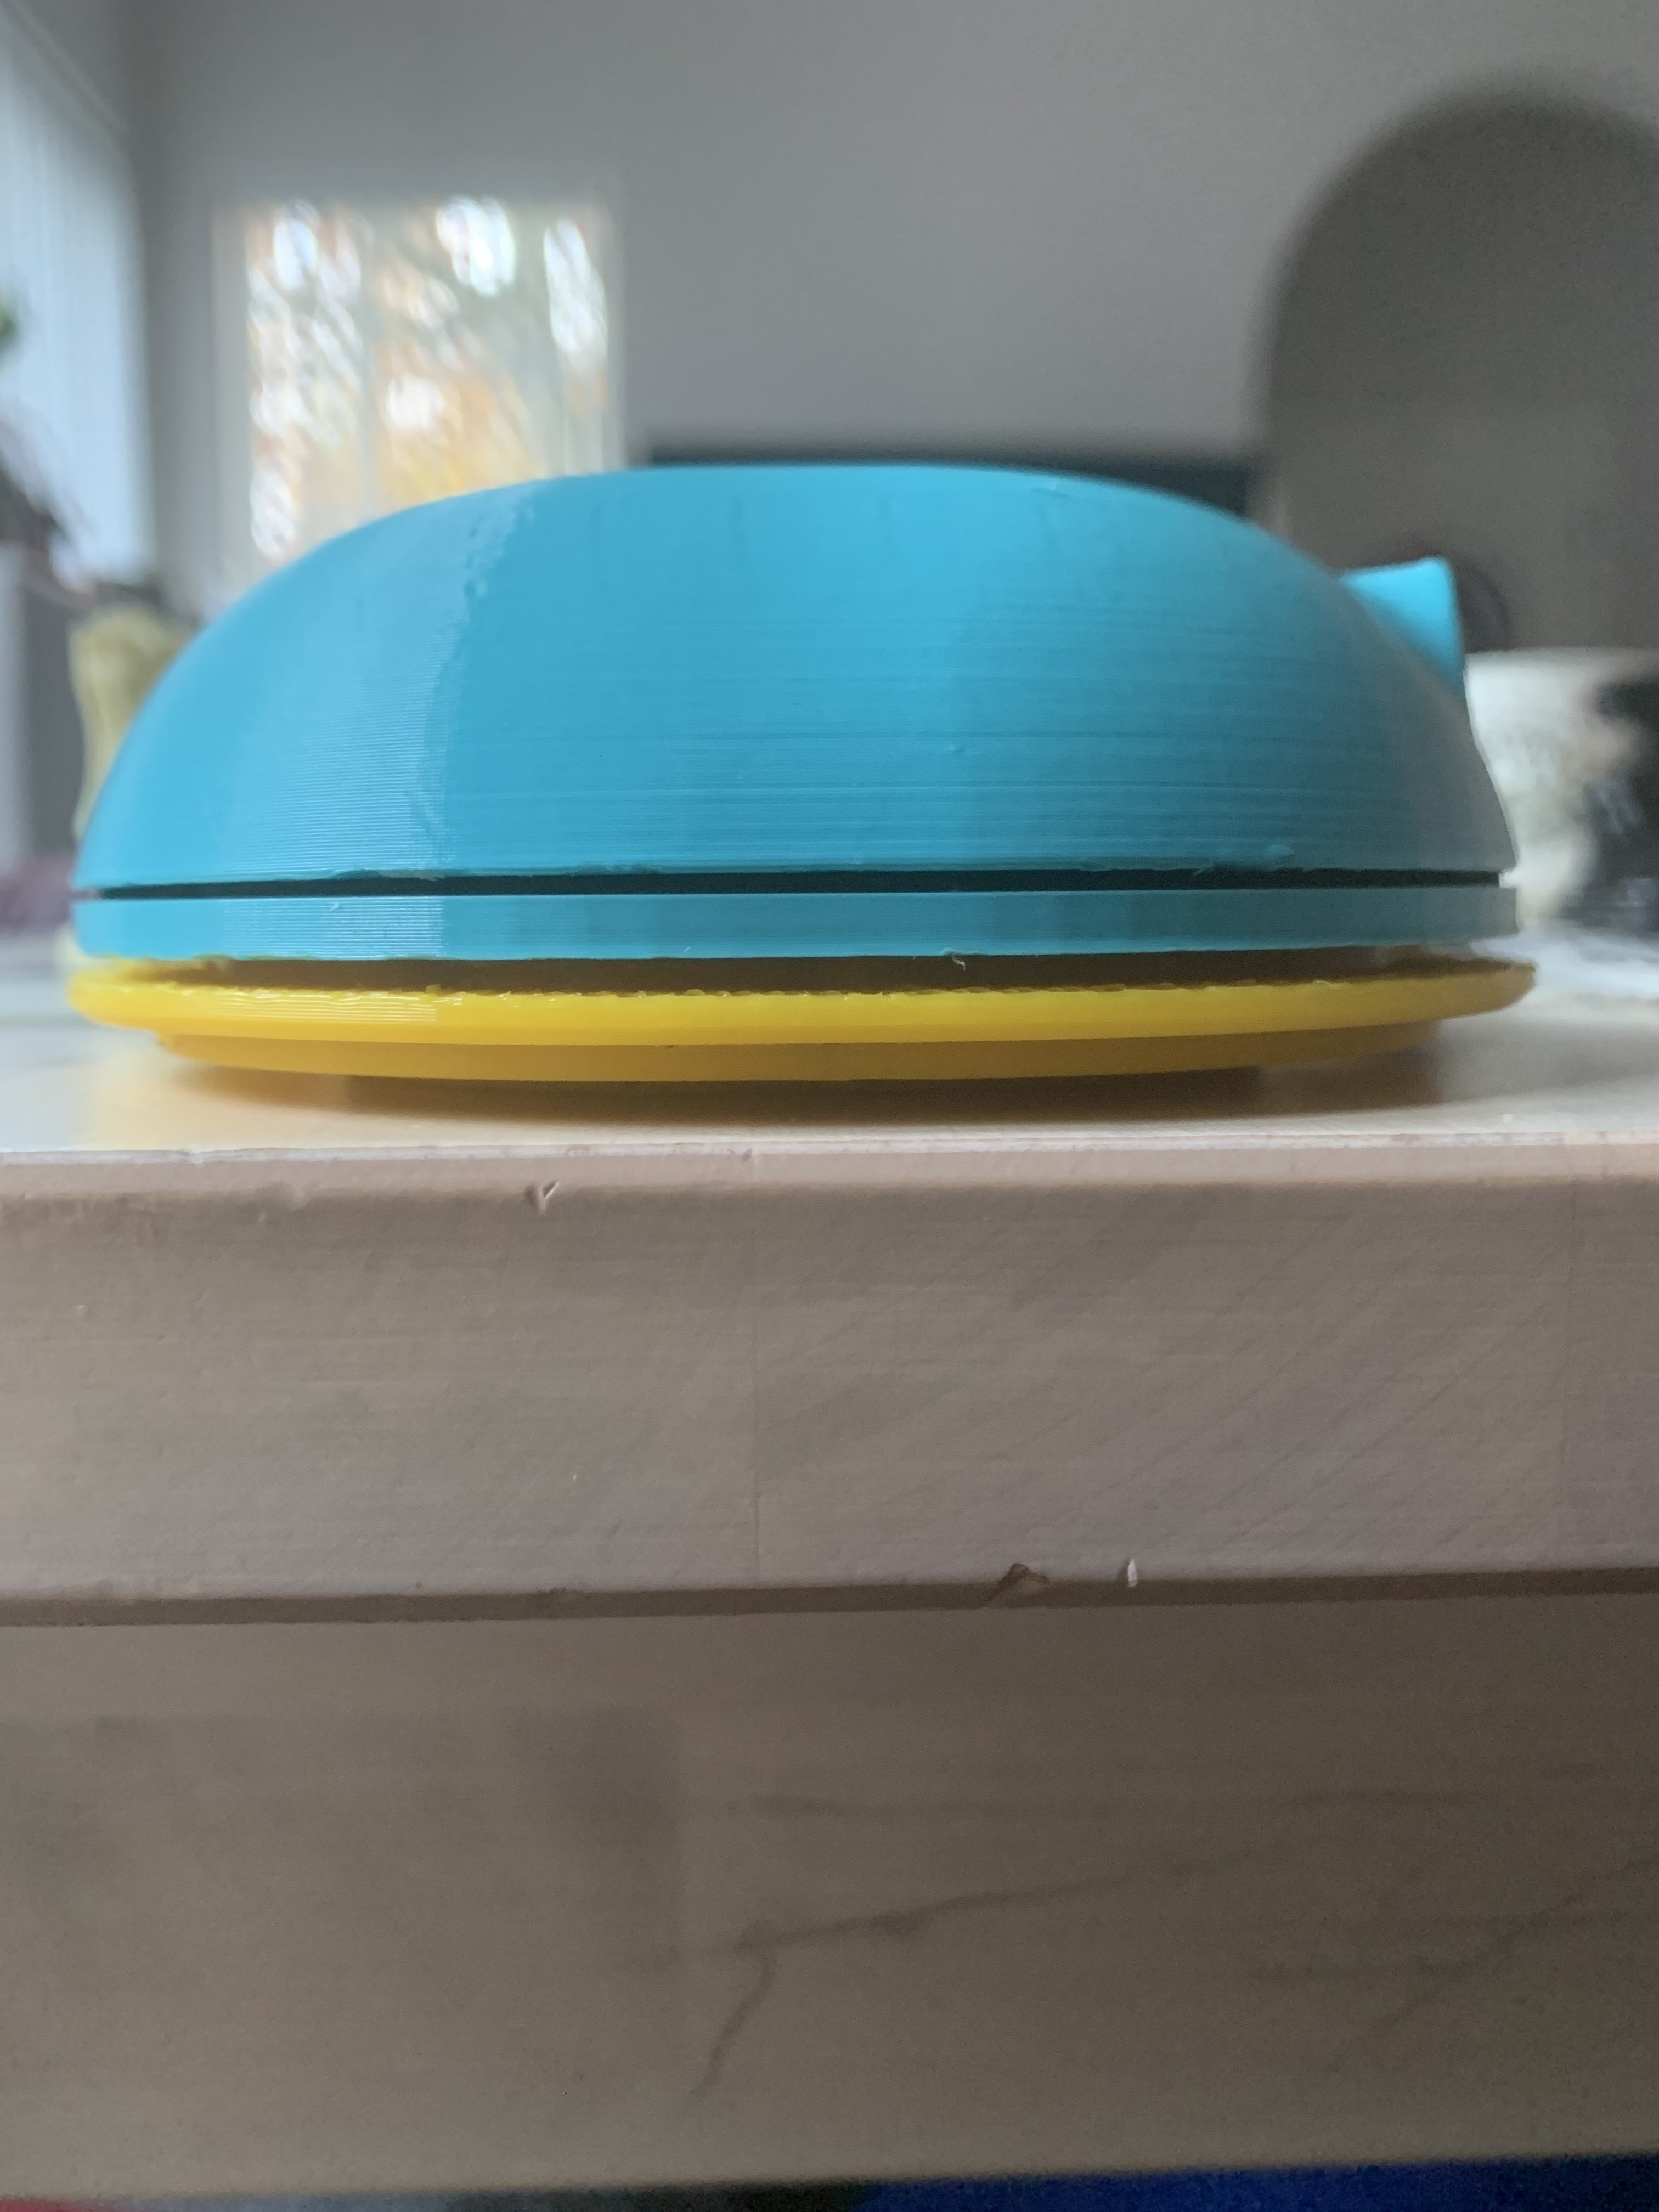
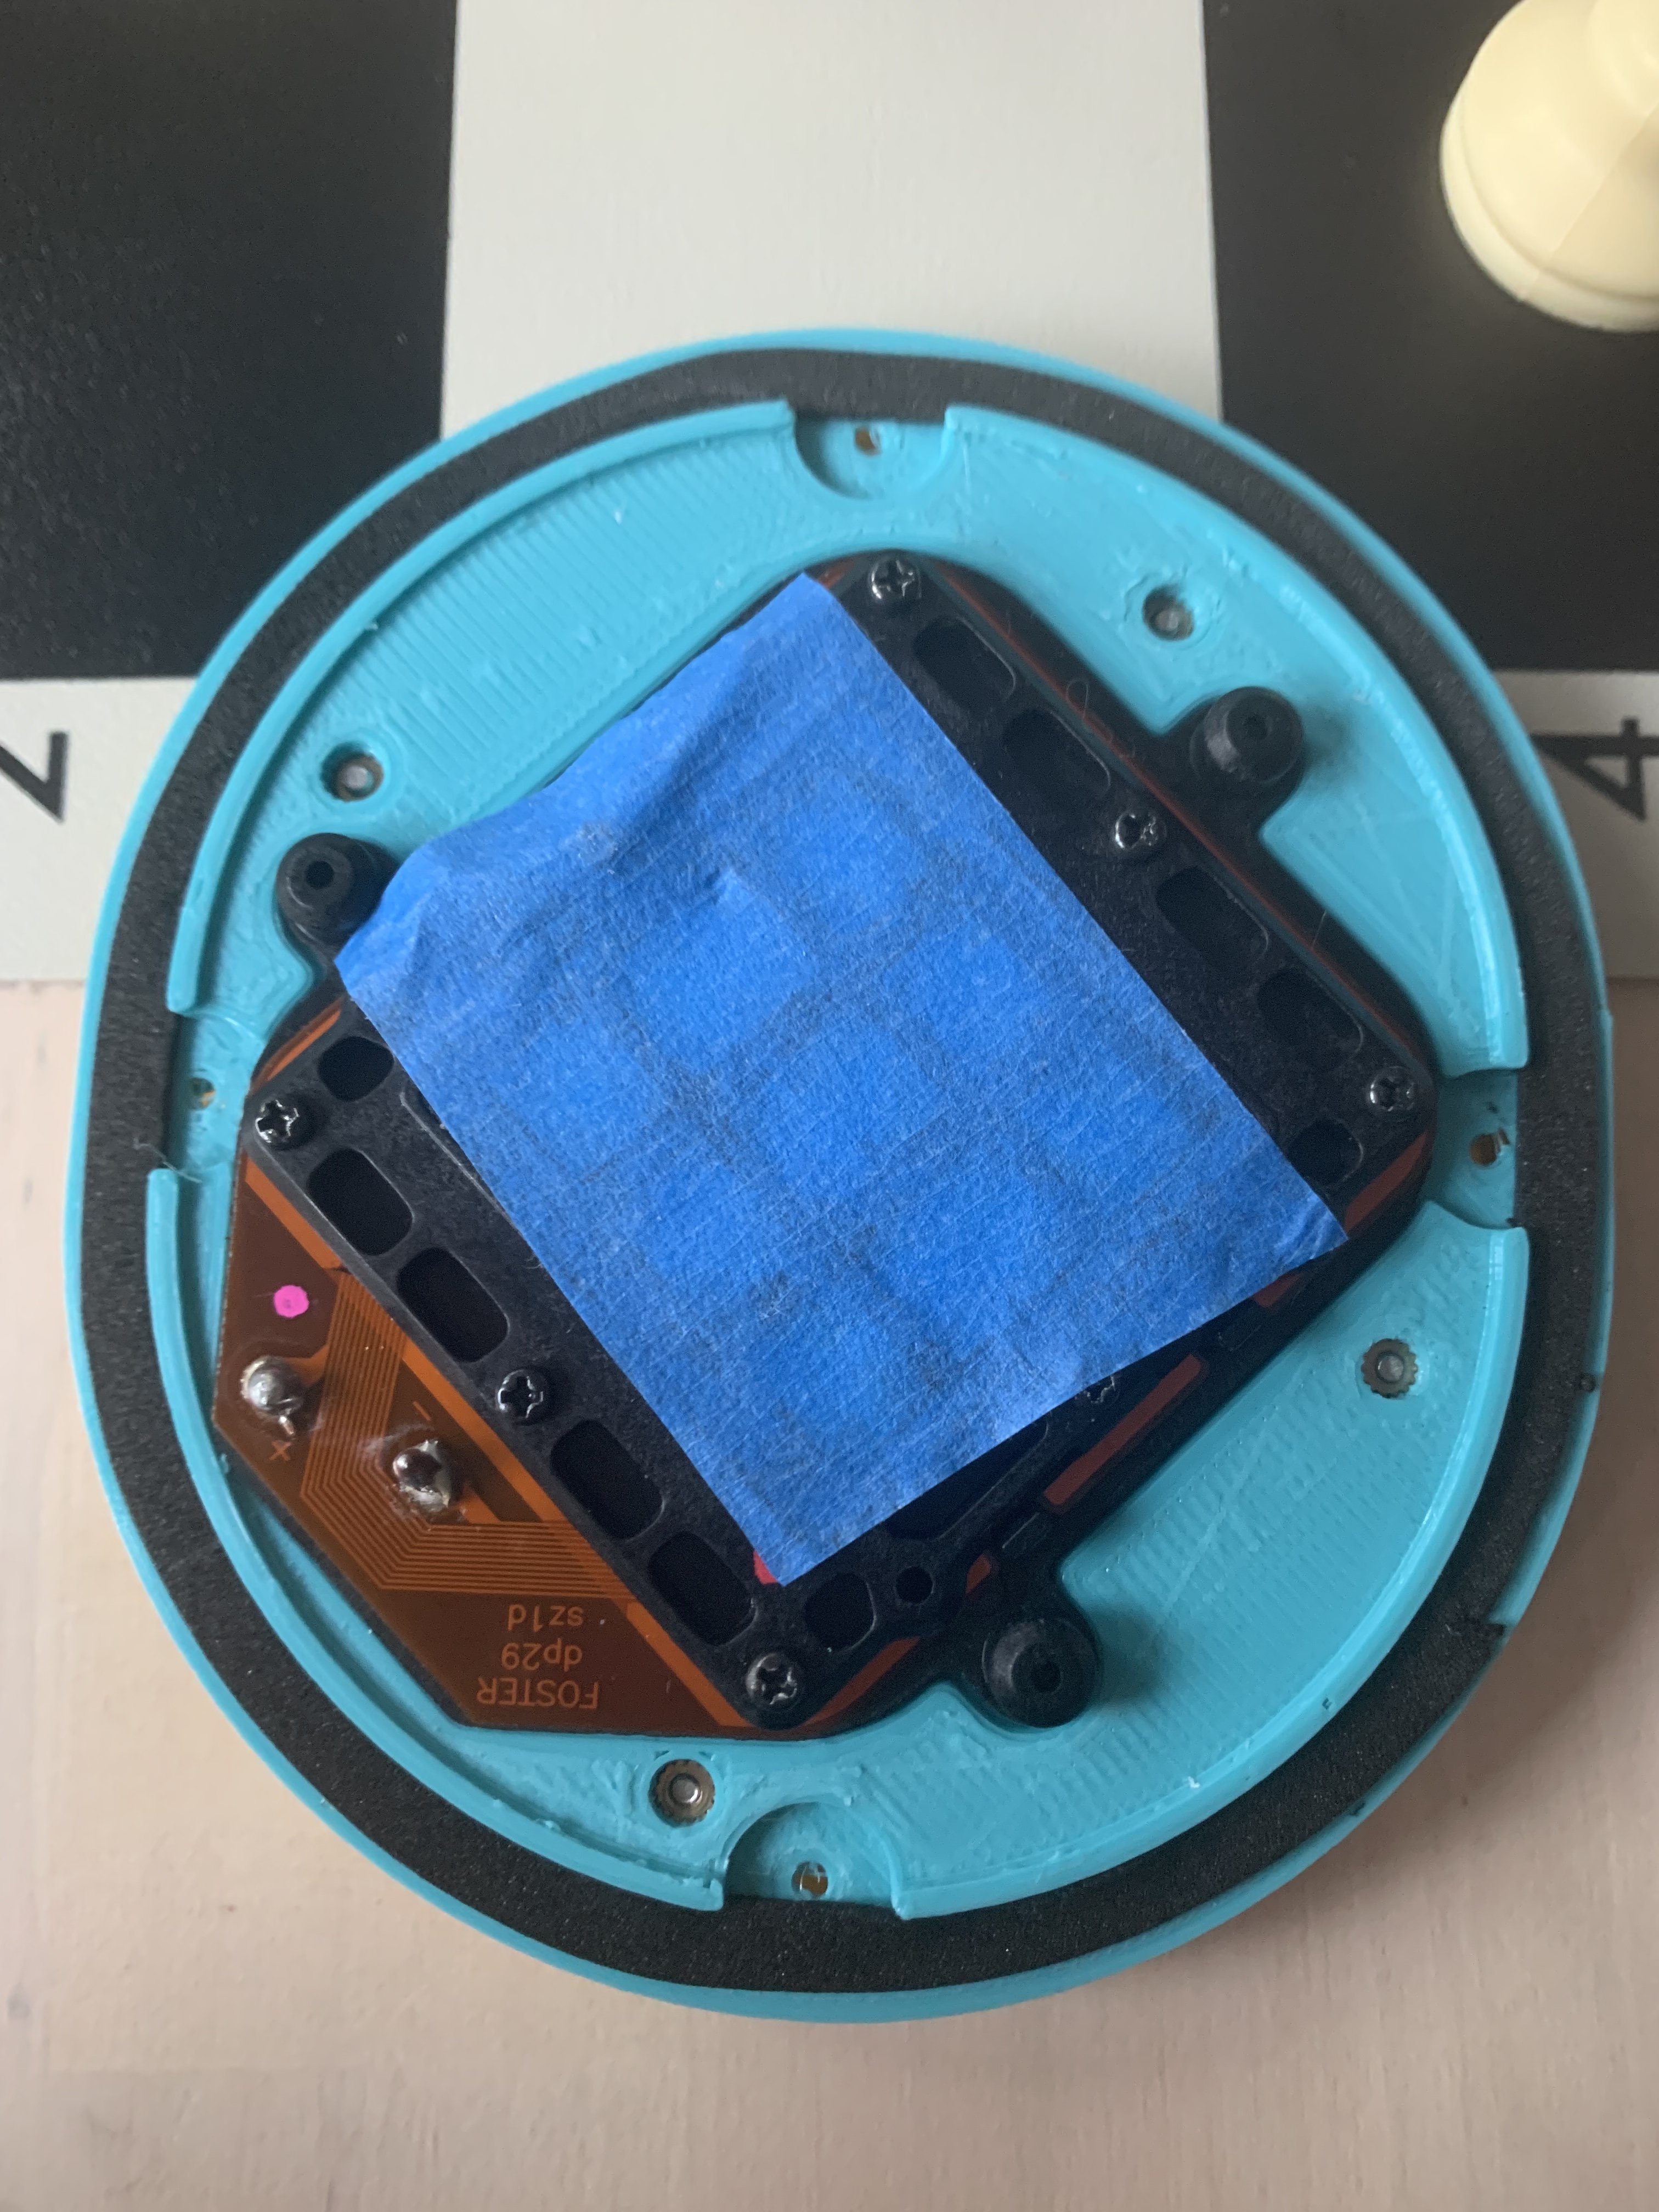
The first pair!
Couple questions:
1. Do you have a materials list?
2. Any surprise expenses?
3. Any special equipment needed? I have a soldering gun, 3D printer, and basic tools (pliers, scissors, knives, screwdrivers, etc.)
I'm just worried because for me, DIY tends to run about 10x the predicted cost. Hence the reason I am the proud owner of a $1500 pinewood derby car. It came with a free table saw, scroll saw, 3D printer, drill, drill press, axle jig, hand sander, dremel, vinyl cutter, half dozen cans of paint, primer, clear coat, etc. My bill for actual pinewood derby parts (wheels, axles, weights, block) was under $150.
I calculate up the costs in my head and it seems to be under $250. What is the real cost?
Although I was initially not in the mindset to endeavor in this project, after looking at the great work done by Arty McGhee I decided to carry on and start getting the pieces required to modify my T50RP-MKIII.
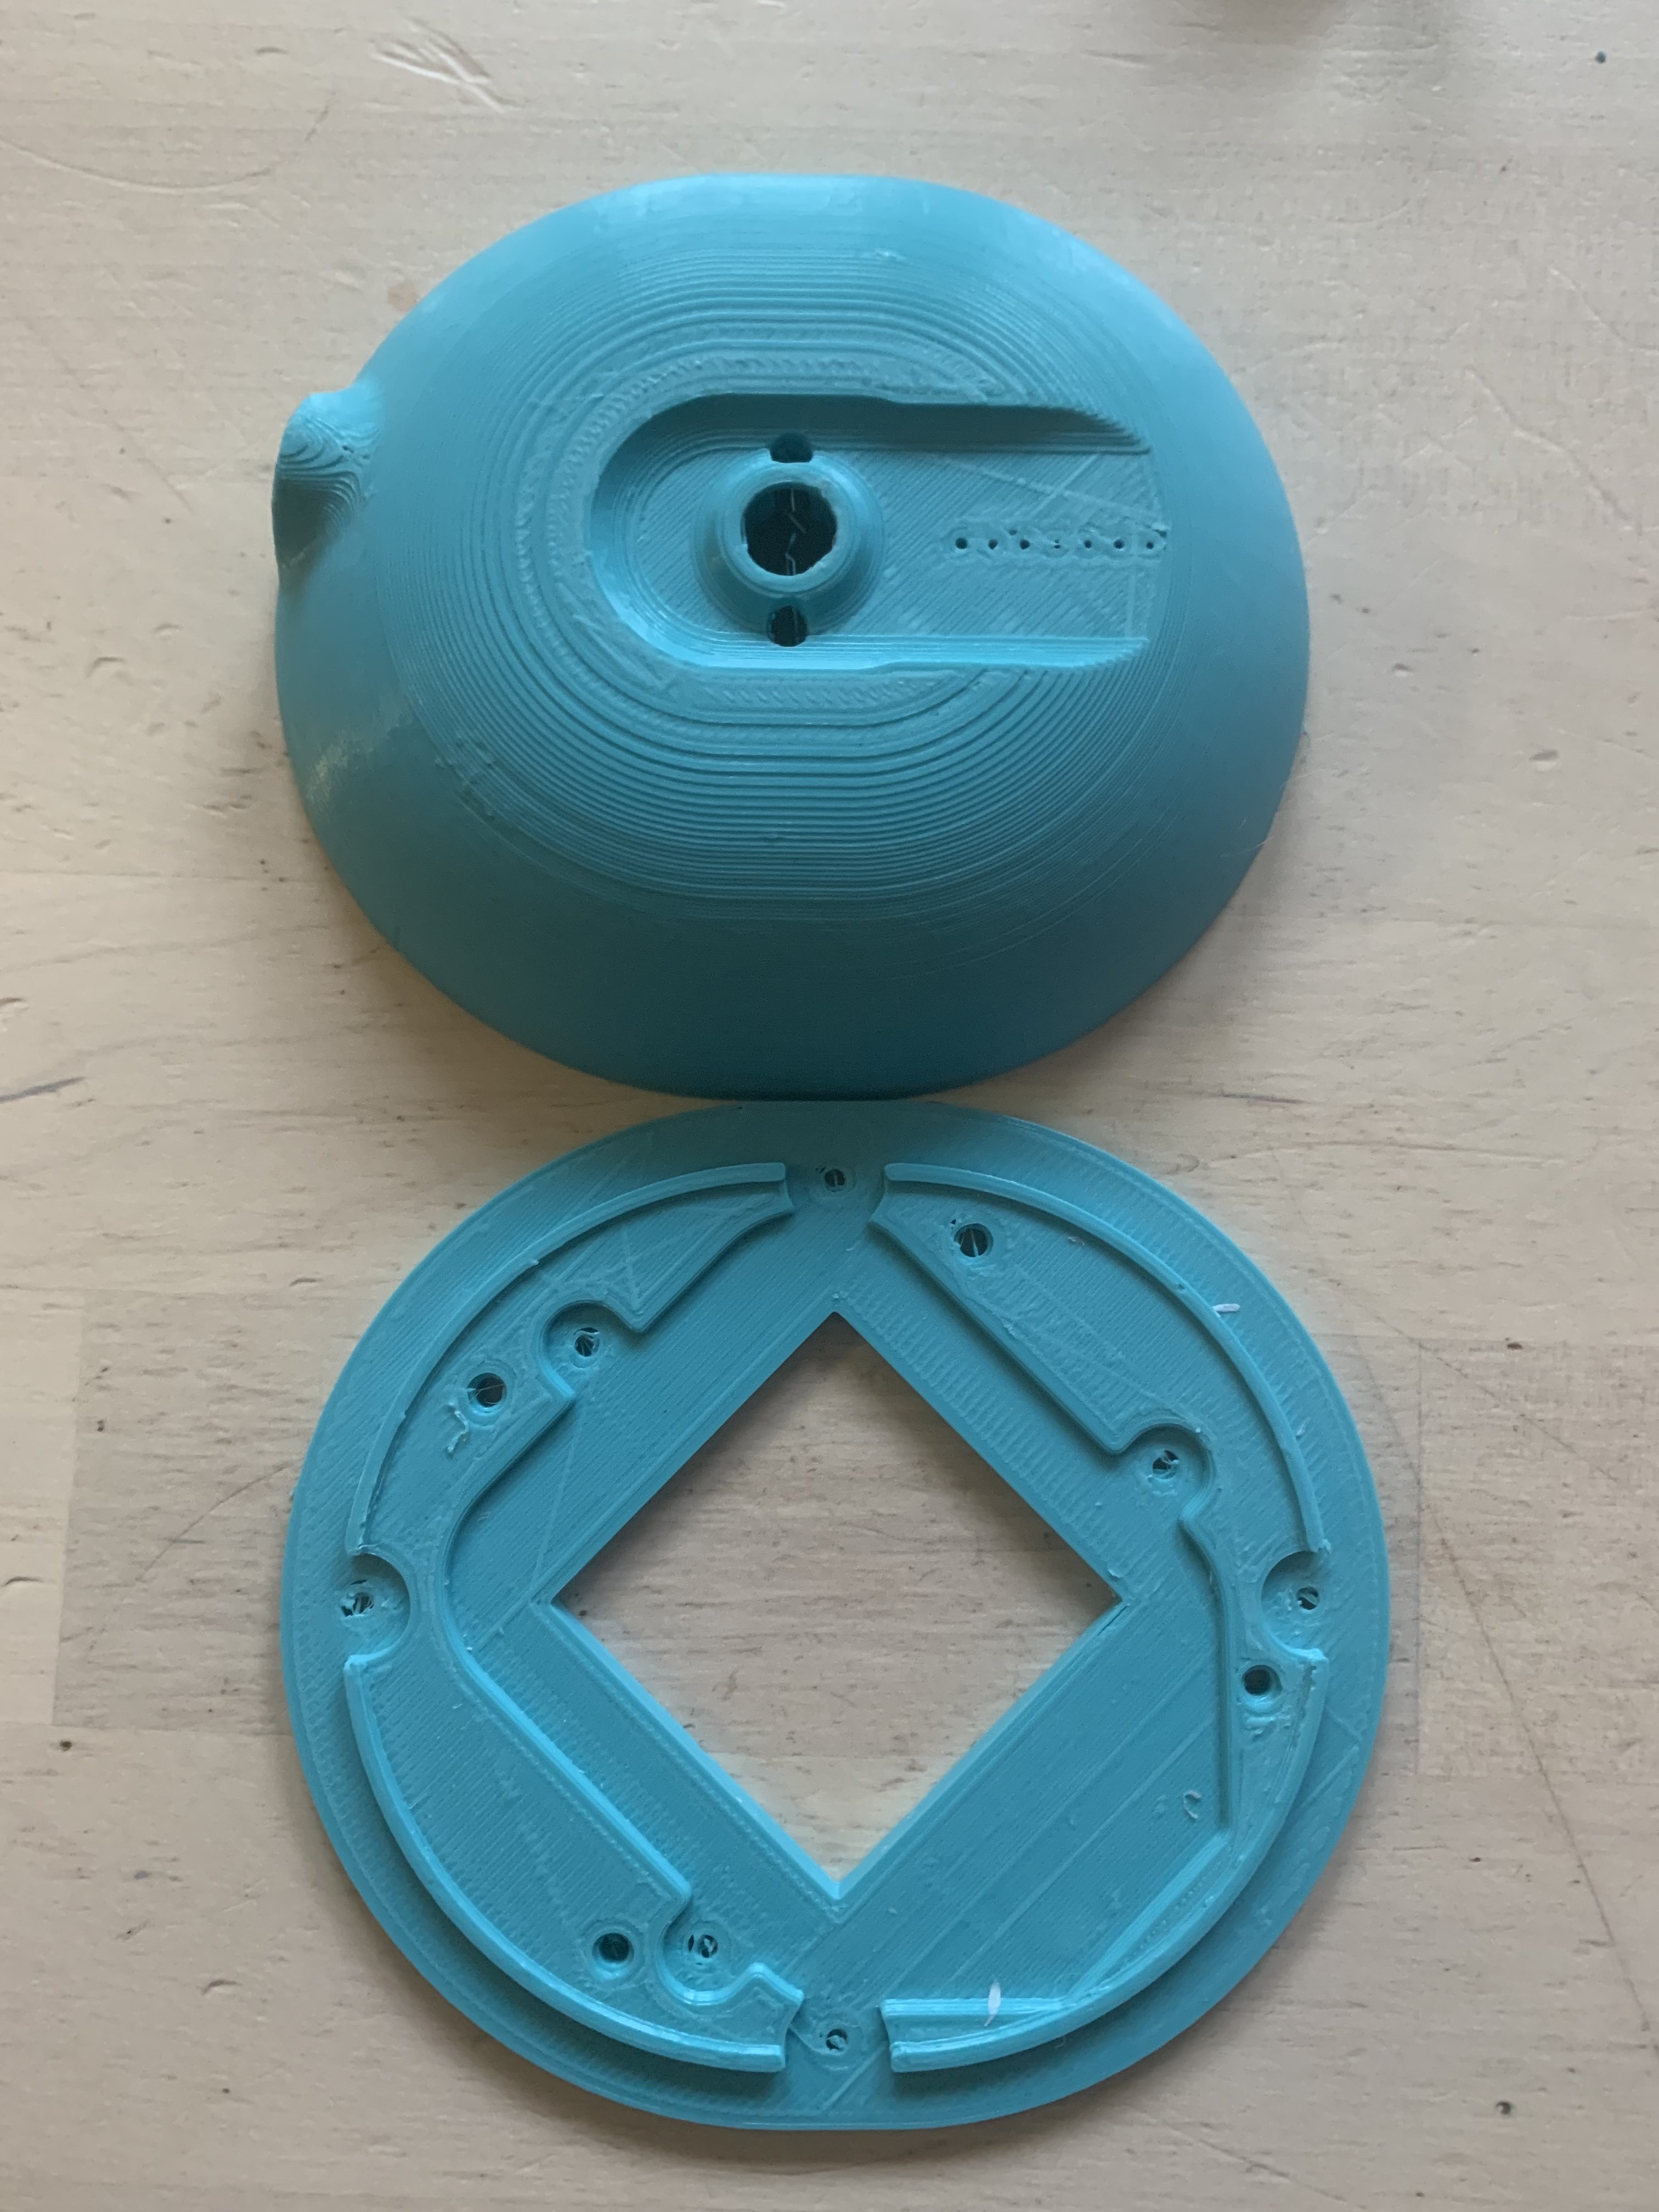
Today the lab that I selected a few days ago on 3Dhubs has sent a preview of one of the cups, right off the printer.
The idea is to paint the cups in glossy paint, after having finished them with sandpaper and used a primer to protect the ABS. Since they will be painted, is it anyway required to wipe the external side with acetone (and then maybe further finish them again with a finer sandpaper before applying the primer/paint)?
Although I was initially not in the mindset to endeavor in this project, after looking at the great work done by Arty McGhee I decided to carry on and start getting the pieces required to modify my T50RP-MKIII.
Today the lab that I selected a few days ago on 3Dhubs has sent a preview of one of the cups, right off the printer.
The idea is to paint the cups in glossy paint, after having finished them with sandpaper and used a primer to protect the ABS. Since they will be painted, is it anyway required to wipe the external side with acetone (and then maybe further finish them again with a finer sandpaper before applying the primer/paint)?
those look good, there's a lot of views on finishing, sanding etc, first are they made of abs?
...
either way i would treat it like car painting, coat ,sand sand sand, start at like 200 grit and sand to 800 or 1000, wet sanding with a block then by hand
when its smooth as a baby's bottom, then prime and paint- lotsa light coats is better'n few thick coats, let dry wet sand again lightly (color sanding its called)
very carefully with 800 0r 1000 grit then a couple coats of clear and you have a show quality paint job
good luck
Regardless of the type of primer and paint, you'll need a really nice surface to start. I'd definitely acetone the outside. Acetone, sand fairly well through about 400, hi lift primer, wet sand primer, more primer, wet sand, more primer, paint 5-6 coats, wet sand, 1 more paint layer, 3-4 clear coat layers.
http://www.rustoleum.com/en/product-catalog/consumer-brands/auto/primers/filler-primer-spray
Also, if you do an extremely light layer of paint after priming and before sanding, you'll know where you still need to sand.
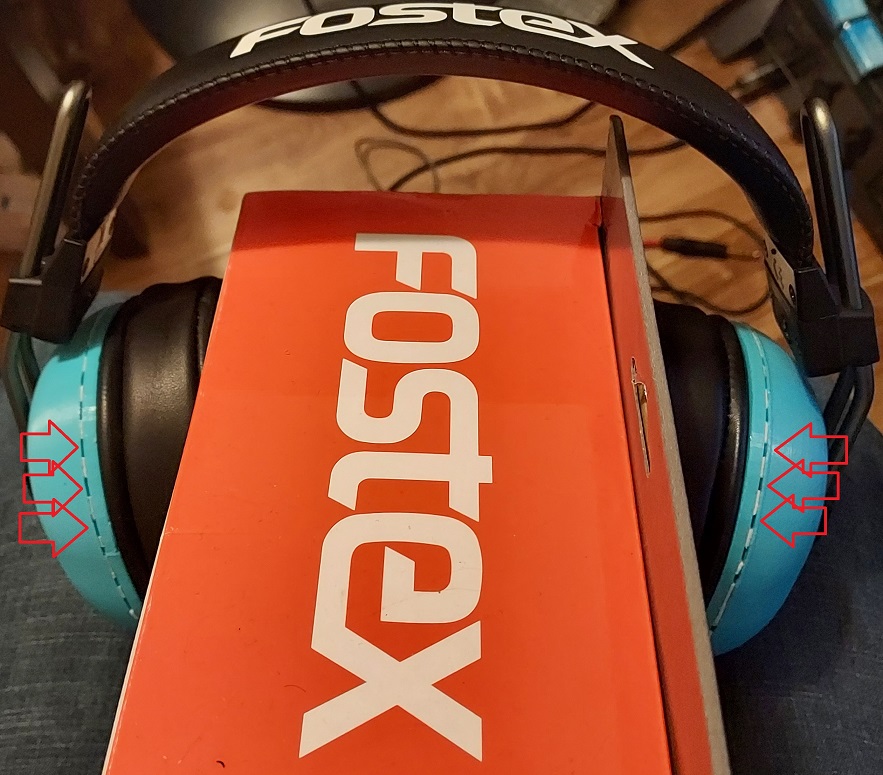
the pads are these, not angled
https://www.amazon.com/Brainwavz-Replacement-Memory-Foam-Earpads/dp/B00MFDT894/ref=sr_1_2?ie=UTF8&qid=1480883697&sr=8-2&keywords=hm5+pads
they were 15 bucks black friday, they may go on sale again
good luck and post pictures


