@Dynaudio lvr - first off; thank you again for alerting us all to the changes Beyerdynamic made to the T5p and the results you obtained before and after your "mod"
Unfortunately, you opened a can of worms because I agree that the T5p.2 is not quite 100% perfect and I had to see for myself what this "tab" looked like, etc.
There are many videos on the net showing the disassembly of the T5p.1 and for good reason! They all wanted to swap out the stock cable
(one guy even managed a DIY cable-jack!). But there are no videos of the T5p.2 because frankly, one one saw a reason to go in... that is, until you did,ha! Alas, without "documenting" your inaugural journey
YES. Beyerdynamic "coupled" the driver with cup. Unfortunately I am no structural engineer so it's not clear to me why they did it; maybe to avoid resonances in the cup or maybe to dampen the driver. I do not know and I accept your sonic findings
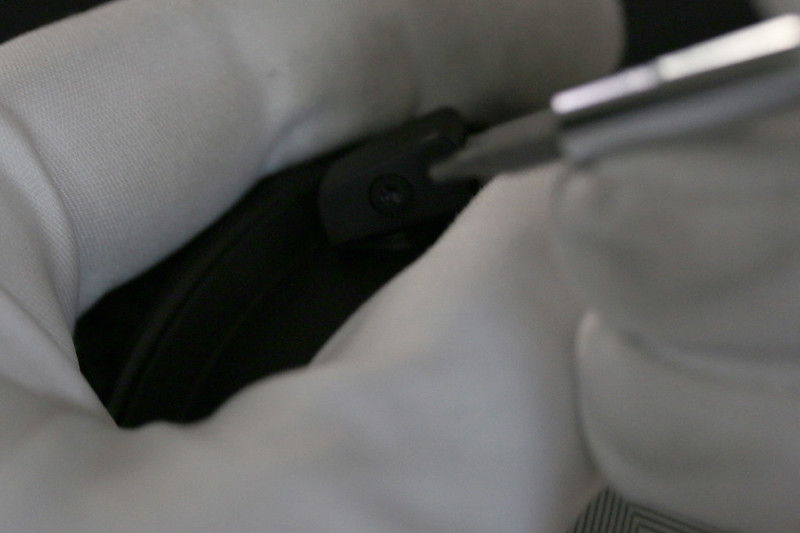
NO. The tab is not in contact with the rubber(?) "plug" in the center of the driver, rather with the driver directly. I would never have made that assumption, although it should have been clear to both of us, given that the tab is dead-center of the cup but the Tesla driver is offset. I just got (un)lucky that the the rubber portion got stuck to the driver when I opened the (first) can...
And here's the other end of that mess...
So moving along... my sole purpose is
to see with my own eyes what this tab-business is all about. I would like to think that Beyerdynamic was honestly trying to solve some issue(s) with their first iteration. There is a good chance that there will be a
T5p.3 that will resolve the issue(s) with T5p.2...
I currently have no intention of removing the plastic tabs* at this time; I also have no issues with anyone removing theirs and I will happily accept any positive results that come back this way! I did however decide to take Dynaudio Lvr's brilliant findings and put some images to it
*As for the tabs' rubber pads, now that's an easy removal / reinsertion project. My guess is that the rubber pads are roughly 0.5 mm thick and although it's clear that they are compressed when the assembly is closed, I bet removing them will leave a gap, as slight as said gap might be. No resonance will ever be strong enough to move the cup towards the driver enough to make contact. Long story short, removing only the pads may be enough to realize Dynaudio Lvr's results! So.... any volunteers?
-------------------------------------------------------
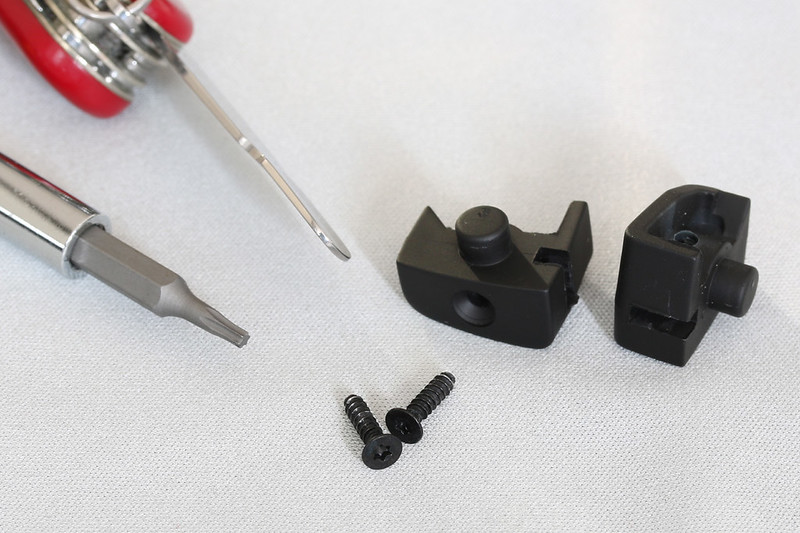
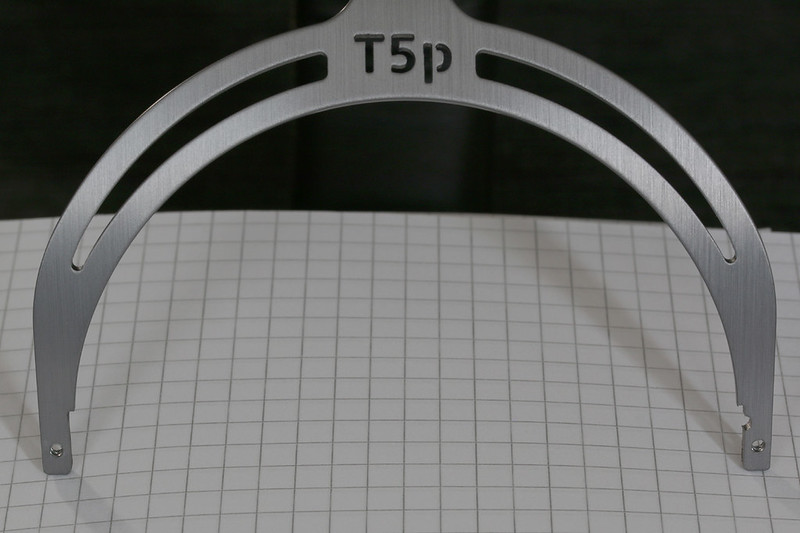
1. I'm OCD big-time. BIG. TIME. The Beyerdynamic products are not only sonically impressive but they look the part and I wouldn't want to risk ANY damage to my €980 pair of T5p.2s! Thus, let me be clear, I made sure I had the right tools at hand, that I had the time and I was relaxed and in a good mood (lol) before attempting any kind of disassembly
Speaking of disassembly, removal of the can from the frame before any further action is highly recommended, if not required.
Be safe, not sorry!
there should be some cloth between your tools and your T5ps... if a screwdriver can slip, it will!!!
Those fork ends are shaaaarp. Don't let them scrape up against the other phone, etc.
2. Disassembly: It's important to understand that all videos on the Net are for the 1st gen and that even the retainer ring is different (better!)
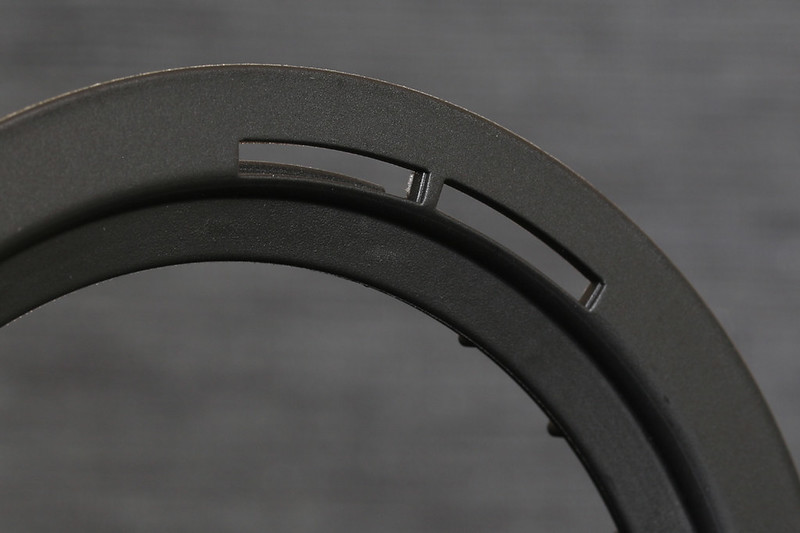
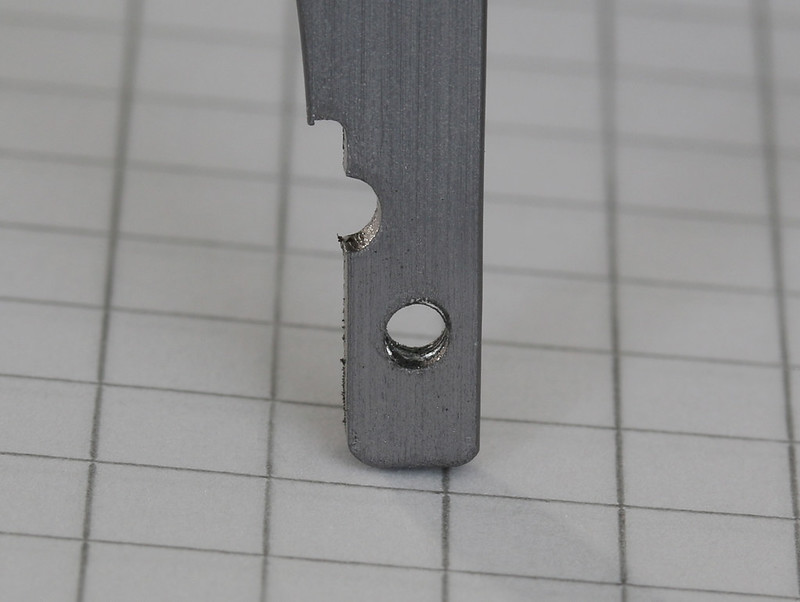
It's actually safer to remove the T5p.2's retainer-ring imo; you should find a thin, flat, stiff and blunt-edge "tool" to insert between
the headphone cup and the retainer-ring... . I found the perfect tool on my SAK (Swiss Army Knife).
Alternatively (and perhaps the OEM way), a blunt tool can be inserted in the retaining-ring's "slots" to depress each of the retaining-ring's inner-tabs.
What you should probably avoid is using some thin & sharp screw driver edge which will, best case, leave a scar...
The T5p.2's retain-ring is one piece spanning from the edge of the cup and over the edge of the driver assembly...
Just like in the T5p.1 videos, the retainer's tabs will "pop" out of the cup
(the tabs coinciding with the slots in the retainer-ring).
Once you remove the retainer-ring, you should firmly "cup" the top of the headphone cup with the palm of your hand and slowly flip the cup over;
A very soft tap to the [concave] cup will dislodge the driver assembly into you hand. Let's not forget that there are cables involved,
so slowly lift the cup out of the way.
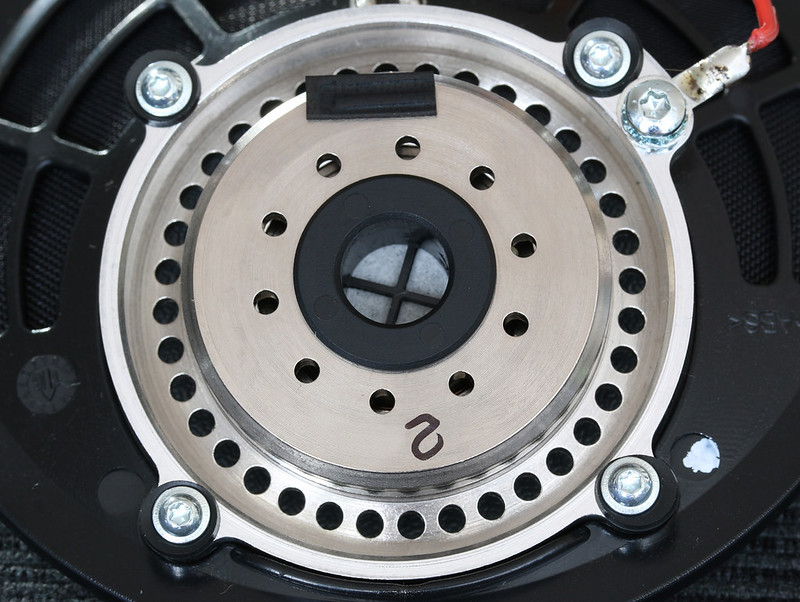
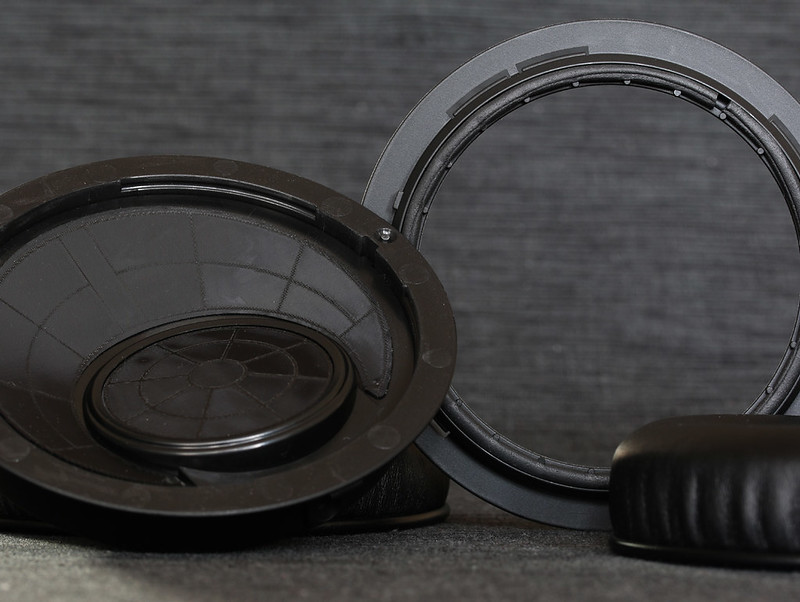
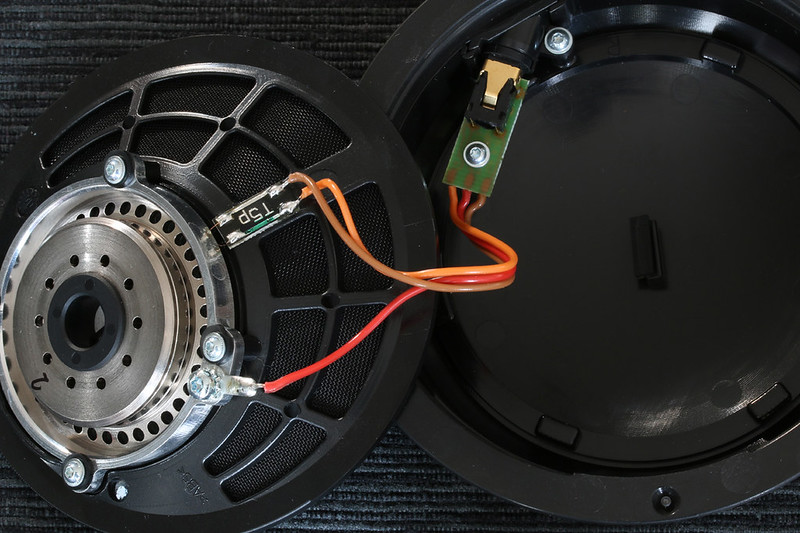
Et voila.
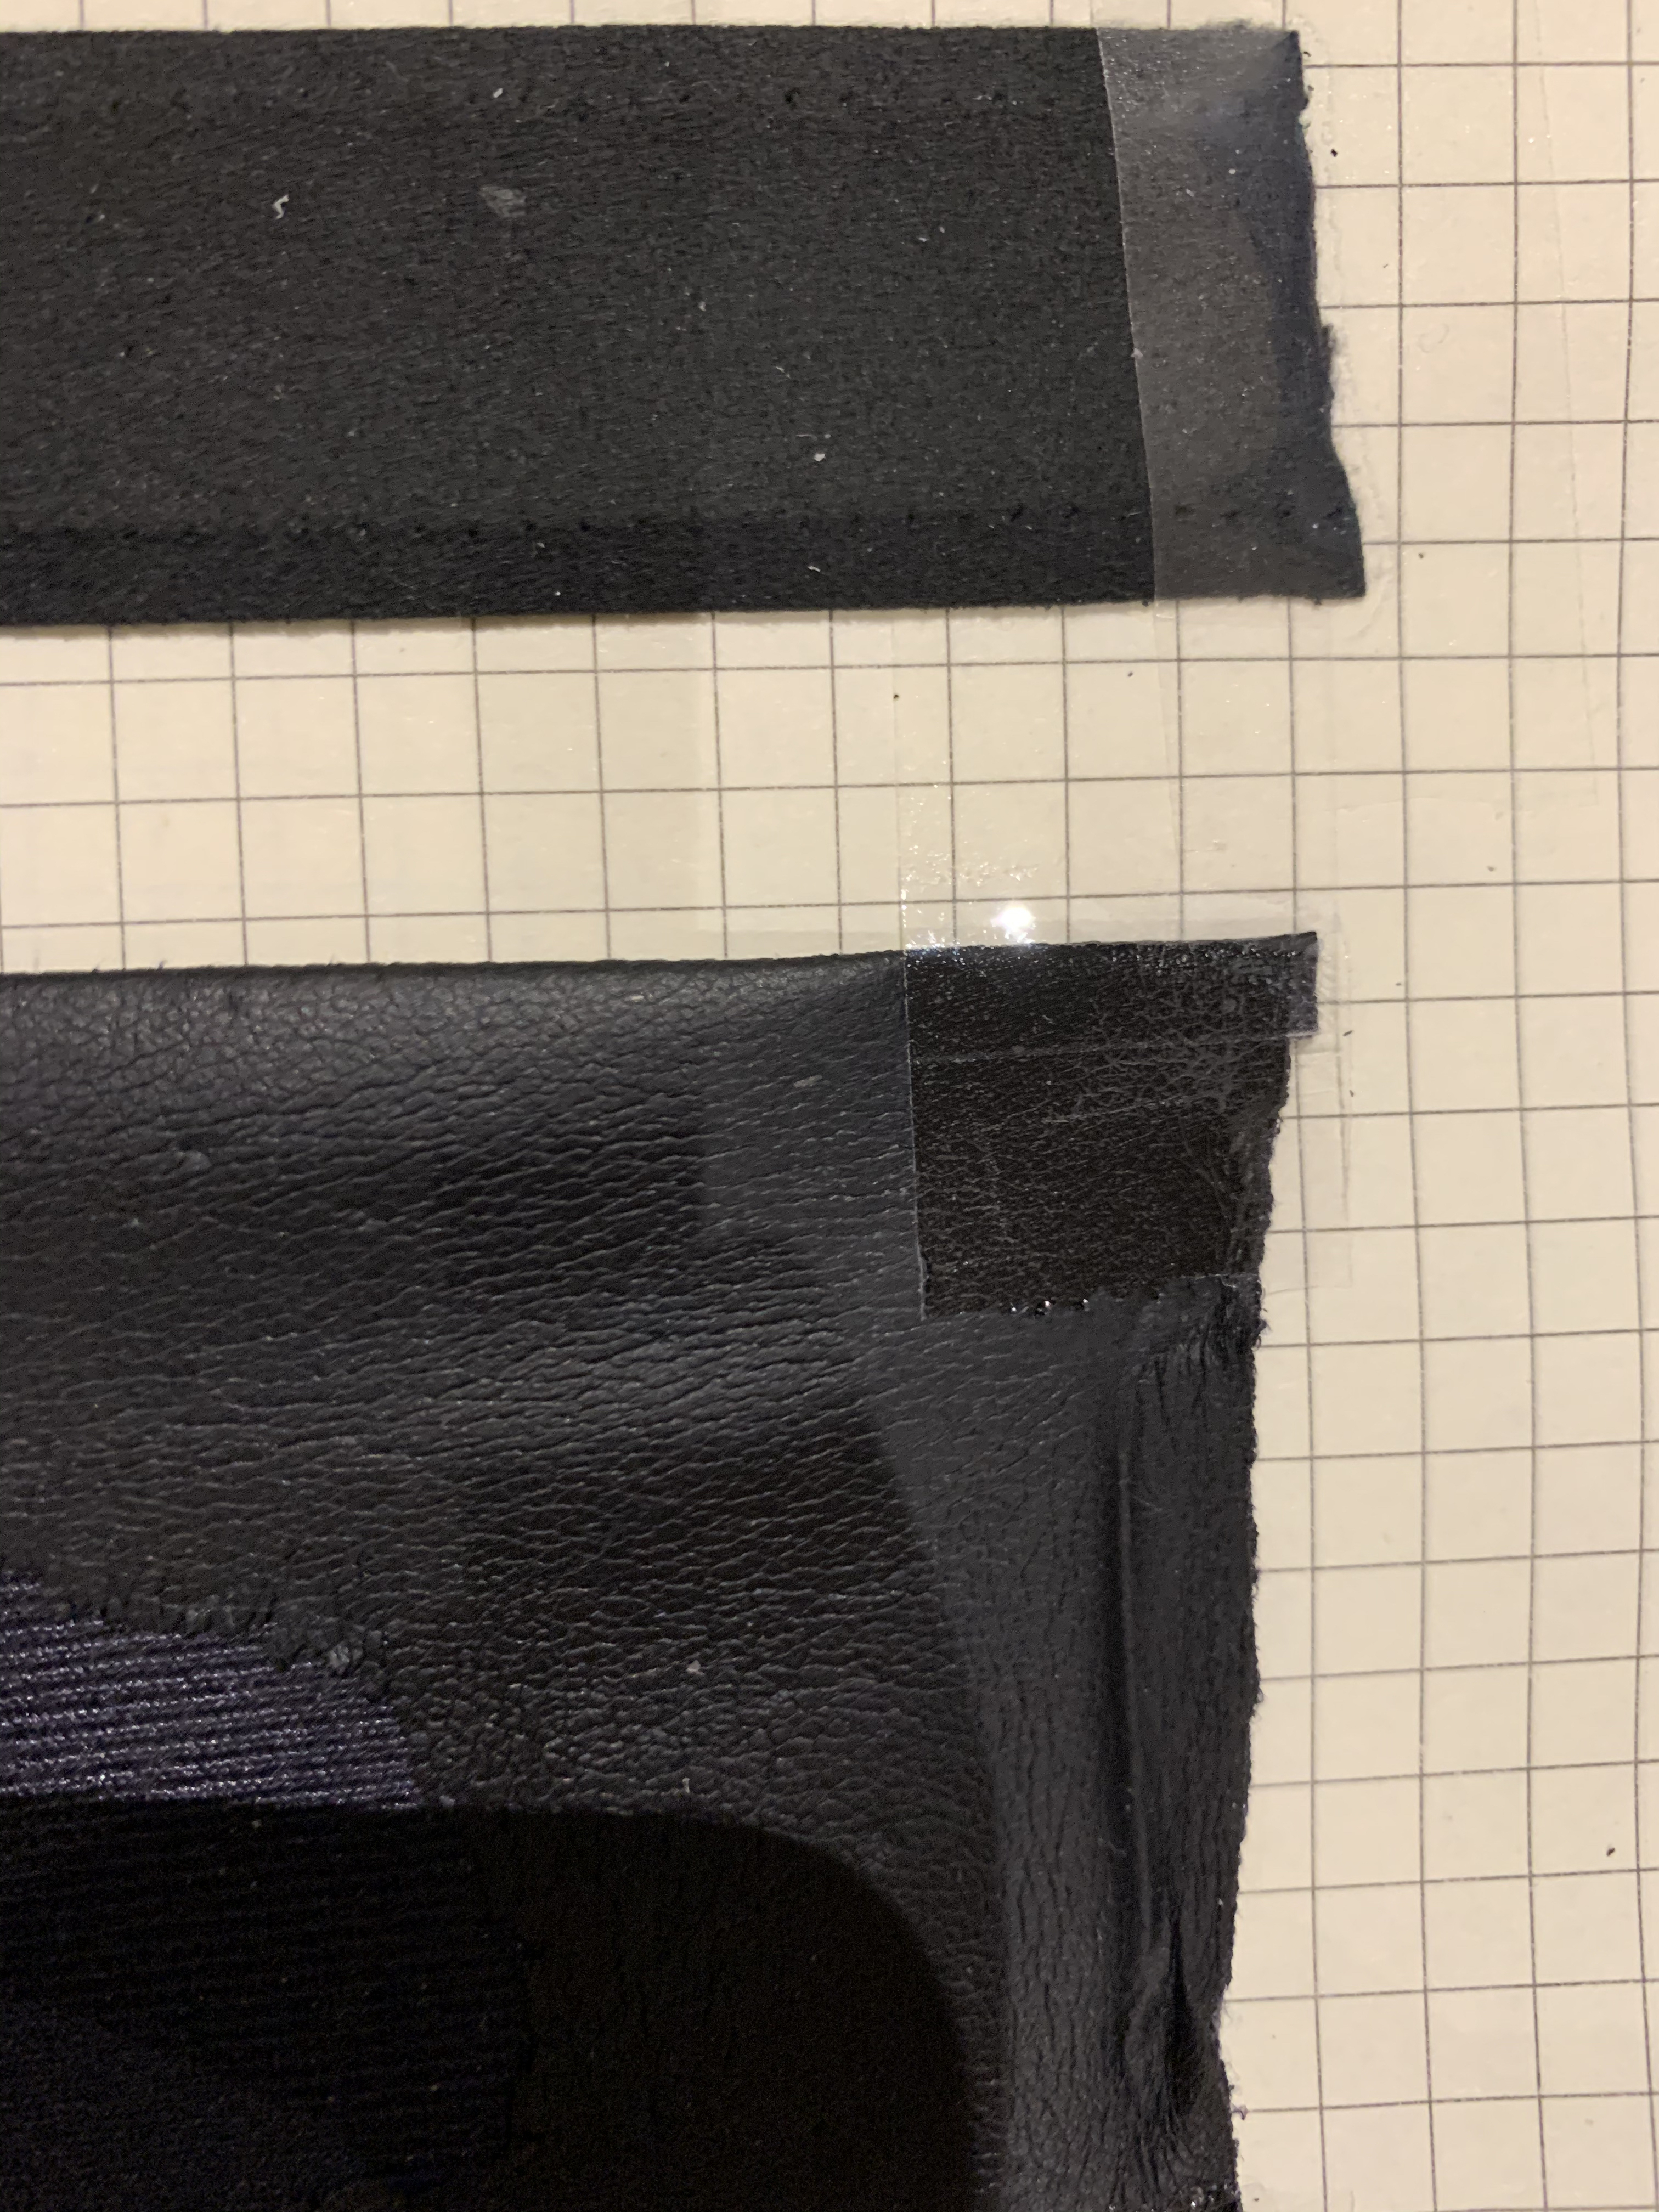
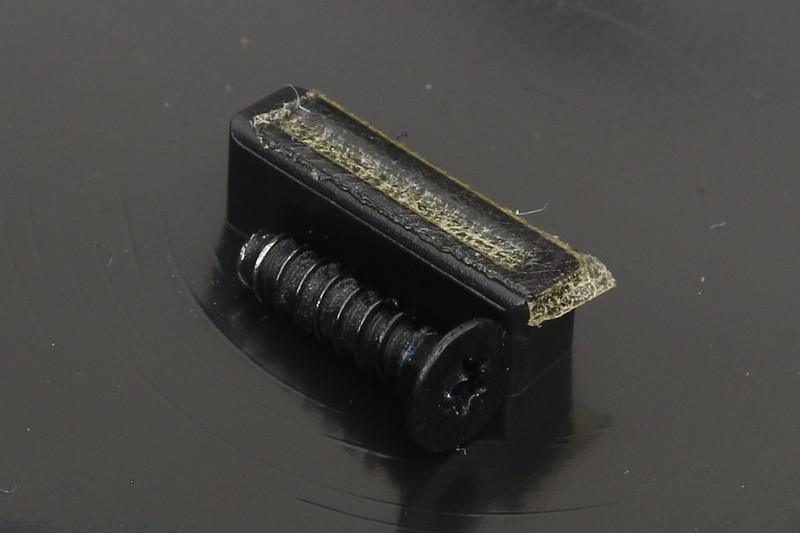
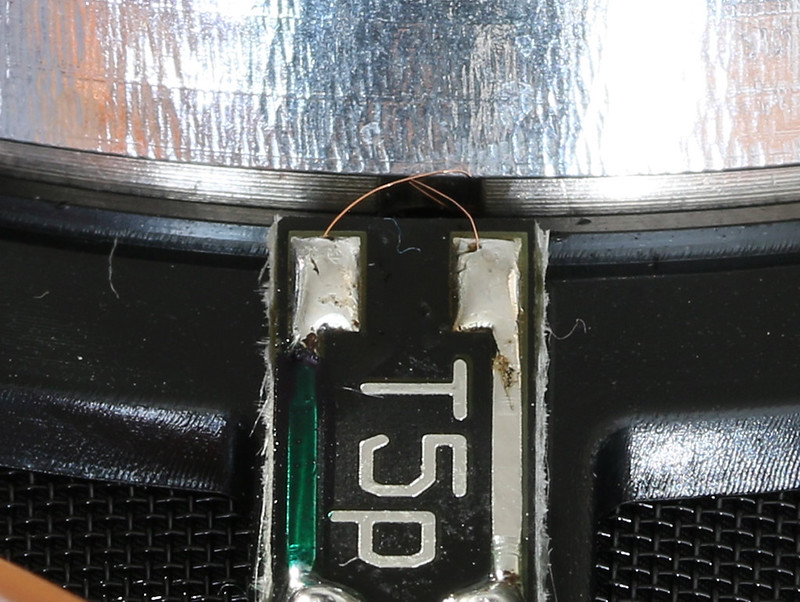
From the above image we clearly see the "tab" centered on the cup and the ring-insert in the center of the driver's "back plate".
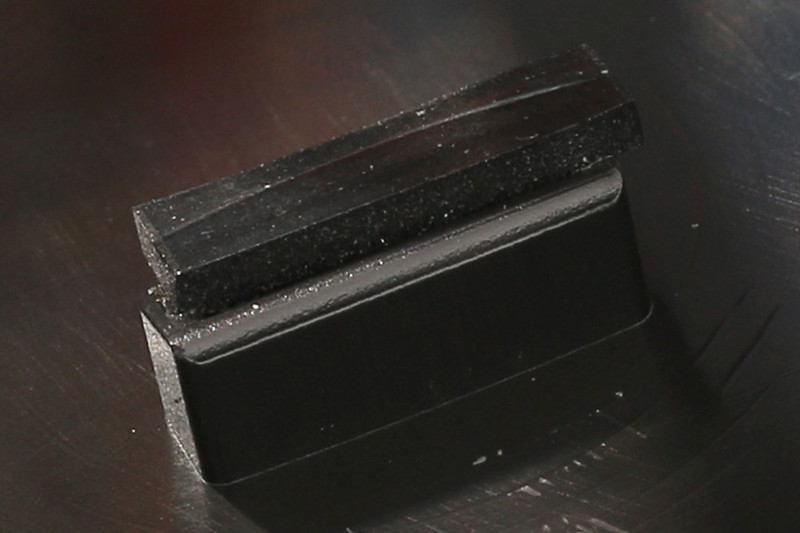
The tab is made of plastic and a rubber "pad" is glued to it...
So I'm either unlucky, or the assembly is
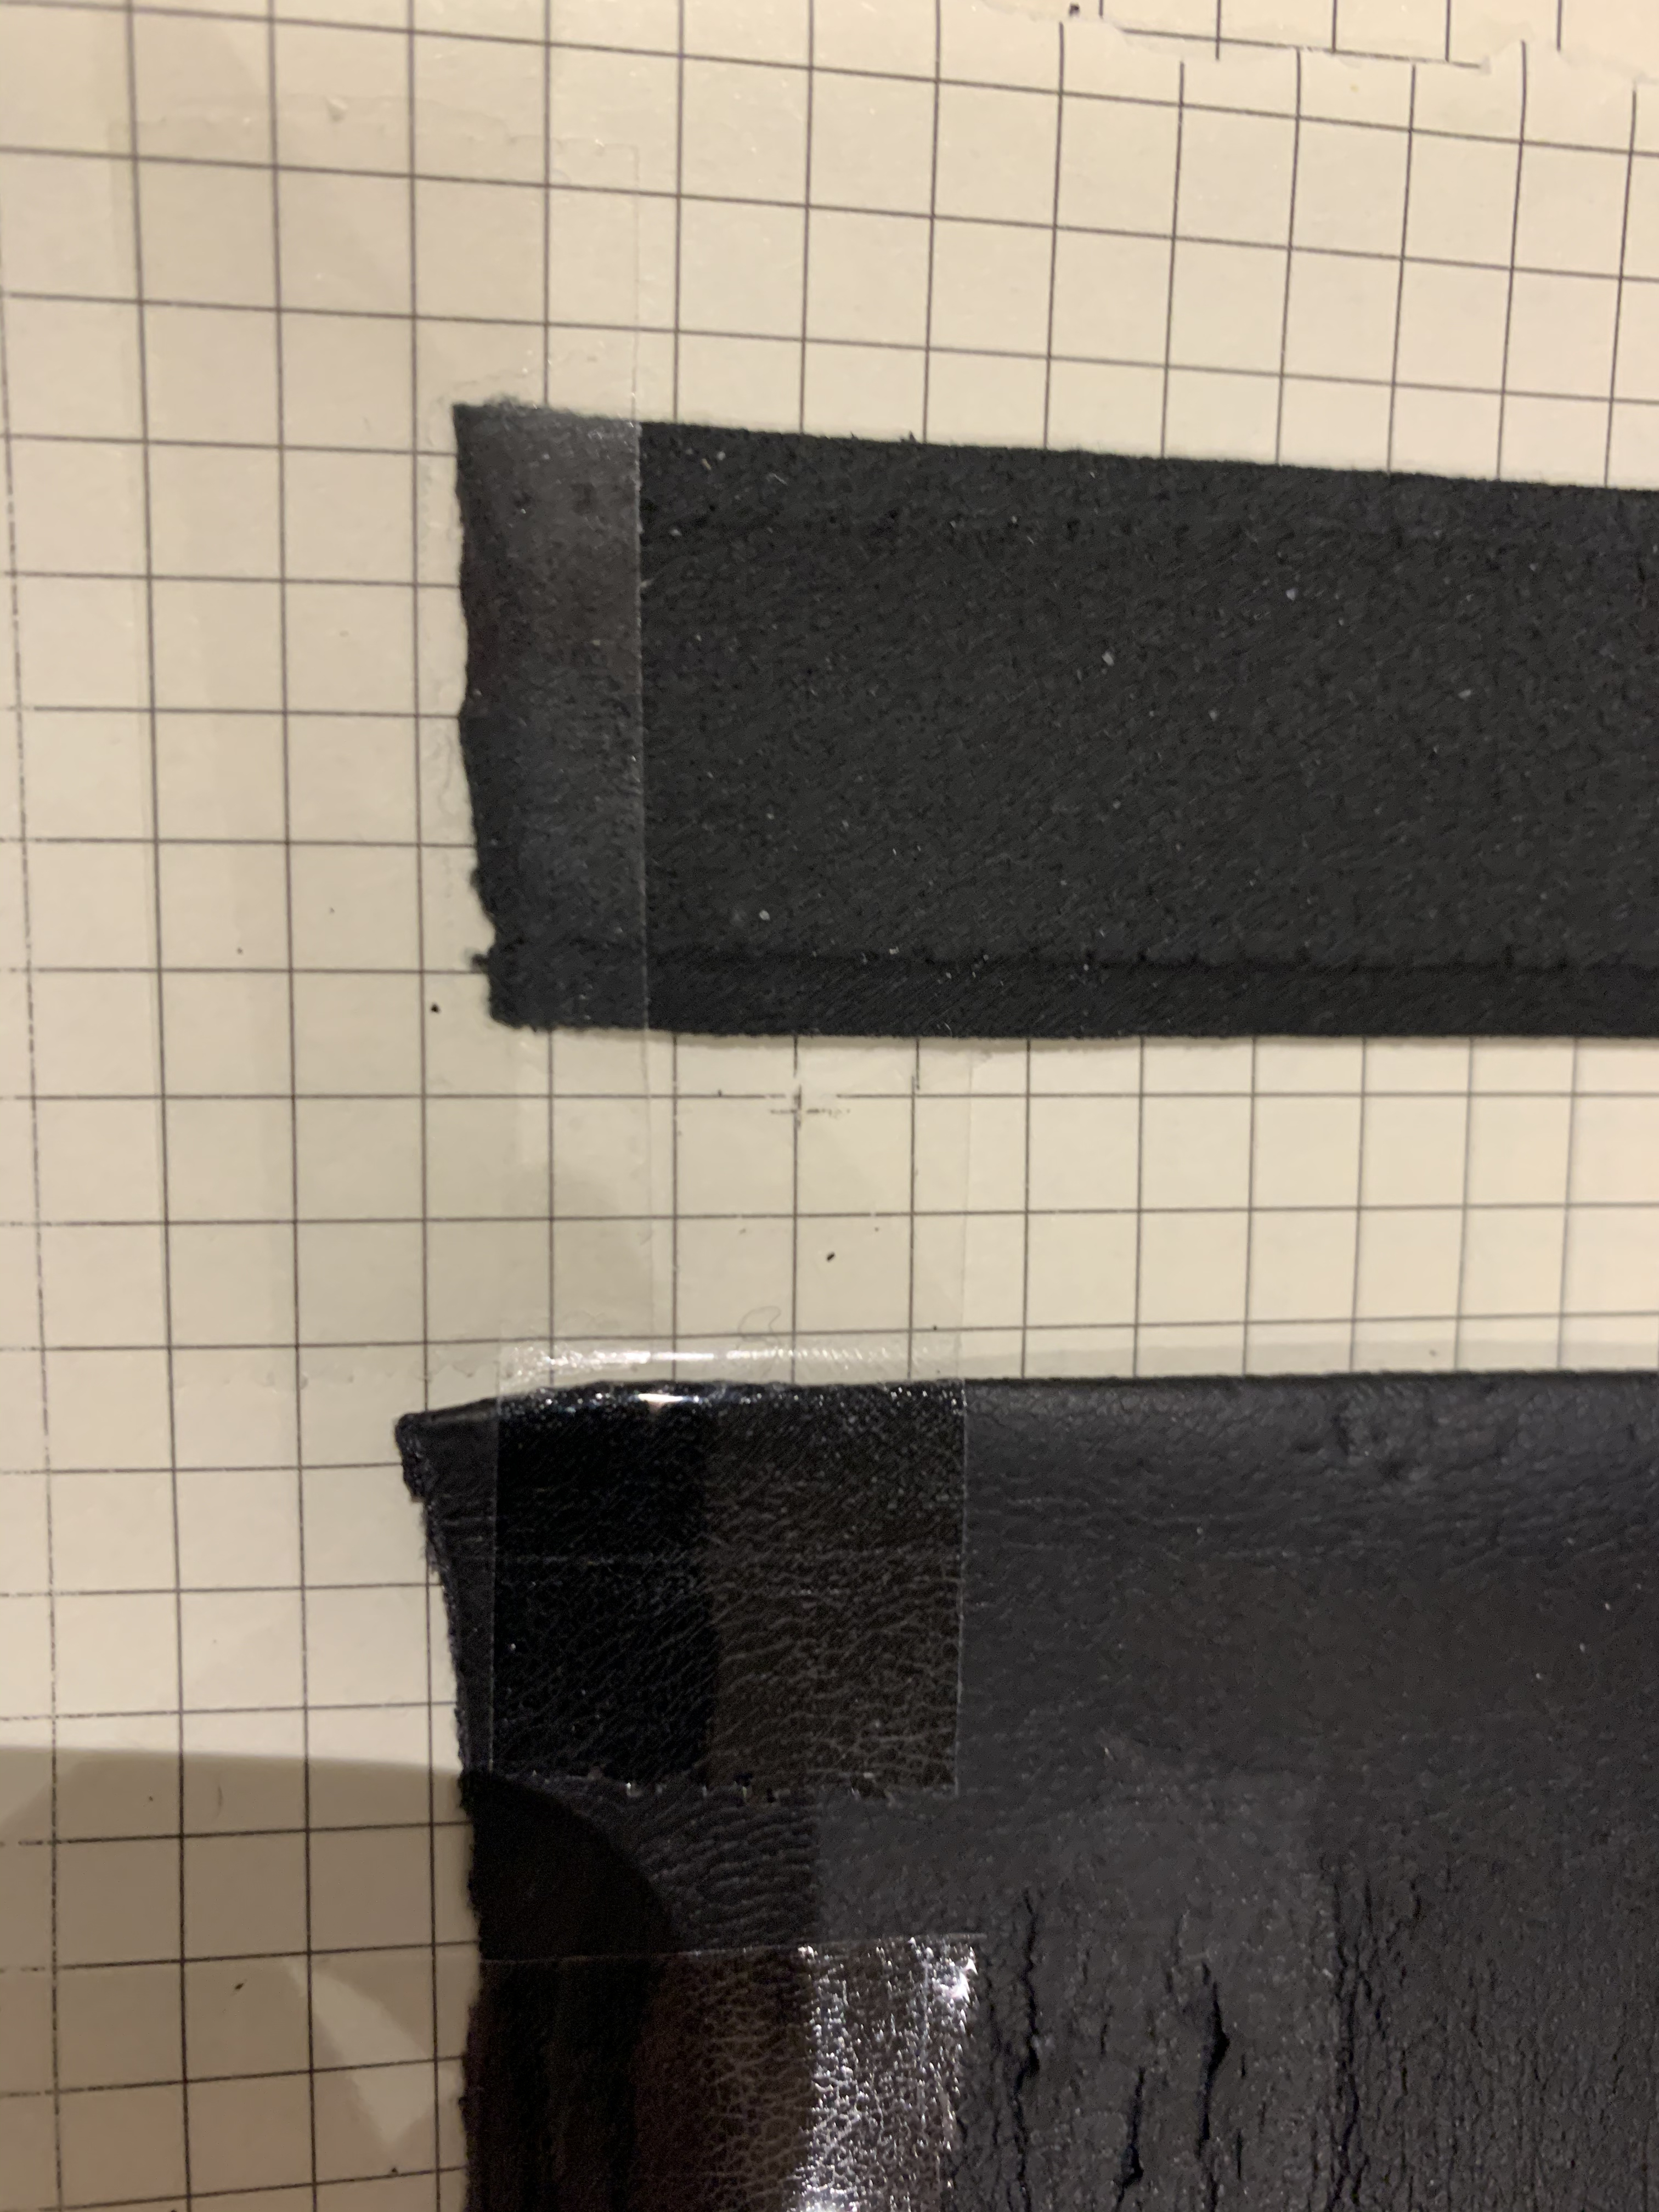
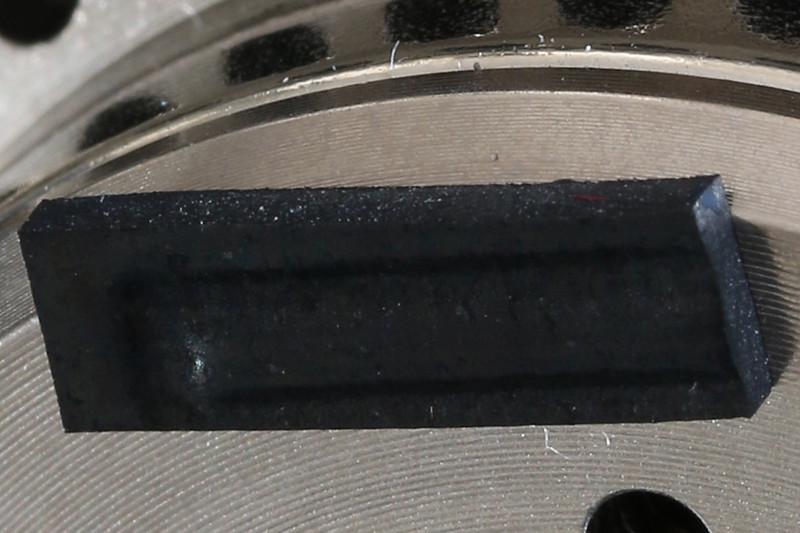
very sensitive but in both cases, the rubber pad is either slightly off-centered (as seen above)...
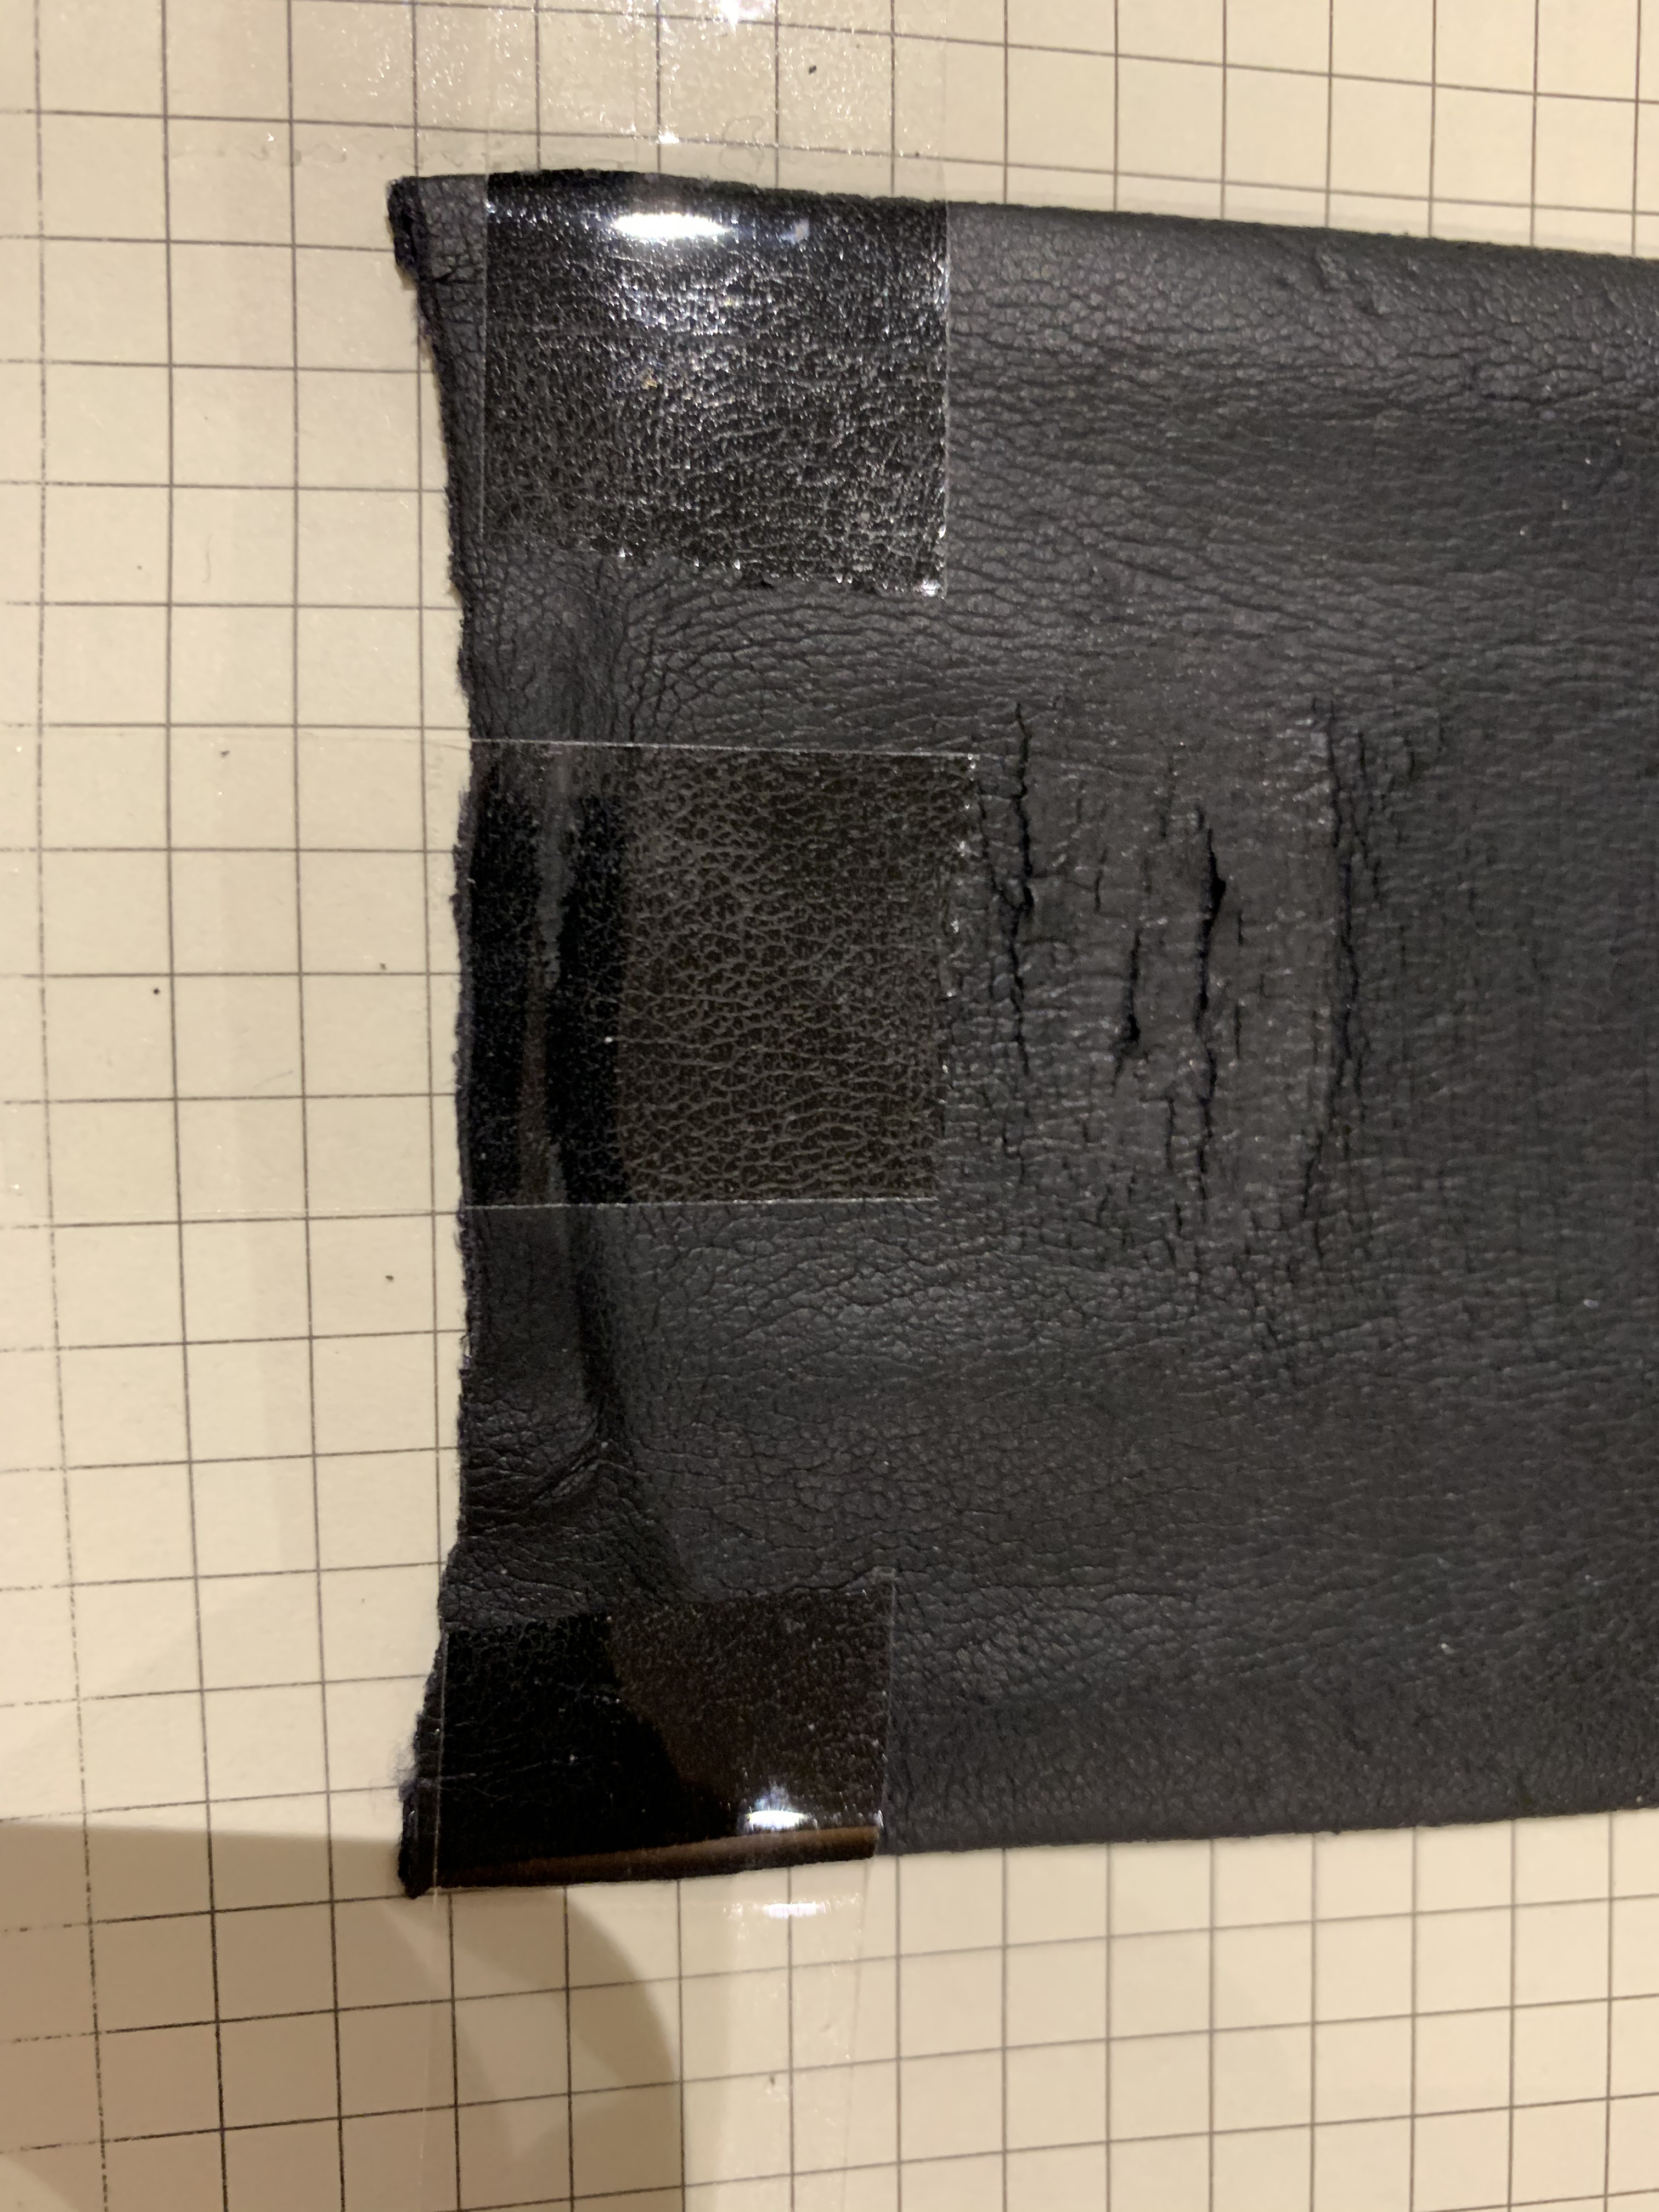
...or stuck to the back-plate...
(screw is only for scale / visual reference)
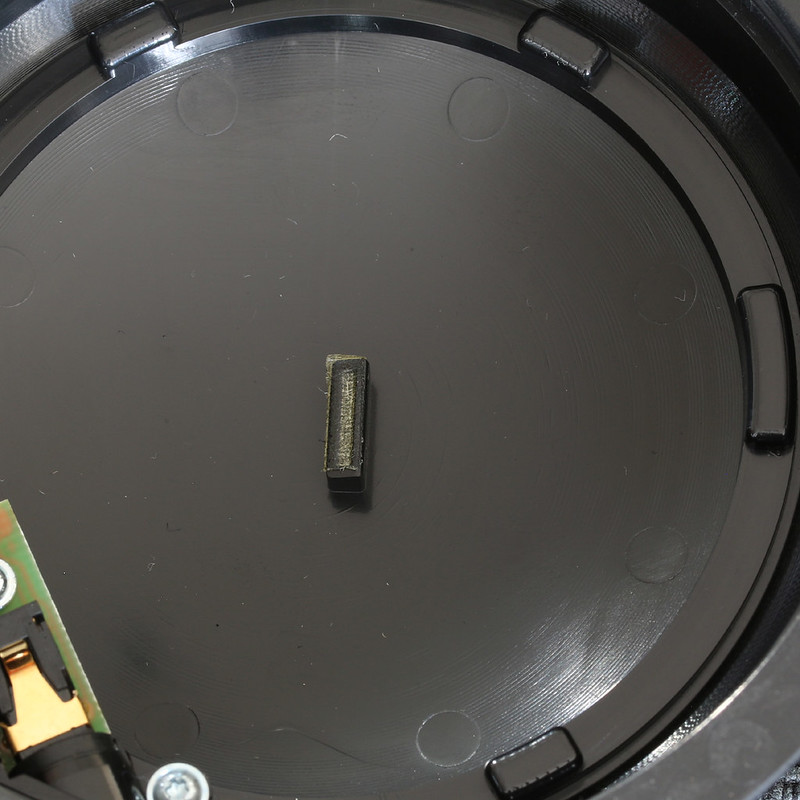
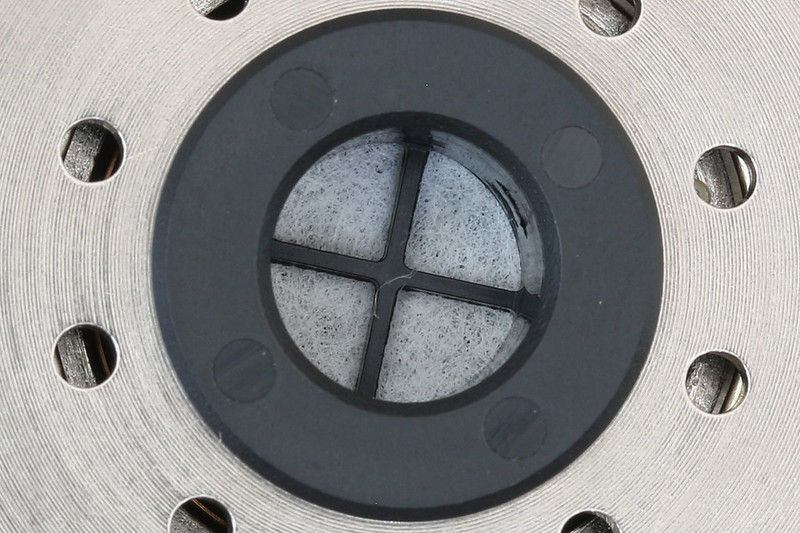
Then we have the center-insert. I actually never touched it and in all honesty, it looks like it's 100% plastic...
...at best a very hard rubber.
3. Assembly...
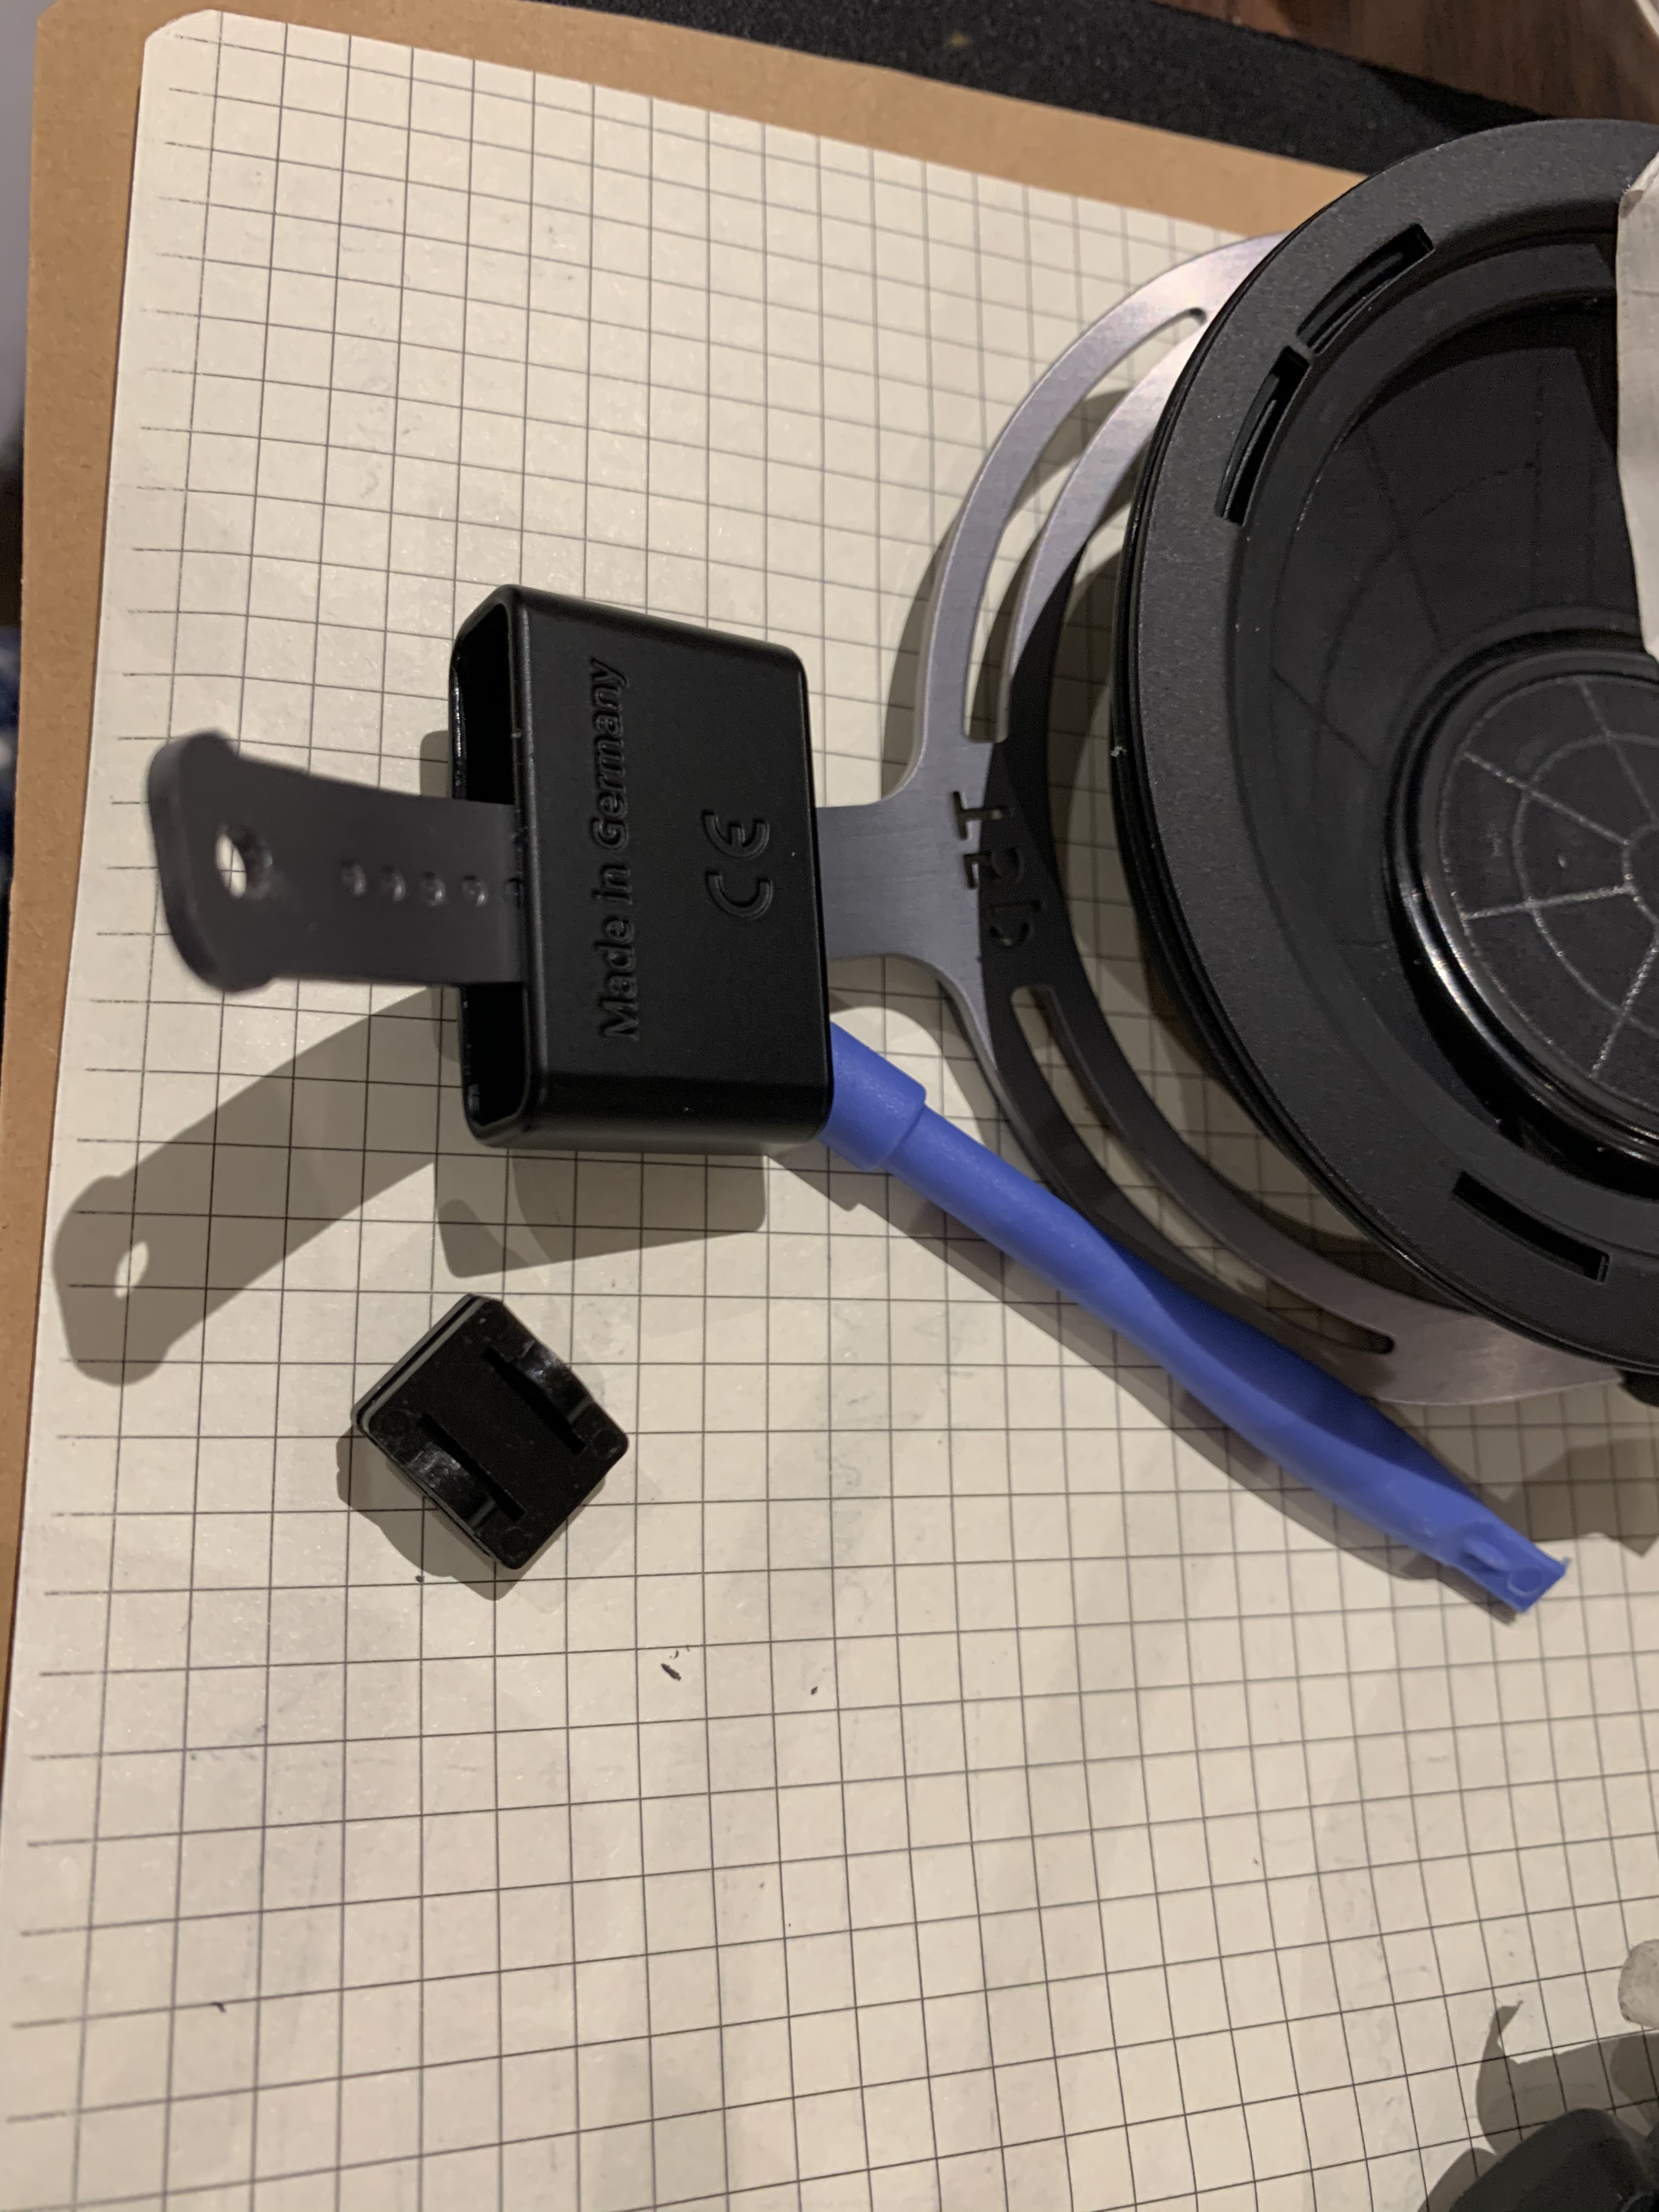
The good news is that there is one "key" for the driver assembly, the cup and the retainer-ring, all seen here...
The bad news is that you have to be very careful when returning the driver assembly to the cup, keeping an eye on the cables and hoping that
they don't get in the way of the now infamous tab contacting the back-plate... .
I recommend driver-assembly facing down in the (flat) palm of your hand as the cup is slowly lowered down with keys aligned... .
Once you are fairly certain the cup is (almost) all the way down, slowly turn it all right-side-up. It may be that it's not 100% in place due to
some minor tolerances, so just lightly move the cup until the driver-assembly completely seats itself.
Before placing the retainer ring, visually inspect that the assembly is indeed seated all the way around.
Again with keys aligned, The retainer ring can now be snapped back in place. Visually inspect the gap between the cup and ring, insuring it
is even all the way around.
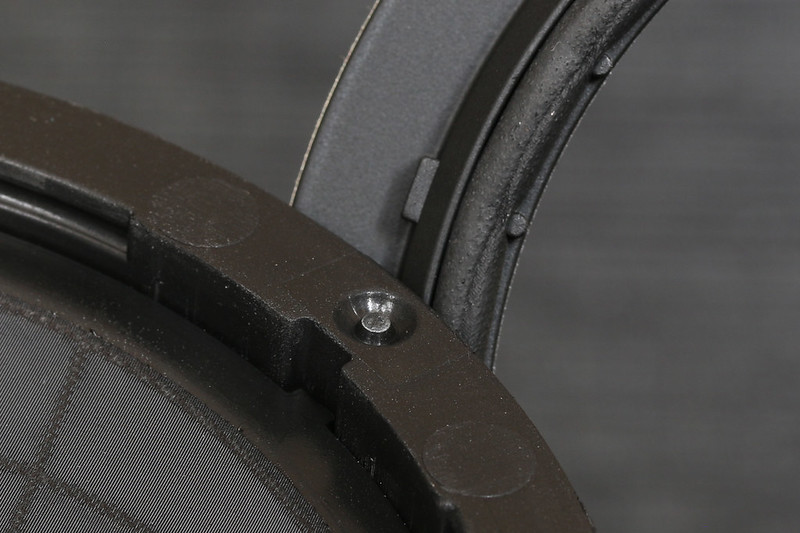
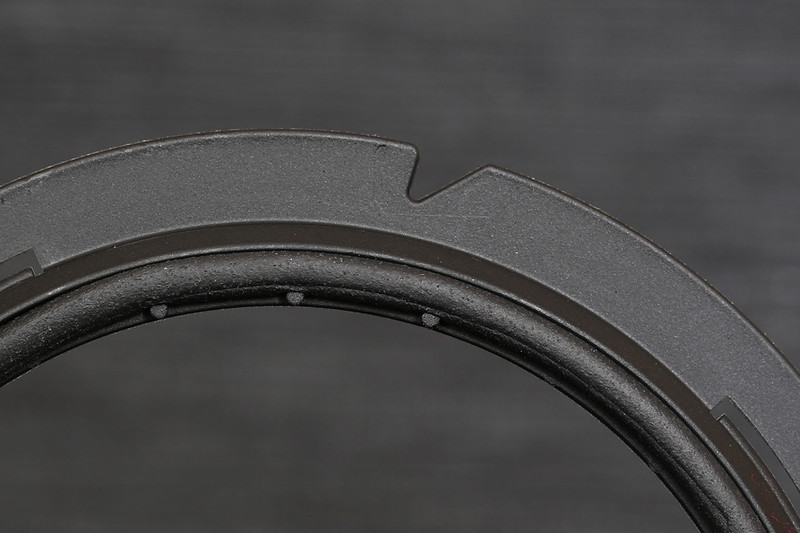
Finally / more good news; the T5p.2's retainer ring has a v-slot designed to make child's play of getting the pad back on
Thread the pad's lip into the v-slot and now "feed" the pad through said slot...
...until it is completely inserted...
4. So... that about wraps it up. A few more pics for my "records" (and your viewing pleasure).
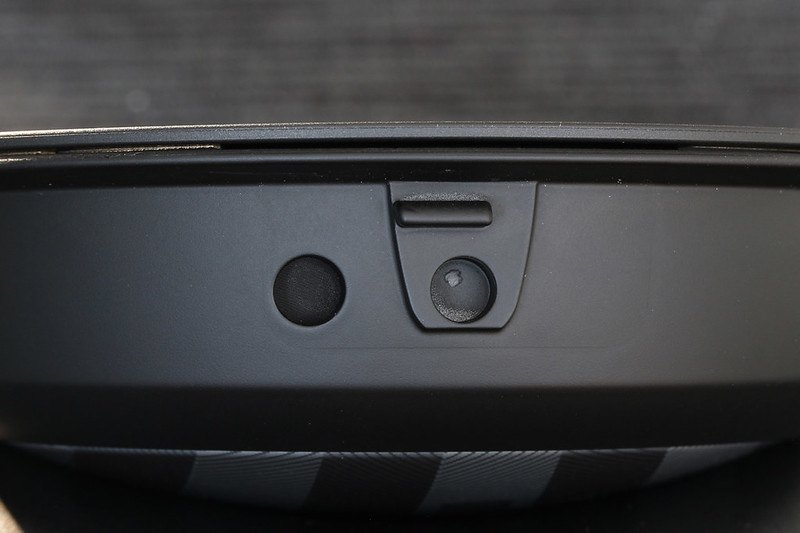
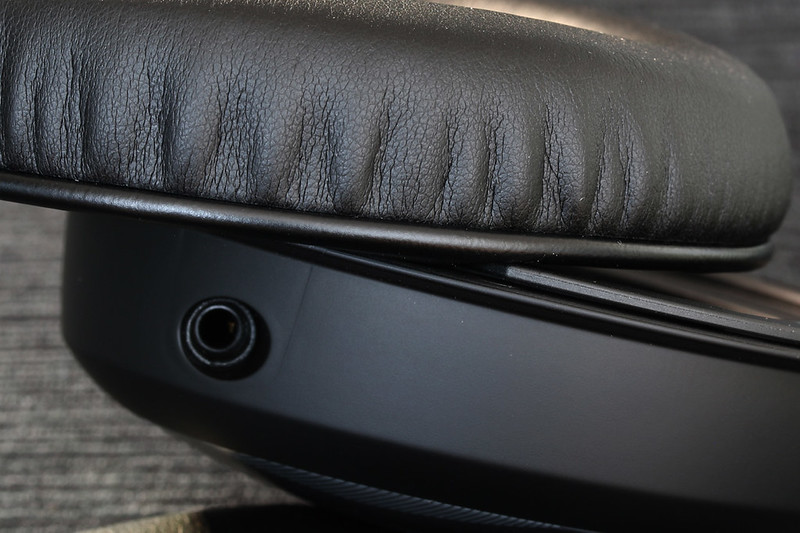
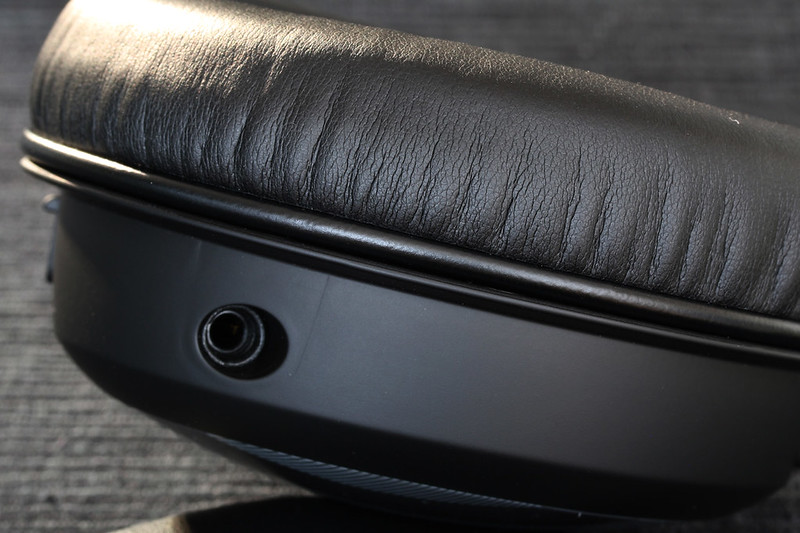
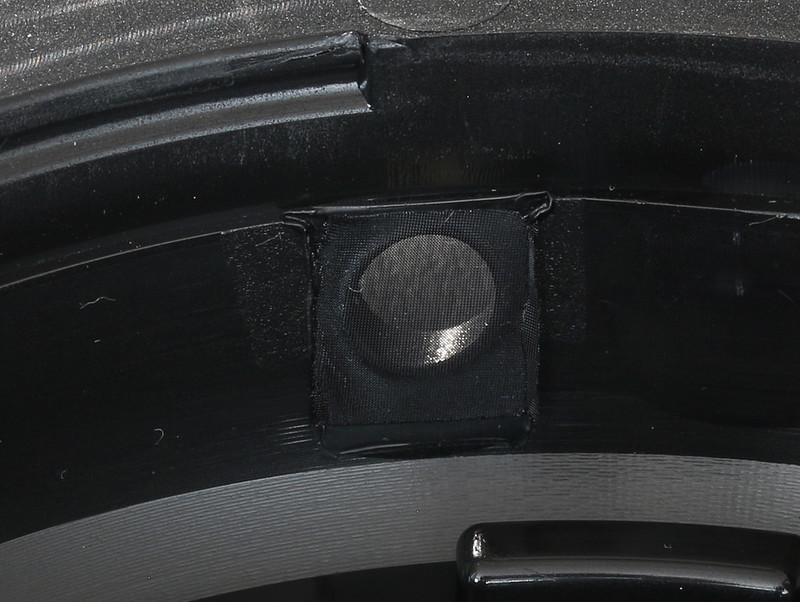
Here's the other side of that pesky bass-port...
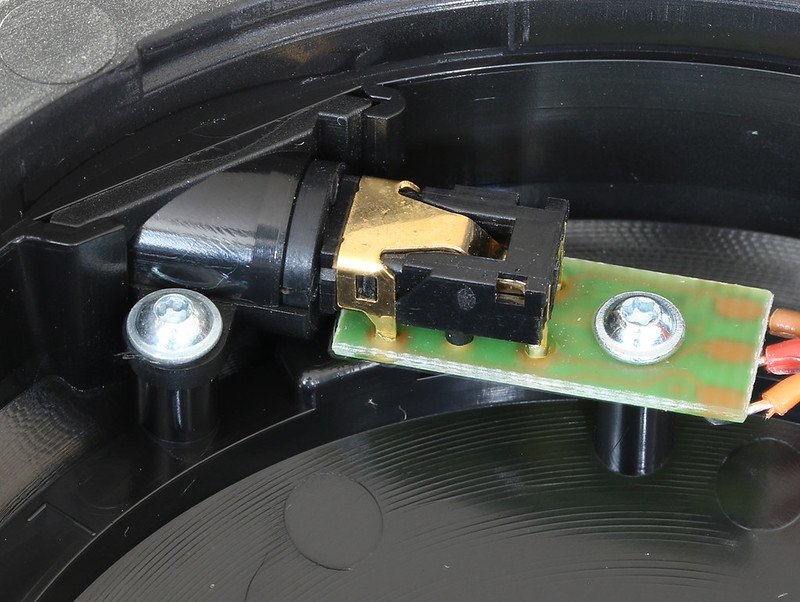
3.5mm jack assembly
Do not cut, do not touch, do not look at directly...
Danger, Will Robinson!


 So I made the best of the situation and used the modded T70 ever since and it was bright and lovely.
