L0rdGwyn's DIY Audio
Sep 23, 2022 at 9:07 PM Post #5,311 of 6,808
Hey Keenan?

So is your all out design primarily better iron with the same components in the same pentode configuration with inter stage transformers.? Is the driver stage coupled in the same fashion as the Airmid in the std. pentode configuration? And how much more is the cost of the magnetics your throwing into to your all out just for reference purposes?

jgwtriode
 
Sep 23, 2022 at 9:24 PM Post #5,312 of 6,808
Hey Keenan?

So is your all out design primarily better iron with the same components in the same pentode configuration with inter stage transformers.? Is the driver stage coupled in the same fashion as the Airmid in the std. pentode configuration? And how much more is the cost of the magnetics your throwing into to your all out just for reference purposes?

jgwtriode

Pretty much. The stages in the Airmid are direct-coupled, in the standard pentode amplifier they are copper foil capacitor coupled, direct coupling doesn't make much sense in this circuit as you end up just moving the interstage coupling capacitor into the output stage as a bypass capacitor instead, which is worse.

Major changes I am making are using custom iron (2-3x the cost of standard), solid state rectification, voltage regulated power supply, change of input tubes from 6SL7 to E810F to facilitate interstage transformer coupling, which is not doable with 6SL7, LED biasing of the E810F as opposed to cathode biasing 6SL7 in standard. LED biasing is not objectively preferable for the 6SL7 in the standard circuit, cathode biasing was subjectively preferable as well (I tried, measured, and subjectively tested both). The output stage topology is the commonality between the two designs, which is the most important part of the circuit and dictates the requirements of the input stage so to speak.

These changes also add a degree of complexity that would put it outside the skill level of someone without experience to build IMO. What I love about the original version is it achieves a very high quality of sound with a very simple design that can be built by anyone. I tend to get the itch to "max out" a circuit idea, sort of like how I built my 6336 OTL based off the Airmid topology.

Ever since building that 45 amp for Zach, I have thought I need to build myself a endgame level transformer coupled amplifier. I wasn't sure what that would look like, at one point I was considering building essentially the same circuit but using the 10Y as an output instead. I was on a run the other day and these changes to the pentode circuit popped into my head and I decided this is the one.
 
Last edited:
Sep 23, 2022 at 9:40 PM Post #5,313 of 6,808
Pretty much. The stages in the Airmid are direct-coupled, in the standard pentode amplifier they are copper foil capacitor coupled, direct coupling doesn't make much sense in this circuit as you end up just moving the interstage coupling capacitor into the output stage as a bypass capacitor instead, which is worse.

Major changes I am making are using custom iron (2-3x the cost of standard), solid state rectification, voltage regulated power supply, change of input tubes from 6SL7 to E810F to facilitate interstage transformer coupling, which is not doable with 6SL7, LED biasing of the E810F as opposed to cathode biasing 6SL7 in standard. LED biasing is not objectively preferable for the 6SL7 in the standard circuit, cathode biasing was subjectively preferable as well (I tried, measured, and subjectively tested both). The output stage topology is the commonality between the two designs, which is the most important part of the circuit and dictates the requirements of the input stage so to speak.

These changes also add a degree of complexity that would put it outside the skill level of someone without experience to build IMO. What I love about the original version is it achieves a very high quality of sound with a very simple design that can be built by anyone. I tend to get the itch to "max out" a circuit idea, sort of like how I built my 6336 OTL based off the Airmid topology.

Ever since building that 45 amp for Zach, I have thought I need to build myself a endgame level transformer coupled amplifier. I wasn't sure what that would look like, at one point I was considering building essentially the same circuit but using the 10Y as an output instead. I was on a run the other day and these changes to the pentode circuit popped into my head and I decided this is the one.
All righty then,🤪🤪🤪🤪
 
Sep 23, 2022 at 10:14 PM Post #5,314 of 6,808
Thanks, I try.😁 
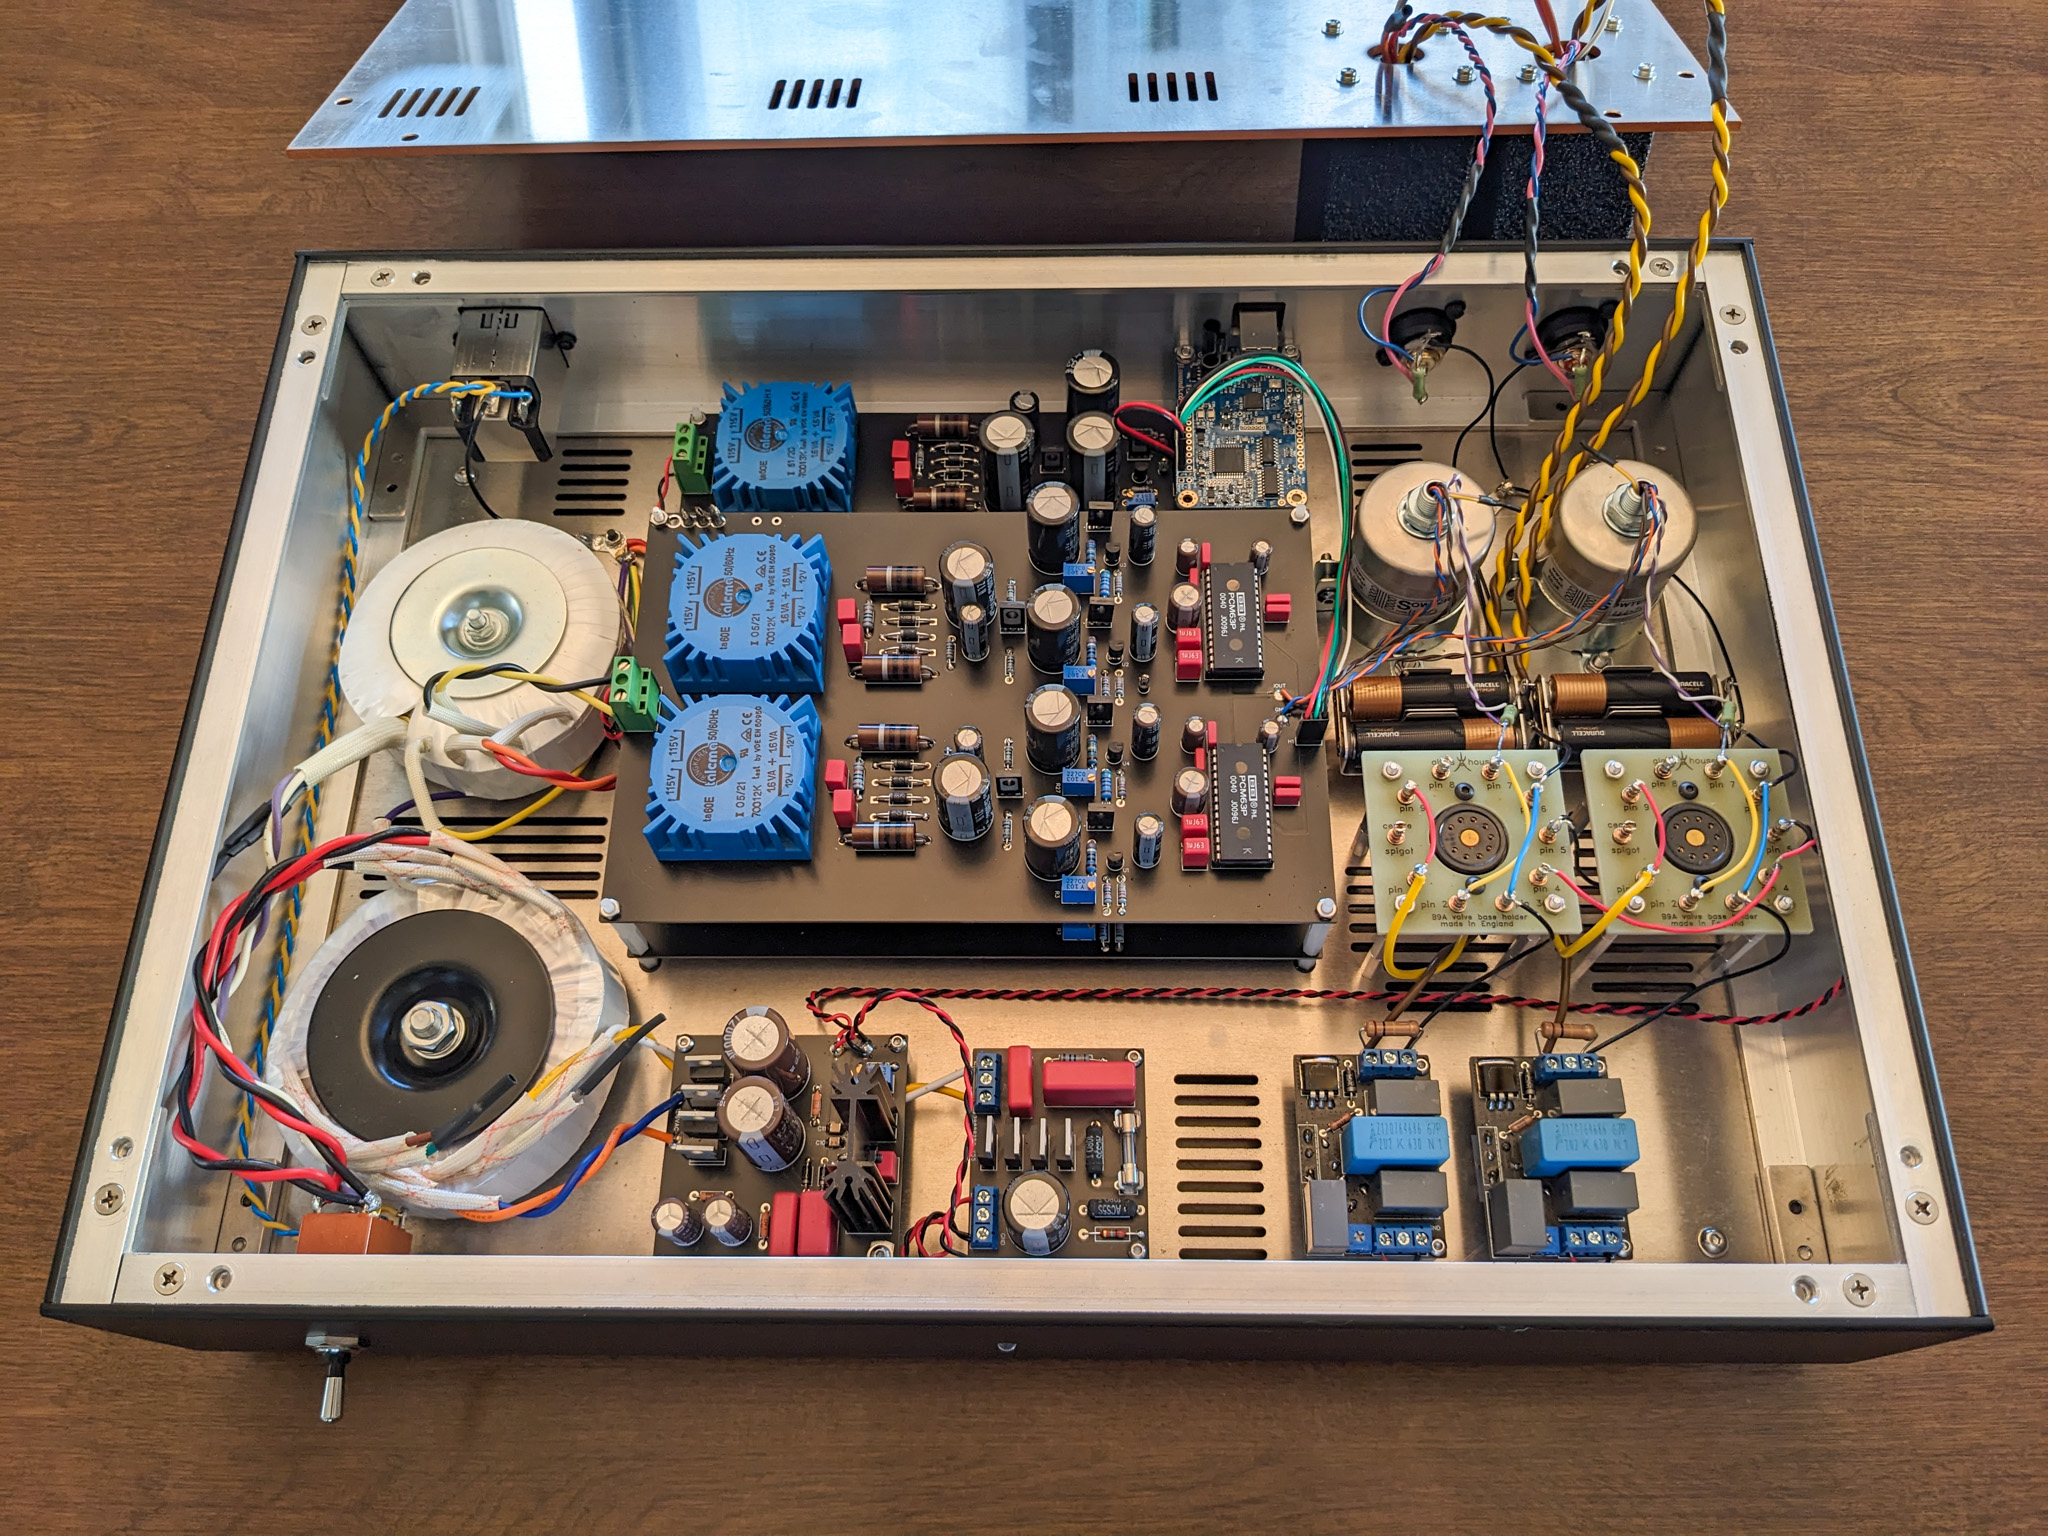
I need to build an amp prettier than this one just to annoy @bcowen.

FED29B37-4A7A-4416-870E-3150D6F06877.jpeg
You don't have to build a new amp to annoy me. 🤣

Besides, the only way you could make one prettier than mine is to use equally gorgeous tiger maple and then dovetail the corners. Then I'd be annoyed. :frowning2::frowning2:
 
Sep 23, 2022 at 10:50 PM Post #5,315 of 6,808
You don't have to build a new amp to annoy me. 🤣

Besides, the only way you could make one prettier than mine is to use equally gorgeous tiger maple and then dovetail the corners. Then I'd be annoyed. :frowning2::frowning2:
Working on it, maybe.🤪🤪
 
Sep 24, 2022 at 10:21 AM Post #5,316 of 6,808
Pretty much. The stages in the Airmid are direct-coupled, in the standard pentode amplifier they are copper foil capacitor coupled, direct coupling doesn't make much sense in this circuit as you end up just moving the interstage coupling capacitor into the output stage as a bypass capacitor instead, which is worse.

Major changes I am making are using custom iron (2-3x the cost of standard), solid state rectification, voltage regulated power supply, change of input tubes from 6SL7 to E810F to facilitate interstage transformer coupling, which is not doable with 6SL7, LED biasing of the E810F as opposed to cathode biasing 6SL7 in standard. LED biasing is not objectively preferable for the 6SL7 in the standard circuit, cathode biasing was subjectively preferable as well (I tried, measured, and subjectively tested both). The output stage topology is the commonality between the two designs, which is the most important part of the circuit and dictates the requirements of the input stage so to speak.

These changes also add a degree of complexity that would put it outside the skill level of someone without experience to build IMO. What I love about the original version is it achieves a very high quality of sound with a very simple design that can be built by anyone. I tend to get the itch to "max out" a circuit idea, sort of like how I built my 6336 OTL based off the Airmid topology.

Ever since building that 45 amp for Zach, I have thought I need to build myself a endgame level transformer coupled amplifier. I wasn't sure what that would look like, at one point I was considering building essentially the same circuit but using the 10Y as an output instead. I was on a run the other day and these changes to the pentode circuit popped into my head and I decided this is the one.


Thanks for sharing that Keenan. Always nice to get more insight into your designs and how specific design elements interact.
Don't always understand everything but it helps me get a better idea of why your amps sound so amazing and I always enjoy learning
more about the technical side.

jgwtriode
 
Sep 24, 2022 at 8:15 PM Post #5,317 of 6,808
Alright, Lundahl distributor says we are a go for transformer availability, just a 4-5week lead time given they will mostly be made in Sweden.

Here is what I've done with this output stage in this amplifier.

Below is a conventional cathode biased SET output stage (series feed), this is what you will find in a vast majority of transformer coupled single-ended tube amplifiers. The signal path for the output stage is comprised of the final components of the B+ supply, the output transformer, the tube, and the cathode bypass capacitor. The transformer is always in the plate of the tube.

SET.png

So what would happen if instead we put the transformer in the cathode? It would look something like this.

Cathode Follower.png

The output stage signal path now consists of the B+ supply, the tube, and the output transformer. There is no need for a bypass capacitor!!!

This is the major difference between this amplifier and other transformer coupled amps - the output stage is a transformer coupled cathode follower. Similar to the conventional SET output stage, it is cathode biased, but rather than using a cathode resistor, we use the DC resistance of the output transformer primary winding to bias the tube along with some series resistance if need be.

So why go to the trouble? This output topology has a number or pros over the conventional SET approach, as well as some cons.

Pros:
1) A very clean signal path in the output stage - removing a reactive component from the output stage, the bypass capacitor, has huge gains in terms of clarity, staging, dynamics, realism. This same benefit is gained when using fixed / grid bias output stages, however they require a dedicated negative bias supply, much more complexity! This output stage keeps the tube cathode biased without requiring a bias supply - essentially you gain the benefit of a fixed bias design without the cost / size / headache of a grid bias supply.

2) Low distortion - a cathode follower inherently is low distortion due to its internal negative feedback. This amplifier has inaudible levels of distortion at normal listening volumes and it remains low all the way up to clipping.

3) Low output impedance and improved damping ratio - a typical SET amplifier will achieve roughly a 3:1 damping ratio. Higher damping ratios can be accomplished using a higher turns output transformer, however this is at the cost of copper losses, a less ideal output transformer, and power output. Using a cathode follower, and the specific tubes used in this circuit, damping ratios of 7:1 or 8:1 can be achieved, much better for driving low impedance and hard to drive planar magnetics.

Cons:
1) No voltage gain in the output stage - a cathode follower has a voltage gain of less than 1, meaning all of the voltage gain for the amplifier must be done by the input stage! This means you need a high gain input stage that can swing big time voltages at low distortion. Add using new production tubes into the mix and this was the hardest part of the design! I'll discuss the input stage later...

2) Dedicated heater windings - because the entire output voltage appears on the output tube's cathode, at peak swing you risk violating the tube's maximum heater-to-cathode voltage. If that happens, the tube could arc and it is toast! To avoid this potential issue, each output tube MUST have its own dedicated heater winding with the heater referenced to the tube's cathode. That means a mains transformer with at least three separate heater windings, plus a rectifier filament winding, which is not all that common.

So at a high level, this is the design of the output stage. I was able to come up with something that works within these constraints using common tubes that sounds really excellent (in my opinion). I'm certainly not the first person to try this, you might see bits and pieces about it on the web. It has been discussed to a small degree on diyAudio, but in the context of speaker amplifiers where the voltage swinging requirements of the input stage become ridiculous to the point of being impractical. But for headphones, it works quite nicely I've found :)
 
Last edited:
Sep 24, 2022 at 8:58 PM Post #5,319 of 6,808
Here is the interior.

PXL_20220904_174416297-2.jpg

PXL_20220904_175553316.jpg
Looks remarkably uncluttered, which I guess the PCB's contribute to a lot.

Compared to this, a 15wpc push-pull pentode (wired in triode) stereo amp. It was a kit.

Super Amp Internal.jpg
 
Sep 24, 2022 at 9:09 PM Post #5,320 of 6,808
Yeah, the PCB makes the required point-to-point wiring minimal. You can see I also included terminal blocks to make wired connection to the PCB except where a direct soldered connection is preferred, grounded connections specifically.

One thing that probably stands out are the two big chokes in the middle of the interior that the PCB is wrapped around. These chokes load the 6SL7 input stage. The two sections of the 6SL7 are wired in parallel to halve its internal impedance for a improved low frequency extension. Loading a tube with a choke allows the tube's peak voltage to swing above the B+ voltage.

PXL_20220904_174416297-2.jpg

This is how we get around the huge voltages needed to overcome the lack of voltage gain in the cathode follower output stage. The 6SL7 is able to swing over 300V peak-to-peak at low distortion, essentially making up for the gain of 1 in the output. There are very few new production high gain tubes that have excellent linearity, I felt the 6SL7 was the best choice and found a way to make it work with a ridiculous 810H 5mA anode choke, only made by Lundahl.

To keep the internal resistance of the 6SL7 as low as possible, it is cathode biased with a electrolytic bypass capacitor. Now normally I am not a fan of electrolytics, but I knew going in an electrolytic would be the best choice to keep the bandwidth of the stage as high as possible. Way back when, I A-B tested as many "audio grade" electrolytics as I could to try and find one I felt was worth using. That turned out to be the Jupiter Cosmos. Their sound is so far beyond any other electrolytic I tried, I would call them essential! No substitutes allowed.

I told the owner of Jupiter Condenser how amazed I was with the sound he had achieved in these electrolytics, now my quote (typo and all) is immortalized on their product page, I am famous.

https://jupitercondenser.com/products/cosmos-electrolytic-axial-leads

One down side to the parallel 6SL7 stage is its very high Miller capacitance, something on the order of 400pF. For this reason, a maximum 25K volume pot is required, otherwise the high frequency extension will suffer.
 
Last edited:
Sep 24, 2022 at 9:31 PM Post #5,321 of 6,808
So there you have it. I'll get into more detail about the specifics of the schematic when I put together instructional materials. The one part of the circuit that has me a little concerned for inexperienced builders is the output switch, it's kind of a b**** to solder, but I think I'll be able to explain the method. I've thought about making an instructional video specifically for that task, which I think would help.

It's going to take some time, probably a few months, for me to put together all of the materials needed for an official DIY project release. I will be making some minor changes to the PCB for ease of DIY reasons (e.g., including test points). I will then have to build another one and take very deliberate photos along the way and compile them into a instructional PDF.

I know $1.5Kish ain't cheap, and this would be a big commitment to gather all the parts and build, but I really think people would be getting that custom / boutique amplifier sound for what I think is a pretty reasonable price. It's really very easy to build if you have all of the right parts / equipment. I would be very proud if people build and and love the sound, so hopefully that will be the case.
 
Sep 24, 2022 at 9:37 PM Post #5,322 of 6,808
Friends did a similar design for a lot less money so I best pass, good luck though.
 
Sep 24, 2022 at 10:02 PM Post #5,324 of 6,808
Alright, Lundahl distributor says we are a go for transformer availability, just a 4-5week lead time given they will mostly be made in Sweden.

Here is what I've done with this output stage in this amplifier.

Below is a conventional cathode biased SET output stage (series feed), this is what you will find in a vast majority of transformer coupled single-ended tube amplifiers. The signal path for the output stage is comprised of the final components of the B+ supply, the output transformer, the tube, and the cathode bypass capacitor. The transformer is always in the plate of the tube.

SET.png

So what would happen if instead we put the transformer in the cathode? It would look something like this.

Cathode Follower.png

The output stage signal path now consists of the B+ supply, the tube, and the output transformer. There is no need for a bypass capacitor!!!

This is the major difference between this amplifier and other transformer coupled amps - the output stage is a transformer coupled cathode follower. Similar to the conventional SET output stage, it is cathode biased, but rather than using a cathode resistor, we use the DC resistance of the output transformer primary winding to bias the tube along with some series resistance if need be.

So why go to the trouble? This output topology has a number or pros over the conventional SET approach, as well as some cons.

Pros:
1) A very clean signal path in the output stage - removing a reactive component from the output stage, the bypass capacitor, has huge gains in terms of clarity, staging, dynamics, realism. This same benefit is gained when using fixed / grid bias output stages, however they require a dedicated negative bias supply, much more complexity! This output stage keeps the tube cathode biased without requiring a bias supply - essentially you gain the benefit of a fixed bias design without the cost / size / headache of a grid bias supply.

2) Low distortion - a cathode follower inherently is low distortion due to its internal negative feedback. This amplifier has inaudible levels of distortion at normal listening volumes and it remains low all the way up to clipping.

3) Low output impedance and improved damping ratio - a typical SET amplifier will achieve roughly a 3:1 damping ratio. Higher damping ratios can be accomplished using a higher turns output transformer, however this is at the cost of copper losses, a less ideal output transformer, and power output. Using a cathode follower, and the specific tubes used in this circuit, damping ratios of 7:1 or 8:1 can be achieved, much better for driving low impedance and hard to drive planar magnetics.

Cons:
1) No voltage gain in the output stage - a cathode follower has a voltage gain of less than 1, meaning all of the voltage gain for the amplifier must be done by the input stage! This means you need a high gain input stage that can swing big time voltages at low distortion. Add using new production tubes into the mix and this was the hardest part of the design! I'll discuss the input stage later...

2) Dedicated heater windings - because the entire output voltage appears on the output tube's cathode, at peak swing you risk violating the tube's maximum heater-to-cathode voltage. If that happens, the tube could arc and it is toast! To avoid this potential issue, each output tube MUST have its own dedicated heater winding with the heater referenced to the tube's cathode. That means a mains transformer with at least three separate heater windings, plus a rectifier filament winding, which is not all that common.

So at a high level, this is the design of the output stage. I was able to come up with something that works within these constraints using common tubes that sounds really excellent (in my opinion). I'm certainly not the first person to try this, you might see bits and pieces about it on the web. It has been discussed to a small degree on diyAudio, but in the context of speaker amplifiers where the voltage swinging requirements of the input stage become ridiculous to the point of being impractical. But for headphones, it works quite nicely I've found :)
Impressive Keenan!
 
Sep 24, 2022 at 10:16 PM Post #5,325 of 6,808
So there you have it. I'll get into more detail about the specifics of the schematic when I put together instructional materials. The one part of the circuit that has me a little concerned for inexperienced builders is the output switch, it's kind of a b**** to solder, but I think I'll be able to explain the method. I've thought about making an instructional video specifically for that task, which I think would help.

It's going to take some time, probably a few months, for me to put together all of the materials needed for an official DIY project release. I will be making some minor changes to the PCB for ease of DIY reasons (e.g., including test points). I will then have to build another one and take very deliberate photos along the way and compile them into a instructional PDF.

I know $1.5Kish ain't cheap, and this would be a big commitment to gather all the parts and build, but I really think people would be getting that custom / boutique amplifier sound for what I think is a pretty reasonable price. It's really very easy to build if you have all of the right parts / equipment. I would be very proud if people build and and love the sound, so hopefully that will be the case.
Agreed; Keenan its around the price of a Bottlehead Mainline and you get a hell of a lot more here than in that kit. I am really floored. Might be later next year, but I want one. Now hopefully we can get some impressions of it.

Happy listening,

jgwtriode
 

Users who are viewing this thread

Back
Top