I bough the UV light strip off of ebay and my basic finish setup is a nail lamp like yours...I honestly can't remember the Nm wavelength. I did drill a hole in the bottom of the nail setup...the little slide out tray, and put a mirror on a platform attached to a motor. It spins the shell/vestments until they cure, ensuring even finishes. I have not coated my silicone with laq, as I didn't have a spray rig to do it....I just happened to get one so I may try that to see. I had no problems with waxing regardless...just remember the colder the wax gets, the thicker the layer and the tighter the ultimate fit...the warmer and thinner, the smaller the wax layer and the looser the fit....I always got my wax temp precise and used the pink dental wax....
Couple of things just so you can keep everything categorized correct.
bubbles in the glycerine will cause dimples in and on the inhibition layer. Theyre a DEVIL to get out. If it happens, better to just wait it out. the bubbles will rise.
after the initial curing of the shell, be very gentle as to not break the the airtight seal between the shell and mold. If that is disturbed too significantly and it hasnt had too much initial cure time, you will get ridges where the air pockets formed, forcing a recast or hella buff out work.
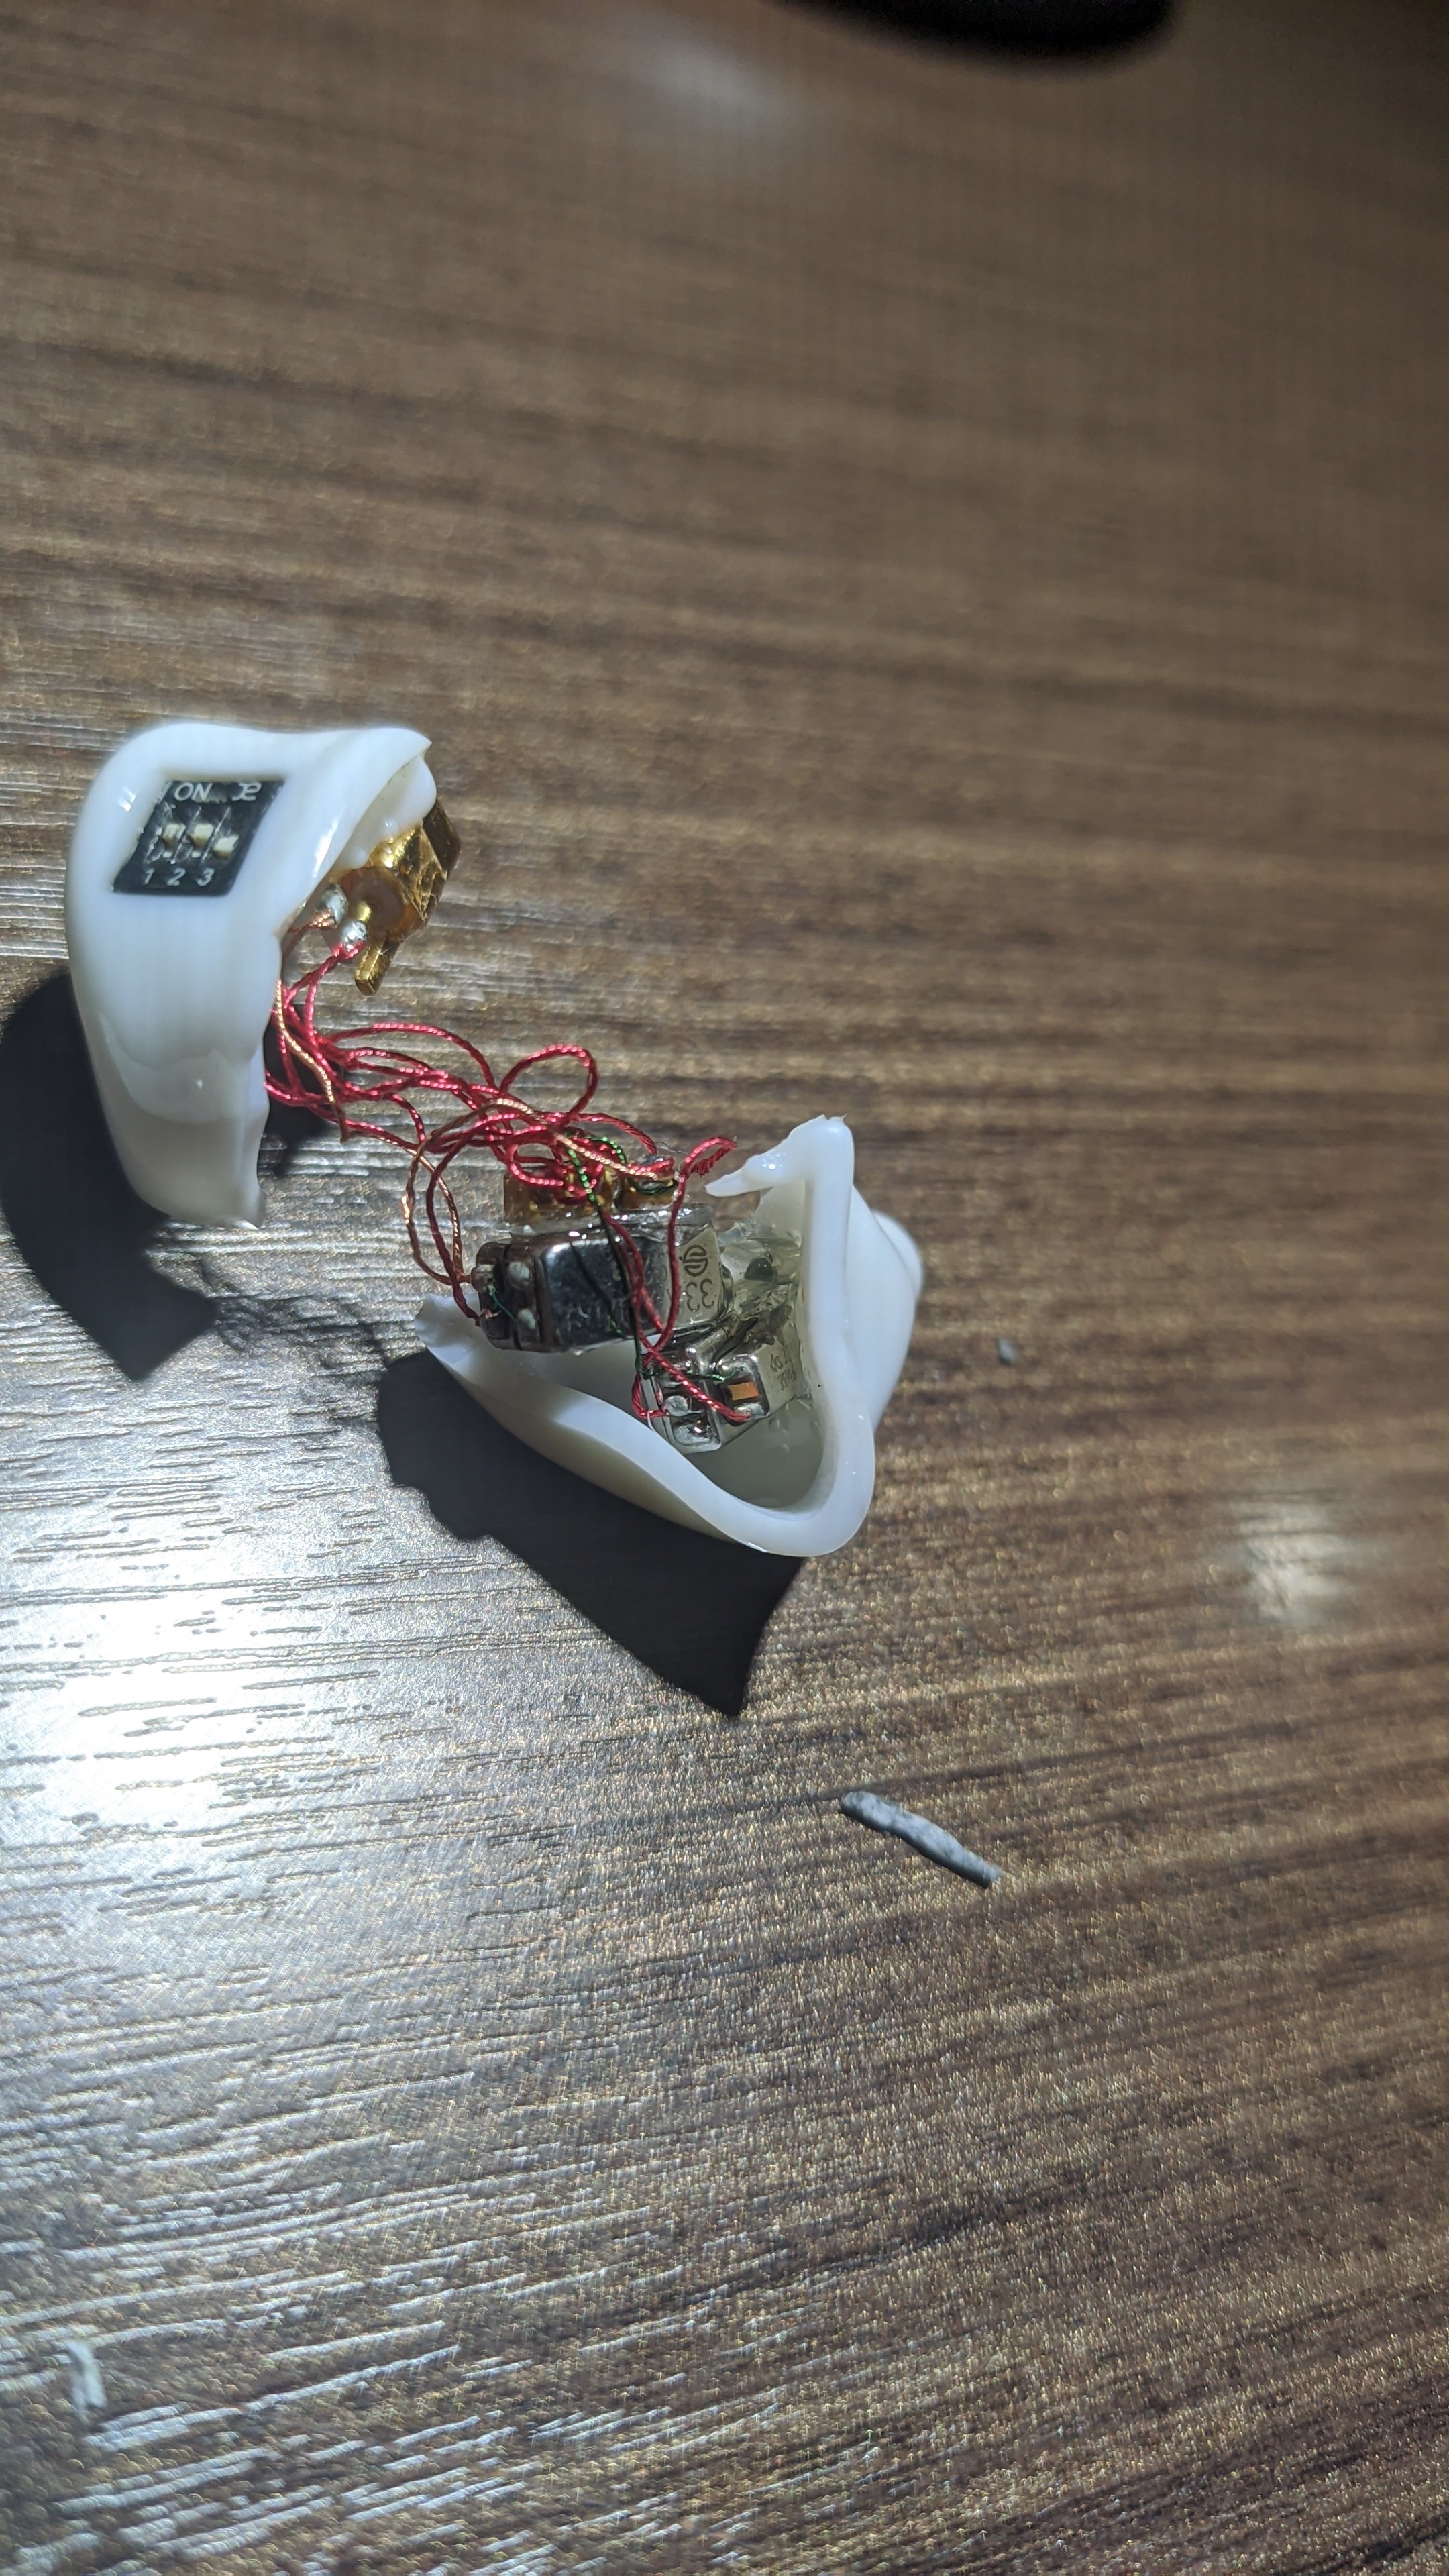
you can Dreve Lack B, silicone lacquer on all prepped impressions. Spraying isnt necessary. In fact, theres only 2 spray rated coatings in the industry. I use Lack B in my work flow. Looks something like this…
1) i clean off my initial impressions with soap and water. Then I dip it in 99% isopropyl and blow dry.
2) next, i dip the untouched impression into a 185°F (90°ish C) pot of YETI Perci-Dip. Slow in and slow out with the impression. Typically I go in canal first and out canal first.
3) then I duplicate the waxed impression using the Hydrocolloid recipe I posted. I wax the impression to the bottom of a ceramic plate. Then, i dip the top of a disposable coffee cup into the wax, placing the cup over the impression and sealing the cup to the ceramic. By using YETI Dip, your colloid can be poured at 135-140° without effecting the mold, IF you let it cool it for 10-20 minutes.
4) once that is hardened out, i then shoot silicone impression material into the colloid creating an exact match to the original. Its also MUCH easier to identify what needs to get buffed and what doesnt. Once its all trimmed and buffed out, wash with soap and watef, dip in iso, and blow dry. I let it rest for about a half hour to insure there is NO residual left behind.
5) once dry, I dip the impressions in Dreve Lack B And shake/ spin off the excess silicone coating. Allow to dry for 45 minutes. I put 3 dip coats of Silicone lacquer.
6) Final step is to wax the impression to the plate, place on the investment cuff, and pour in freshly mixed fotosil for a permanent casting of the ear piece shell. Once poured, the investment is immediately placed into a pressure pot at 60psi to turn the airpockets into microscopic dots.
I wouldnt rely solely on silicone lacquer to smooth-out your impressions. If you do, it WILL take at LEAST 12 coats. Last time I counted.
if you struggle with wax dipping, find another wax. Ive used almost every type of parraffin candle wax I could find. Every single type was way too thin or left drips at any temperature.


 Dip the trimmed impressions at 60C and you're golden.