


Steph86
Member of the Trade: BusiSoft AV / Addicted to Audio
- Joined
- Sep 26, 2007
- Posts
- 329
- Likes
- 21
My order request to Audio-GD
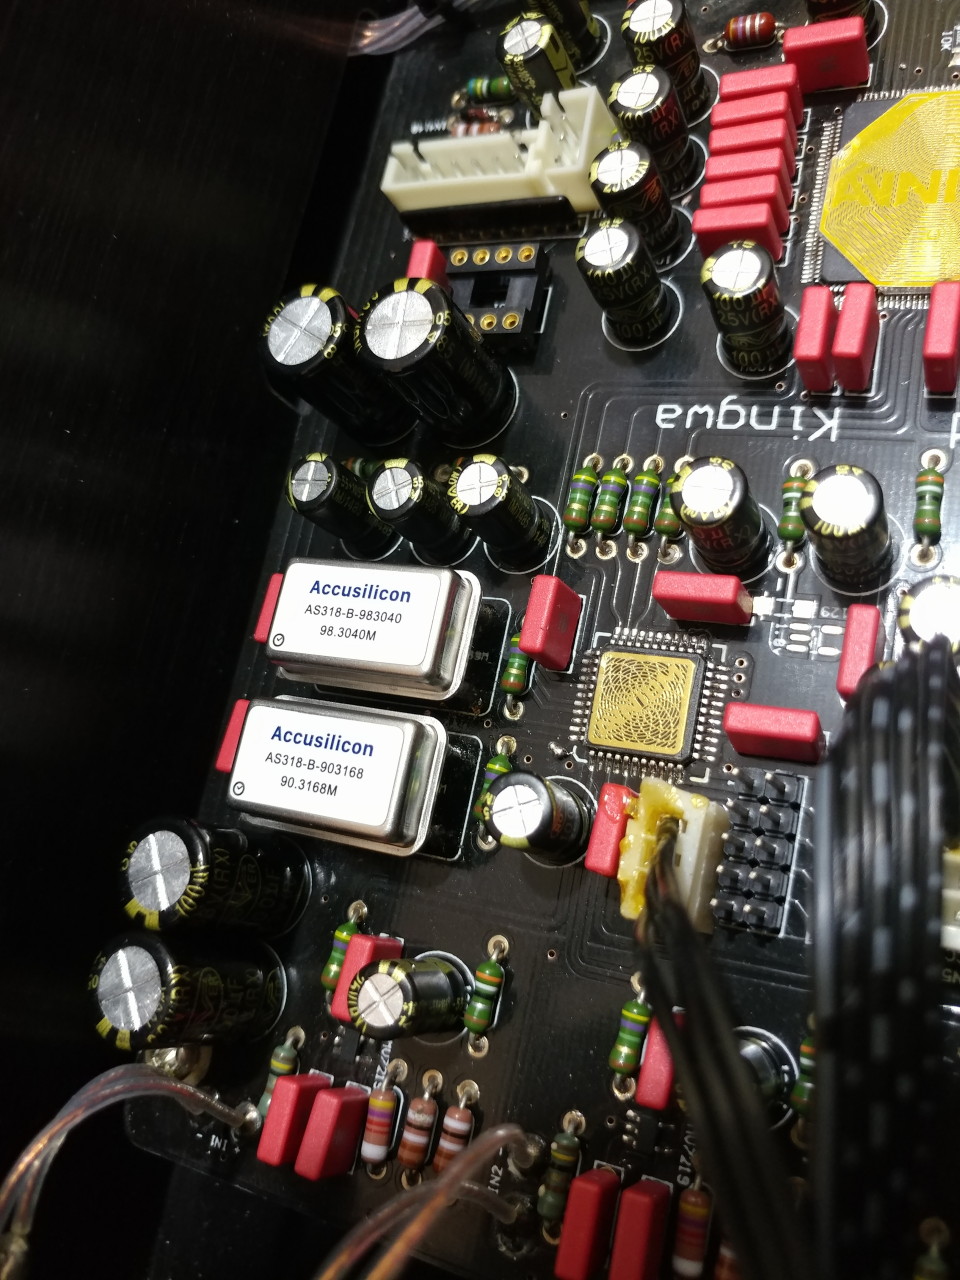
- DI-2004 with TXCO upgrade
- Replace RJ45 I2S output on DI-2004 with HDMI I2S output board installed
- DI-2004 will be used to connect with my existing Audio-GD Master 7
- NZ Power Cable/Plug
- HDMI I2S input board with power wire/socket for DIY installation into my Master 7 DAC replacing the current RJ45 input
Then you need a short HDMI cable to connect the DI2014 to the Master 7.
Note DO NOTt insert or remove the HDMI cable from either the DI-2014 or the Master 7 with the units powered up.
My experience of installing the DI-2014 and HDMI
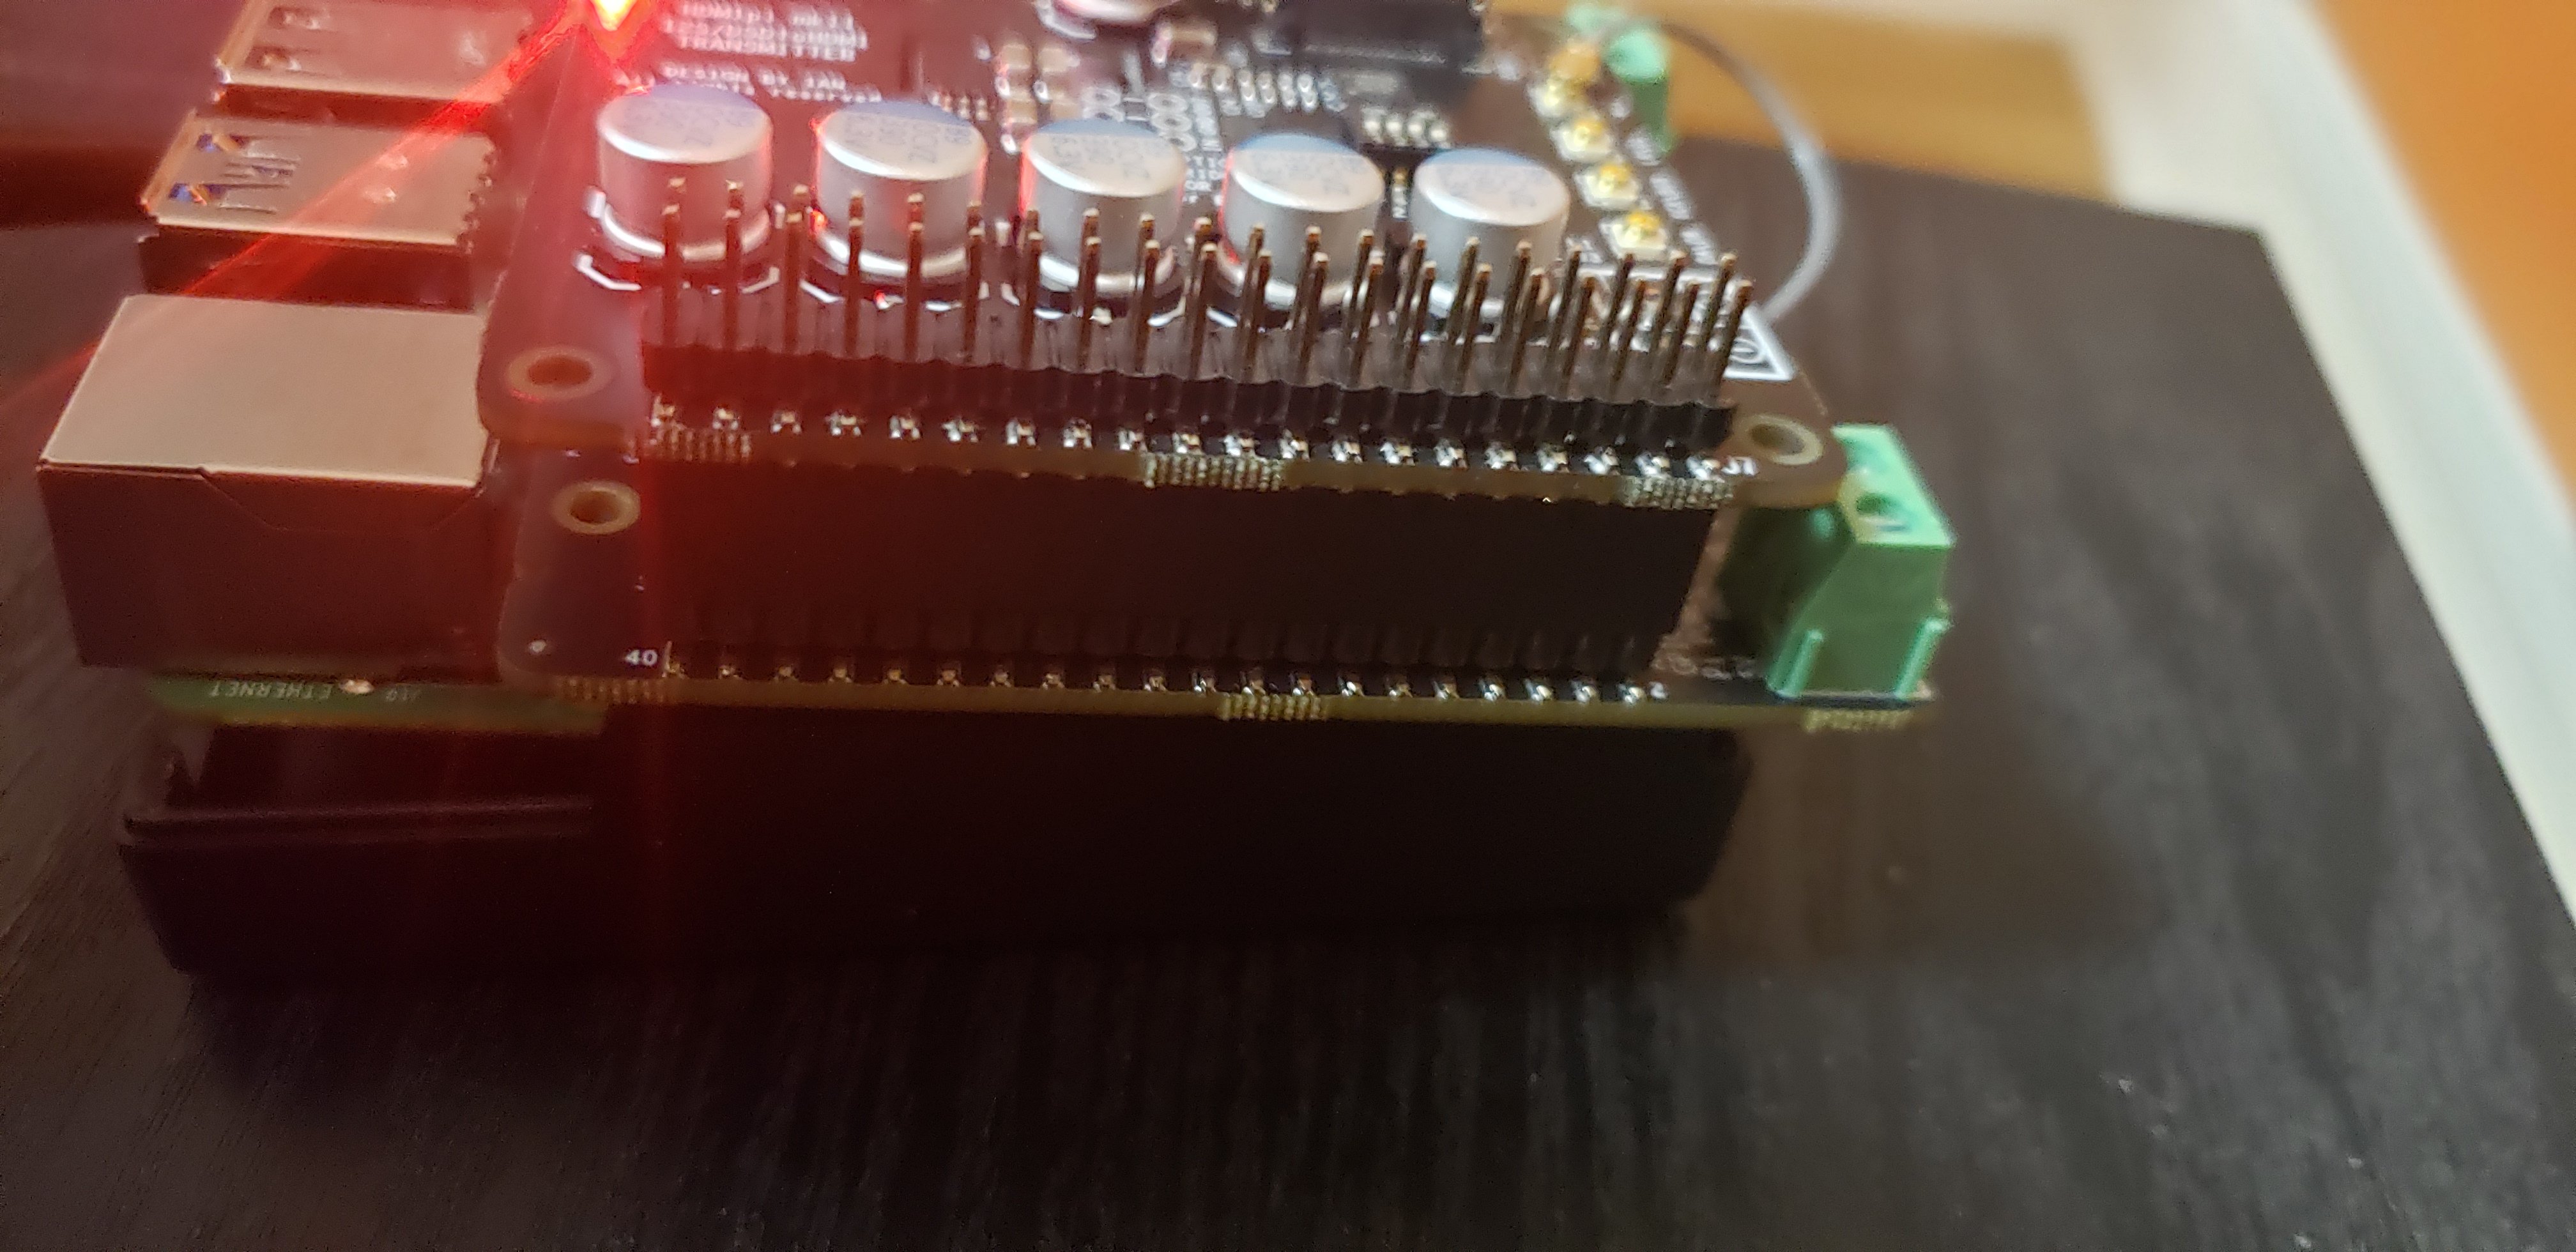
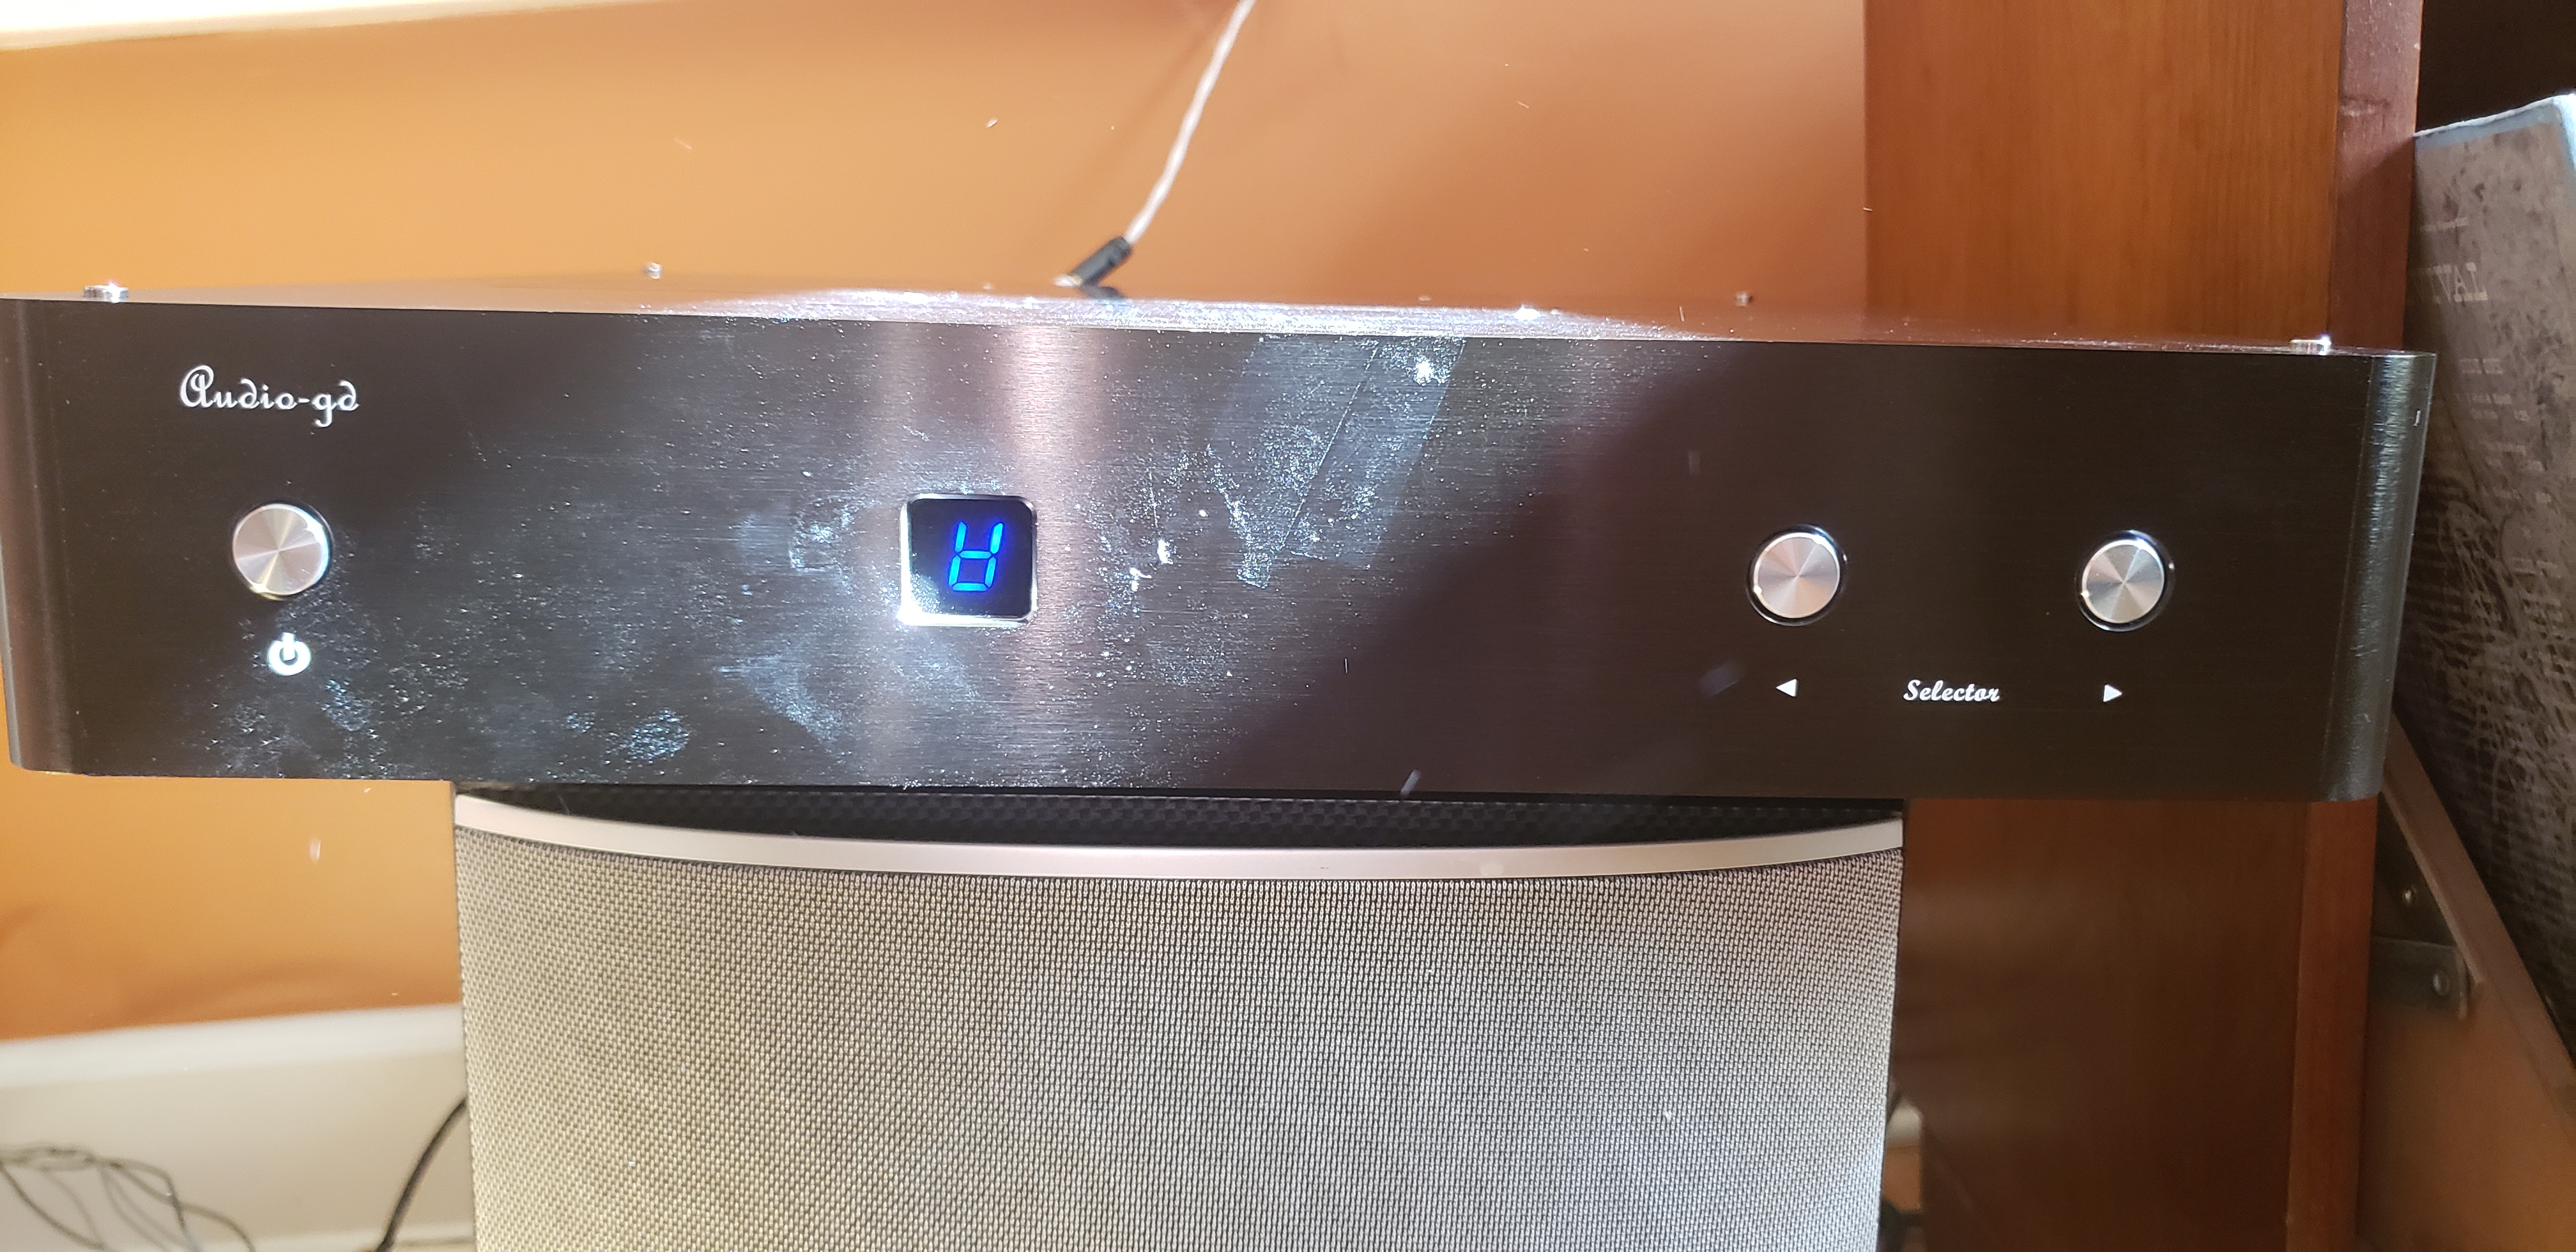
So my Audio-GD DI-2014 with installed HDMI output and the replacement HDMI input board for my Audio-GD M7 arrived.
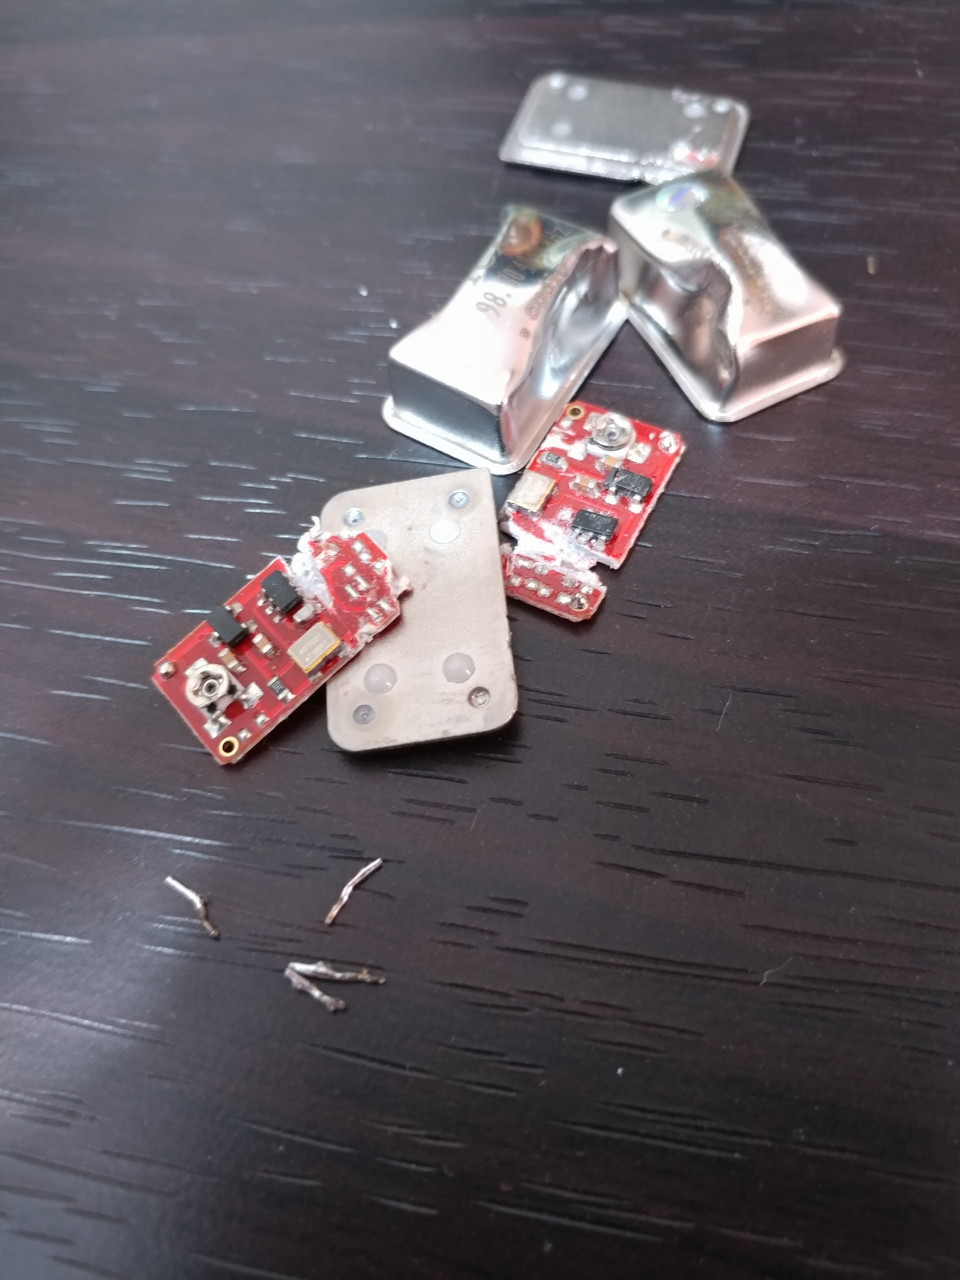
Fitting the HDMI input board was relatively easy, only slight hitch was that the existing RJ45 board and its I2S wires had a brown gluey substance holding the plug into the onboard socket. Sharp knife to cut away the glue, then a bit of leverage with a flat blade screwdriver freed the plug from the socket. Putting the new HDMI input board into the M7 took all of 5 mins.
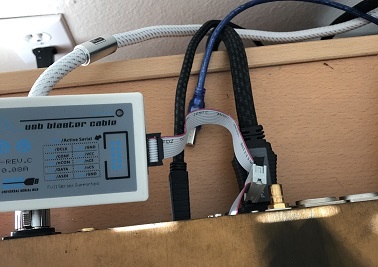
Then it was down to loading the Audio-GD supplied USB32 driver onto my JPLAY Audio-PC and hooking the DI-2014 input through my existing Double-Helix USB cable and using a new loaned 1m Wire World Ultraviolet V7 HDMI cable between the DI-2004 output and M7 input. Did this with both DI-2014 and M7 powered down as advised by Kingwa.
Frizzup
Hi Frizzup,
Thanks for your response, this helps me with quite a bit. Am i right in assuming where you typed "DI-2004 with TXCO upgrade" this should be DI-2014?
What are the overall benefits and sound enhancements from going down this route? Also what's the reason for not being able to connect/remove the HDMI connection whilst the unit is powered up?
Thanks
")

