


axtran
100+ Head-Fier
- Joined
- Mar 19, 2009
- Posts
- 374
- Likes
- 138


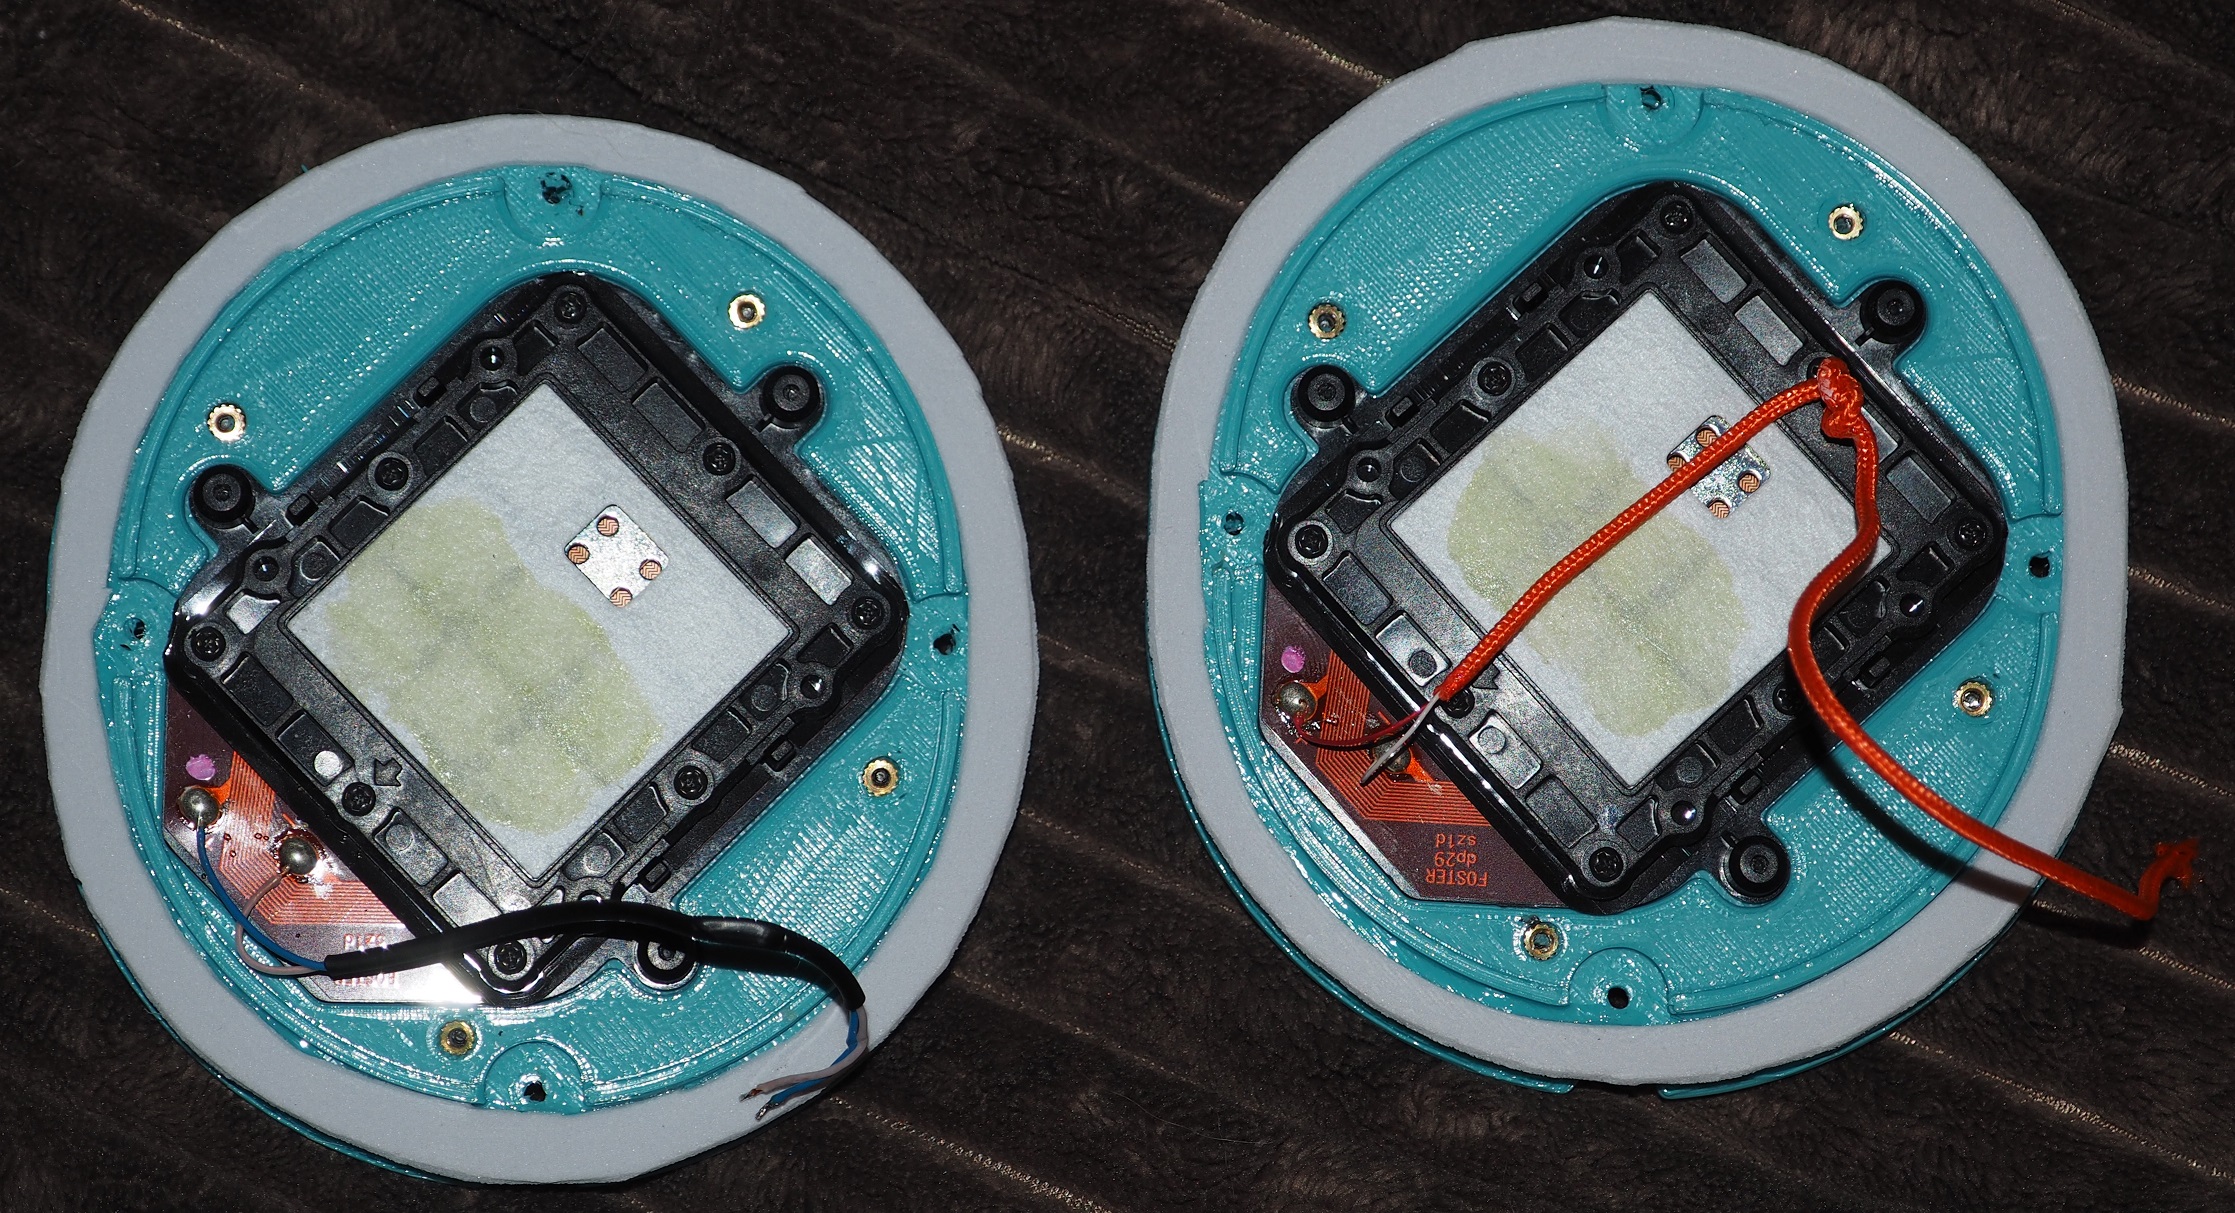
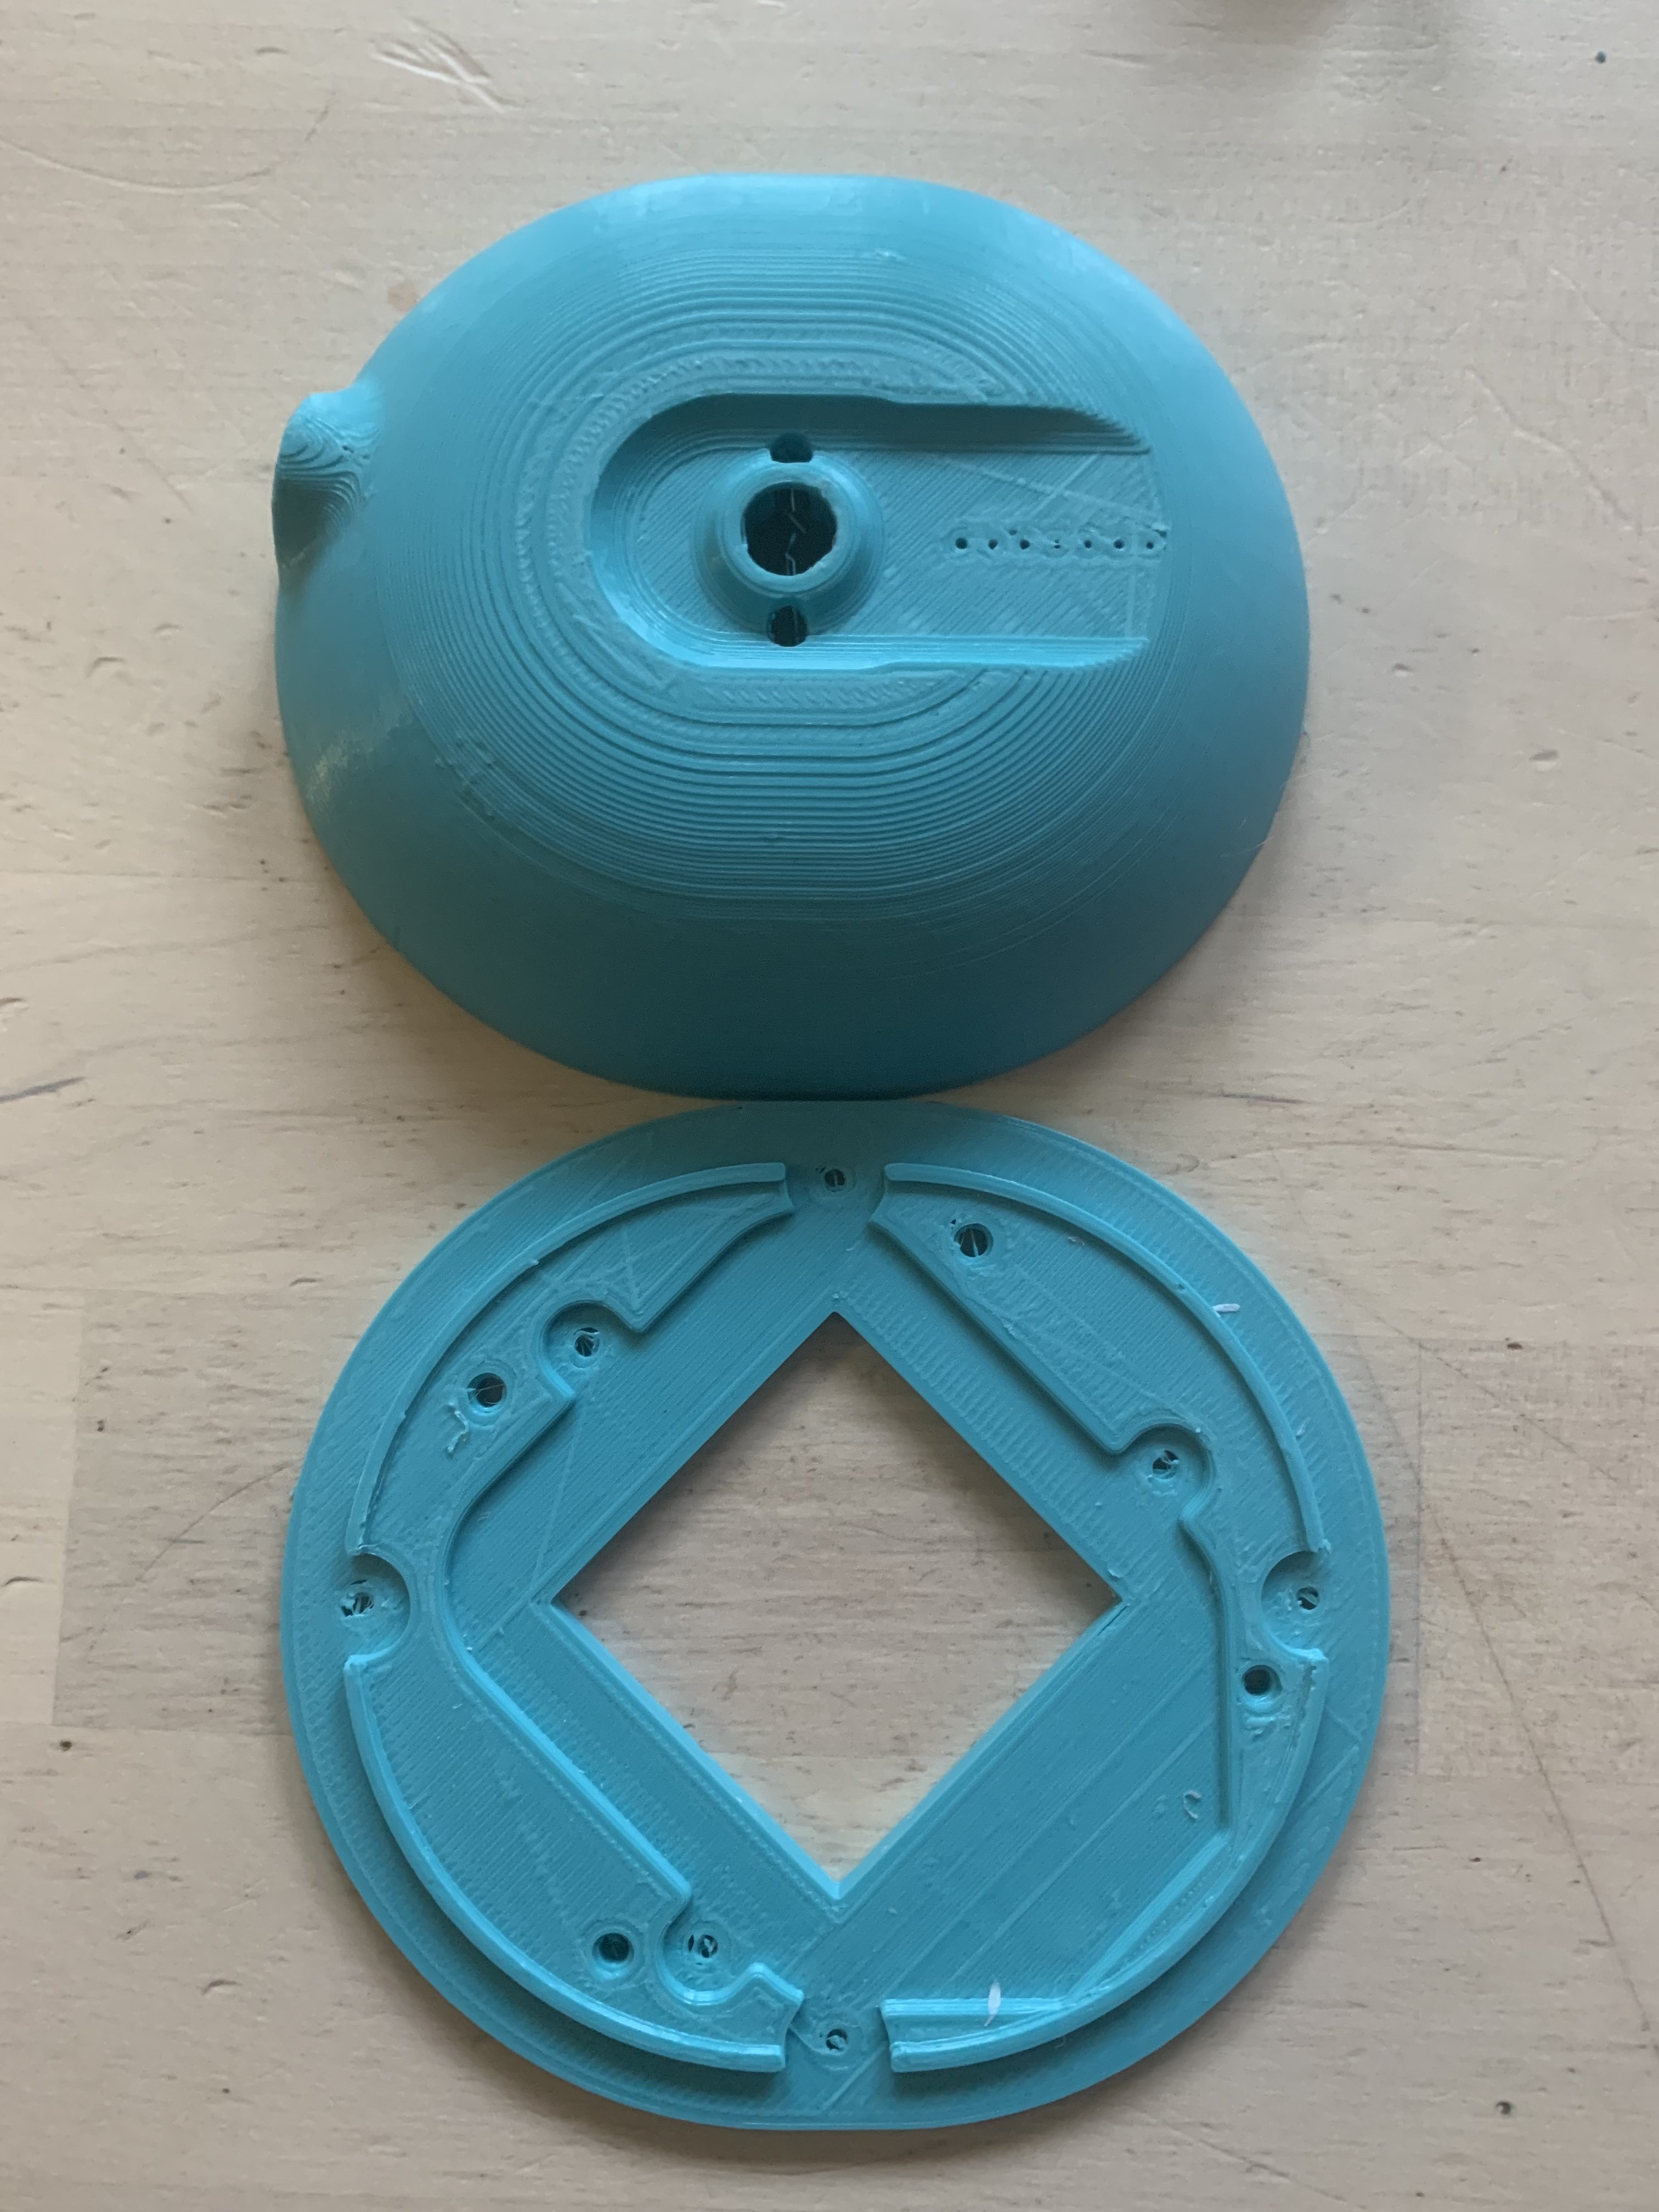
My friend agreed to help me with paint! White Nylon "Open Alpha" Cups printed by Shapeways -- first is black primer, then a coat in metallic silver (not shown), finished with Galaxy Blue colorshift paint. Still needs the final clear coat layer and polishing to get it really shiny (like glass). The color changes between a deep blue to a deep red-purple. Can't wait until I get the cups back and dismantle a T40RP MK3 to finish my headphones!


