Thanks, I'm not really doing anything too complicated at all, really!
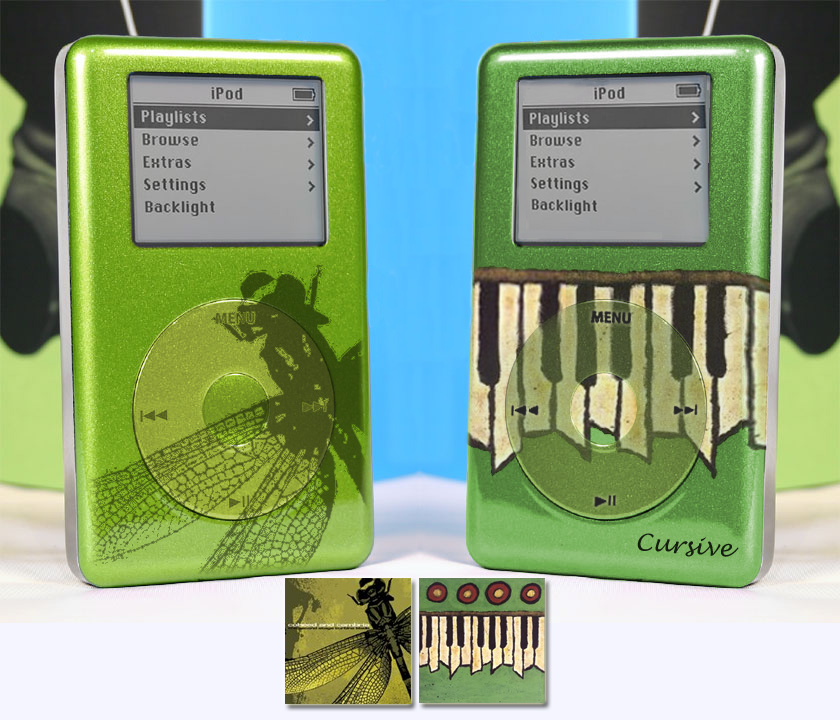
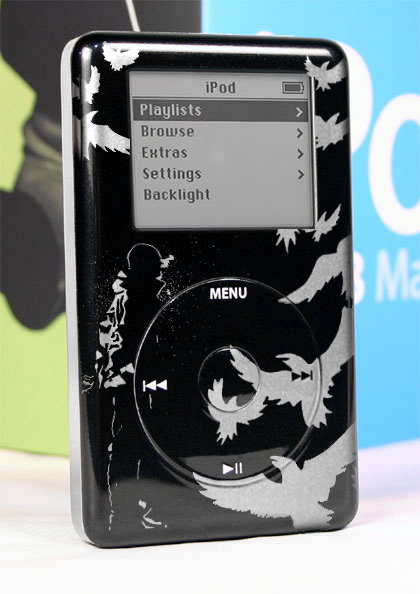
First up, I get a good picture. I like using the black Zen, as If I leave any black anyware, it won't look too distracting.
Using the magic wand with anti-aliasing on, and a pretty high tolerance, maybe 30 or more, select the black, all the black. You can go upto 100 on the tolerance, but you'll need to clean up the selection with the lasoo.
Now, invert the selection, cut and paste. As you can see, on the bottom layer we have the fascia, and on the top we have the screen, logo, outeredge and more.
Now import the image, and paste it in. Make it big, and press Ctrl+T. Right click inside the box and choose "Distort". Drag the corners of the box to outside the corners of the fascia. (You don't need to do this if your photo is straight on).
I add a little transparency to the Blink image, about 60% (opaque).
Back to the black Fasica level, I use the polygon lasoo tool, with Anti-Aliasing (but no feather) on. Select the middle bit, and then change the layer to the Image. Cut and paste this, and you should have an image the shape of the buttons. Now put it in place (if necessary) and put the transparency to about 8% (opaque).
Finally, add a faint drop shadow to the top layer, and the image layer to hide any chopped up messiness.
Hope that helps, and if there is any problems, feel free to ask.