


Armaegis
Modern Modder Man of Manitoba
HTML... uphill, both ways!
- Joined
- Oct 18, 2009
- Posts
- 12,655
- Likes
- 1,481
So crazy transplant in progress...
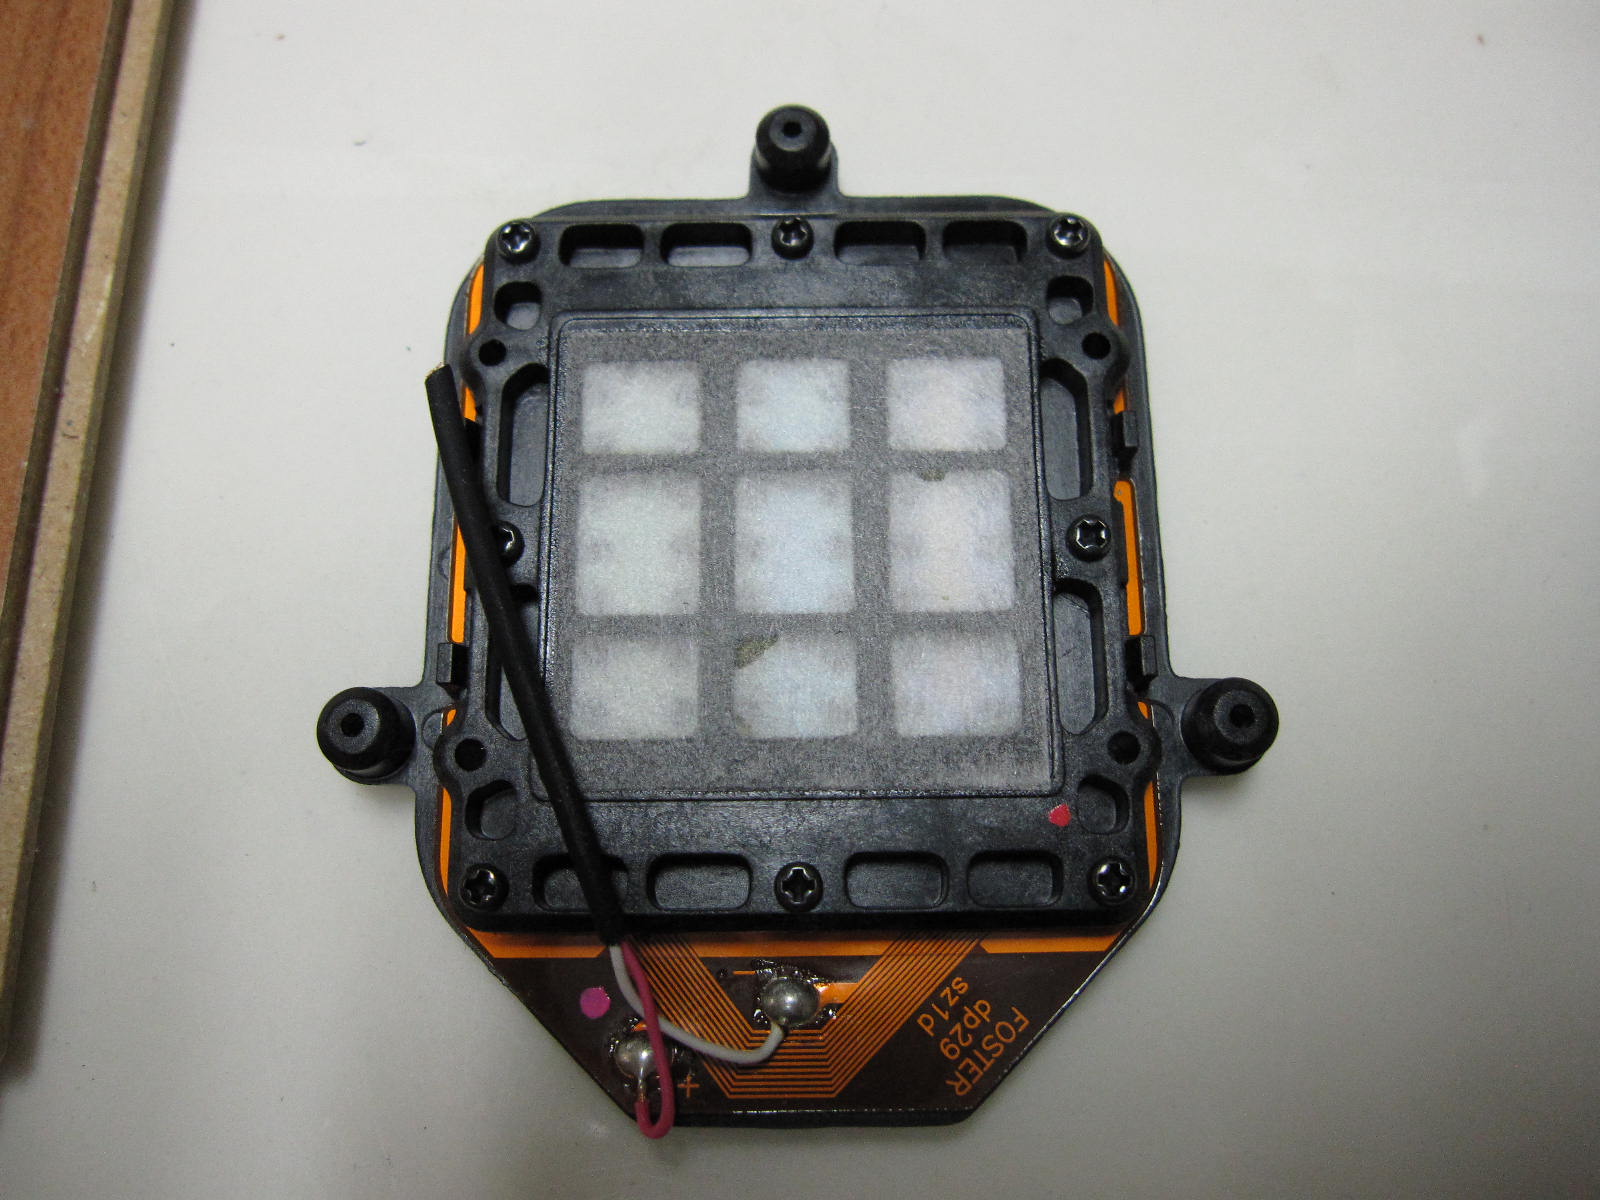
The drivers: the venerable T50rp
the shell: V-Moda Crossfade LP - chosen because it looks cool, and because it has a series of bass vents in the cup as well as a baffle port, similar to the T50rp shell
Well ok, let's start with the disassembly. Most folks are familiar with the first half...
Take the pads off and open 'er up

step

Ok, the point of no return... I left the long wires because I didn't want to risk taking the iron to the solder pads on the membrane, so I'll attach wires-to-wires for the transplant

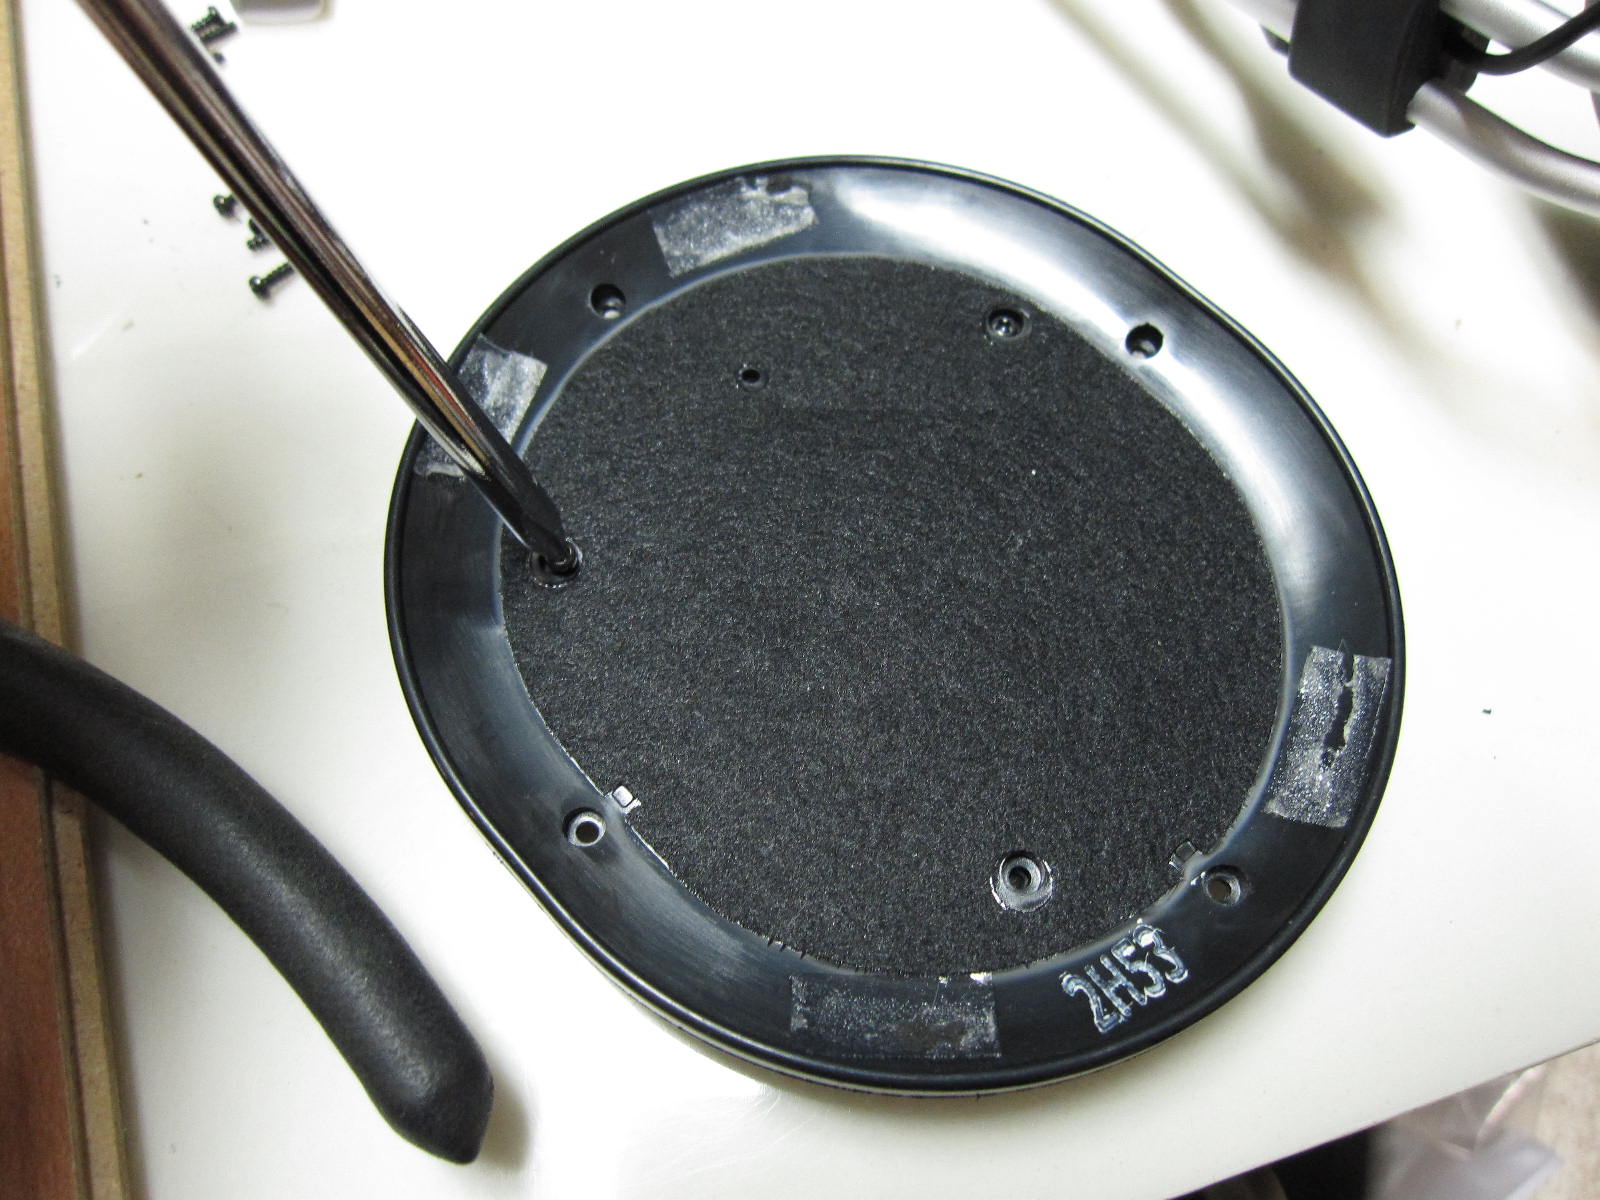
Now remove those three screws holding the driver down

After that, the only thing holding the driver is is two plastic tabs (I'm pointing the screwdriver at one)

What I did was put a flat head screwdriver between the tab and driver, and twist to push the tab outwards. Be careful you don't push down otherwise you'll scratcht he driver membrane. It's possible to remove the drivers without breaking the tabs, but most likely you'll break one of them.

Ok, here they are...


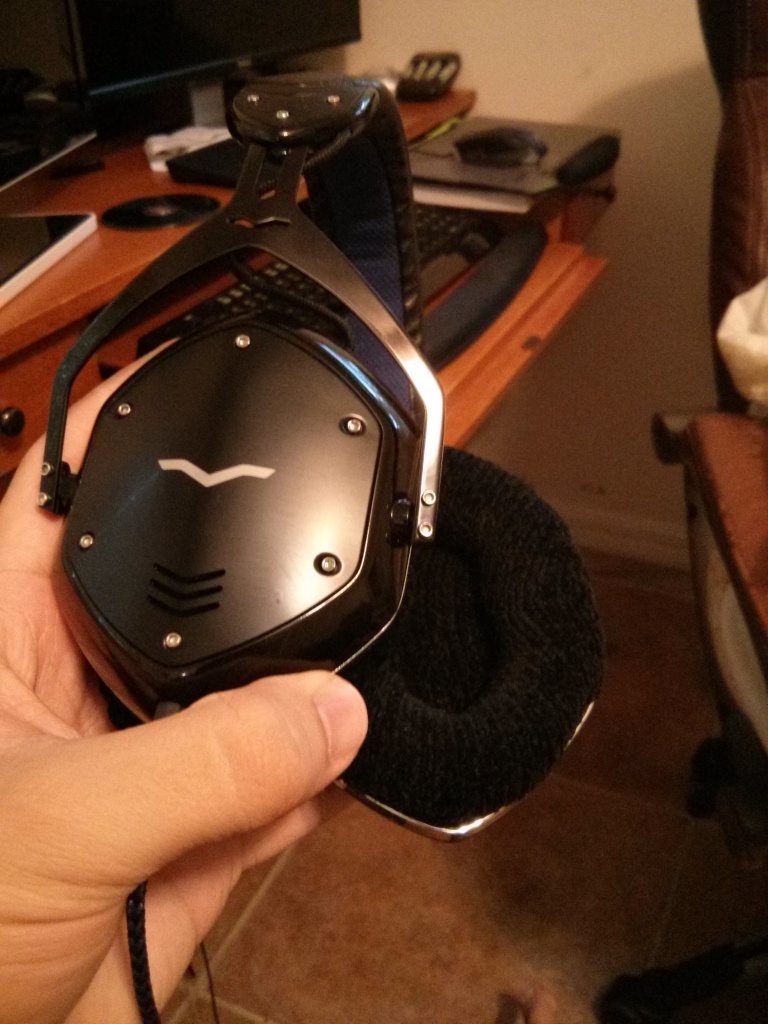
Here's the Crossfade...

just pull the pads off, take out the SEVEN screws attaching the baffle to the cup


quick pic with a piece of paper representing the size of the T50rp driver. Hoo boy that's gonna be a tight squeeze.

detach the wires

at first I thought I was going to have to wiggle the knife around the driver, but then I realized that I could separate the black and silver pieces of the baffle

it's just a foam tape holding them together

hmm, how's that for a rough fit? if only it were that easy. Of the seven baffle mounting screws, only two remain uncovered.


First things first, those mounting knobs have got to come off

a little bit of masking tape to protect the drivers


My instrument of destruction

chopped of the knobs

these little alignment nubs on the baffle have to go too

snikt

well that's a bit better


Oh crap, there isn't much clearance for those last two screws. I guess we'll have to shave the driver a bit more...

this was the probably the most unnerving part, as the blade gets awfully close to the membrane. Note the two holes: upper right and lowerleft. Also the baffle hole at the bottom.

So now we have to do some creative chopping of the cup so the driver will actually fit inside. I marked the 5 baffle mounts that will be cut off, as well as two shield mounts that need to be shortened. Actually by the end of it, I also shortened the upper left and upper right shield mounts


Once all the pieces have been cut off...

I actually had to further melt down some of the solder on the board there to make more room. Every sliver of depth counts here.
All said and done, not too bad. There's a slight rise, but don't think I can feasibly cut out any more without risking damage to the whole cup. Maybe if I switched to a smaller dremel tip and started grinding instead of cutting... but I think I've done enough for now.
edit: went nuts with the dremel and filed down basically everything I could reach without compromising hull strength. If I were to do this again in the future, I'd probably use the grinding tool instead of the cutter to take down all the pegs

So this is what I was afraid of earlier. Without enough screws to hold the baffle down, it doesn't seal all the way around. I'll start with some tape, but at the end maybe I'll have to hotglue it or replace the foam foam tape or something.

The next step is to attach the drivers to the baffle. I decided to use some contact cement. First step, align the drivers with baffle and cup, mark corners with a marker, then use tape to secure the placement of the driver relative to baffle. Flip the baffle over and mark the outline of the driver.

Apply contact cement and let sit until tacky before pressing them together. You can barely see it in the picture, but the outline of the driver is traced on the baffle so I know where to attach.
edit: sand down the mating surfaces with the dremel first to ensure a good contact bond

Clamp it down. Let sit overnight.

While we wait, let's go nuts with the dremel and start chopping out those pegs in the middle of the cup.

Soldered the wires together, used a bit of heat shrink to make sure things don't accidentally short together.

Doesn't look to bad eh?


I put tape over the unused screw holes. I realized after that this is unnecessary since they're covered by the driver anyways. Meh. I used some hot glue to fill in the small edge gaps on the left and right side of the baffle hole. If I ever do this again, I won't shave the entire side of the driver but instead just the spot where the screws need the clearance. This should allow for a full seal around the baffle, though I'd probably use some hot glue just for the sake of assurance.
I did put tape over the baffle hole (on the bottom). I found this increased bass response over having it completely open. I have not experimented with poking holes in it yet though.
edit: poked a pinhole into the baffle vent. Bass slightly improved. Got more of a rumble now.

Put some acoustic foam into the cup directly behind the driver. The smaller patch on the bottom is the stock felt covering the cup vents. This helps cut down on a lot of treble reflection. I later also added roughly half a gram of twaron angel hair as filler into each cup, which tones it down further.

A shot of the driver. Later I also stuck a square piece of felt in front of it

Tada!

I still have tape on the bottom edge, but I'll have to figure something out.
The drivers: the venerable T50rp
the shell: V-Moda Crossfade LP - chosen because it looks cool, and because it has a series of bass vents in the cup as well as a baffle port, similar to the T50rp shell
Well ok, let's start with the disassembly. Most folks are familiar with the first half...
Take the pads off and open 'er up
step
Ok, the point of no return... I left the long wires because I didn't want to risk taking the iron to the solder pads on the membrane, so I'll attach wires-to-wires for the transplant
Now remove those three screws holding the driver down
After that, the only thing holding the driver is is two plastic tabs (I'm pointing the screwdriver at one)
What I did was put a flat head screwdriver between the tab and driver, and twist to push the tab outwards. Be careful you don't push down otherwise you'll scratcht he driver membrane. It's possible to remove the drivers without breaking the tabs, but most likely you'll break one of them.
Ok, here they are...
Here's the Crossfade...
just pull the pads off, take out the SEVEN screws attaching the baffle to the cup
quick pic with a piece of paper representing the size of the T50rp driver. Hoo boy that's gonna be a tight squeeze.
detach the wires
at first I thought I was going to have to wiggle the knife around the driver, but then I realized that I could separate the black and silver pieces of the baffle
it's just a foam tape holding them together
hmm, how's that for a rough fit? if only it were that easy. Of the seven baffle mounting screws, only two remain uncovered.
First things first, those mounting knobs have got to come off
a little bit of masking tape to protect the drivers
My instrument of destruction
chopped of the knobs
these little alignment nubs on the baffle have to go too
snikt
well that's a bit better
Oh crap, there isn't much clearance for those last two screws. I guess we'll have to shave the driver a bit more...
this was the probably the most unnerving part, as the blade gets awfully close to the membrane. Note the two holes: upper right and lowerleft. Also the baffle hole at the bottom.
So now we have to do some creative chopping of the cup so the driver will actually fit inside. I marked the 5 baffle mounts that will be cut off, as well as two shield mounts that need to be shortened. Actually by the end of it, I also shortened the upper left and upper right shield mounts
Once all the pieces have been cut off...
I actually had to further melt down some of the solder on the board there to make more room. Every sliver of depth counts here.
All said and done, not too bad. There's a slight rise, but don't think I can feasibly cut out any more without risking damage to the whole cup. Maybe if I switched to a smaller dremel tip and started grinding instead of cutting... but I think I've done enough for now.
edit: went nuts with the dremel and filed down basically everything I could reach without compromising hull strength. If I were to do this again in the future, I'd probably use the grinding tool instead of the cutter to take down all the pegs
So this is what I was afraid of earlier. Without enough screws to hold the baffle down, it doesn't seal all the way around. I'll start with some tape, but at the end maybe I'll have to hotglue it or replace the foam foam tape or something.
The next step is to attach the drivers to the baffle. I decided to use some contact cement. First step, align the drivers with baffle and cup, mark corners with a marker, then use tape to secure the placement of the driver relative to baffle. Flip the baffle over and mark the outline of the driver.
Apply contact cement and let sit until tacky before pressing them together. You can barely see it in the picture, but the outline of the driver is traced on the baffle so I know where to attach.
edit: sand down the mating surfaces with the dremel first to ensure a good contact bond
Clamp it down. Let sit overnight.
While we wait, let's go nuts with the dremel and start chopping out those pegs in the middle of the cup.
Soldered the wires together, used a bit of heat shrink to make sure things don't accidentally short together.
Doesn't look to bad eh?
I put tape over the unused screw holes. I realized after that this is unnecessary since they're covered by the driver anyways. Meh. I used some hot glue to fill in the small edge gaps on the left and right side of the baffle hole. If I ever do this again, I won't shave the entire side of the driver but instead just the spot where the screws need the clearance. This should allow for a full seal around the baffle, though I'd probably use some hot glue just for the sake of assurance.
I did put tape over the baffle hole (on the bottom). I found this increased bass response over having it completely open. I have not experimented with poking holes in it yet though.
edit: poked a pinhole into the baffle vent. Bass slightly improved. Got more of a rumble now.
Put some acoustic foam into the cup directly behind the driver. The smaller patch on the bottom is the stock felt covering the cup vents. This helps cut down on a lot of treble reflection. I later also added roughly half a gram of twaron angel hair as filler into each cup, which tones it down further.
A shot of the driver. Later I also stuck a square piece of felt in front of it
Tada!
I still have tape on the bottom edge, but I'll have to figure something out.


