


axtran
100+ Head-Fier
- Joined
- Mar 19, 2009
- Posts
- 374
- Likes
- 138
Use solder...
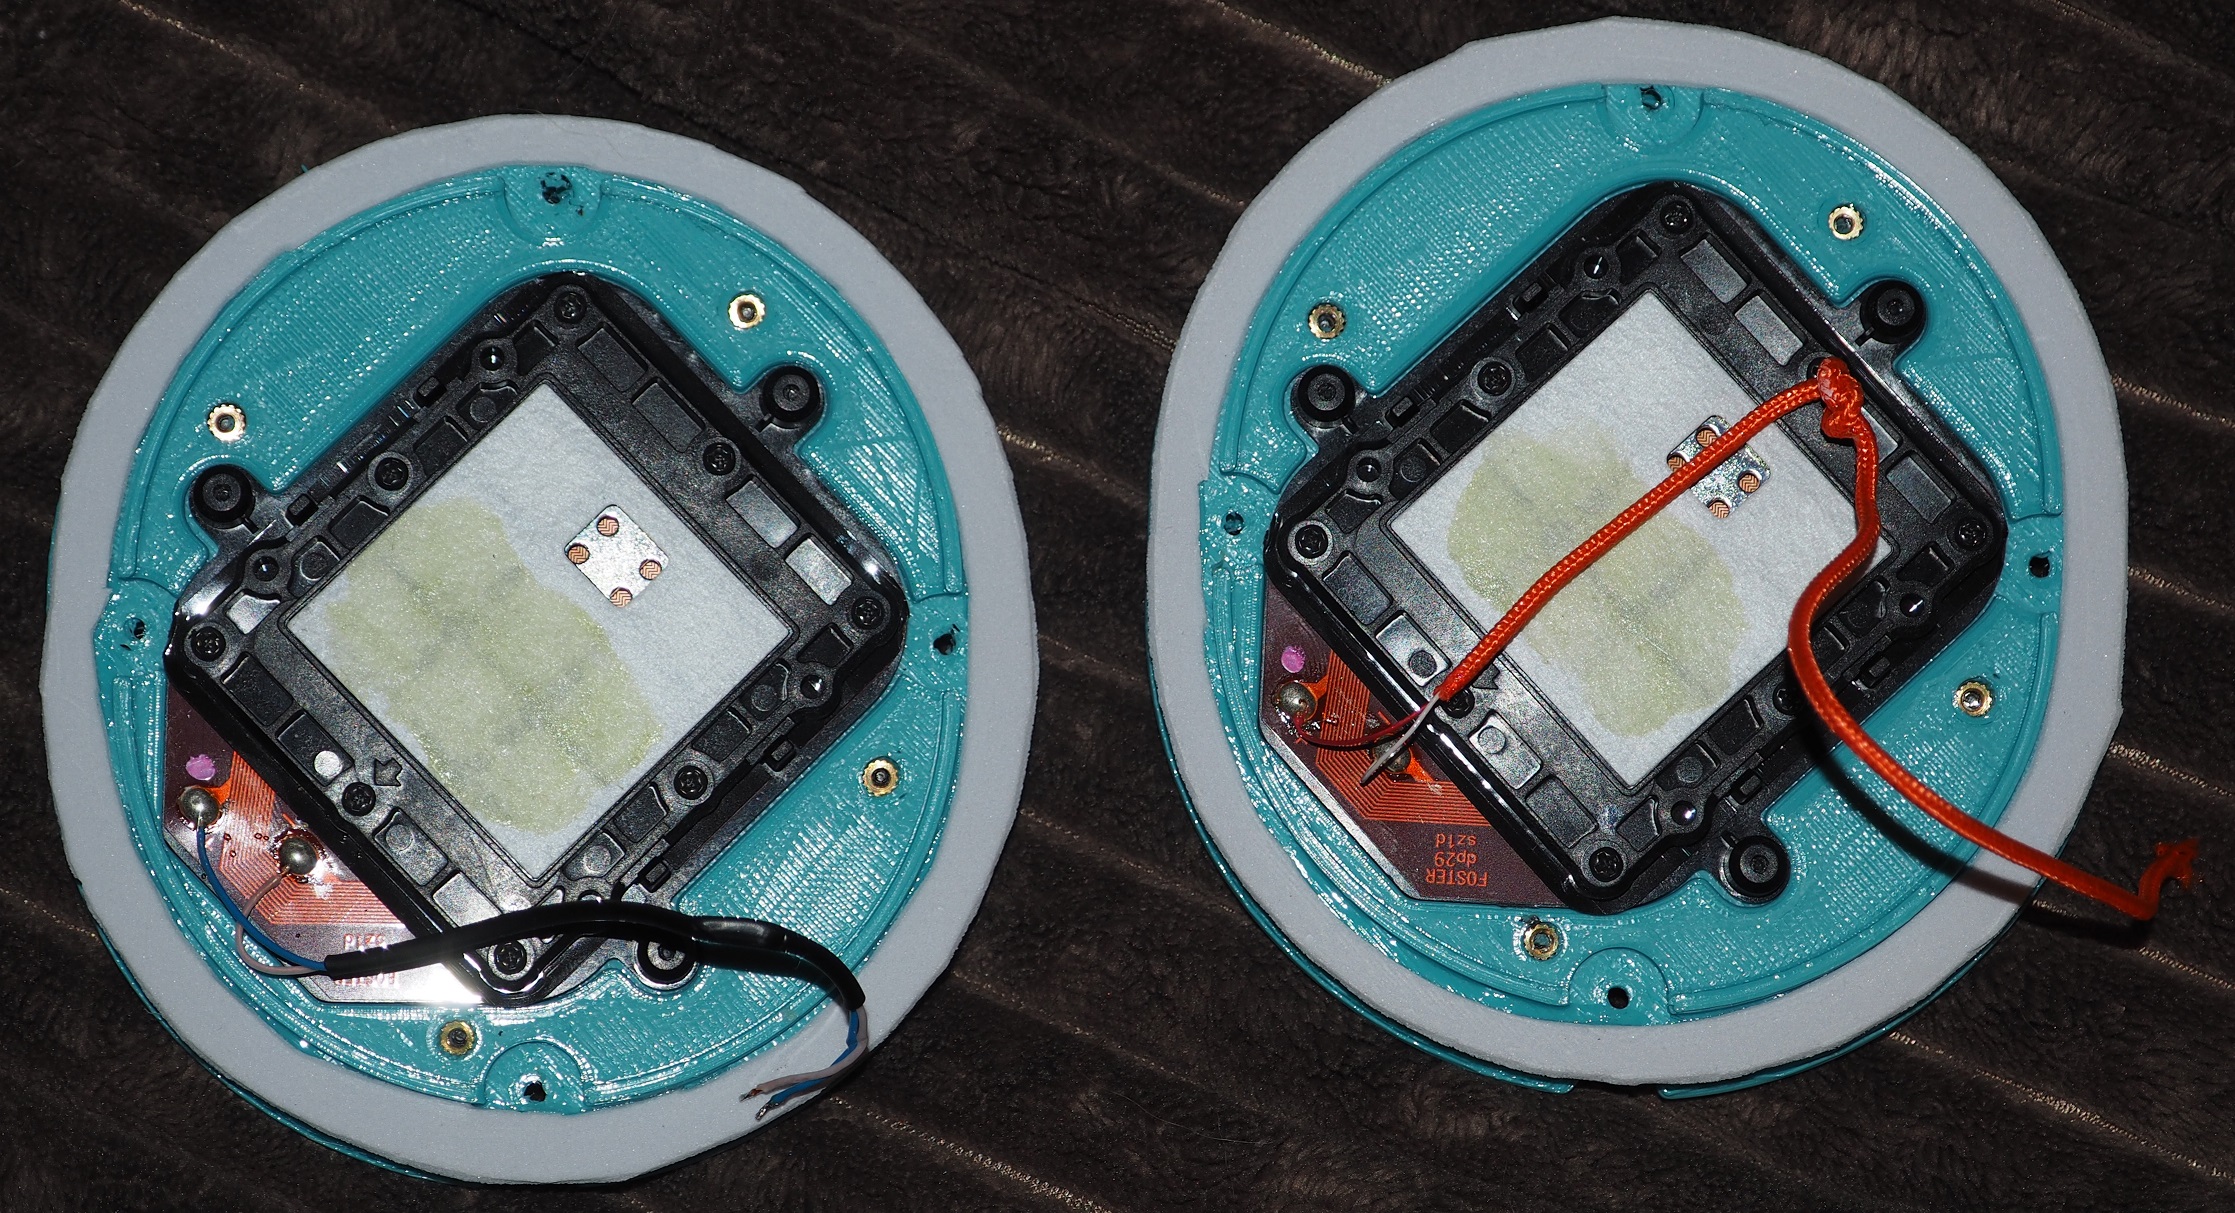
I ended up soldering! I then used some heat shrink. Mostly because I like how it looks.
")
Use solder...

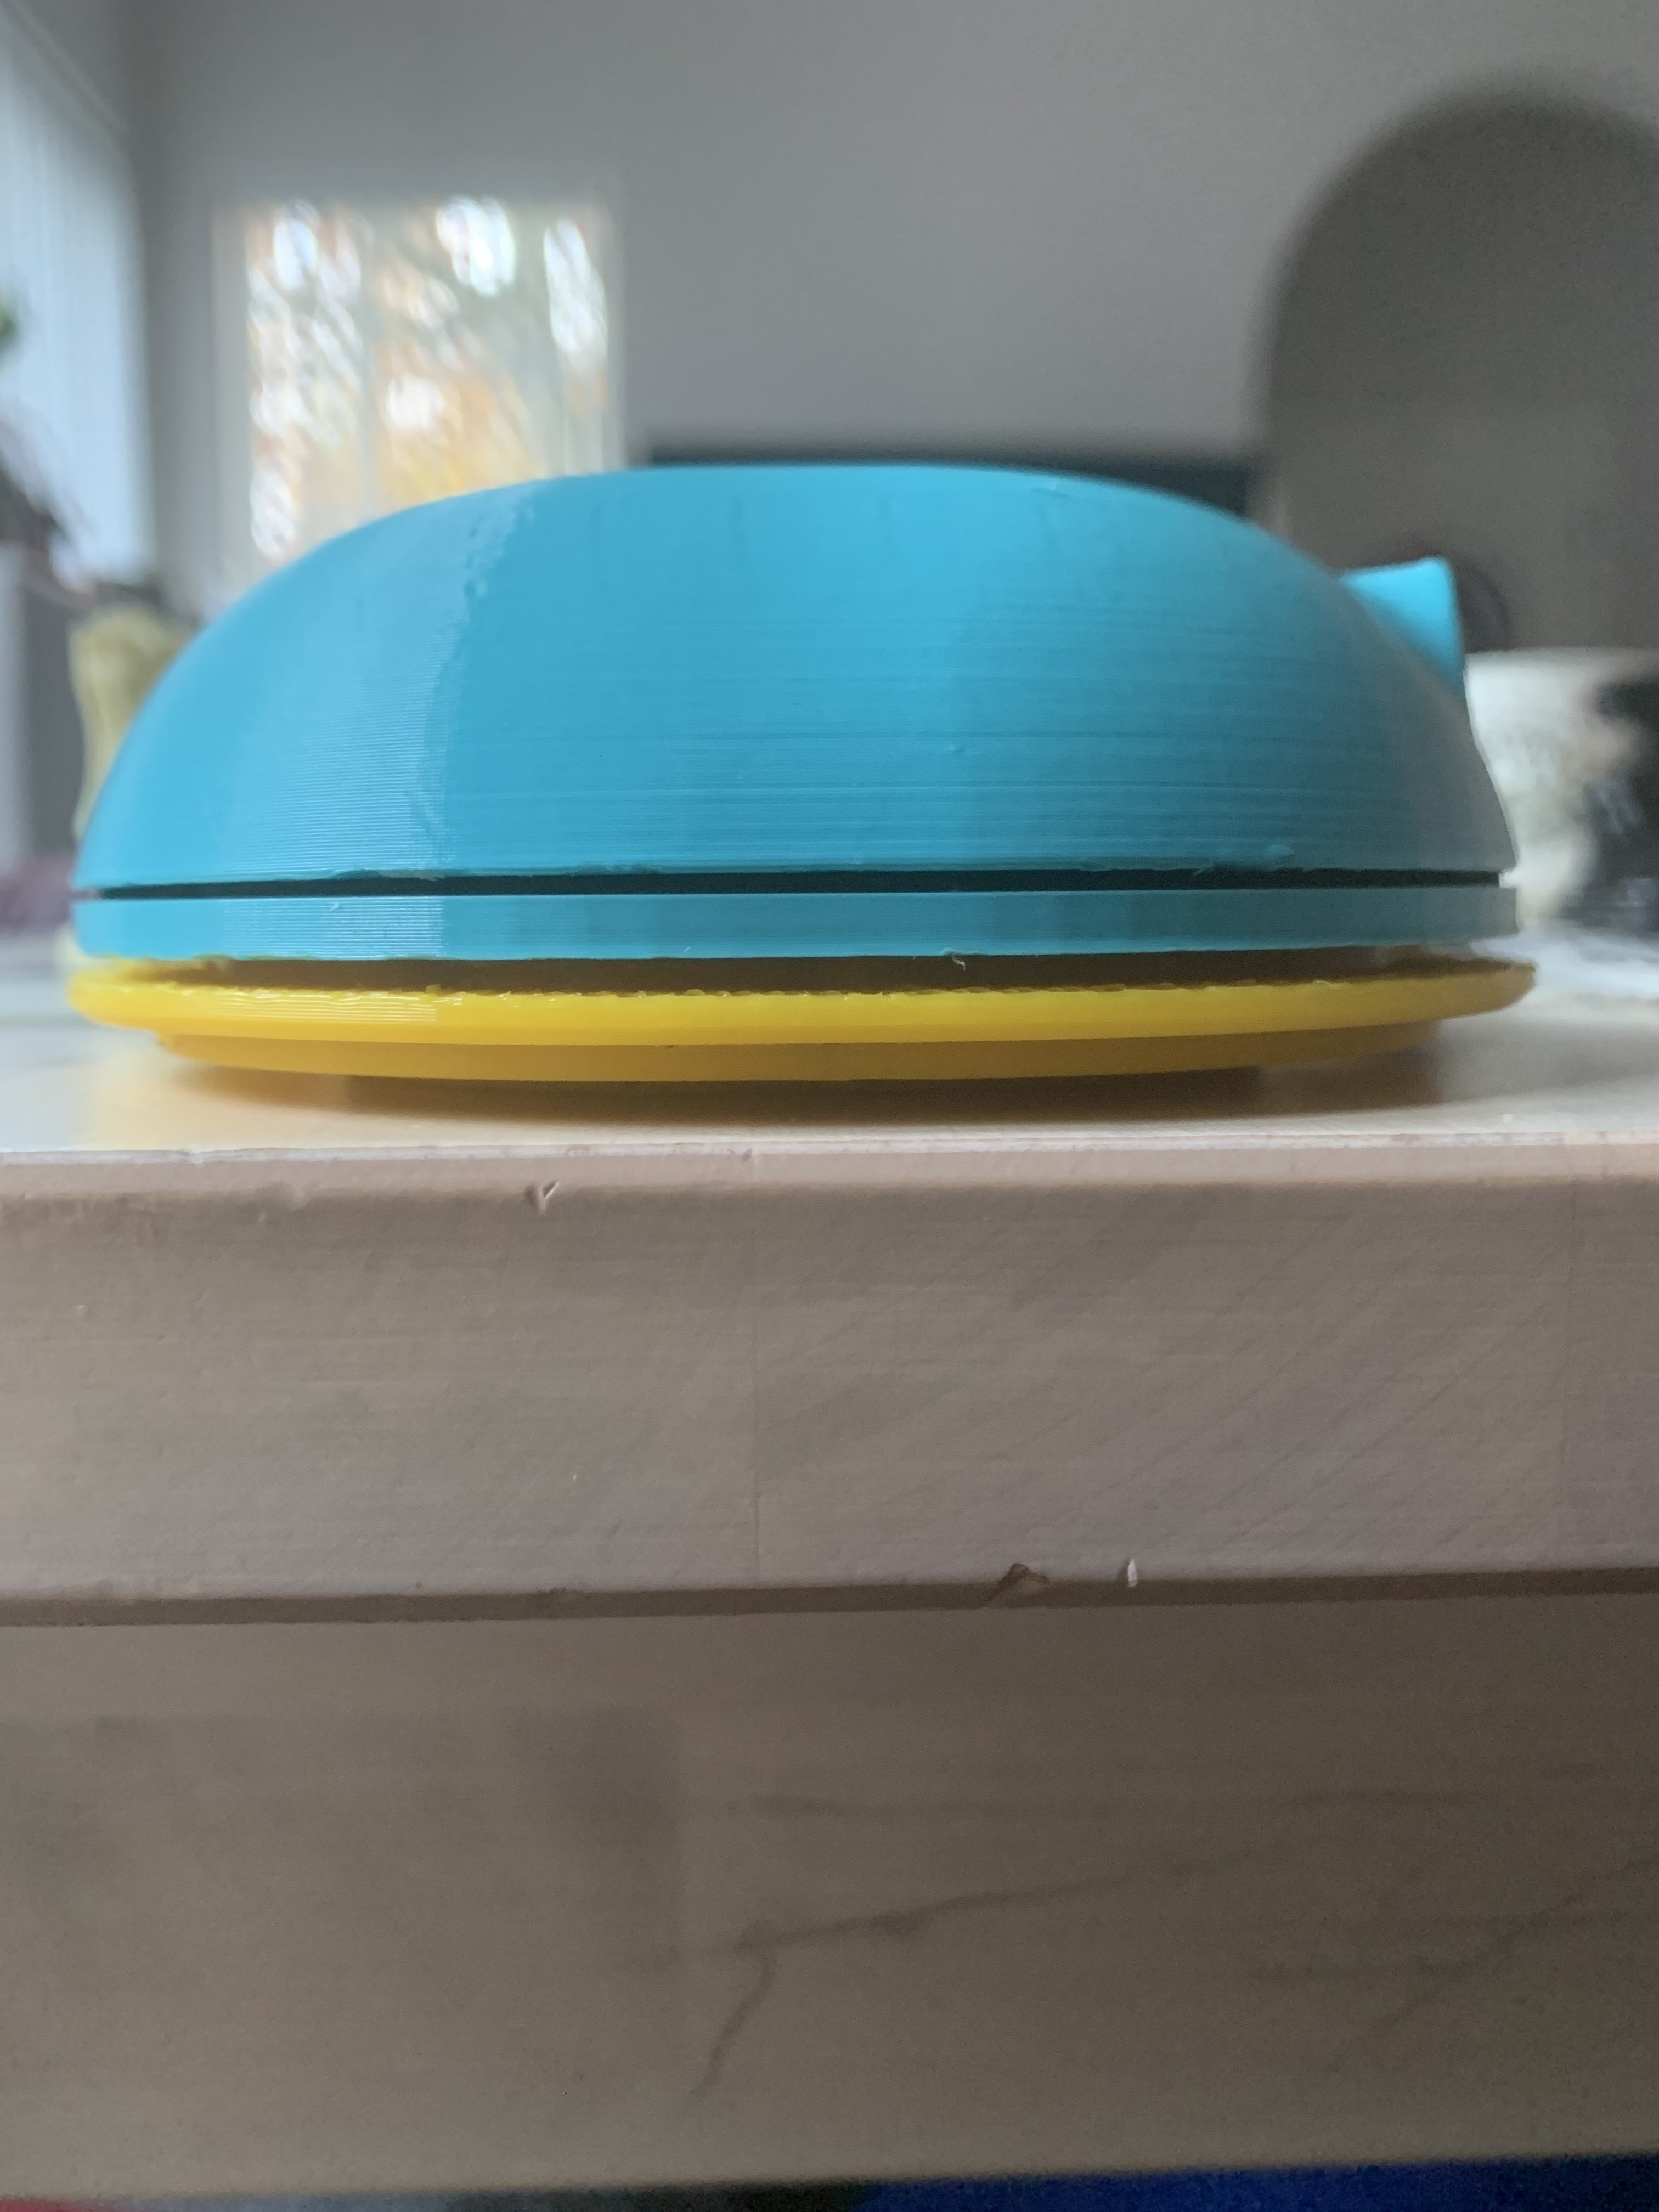
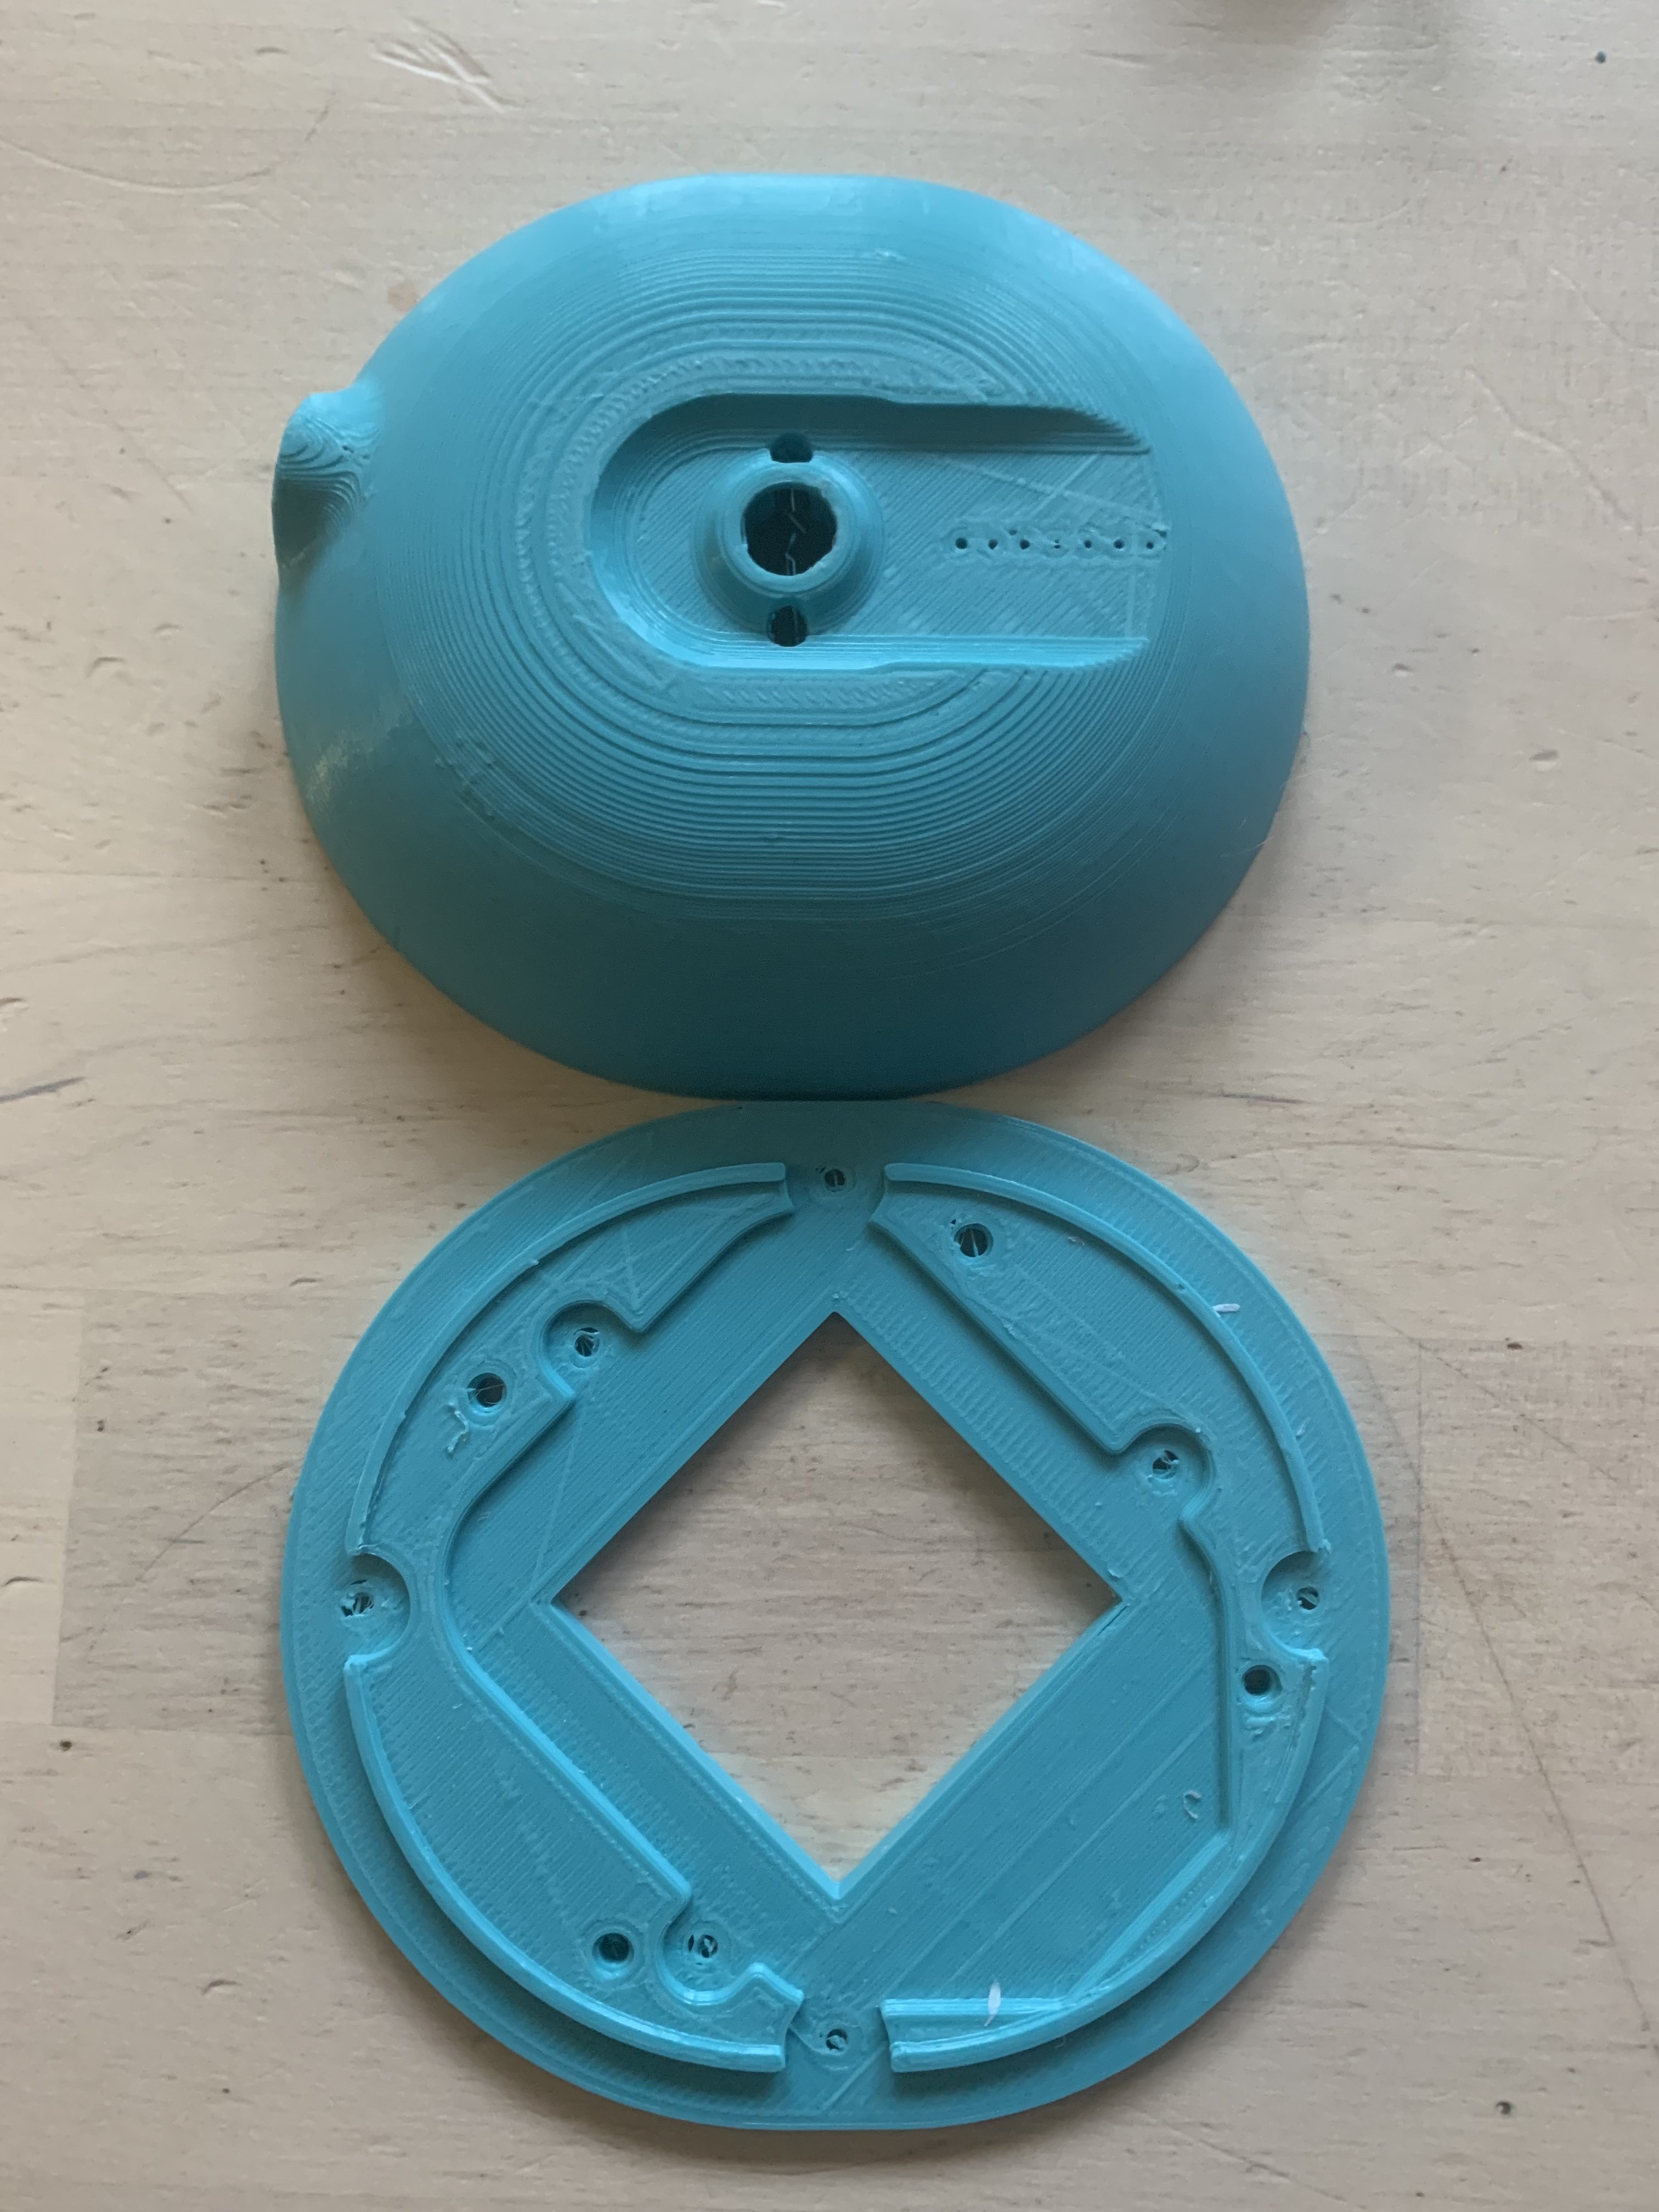
I've been having trouble printing the earpad ring and baffle without the curling up (no heated bed on my printer), so I decided to order the parts from a local printing service in ABS. Since I knew the service would be using a better printer than mine (and removing supports for me) I decided to try this: I used my super-fancy 3D modeling software (tinkercad.com) to merge the two files together and have them printed as one. This eliminates gluing, guarantees alignment, and ensures an airtight seal. I haven't assembled the headphones yet, but I can't think of any reason this wouldn't work. MrSpeakers Alpha pads fit them great, so I know the earpad groove is big enough. The STL file is included below if anyone wants to try it or give feedback.

Pretty cool! Did you print one of these yet?
I had two of them printed in ABS, and they seem like they are going to work fine. (I gave up trying to print the flat pieces in PLA on my Makerbot Replicator.) If I were going to print them myself, I might flip them over so the ear side is down. That would give a smoother surface for the driver to seal to.
Sounds good! I wonder why they weren't Printed as one piece to start with. Dan can probably chime in on it whenever he checks this thread, I'm sure.
My guess is the space needed for the pads in between the two. 3D printers can't print over space, plastic droops. I can't imagine the nightmare of trying to get the supports out of that small gap.
That was my first thought as well, but I had these printed in ABS and they came out fine. I didn't remove the supports, so I can't say for sure how difficult it was, but the parts I got didn't really even need sanding in the pad groove. (Printing it yourself might prove to be more difficult.)
I haven't assembled the headphones yet, but I tried the Alpha pads and they fit in the groove just fine.
That's good to hear. I may have to out my pass over the cups anyways do to how I had to stretch them to fit my current pair :l
I'm sure from Shapeways with the type of 3D printers they use, it could be done just fine since no supports are needed
If I were going to print them myself, I might flip them over so the ear side is down. That would give a smoother surface for the driver to seal to.
What do you guys rate the difficulty of this as an essentially first time DIY audio project?
I have soldered and such before, but not recently, and have not really ever built anything like this before. Are there any points that are really unforgiving on errors? If I make a mistake, can it be relatively easily undone?
This might actually be the downside of printing the baffle and earpad ring as a single part. It gets much more difficult to have a smooth finish on both sides, which raises the bar of the technical features/specifications of the printer to be used, since it is generally the norm that the side facing down will be rougher and require more post processing.
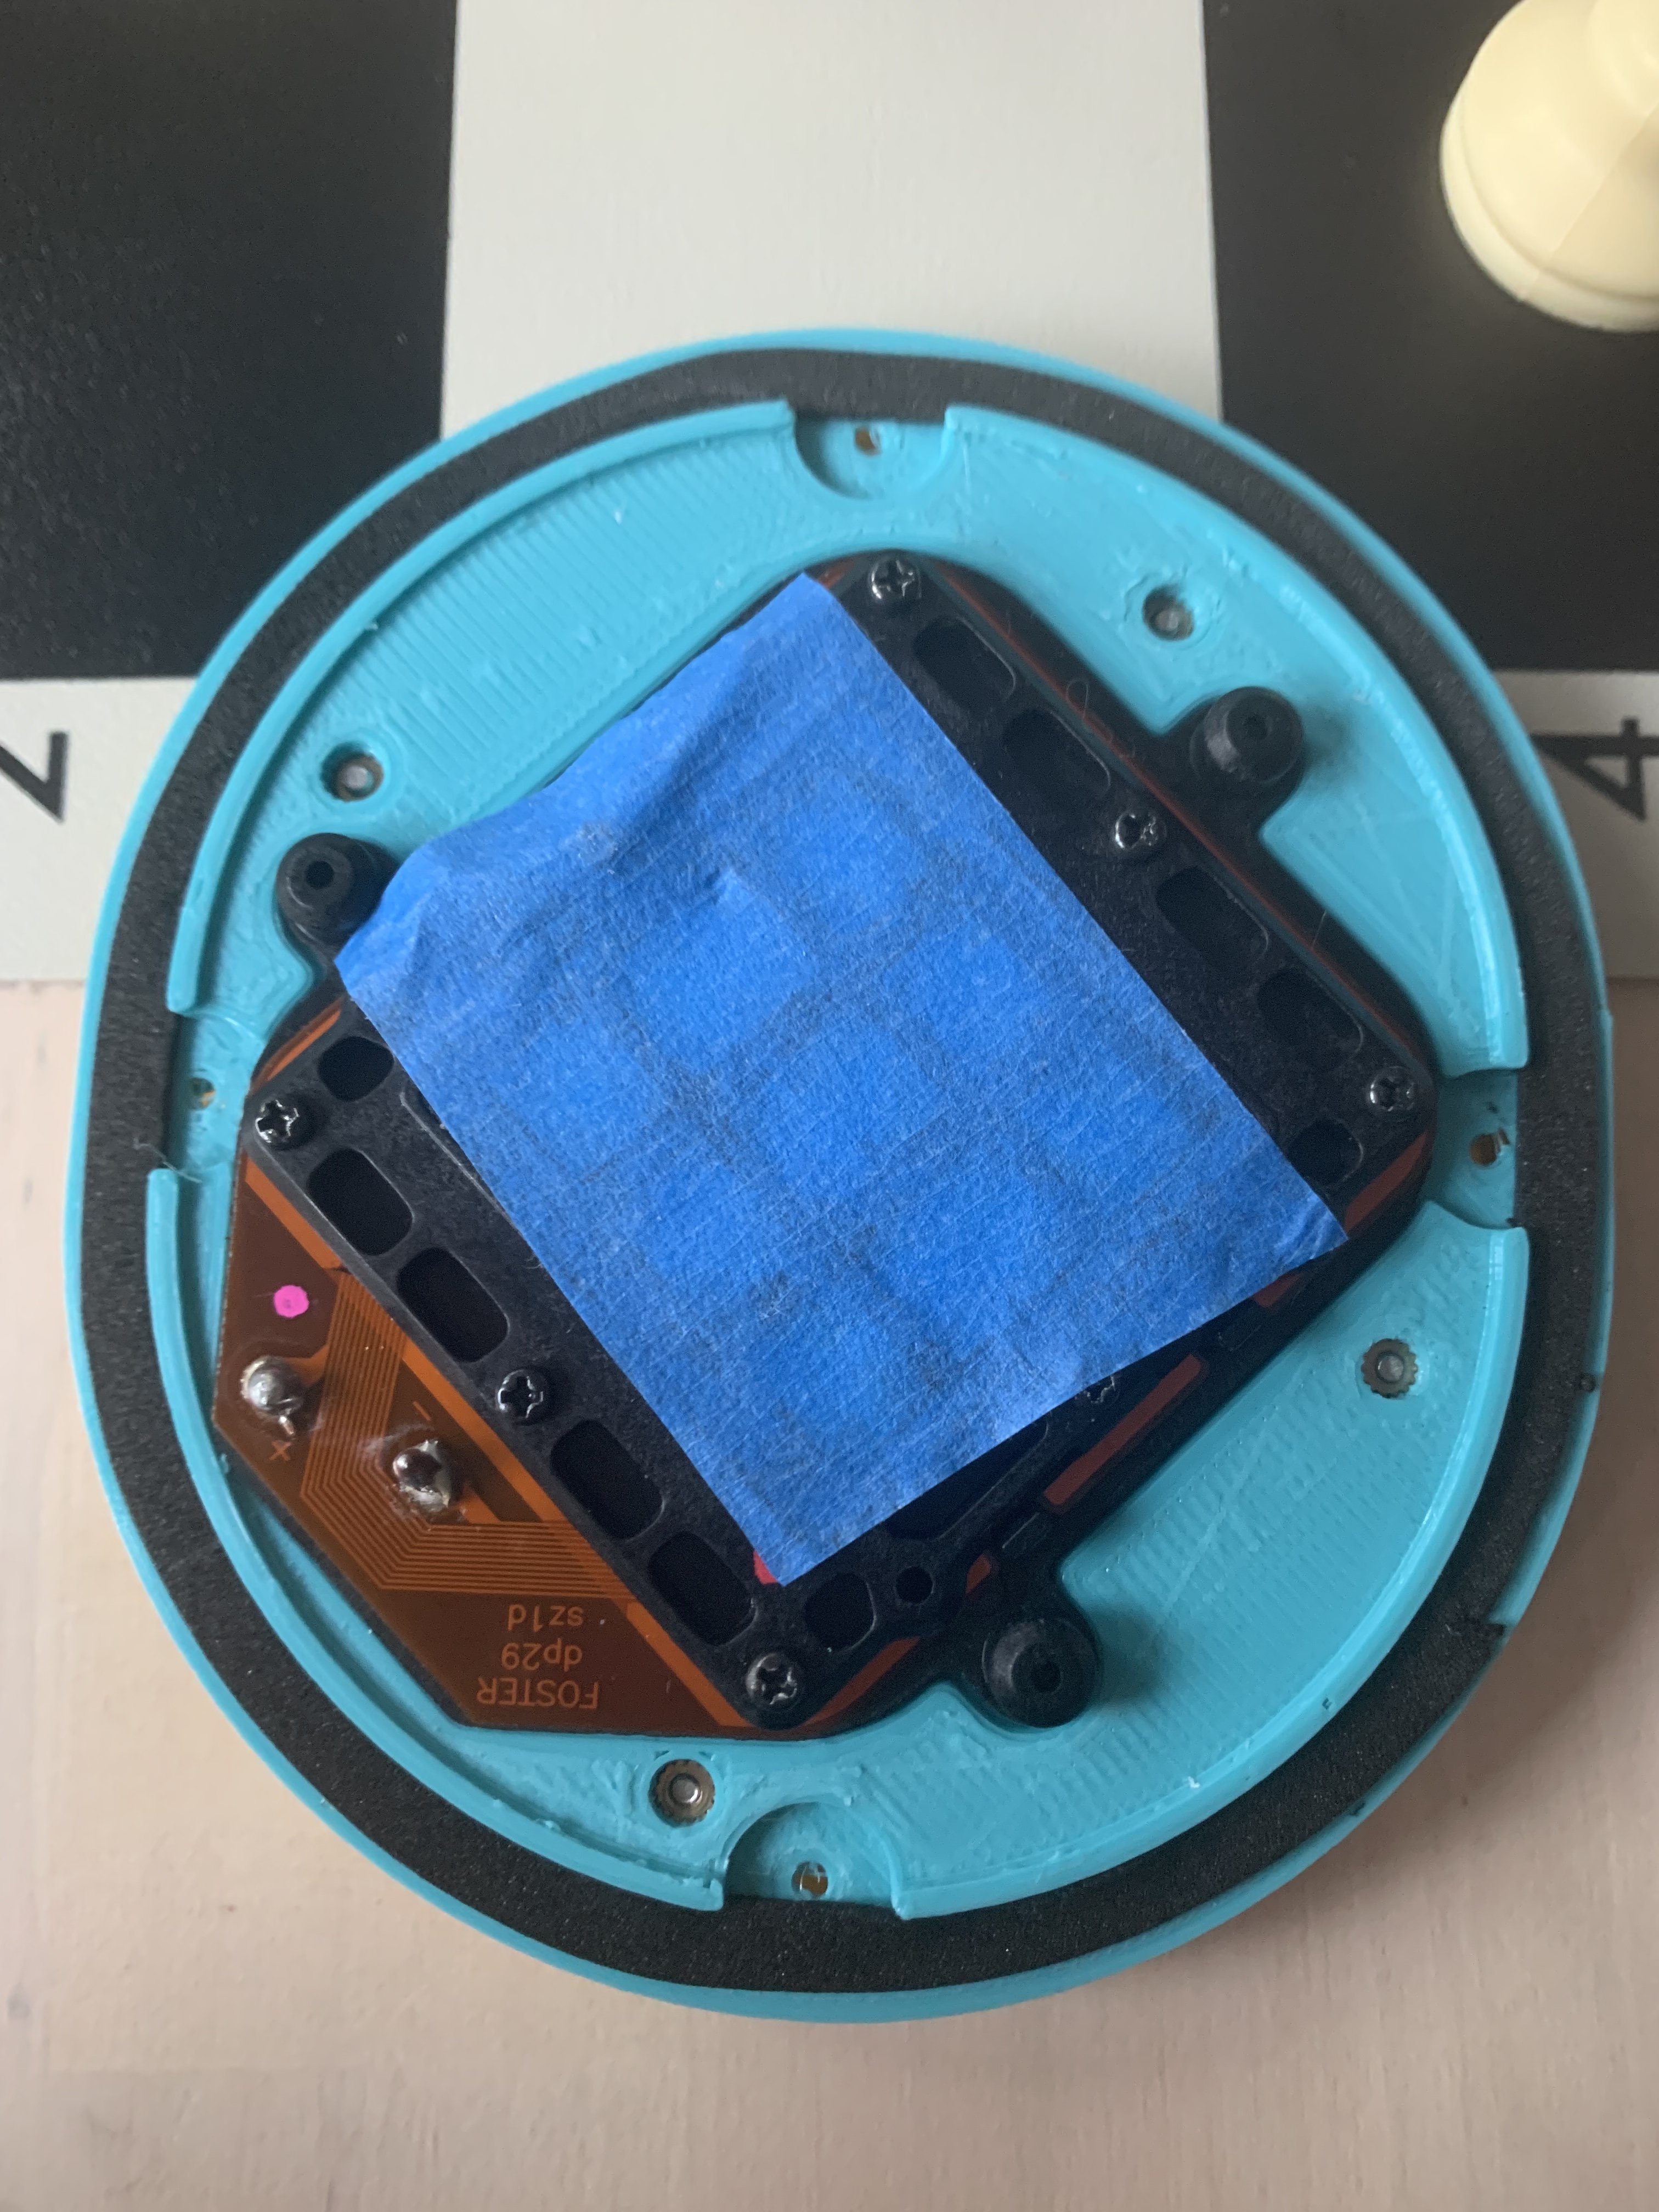
In the case of the baffle, particularly, it is imperative that the side where the driver is mounted be as flat and smooth as possible, in order to ensure a perfect seal.
That's why the original MrSpeakers design, with the baffle and ring printed separately, should liklely give much less headaches since it is then just a matter of gluing the two pieces together. With the right glue the bond is absolutely perfect and permanent. It took me some time to find the right one, but once I got my hands on the glue generally used by plumbers to connect PVC/ABS pipes together, I was really impressed by the final result. Once again the advice/indications by MrSpeakers were spot on!
Would you post some pictures of your printed baffle/ring assembly? Thanks.
