Is anybody ordering tube sockets from PartsconX anytime soon? Mind if I jump in on the order for 2 sockets? They aren't responding to my emails for some reason..
Originally Posted by vixr /img/forum/go_quote.gif this is actually DR3 right?
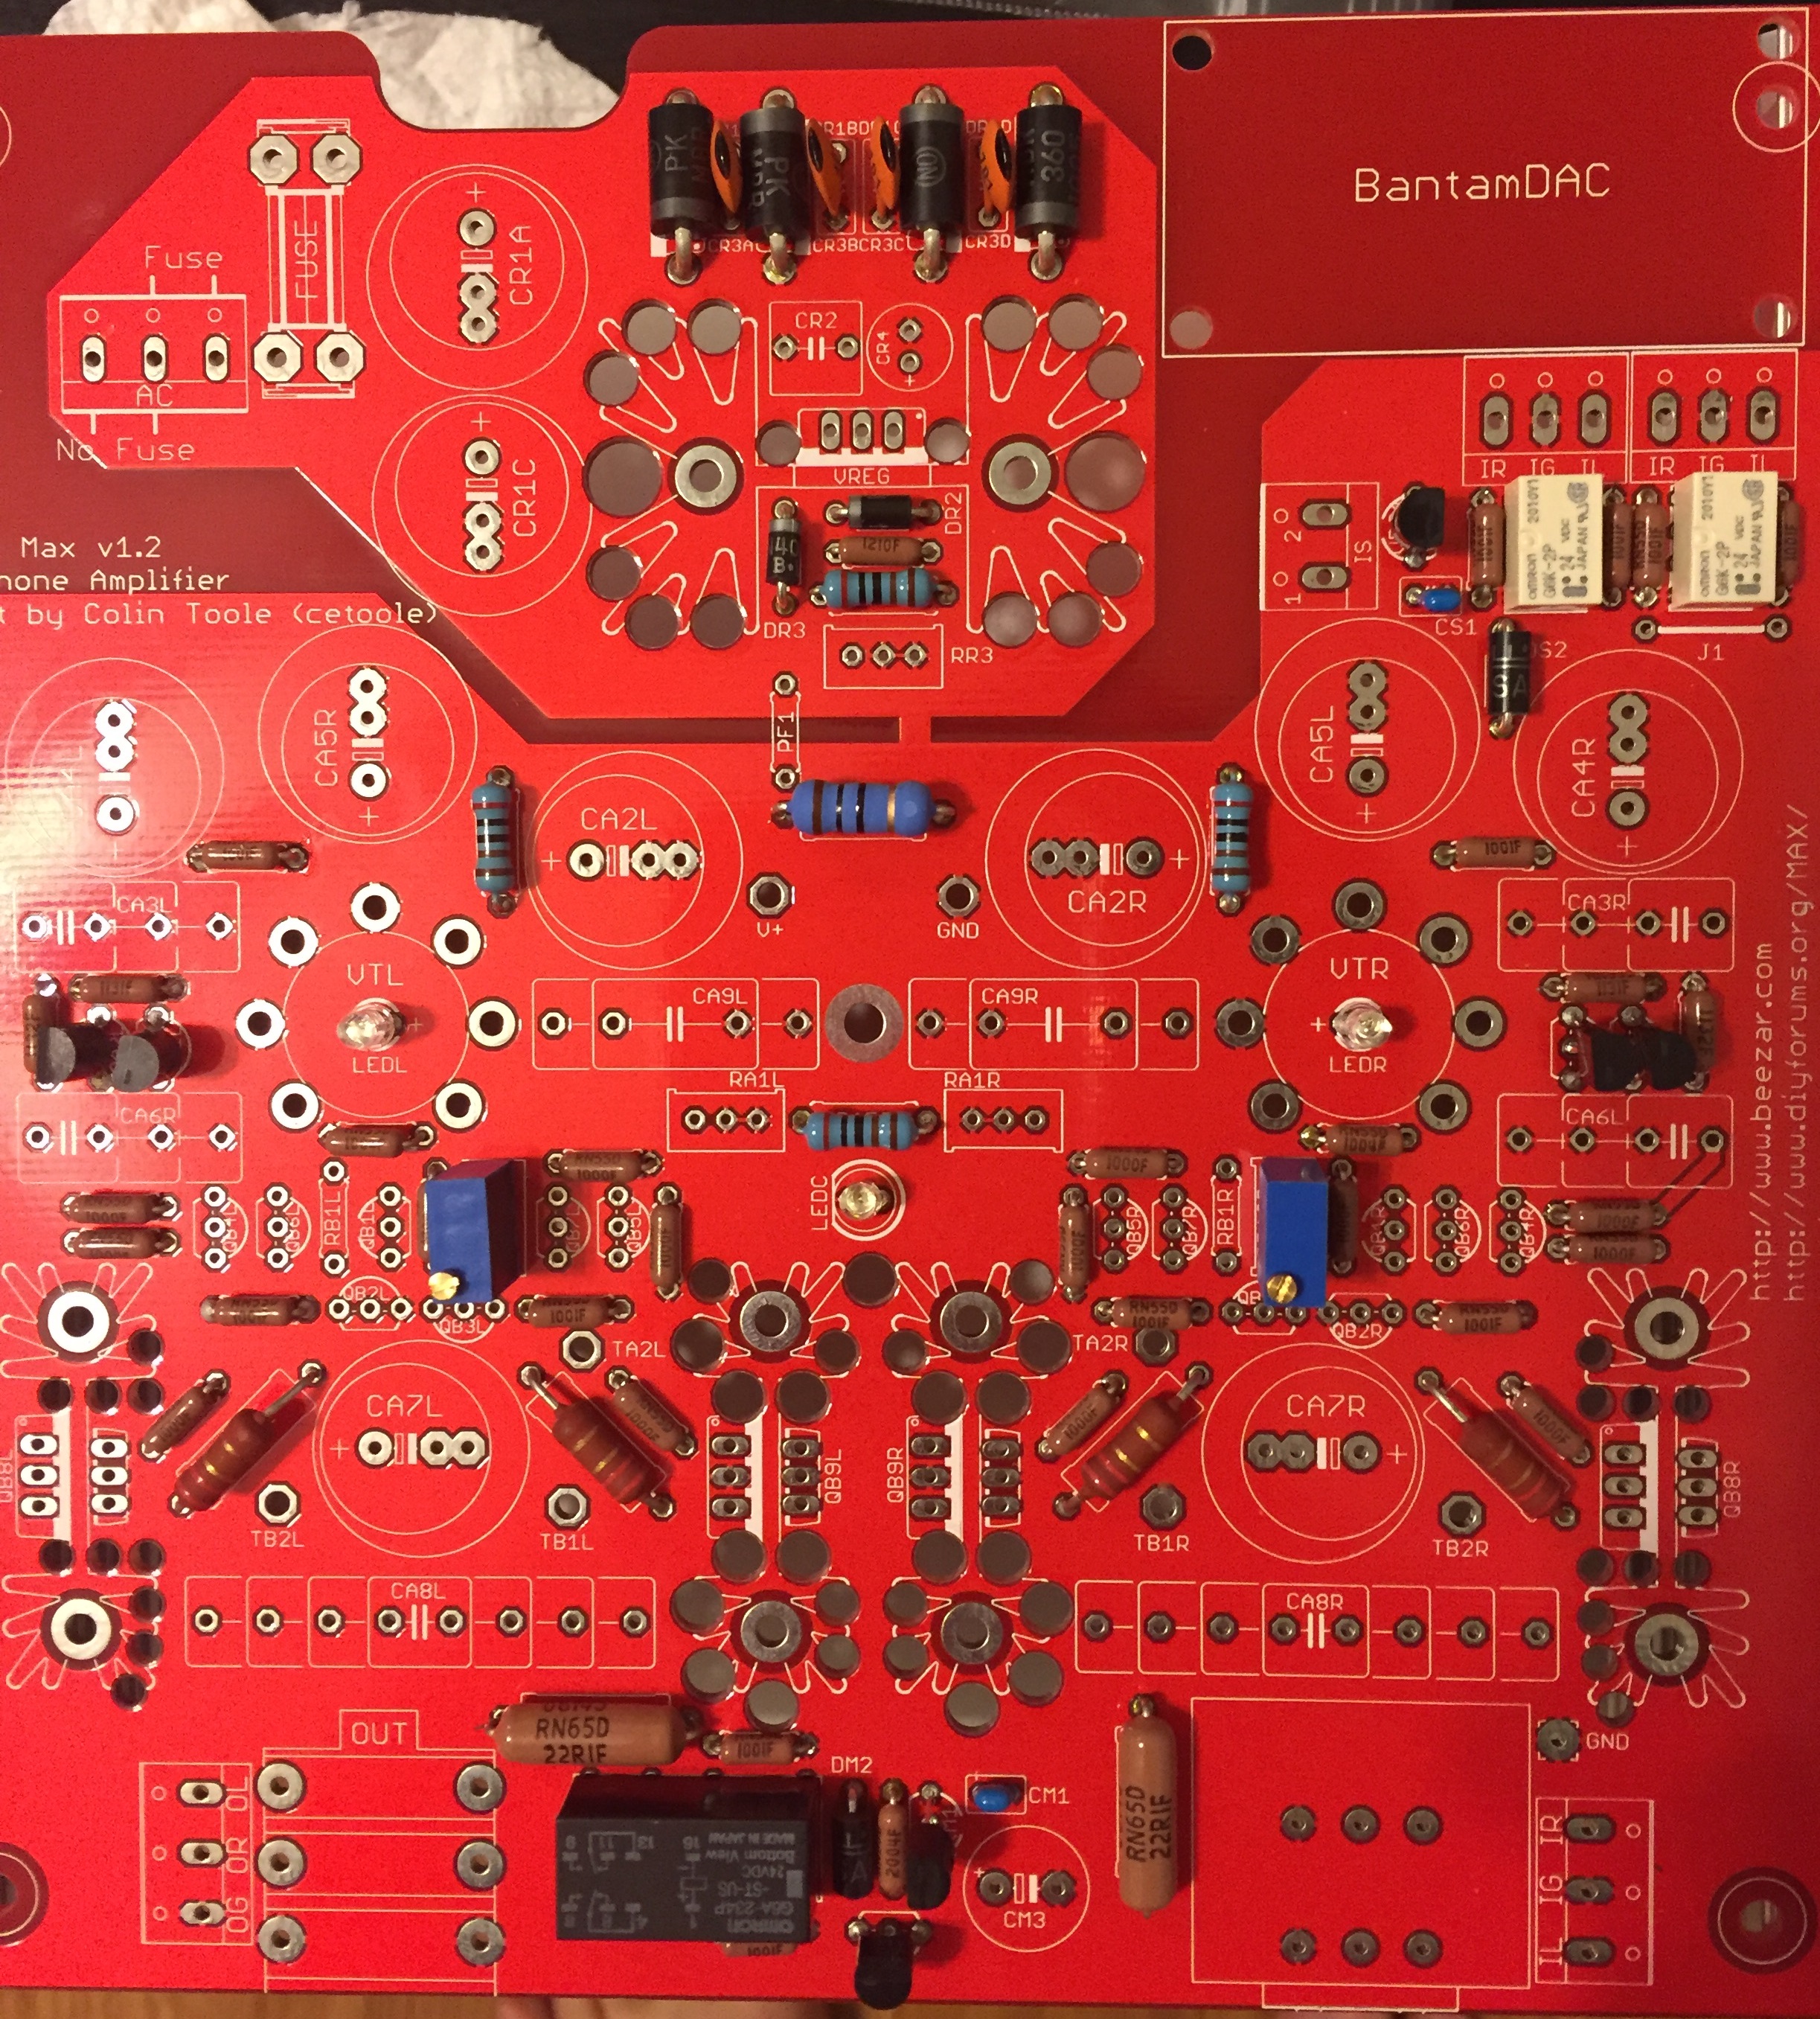
Yes, that's DR3. If you look at the image of the layout on Tom's MAX site you'll see it labeled correctly there. I'm guessing it was just an oversight during the prototyping...not a big deal.
Yep. It was mis-numbered on the 2nd Prototype board, which is what's pictured. The production board has been corrected. Those are simply two generic 1N4002 protection diodes for the tantalums.
Originally Posted by tomb /img/forum/go_quote.gif Yep. It was mis-numbered on the 2nd Prototype board, which is what's pictured. The production board has been corrected. Those are simply two generic 1N4002 protection diodes for the tantalums.
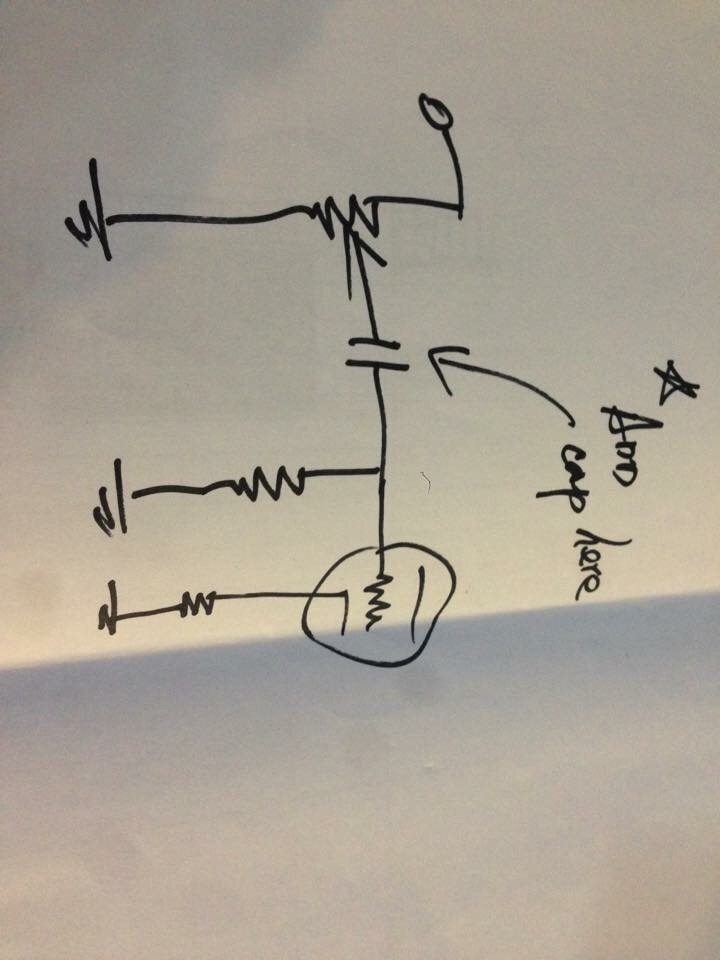
Along the same lines, on the 2nd prototype board it looks like the left and right output points (where the headphone jack solders to the board) are tied across like this:
._._
._._ (relay is here)
. .
And in the layout diagram it appears that they aren't connected, like this:
. ._
. ._ (relay)
. .
So if you were using the terminal blocks to connect your headphone jack, and not connecting one onto the board, you would have to jumper across those points to the relay, is that right? Hope those rudimentary diagrams make sense
Originally Posted by TBomb06 /img/forum/go_quote.gif Along the same lines, on the 2nd prototype board it looks like the left and right output points (where the headphone jack solders to the board) are tied across like this:
._._
._._ (relay is here)
. .
And in the layout diagram it appears that they aren't connected, like this:
. ._
. ._ (relay)
. .
So if you were using the terminal blocks to connect your headphone jack, and not connecting one onto the board, you would have to jumper across those points to the relay, is that right? Hope those rudimentary diagrams make sense
They're there - sort of obscured by the "OL" and "OR" text. It's one of the reasons I included different color layout images on the site. One or the other is clearer, depending on what part of the layout you're looking at.
Originally Posted by tomb /img/forum/go_quote.gif They're there - sort of obscured by the "OL" and "OR" text. It's one of the reasons I included different color layout images on the site. One or the other is clearer, depending on what part of the layout you're looking at.
What about the connection between the terminal block to the relay? I see the terminal block pads connected to the output jack pads, but I don't see a connection from the output jack pads on the left side over to the output jack pads on the right side, where the output jack is connected to the relay. Sorry if I'm making things more confusing than they need to be...just to clarify, the only output jack I want to use will be connected to the terminal blocks, not to the PCB. It looks like I would have to jumper across the pads where the output jack is supposed to be...
Originally Posted by TBomb06 /img/forum/go_quote.gif What about the connection between the terminal block to the relay? I see the terminal block pads connected to the output jack pads, but I don't see a connection from the output jack pads on the left side over to the output jack pads on the right side, where the output jack is connected to the relay. Sorry if I'm making things more confusing than they need to be...just to clarify, the only output jack I want to use will be connected to the terminal blocks, not to the PCB. It looks like I would have to jumper across the pads where the output jack is supposed to be...
The jack connections are contiguous across the jack. The spring tab contacts cover the width of the jack and the pins are hot on both sides. They are switching, though, so plugging into the jack will disable those side terminals. That sounds like the best way to operate them, though.
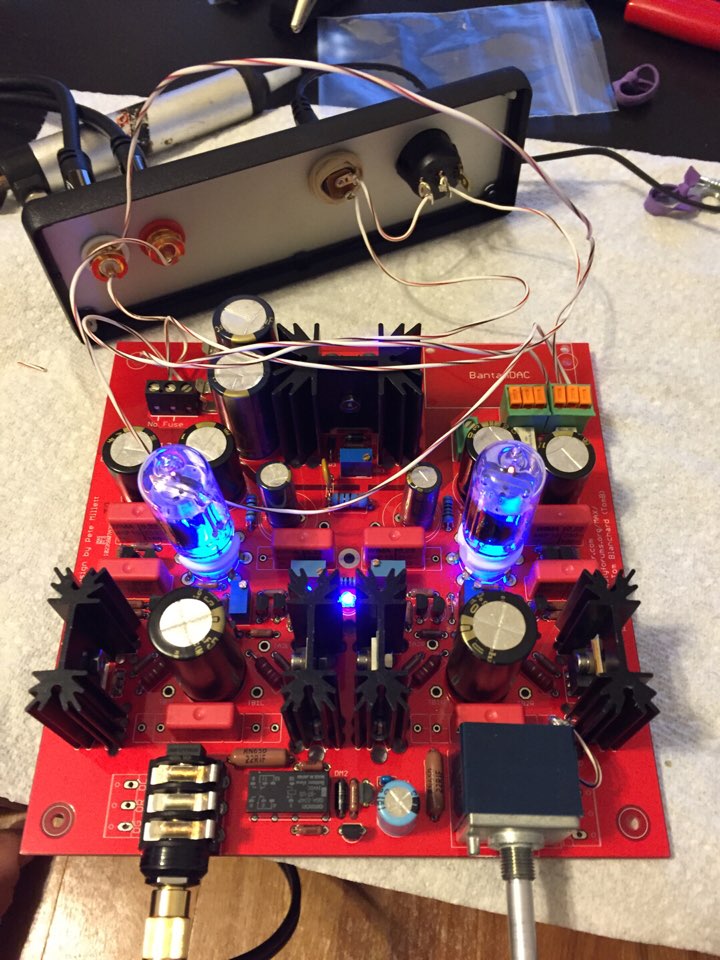
I am thinking of adding one more piece of eye candy to my build, with a front panel mounted "MAX" logo backlit with blue LEDs. I know, thats getting a little far ahead of the game, but I have been having alot of success lately on my projects.
Maybe, I'll put a blue led inside the volume knob too.
Okay, now that is going too far!
Originally Posted by tomb /img/forum/go_quote.gif The jack connections are contiguous across the jack. The spring tab contacts cover the width of the jack and the pins are hot on both sides. They are switching, though, so plugging into the jack will disable those side terminals. That sounds like the best way to operate them, though.
Ok, but if I don't have the switching jack on the board, only the jack that is connected to the terminal block, then I can just jumper across where the switching jack is supposed to be, right?
Originally Posted by vixr /img/forum/go_quote.gif TBomb06, with only a tiny bit of help the terminal block will fit on the jack pad... I bent the leads just slightly and it fit...
Ok, but you could do it either way, right? Sorry for the confusion...evidently I am not communicating what I am wanting to do very well. Thanks for your input though, and you too Tomb!
no, you are clear... I just figured the block could just as easily go to the jack pad and save you the effort of putting in the jumpers, which would work just fine too.
got most of my parts yesterday. still waithing on caps and DMM for DB matching... does anyone else use the customer part number section on the parts order form? sure makes it easy to keep track of a lot of parts...
I really like this feature and it only takes a few seconds to add the description of the parts.
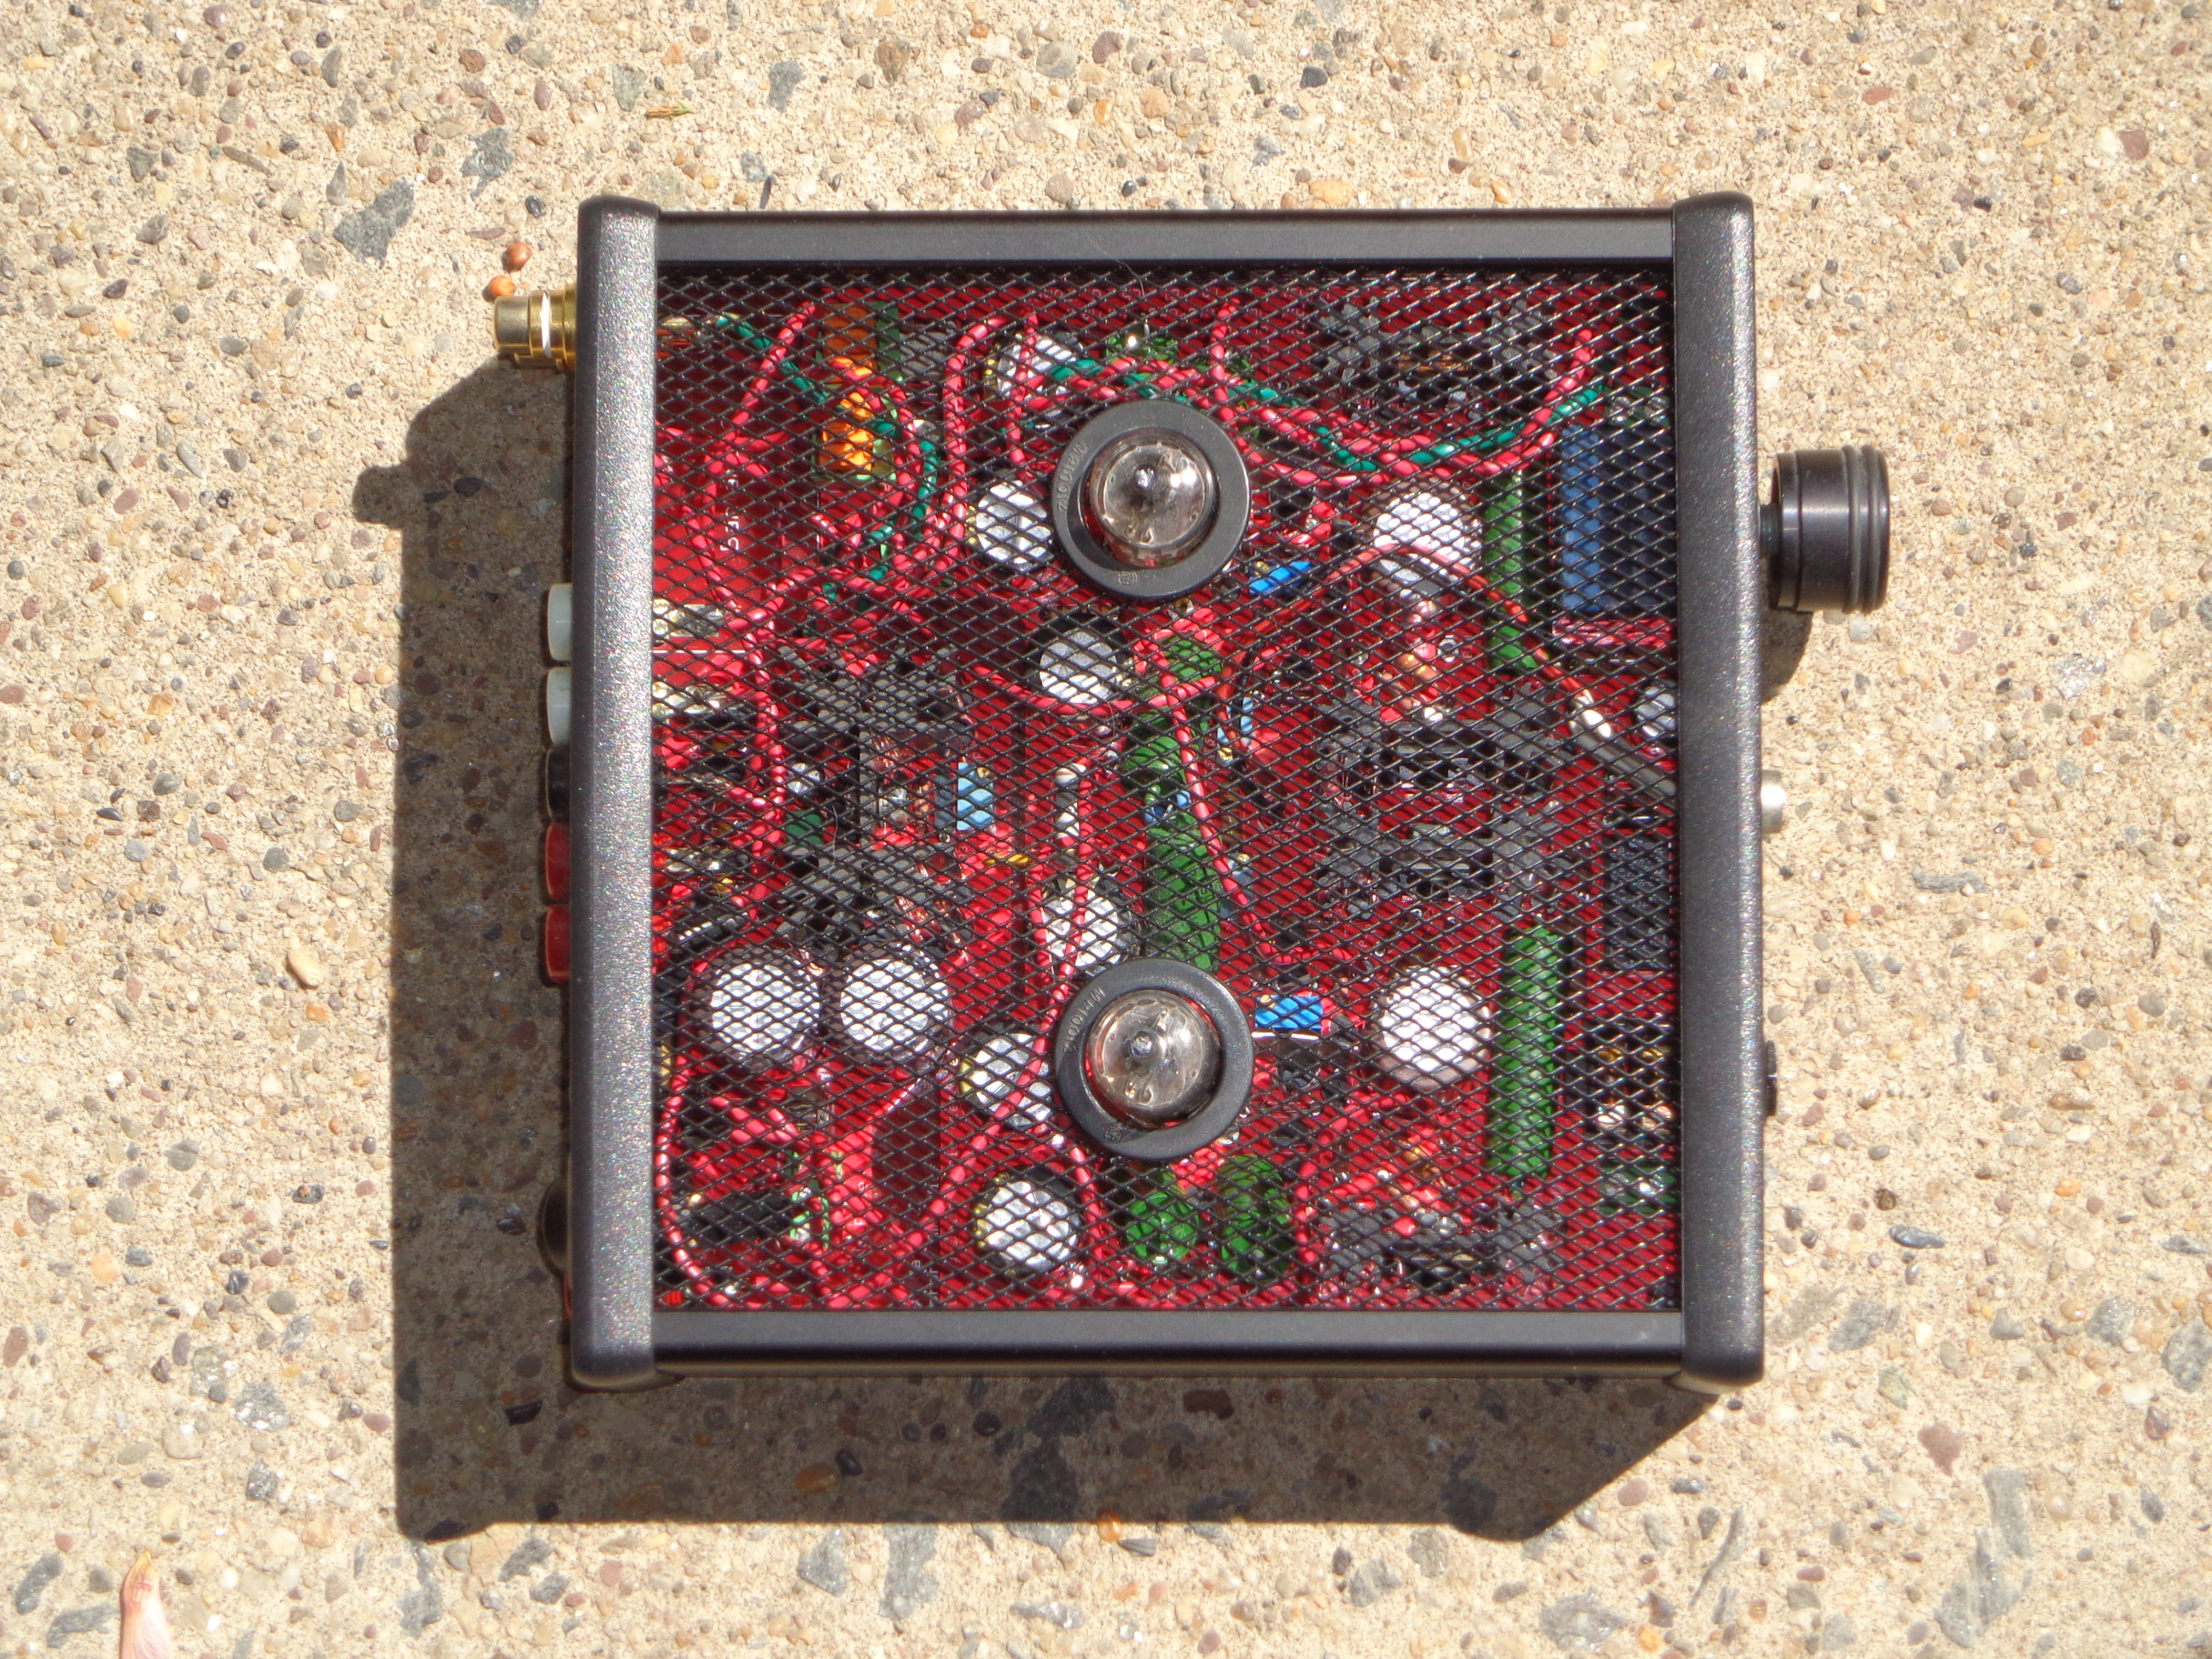
I'm going to have one of the machinists at work lay out and cut the holes in the plate for the sinks and tubes, should be an exact fit... within a mil or two...the board sits in slot 3 so the pot and phone jack would be sorta centered... but most likely the plate will end up in a drawer somewhere. I got the bigger heatsinks so they would stick out thru the top plate.
This site uses cookies to help personalise content, tailor your experience and to keep you logged in if you register.
By continuing to use this site, you are consenting to our use of cookies.