Low Fidelity
100+ Head-Fier
- Joined
- Dec 19, 2006
- Posts
- 258
- Likes
- 10
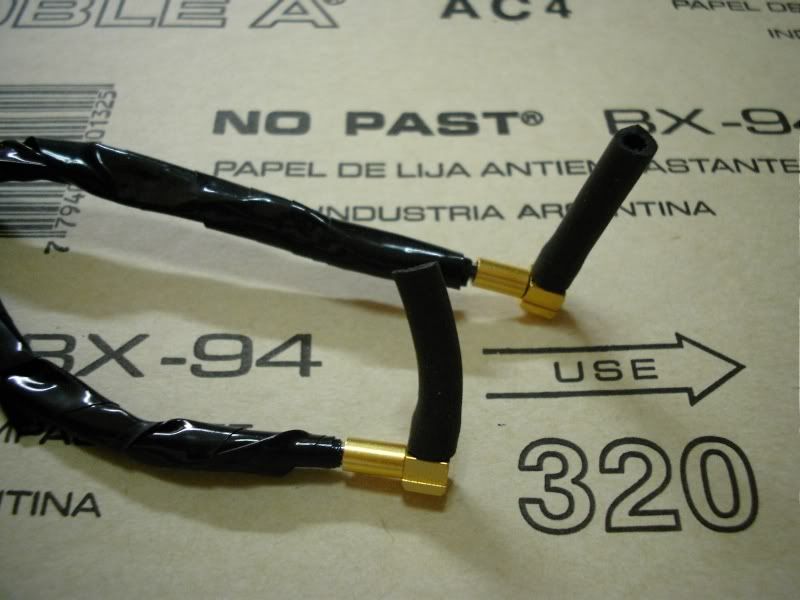
honestly, the connectors that earpeace uses are very stout. They have a solid "snap" connection and outside of the unsightly gold plating, which i'm kinda used to, they are very solid and quite nice.
Part of the connector's appeal is the ability to rotate the connection 360 around which you won't find in the other connectors. Please see livewire's website for a nifty little .gif.
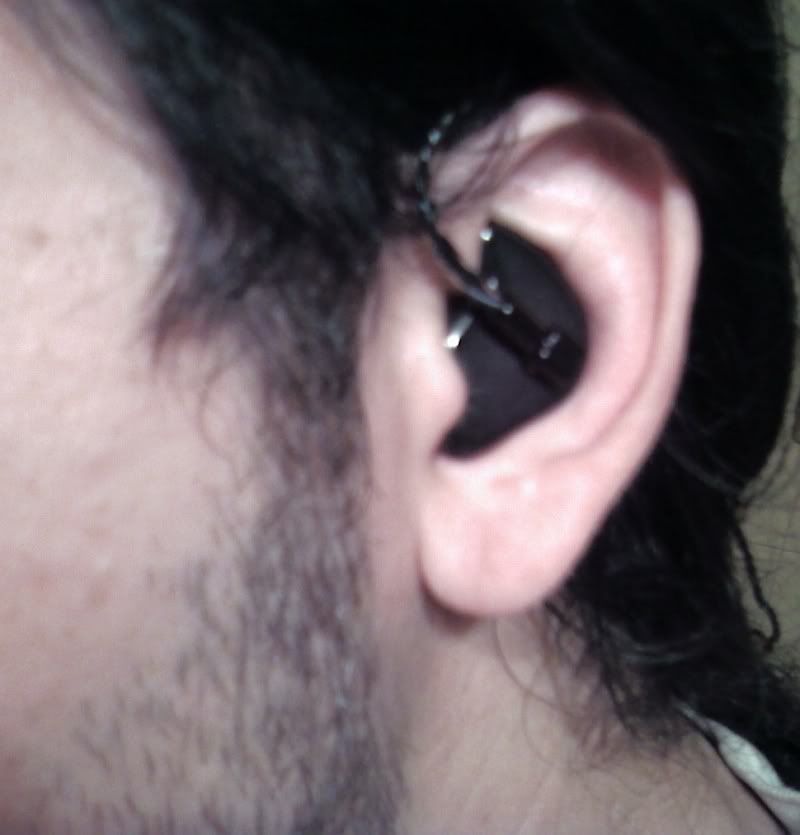
I wear my wires up and around the top of the ear to stop all that silly microphonics.
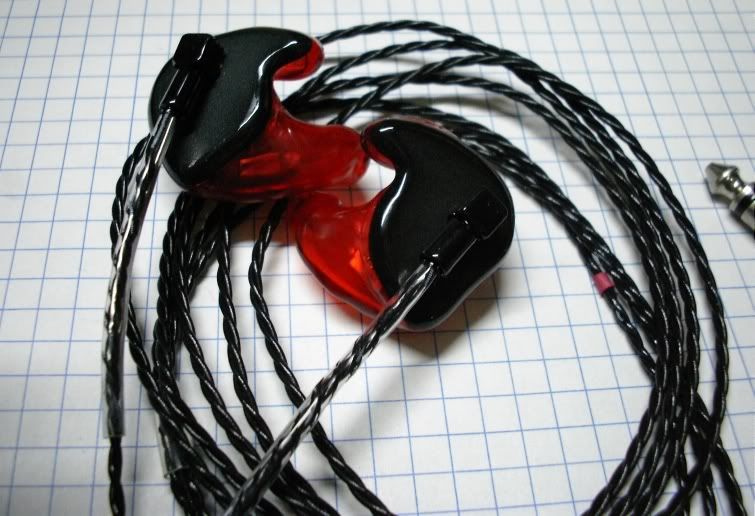
And just a word of warning, watch those pelican micro cases. They have a sharp edge on the lid that, when closed, provides that air tight/water tight/dust tight seal but also can leave a very nasty crease into your cables.
Part of the connector's appeal is the ability to rotate the connection 360 around which you won't find in the other connectors. Please see livewire's website for a nifty little .gif.
I wear my wires up and around the top of the ear to stop all that silly microphonics.
And just a word of warning, watch those pelican micro cases. They have a sharp edge on the lid that, when closed, provides that air tight/water tight/dust tight seal but also can leave a very nasty crease into your cables.