NaiveSound
Headphoneus Supremus
- Joined
- Nov 8, 2015
- Posts
- 3,178
- Likes
- 619
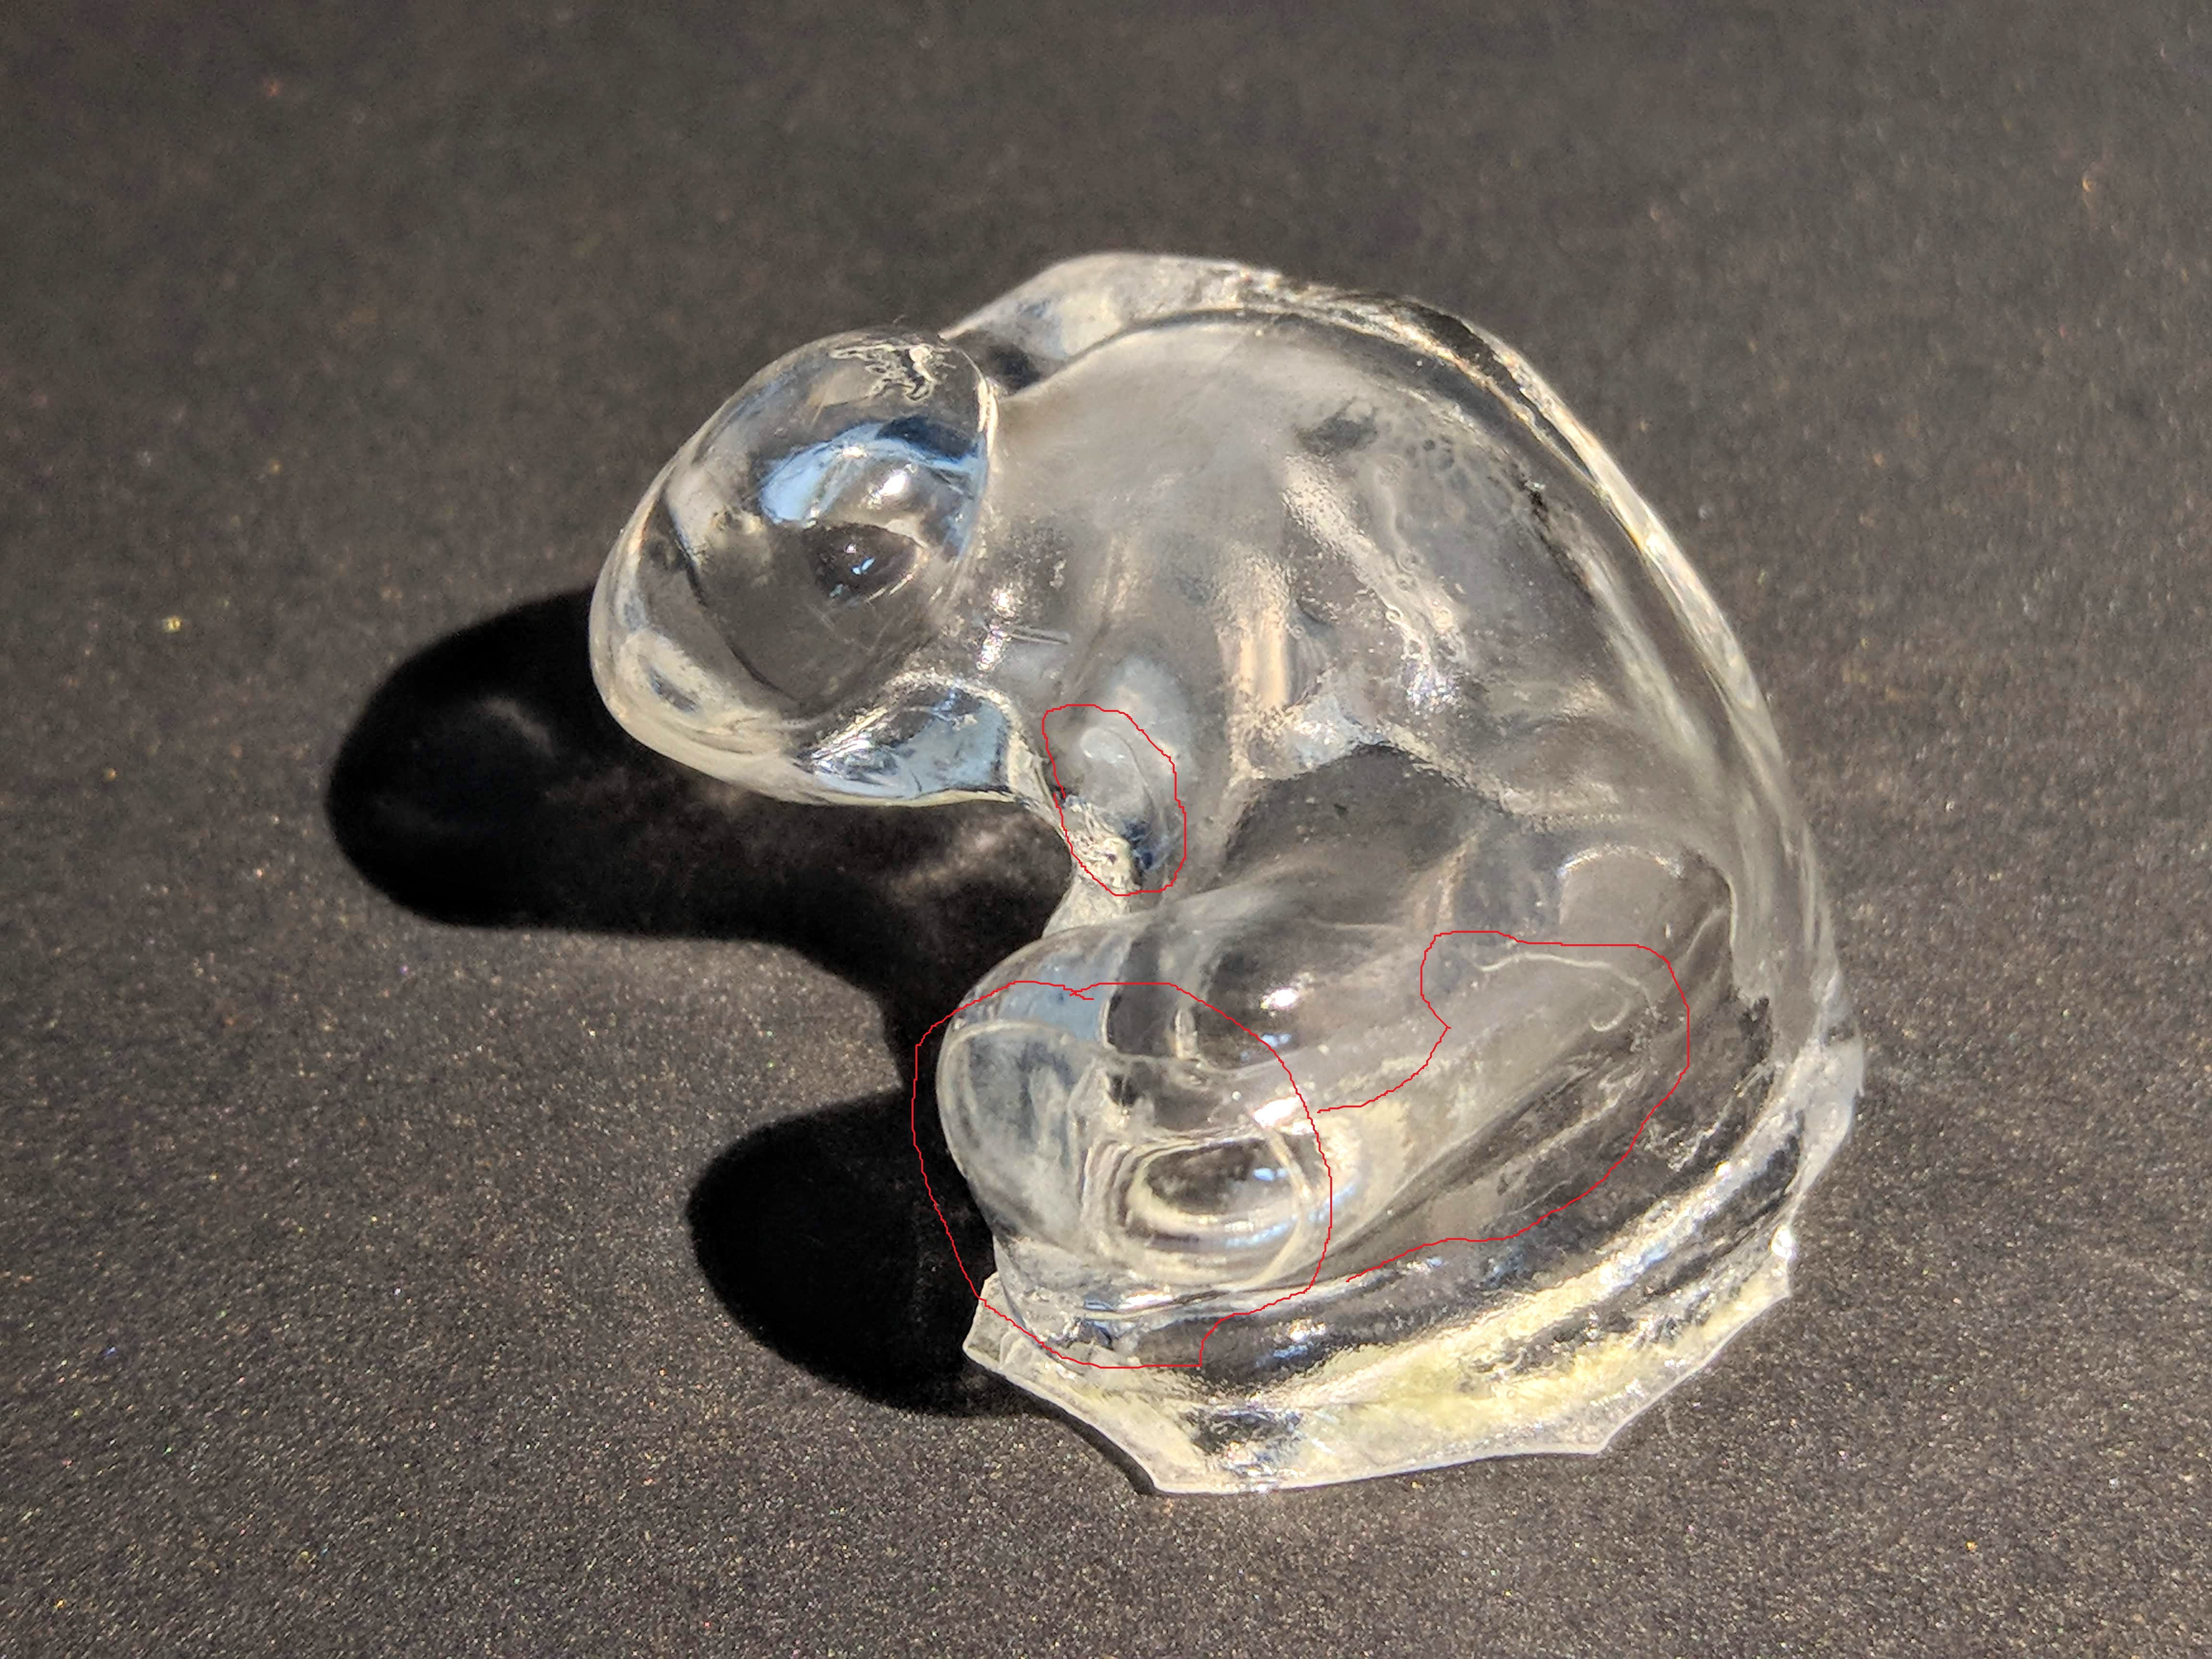
You are such a major help, I really really really appreciate it.yes the width and length of the bores will probably change the sound slightly. you could do it yourself if you don't fear of "ruining" the silicone impressions in case it doesn't work out. you just need to cut the impressions about here
do the cut in steps so you can check the length you want. then use a small bit to create a bore and use wider bits slowly until you get at least a 3/4mm diameter bore. on the back side enlarge the hole slightly so it accommodate the nozzle of your iem. you could always make it wider and use a shrink tube so it fits the diameter of your iem's nozzle and glue the shrink tube in your custom tip
Here are a few more pictures, would you mind drawing a line at different angles to show me where to cut. Also how do I drill, with a powered drill bit?