Grado RA-1, Audiogon repair
Mar 4, 2017 at 6:07 AM Thread Starter Post #1 of 14

ECM

100+ Head-Fier
Joined
Jan 9, 2004
Posts
175
Likes
23
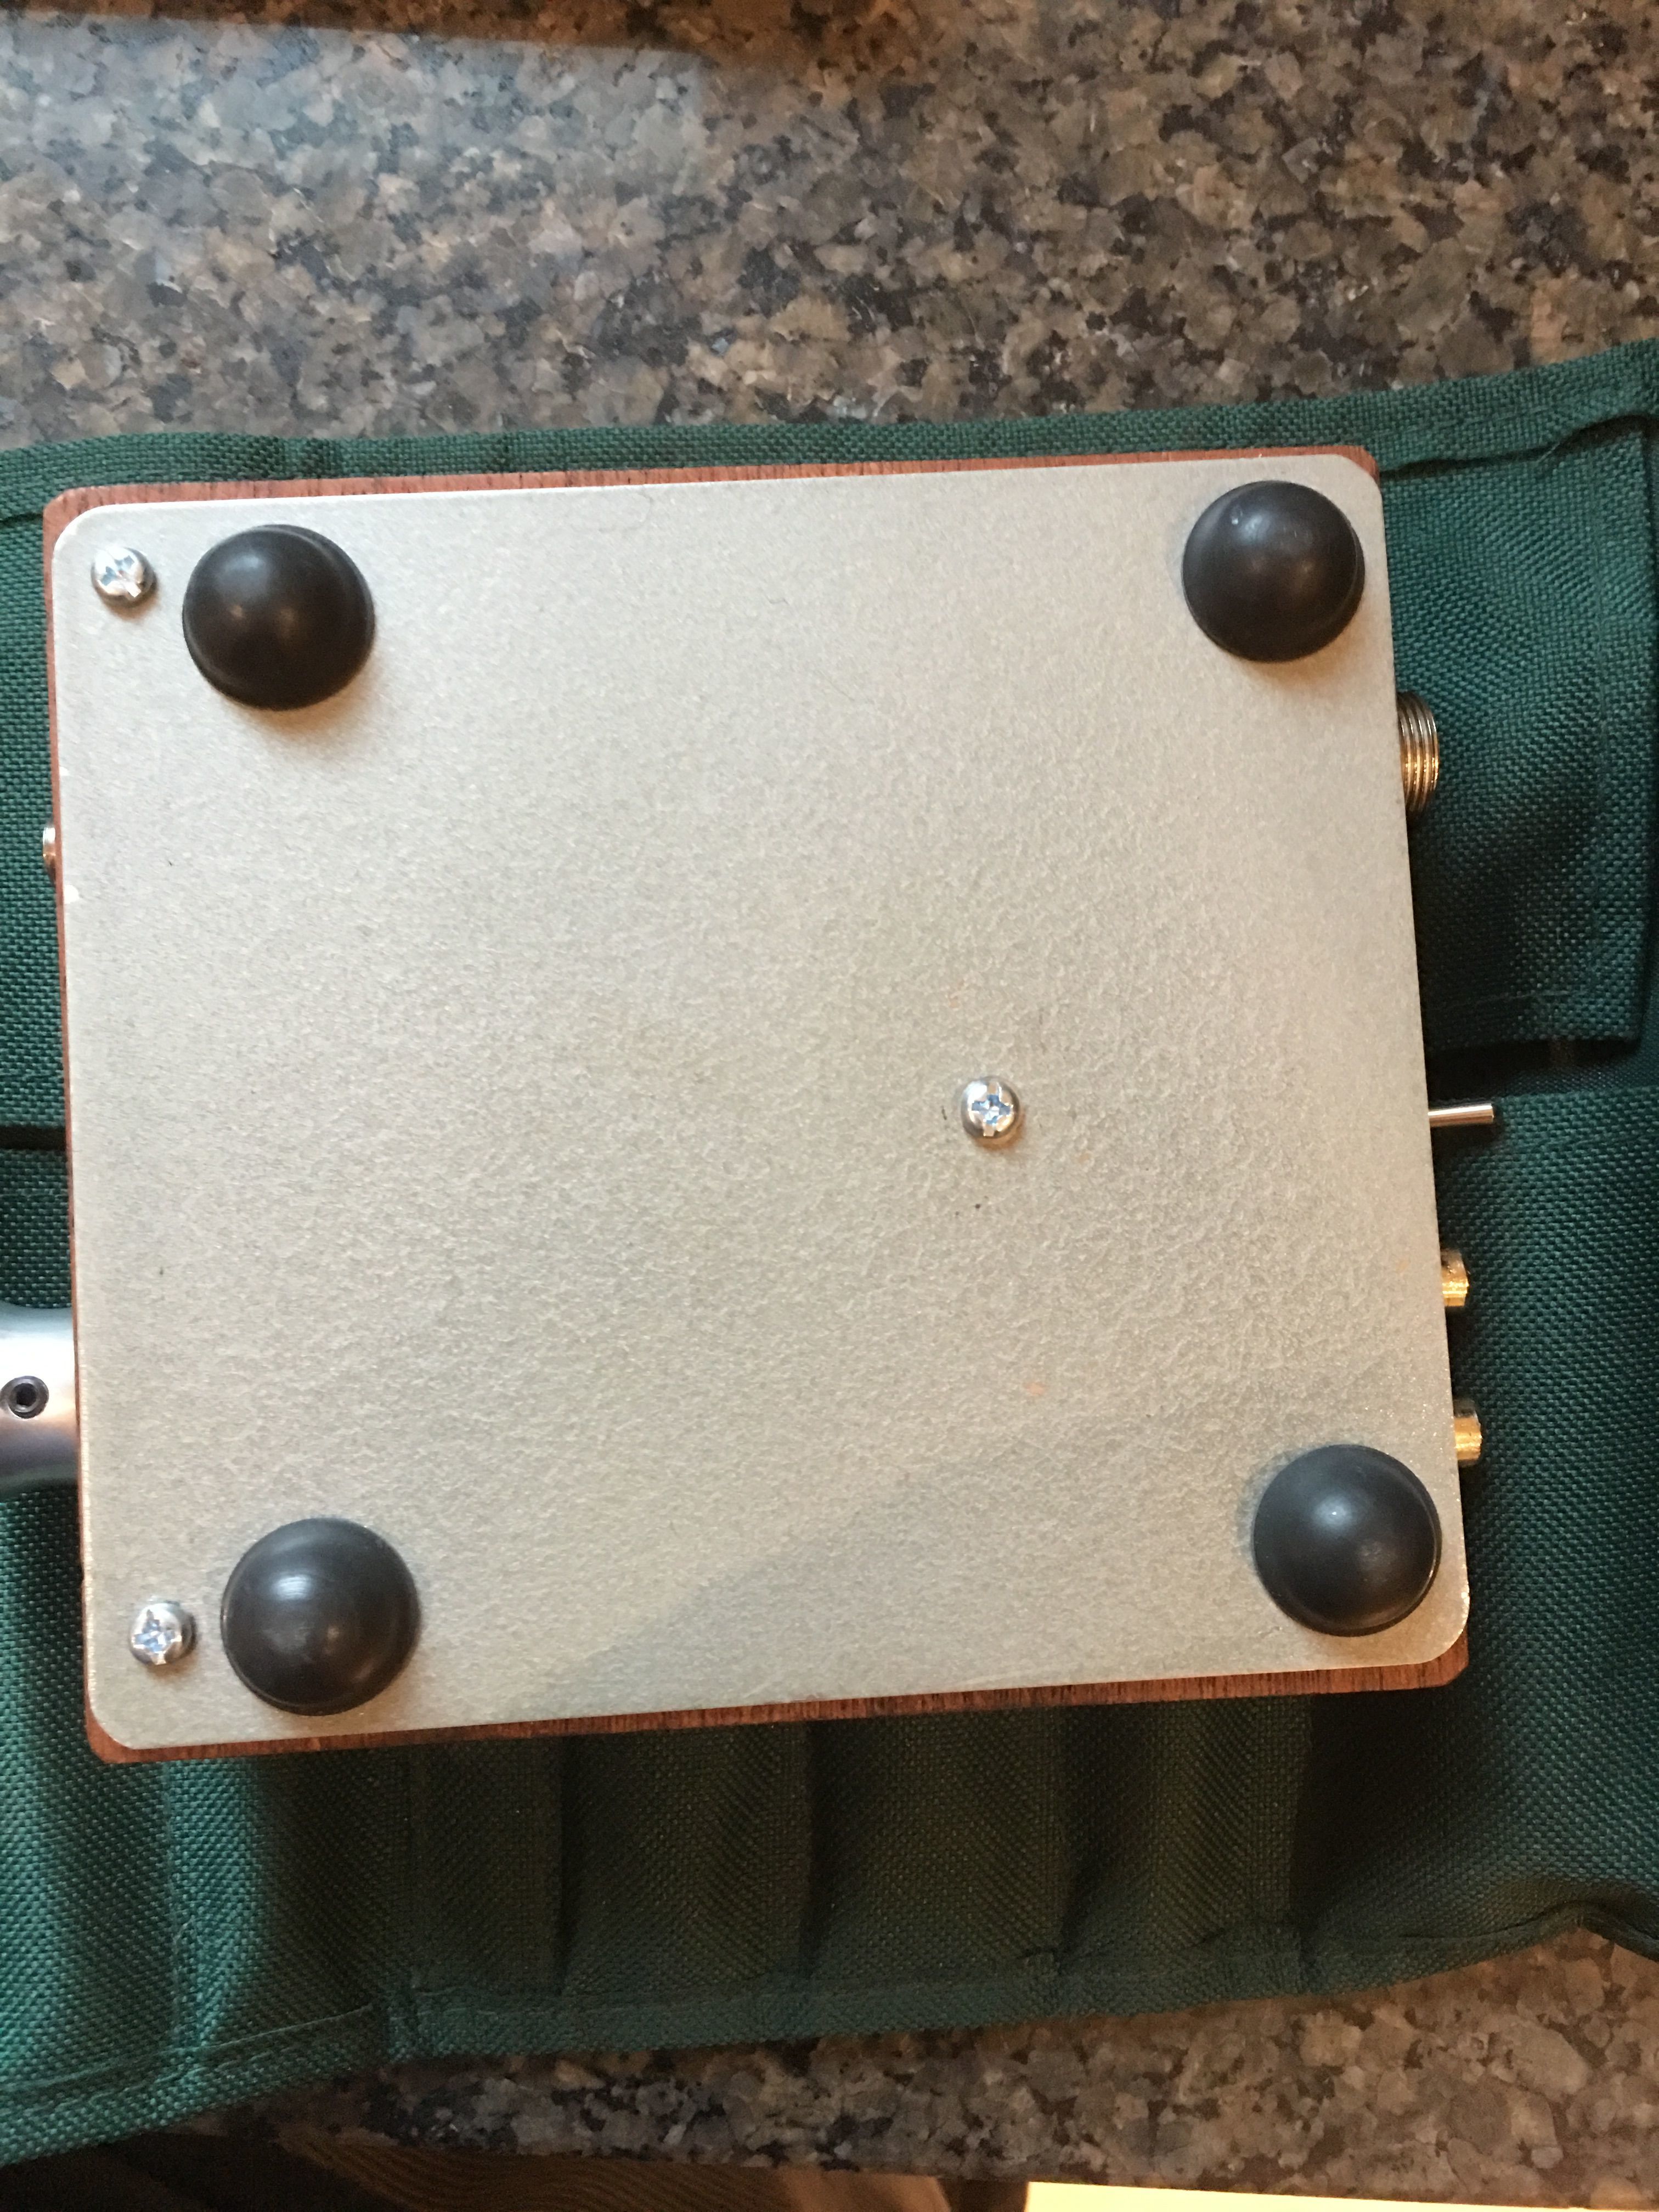
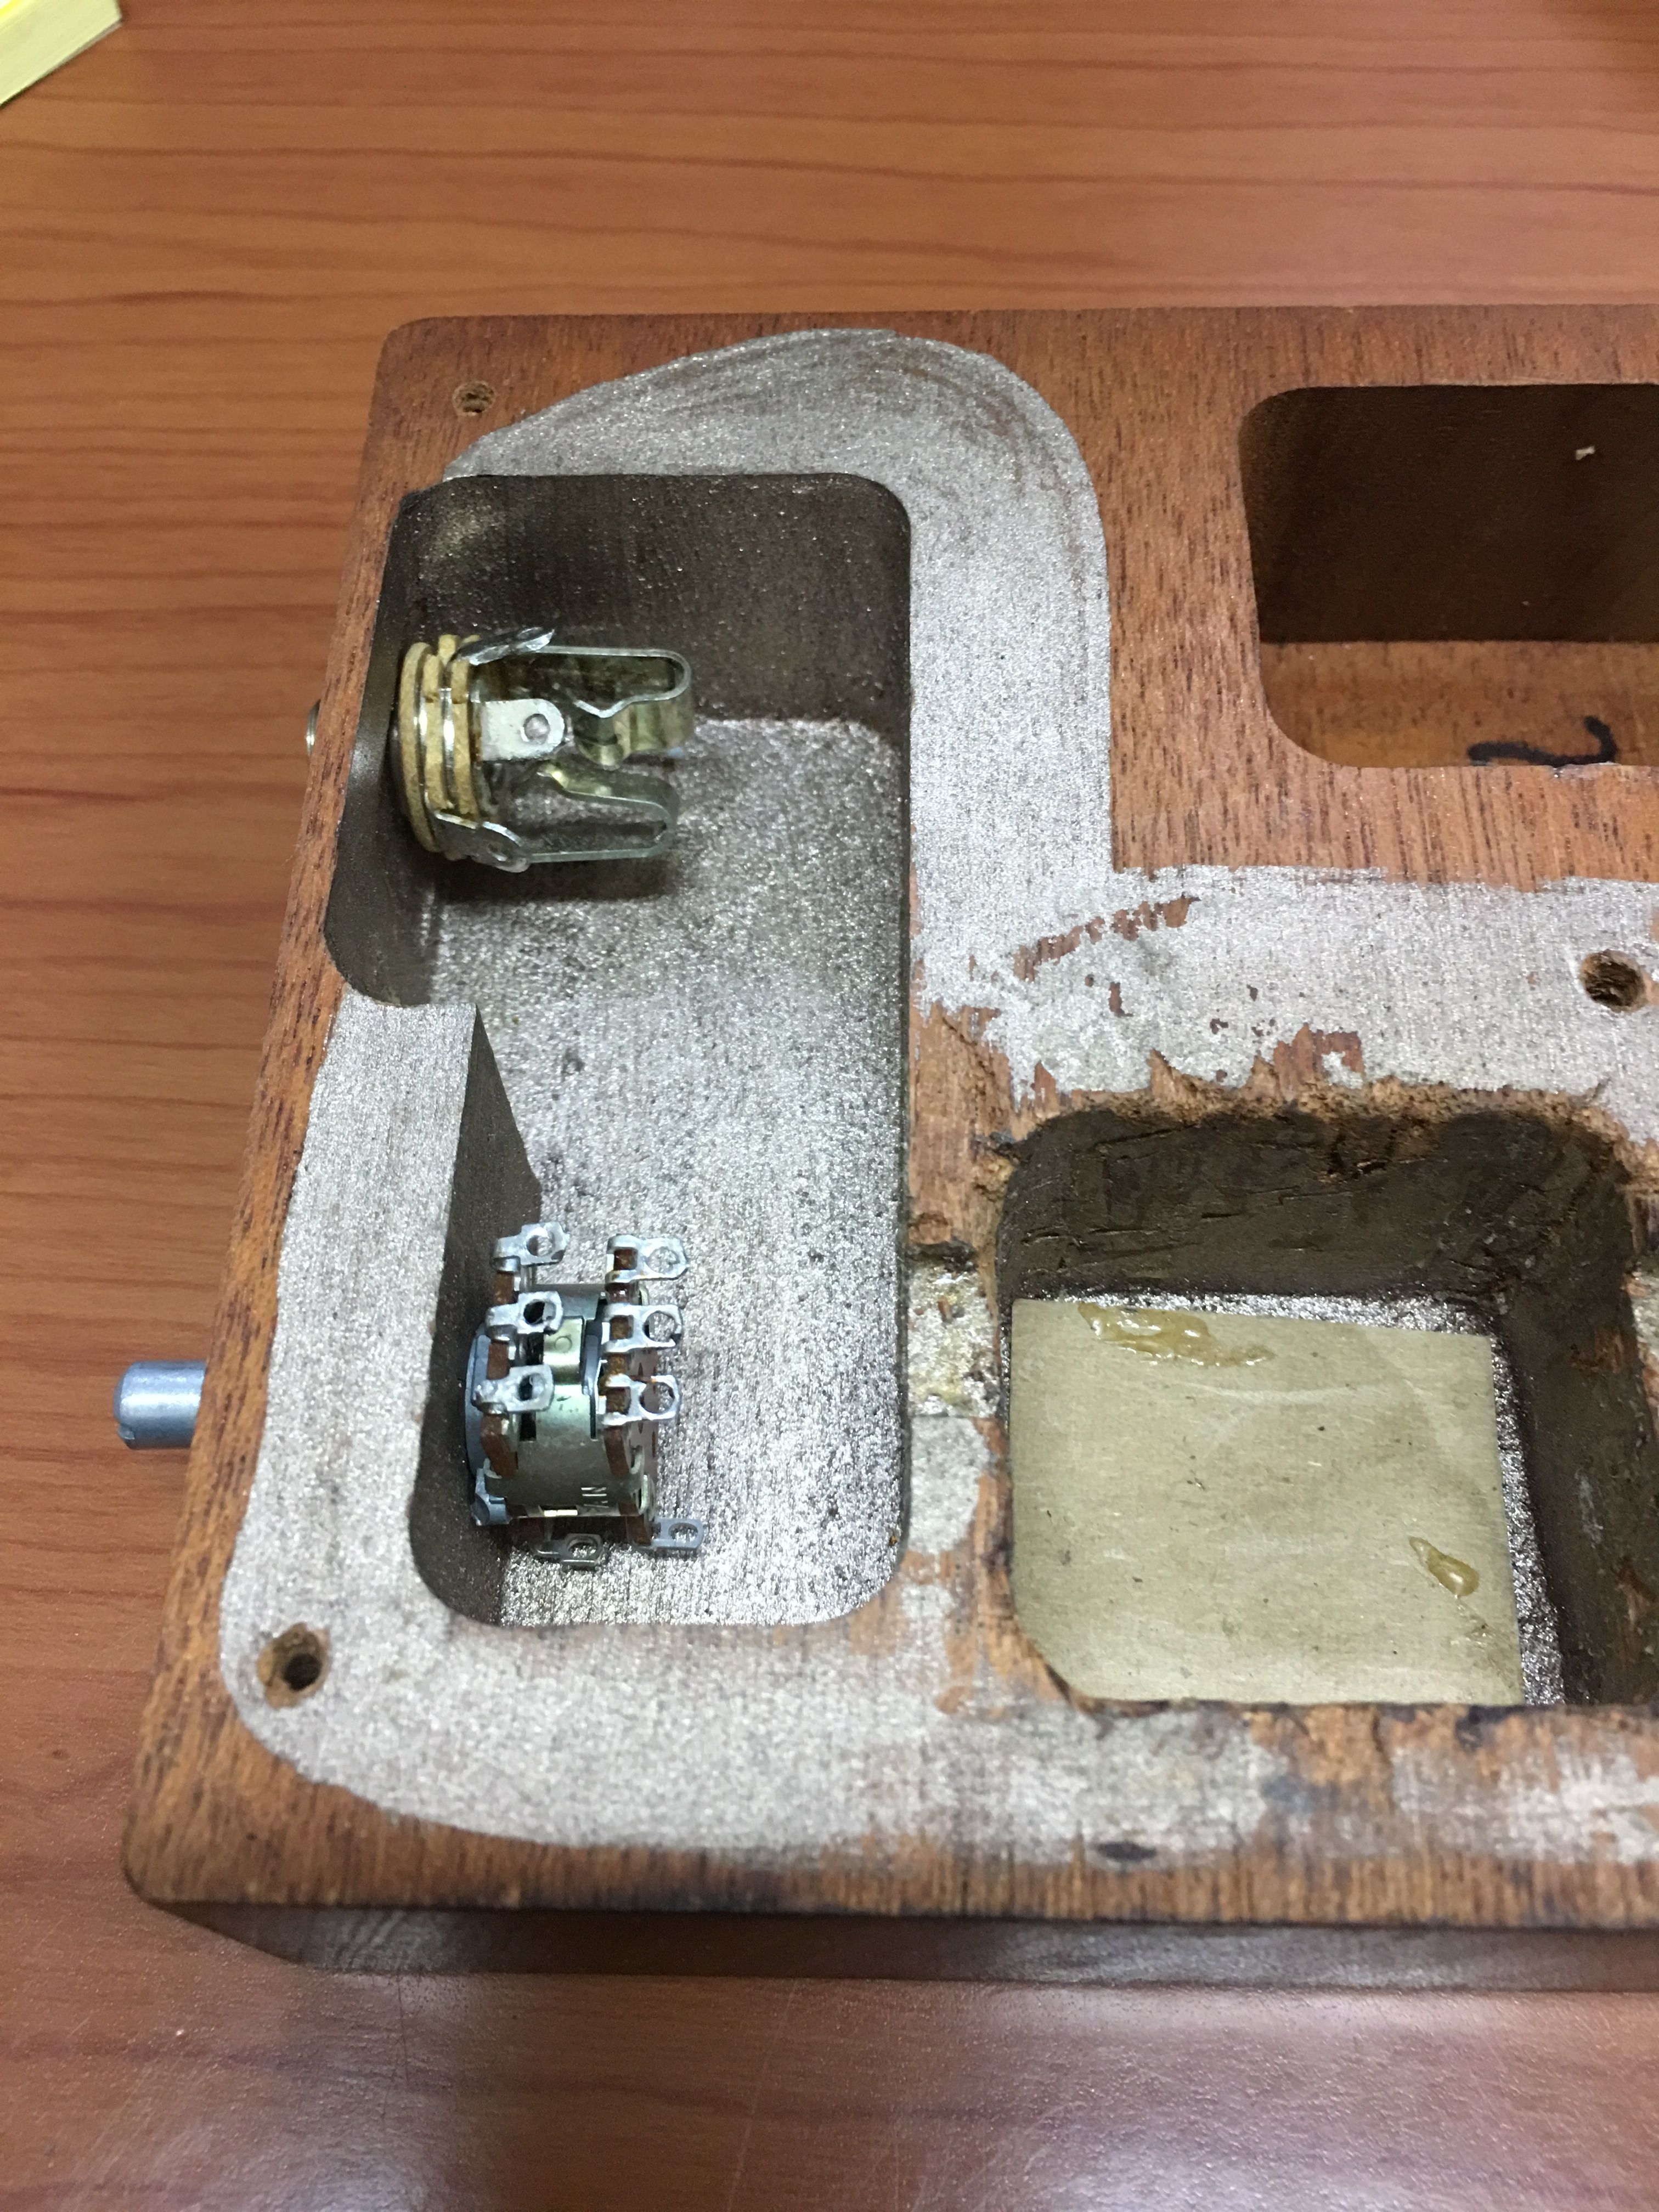
I picked up an AC powered RA-1 on Audiogon which was rated a 9/10.  The pictures looked ok and there was no mention that the unit had been altered.  I received the amp and it wasn't packed properly so the AC adapter prongs left some gouges on the face of the amp.  Upon inspecting the amp, I noticed some duct tape sticking out of the bottom plate which was loose and secured with non factory screws.  I knew something was up...


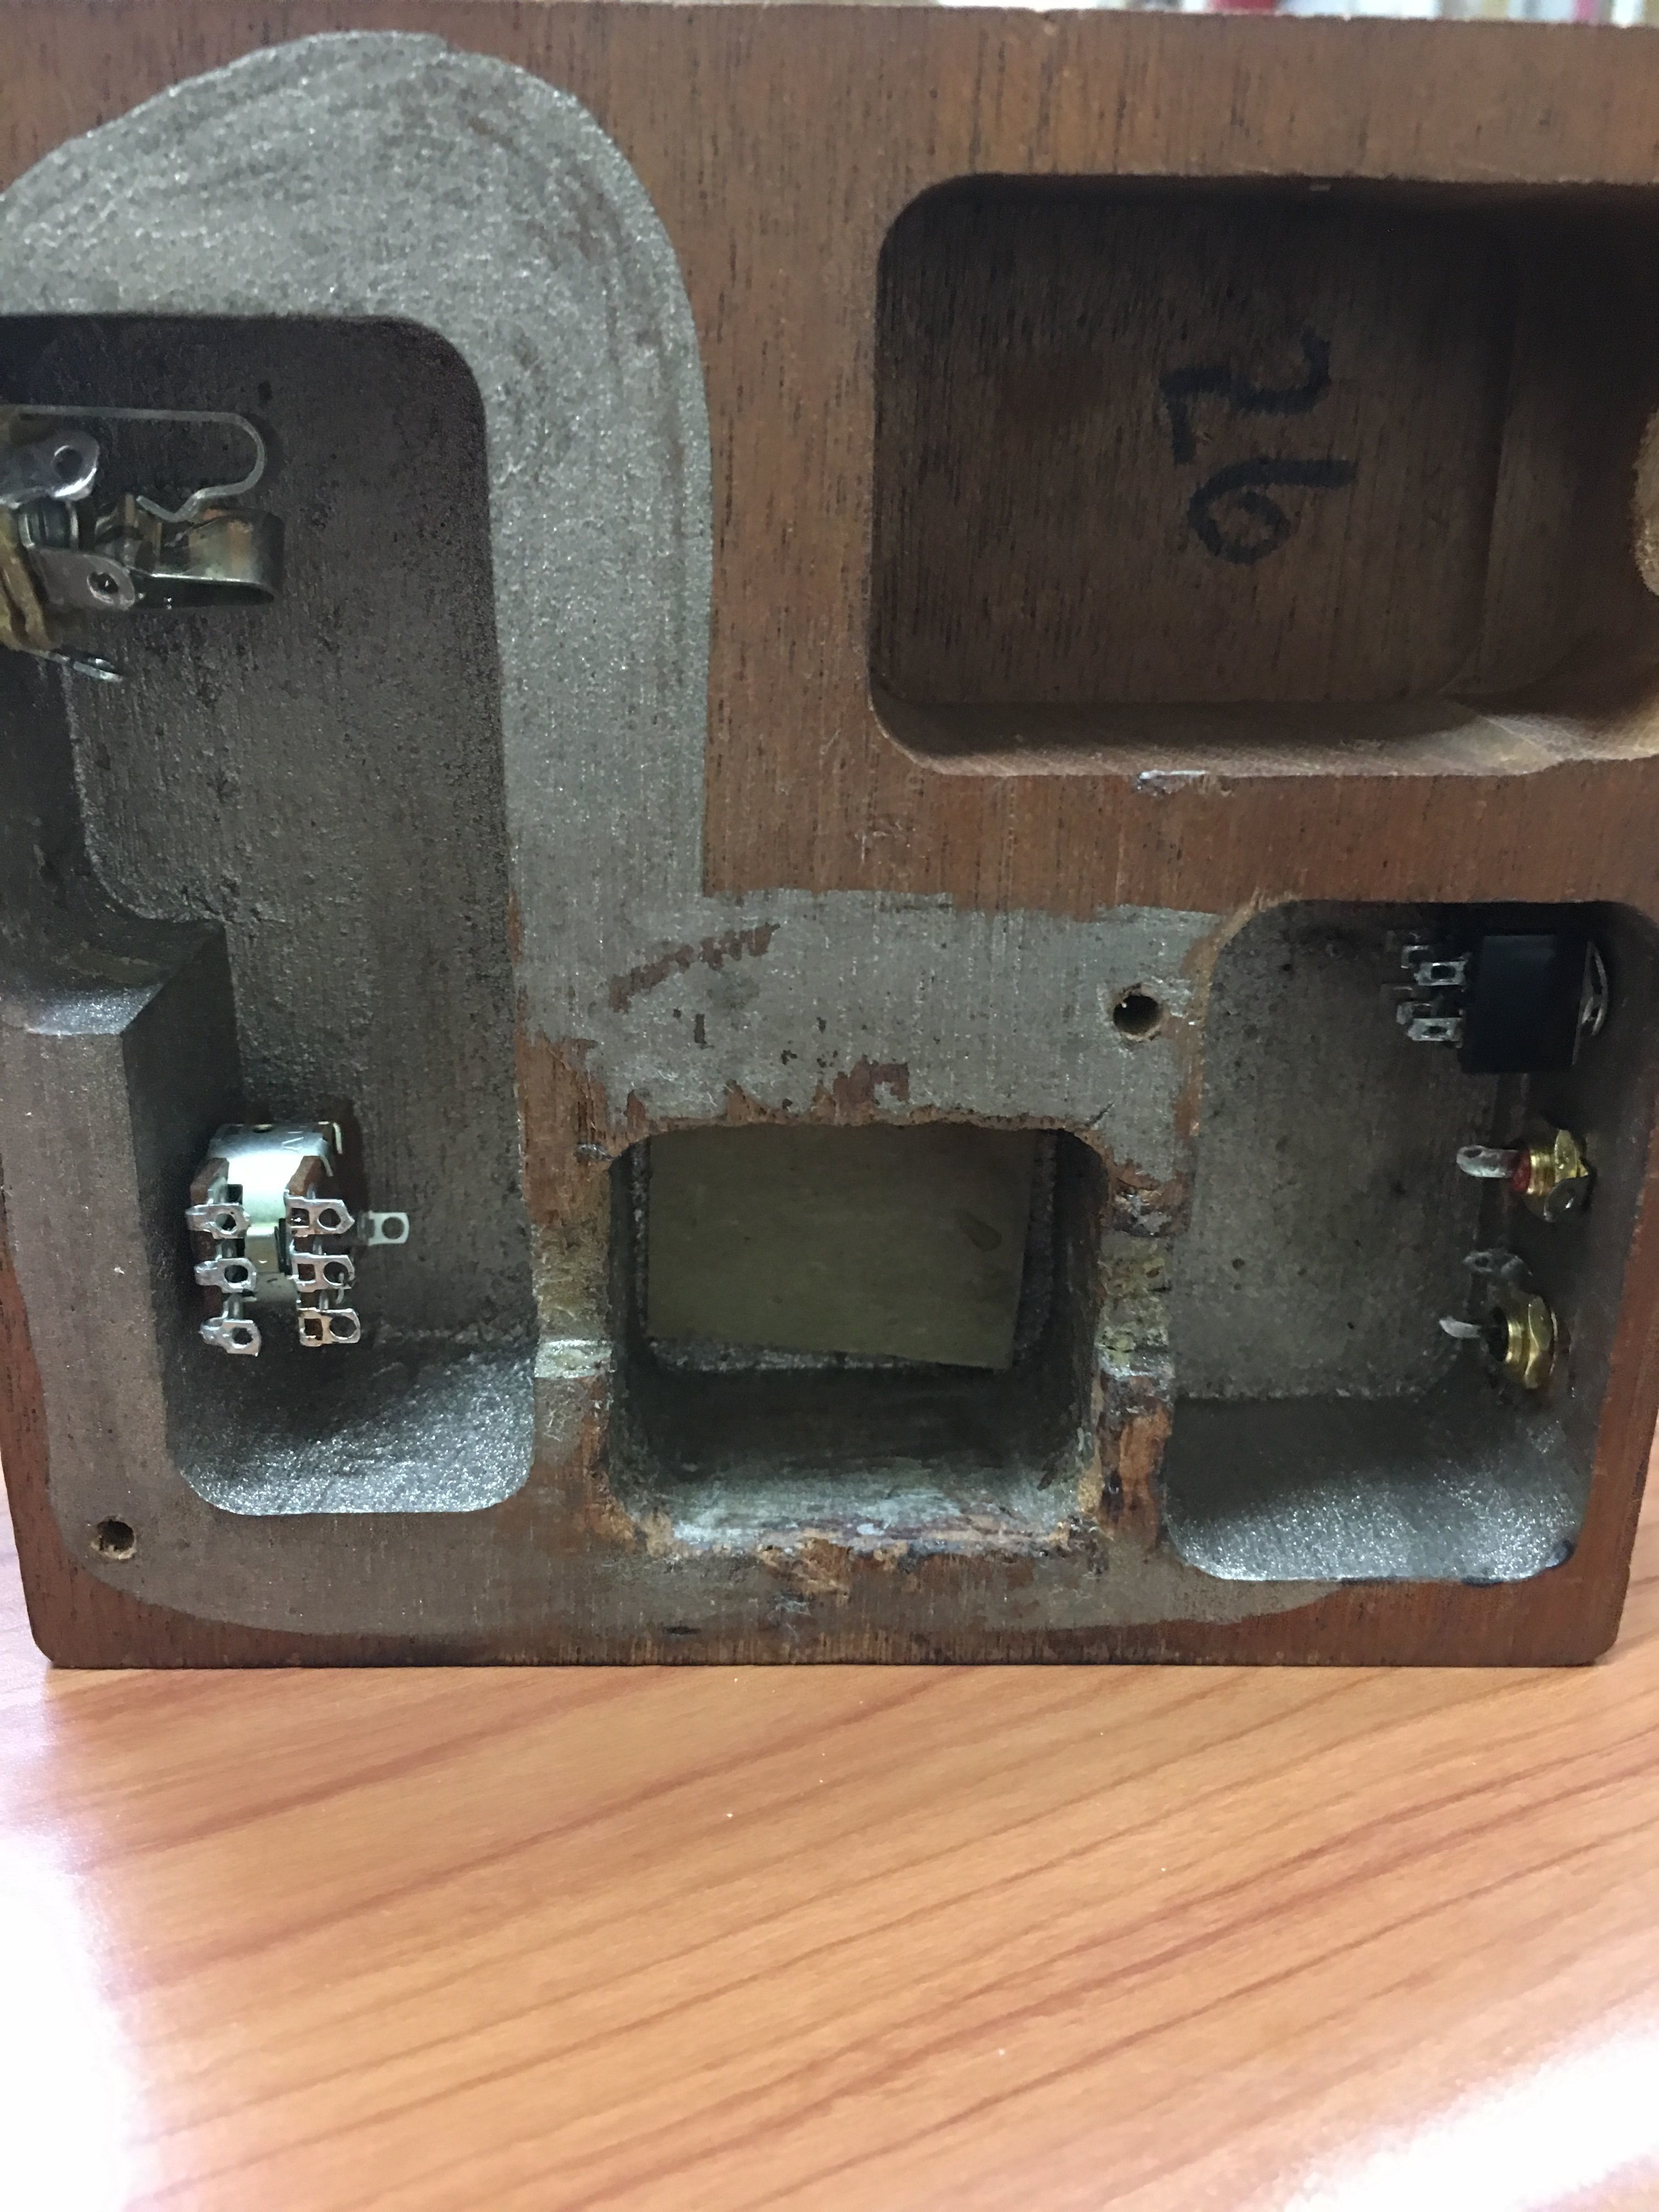
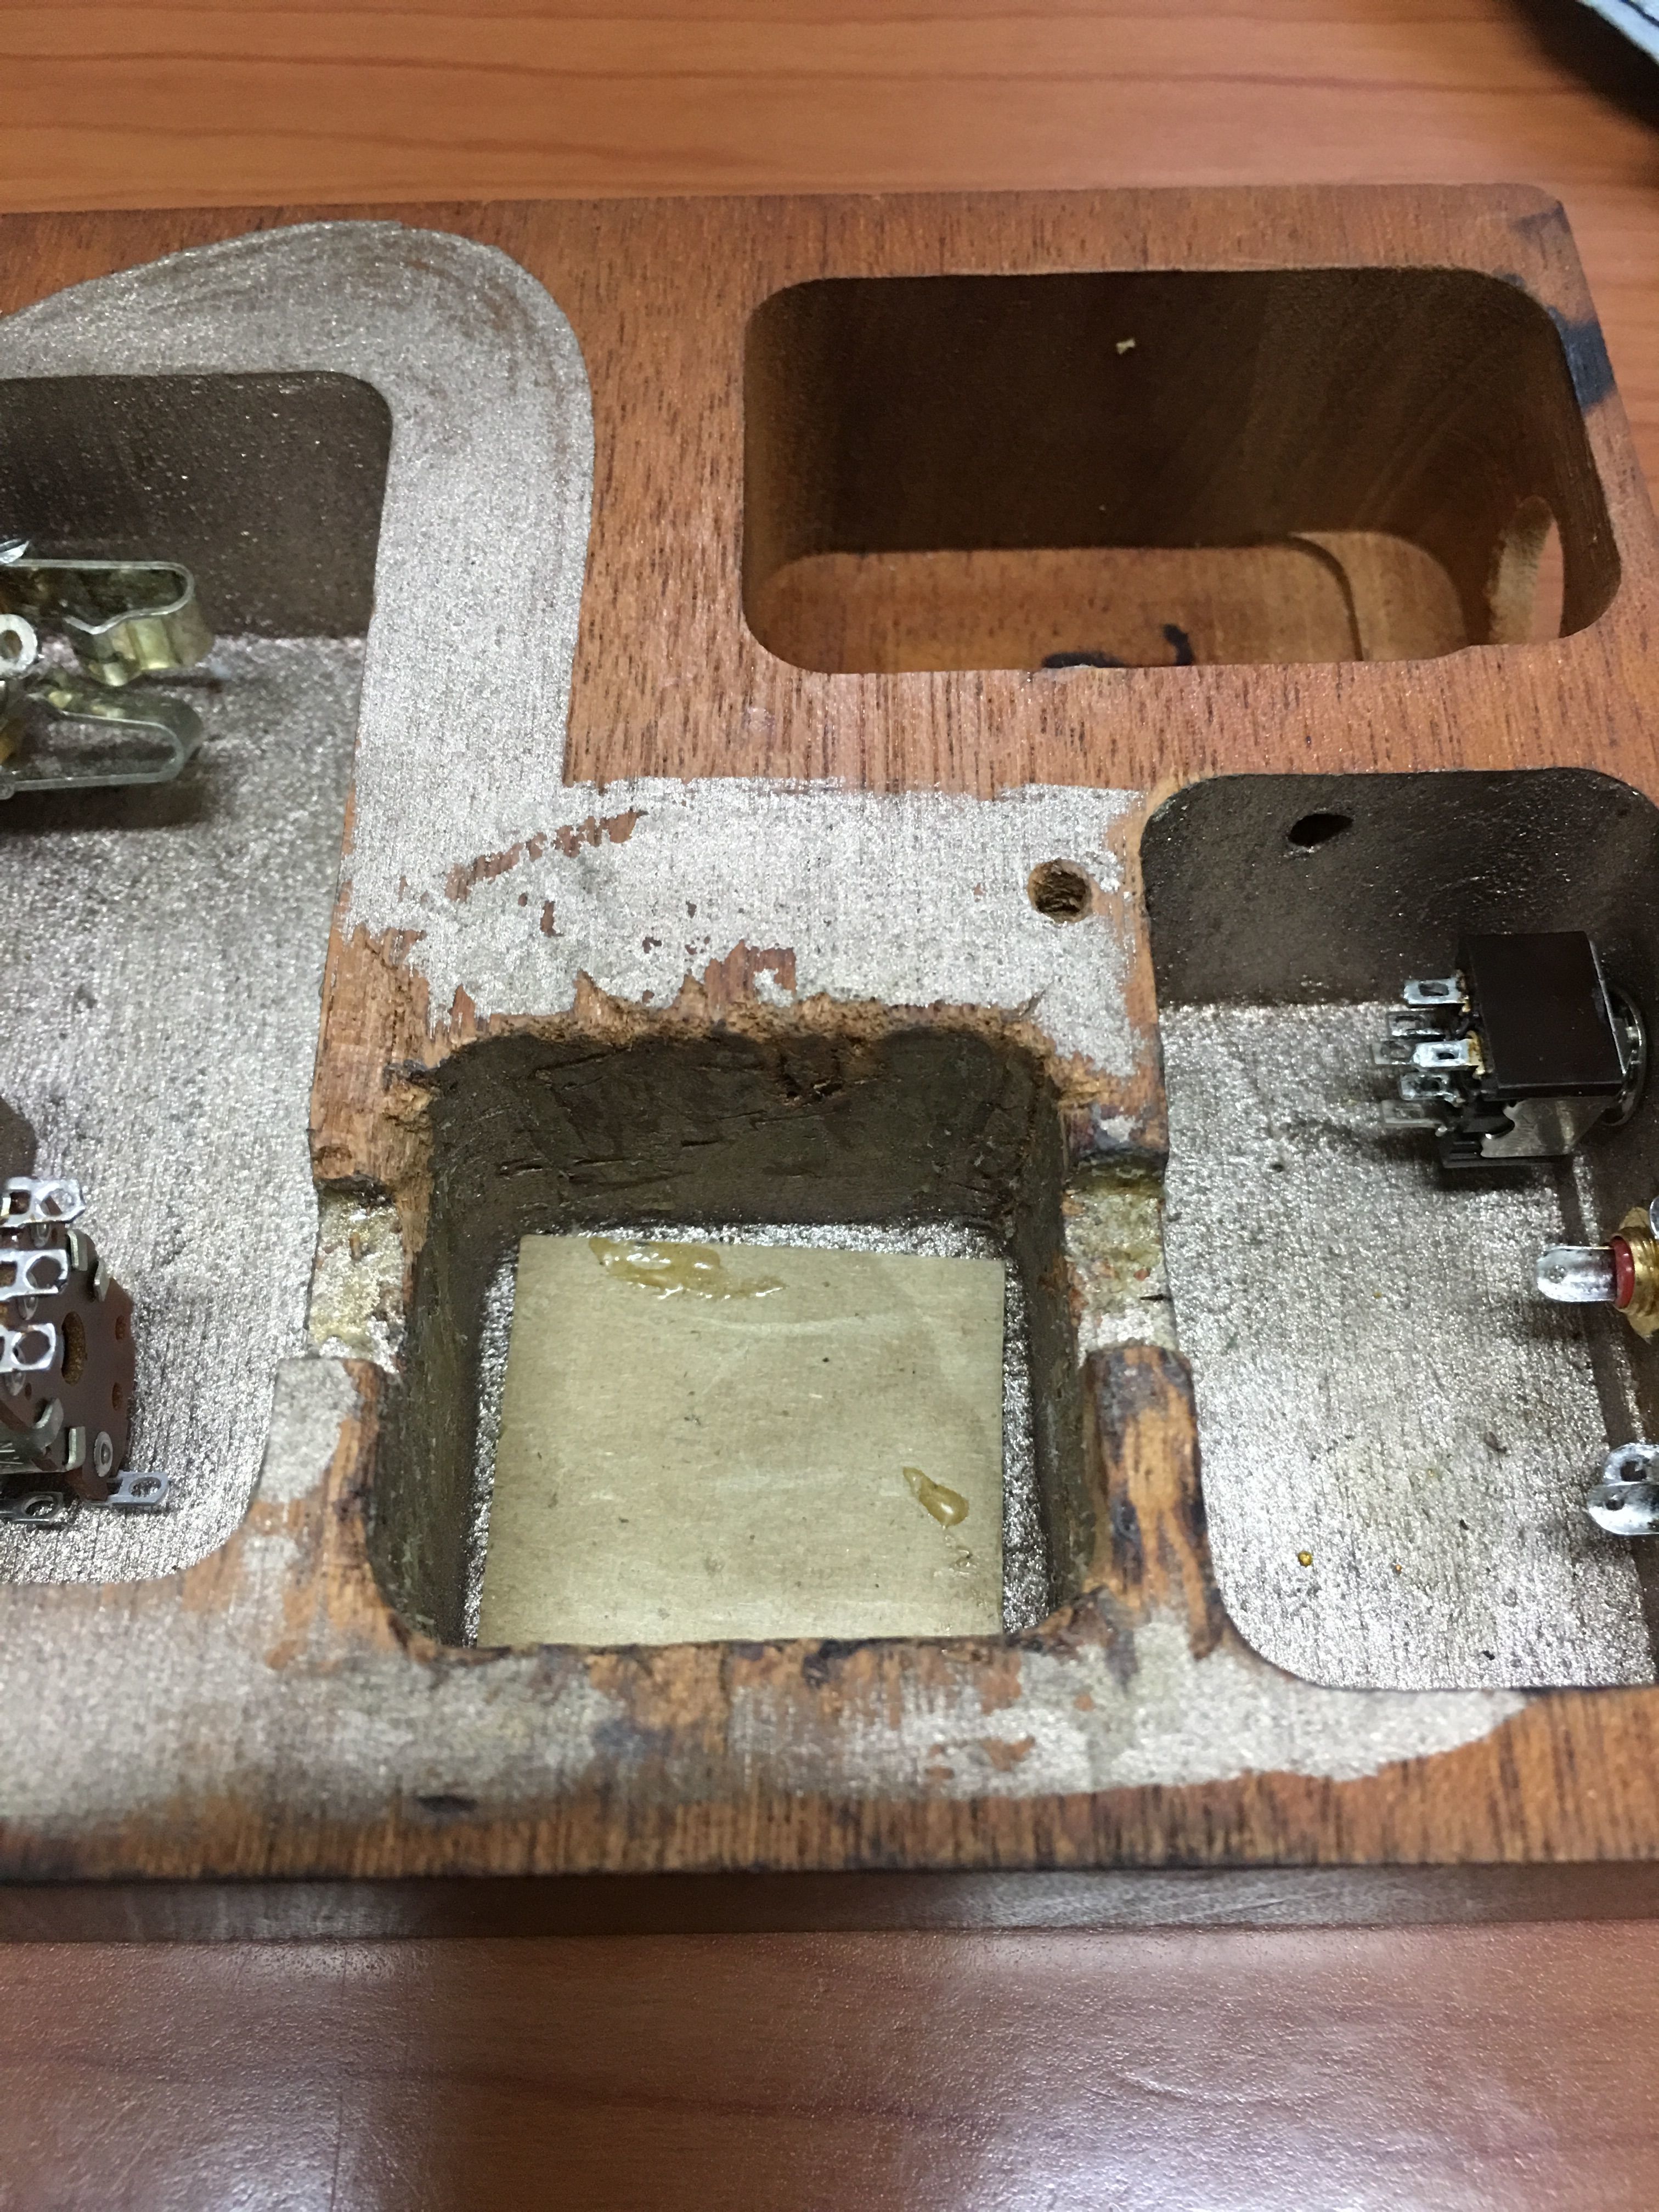
Instead of dealing with a shady seller who swore up and down the amp was working and in good shape, I decided to rebuild the amp.
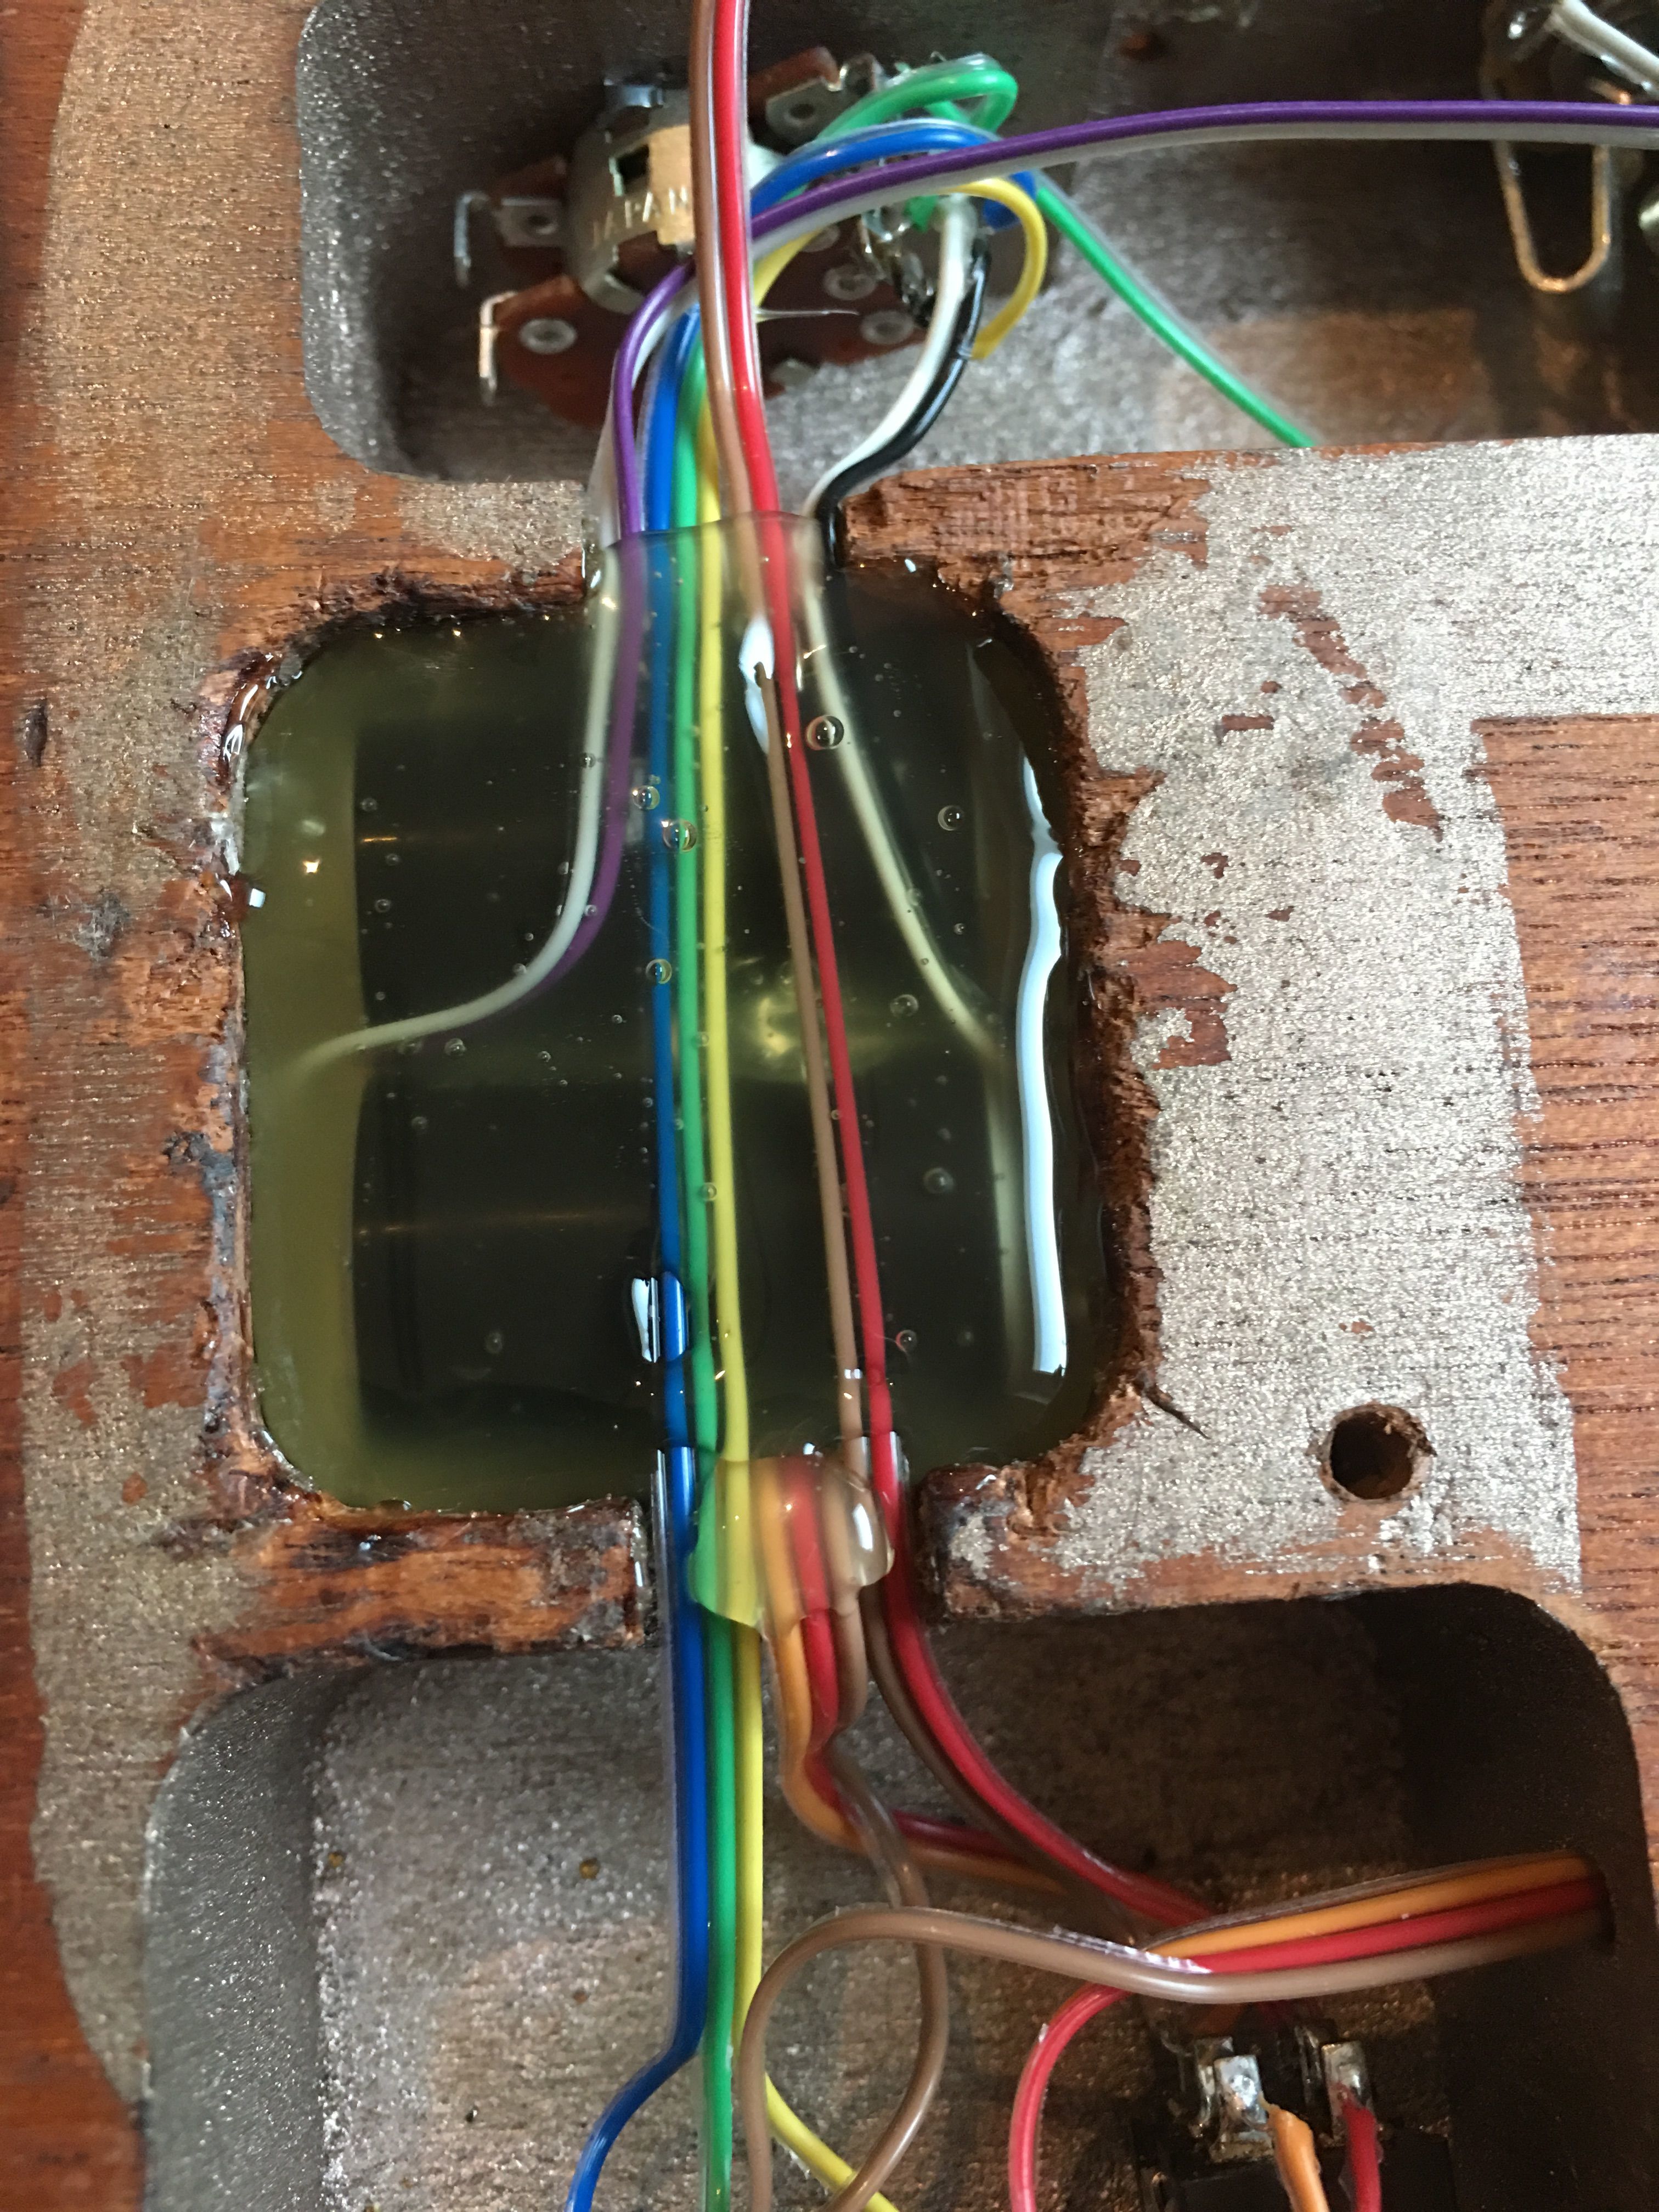
 
Mar 5, 2017 at 12:48 PM Post #3 of 14
Quite a bit there for $425 retail, yes? 
wink.gif

 
Depending on how sealed the wood finish is, you may be able to remove those dents around the LED.  Apply a drop of water to each of the dents and then hit it with a hot clothes iron.  It depends on how close the dents are on whether you can do this one at a time, or all at once.  Assuming the small bit of water soaks into the dent, the heat will turn it into steam.  The expanding steam will pop the wood back to the original surface.  This assumes those are dents (compressed wood), not really scratches or gouges.  Most of them look like dents to me. 
 
Mar 6, 2017 at 12:34 AM Post #4 of 14
Looks like a fun little project. You could put in all new parts for ~$40-50 :wink:
 
The op-amp looks like it may have sustained some heat damage (an errant soldering iron perhaps) as the top of the case looks a little bit melted.
 
Mar 6, 2017 at 5:49 AM Post #5 of 14
  Quite a bit there for $425 retail, yes? 
wink.gif

 
Depending on how sealed the wood finish is, you may be able to remove those dents around the LED.  Apply a drop of water to each of the dents and then hit it with a hot clothes iron.  It depends on how close the dents are on whether you can do this one at a time, or all at once.  Assuming the small bit of water soaks into the dent, the heat will turn it into steam.  The expanding steam will pop the wood back to the original surface.  This assumes those are dents (compressed wood), not really scratches or gouges.  Most of them look like dents to me. 


That's exactly what I did to the wood...I used a damp paper towel and an iron to get the dents out.  
 
 
  Looks like a fun little project. You could put in all new parts for ~$40-50 :wink:
 
The op-amp looks like it may have sustained some heat damage (an errant soldering iron perhaps) as the top of the case looks a little bit melted.


I did end up buying new input caps and reused the rest.  I touched up some of the solder joints and then cleaned it all up with alcohol before sealing it all in.
 
Mar 6, 2017 at 5:58 AM Post #6 of 14
Once I cleaned everything up, it was time to put it all back together.  I installed new Solen 5.1uF caps and all new wiring.  The caps required me to install the circuit board sideways due to their size...which leads me to believe the original caps might not be 5.1uF but maybe 3.9uF.


The RCA connectors look like they had pliers on them...but they work fine.


Here you can see a trace was lifted by the previous "modder."  I used the input cap lead to make the connection.


May 3, 2017 at 1:38 PM Post #8 of 14
a really nice rebuild! you should refresh the silver paint also!
one of these days a friend of mine will finish an PH1 project , he build it with High Gain only so it wi match with The Statement cartridge he bought recently .Will use Grado Signature cable on point-to-point setup!
 
May 7, 2017 at 8:29 AM Post #10 of 14
I did end up buying new input caps and reused the rest. I touched up some of the solder joints and then cleaned it all up with alcohol before sealing it all in.


What value of caps did you bought?
I noticed the stock where about 2uf but was that right ? if i remember well the original are 5uf...

btw here is the PH1 preamp of my friend :

 
Last edited:
Aug 5, 2017 at 12:11 AM Post #12 of 14
What value of caps did you bought?
I noticed the stock where about 2uf but was that right ? if i remember well the original are 5uf...

btw here is the PH1 preamp of my friend :


From what I have seen, all the schematics show 5.1uF, however, those are a bit bigger than what fits in the cavity, hence having to insert them sideways. The previous owner had installed 2uF, but those were not the stock units and poorly done. I've seen the DIY PH-1...he did a fantastic job of building it. I'll be building an RA-1 in a similar fashion soon I hope!

Good job!
What kind of material did you finish ?

The sealant is standard hot glue epoxy. Grado uses it liberally in all their poducts, including their headphones, so I did the same!
 
Aug 7, 2017 at 7:43 AM Post #14 of 14
I used polyurethane on another Grado project and it went on nicely, but this one I will leave as is.
 

Users who are viewing this thread

Back
Top