


JK-47
100+ Head-Fier
- Joined
- Jan 2, 2015
- Posts
- 374
- Likes
- 68
Thanks for the info Victor, but the TU-8500 capacitance is still a mystery....
hi JK-47
If you look at Audio Research Reference Phono 10 or other expensive phono amps, they won't tell you the capacitance too.
I trust Mr Fujita's design.

I will try one more time to ask him to let us know the capacitance .

I don't doubt Mr. Fujita's designs, his Amps are awesome
I just wanted to be able to match my turntable cartridge, or future upgrades to the recomended values. My previous Schiit Mani had a capacitance of 100pF, and even with the wiring was borderline on the low end of the 150-300pF recommendation. More for piece of mind than anything else.
I will definitely be adding another Elekit amp in the future...300B.....

Welcome to the club lucidreamer!!!!
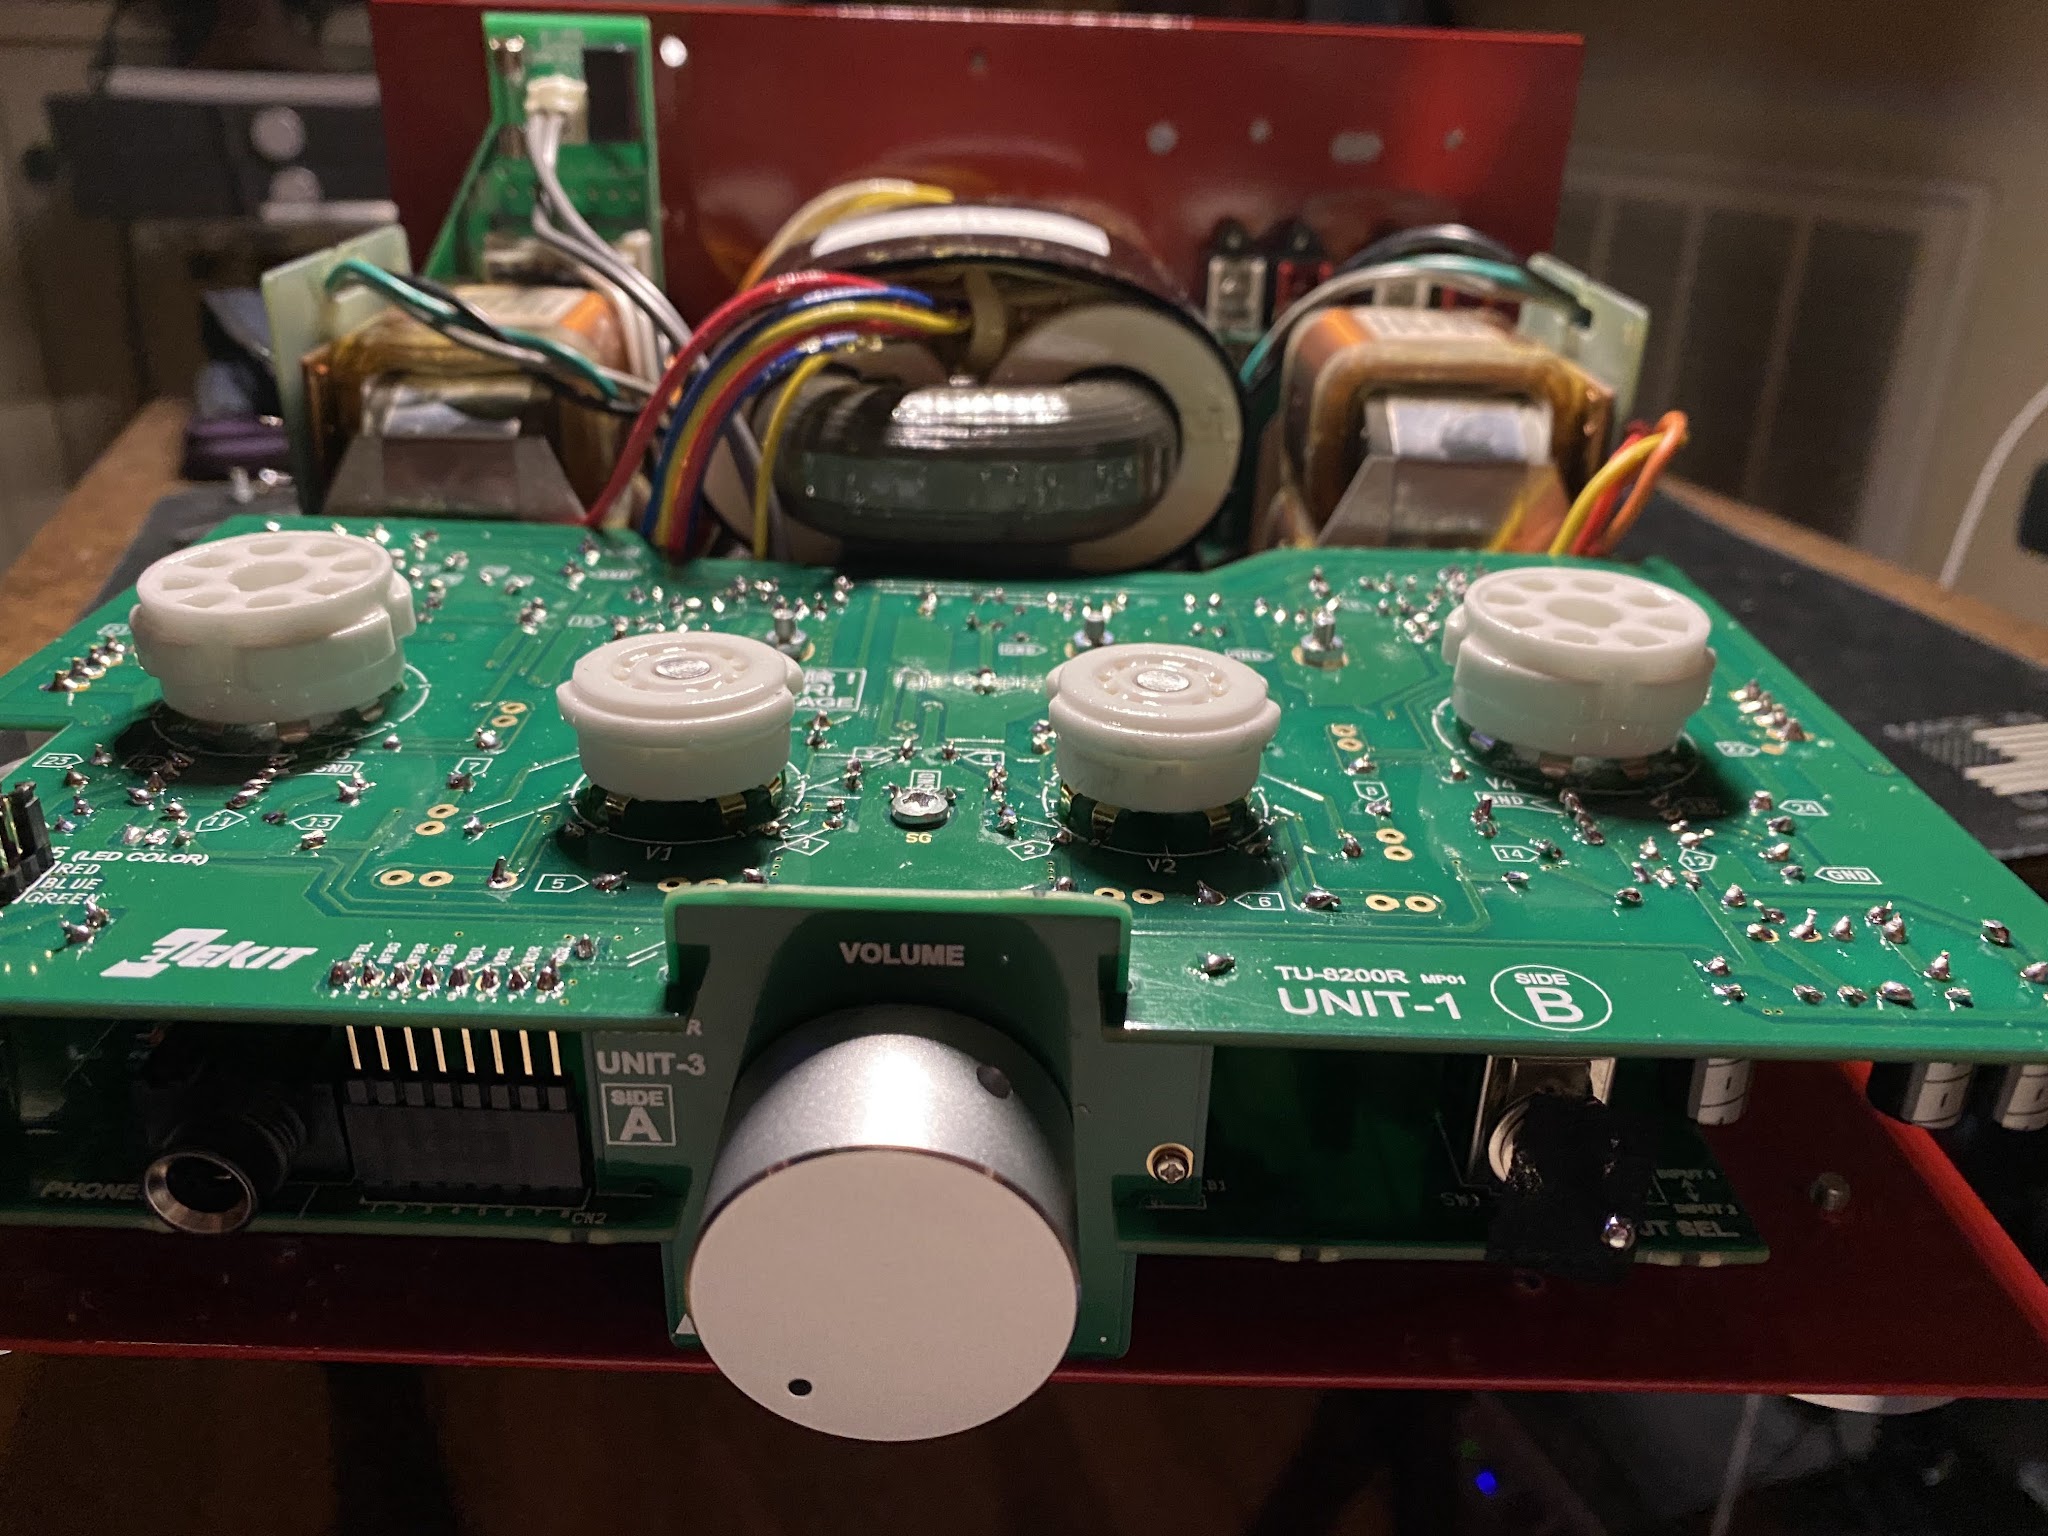
Great mod on the volume knoblooks sweet.
I saw a the same mod on a different Elekit amp on another forum, and it's nice to see it implemented on our amp.
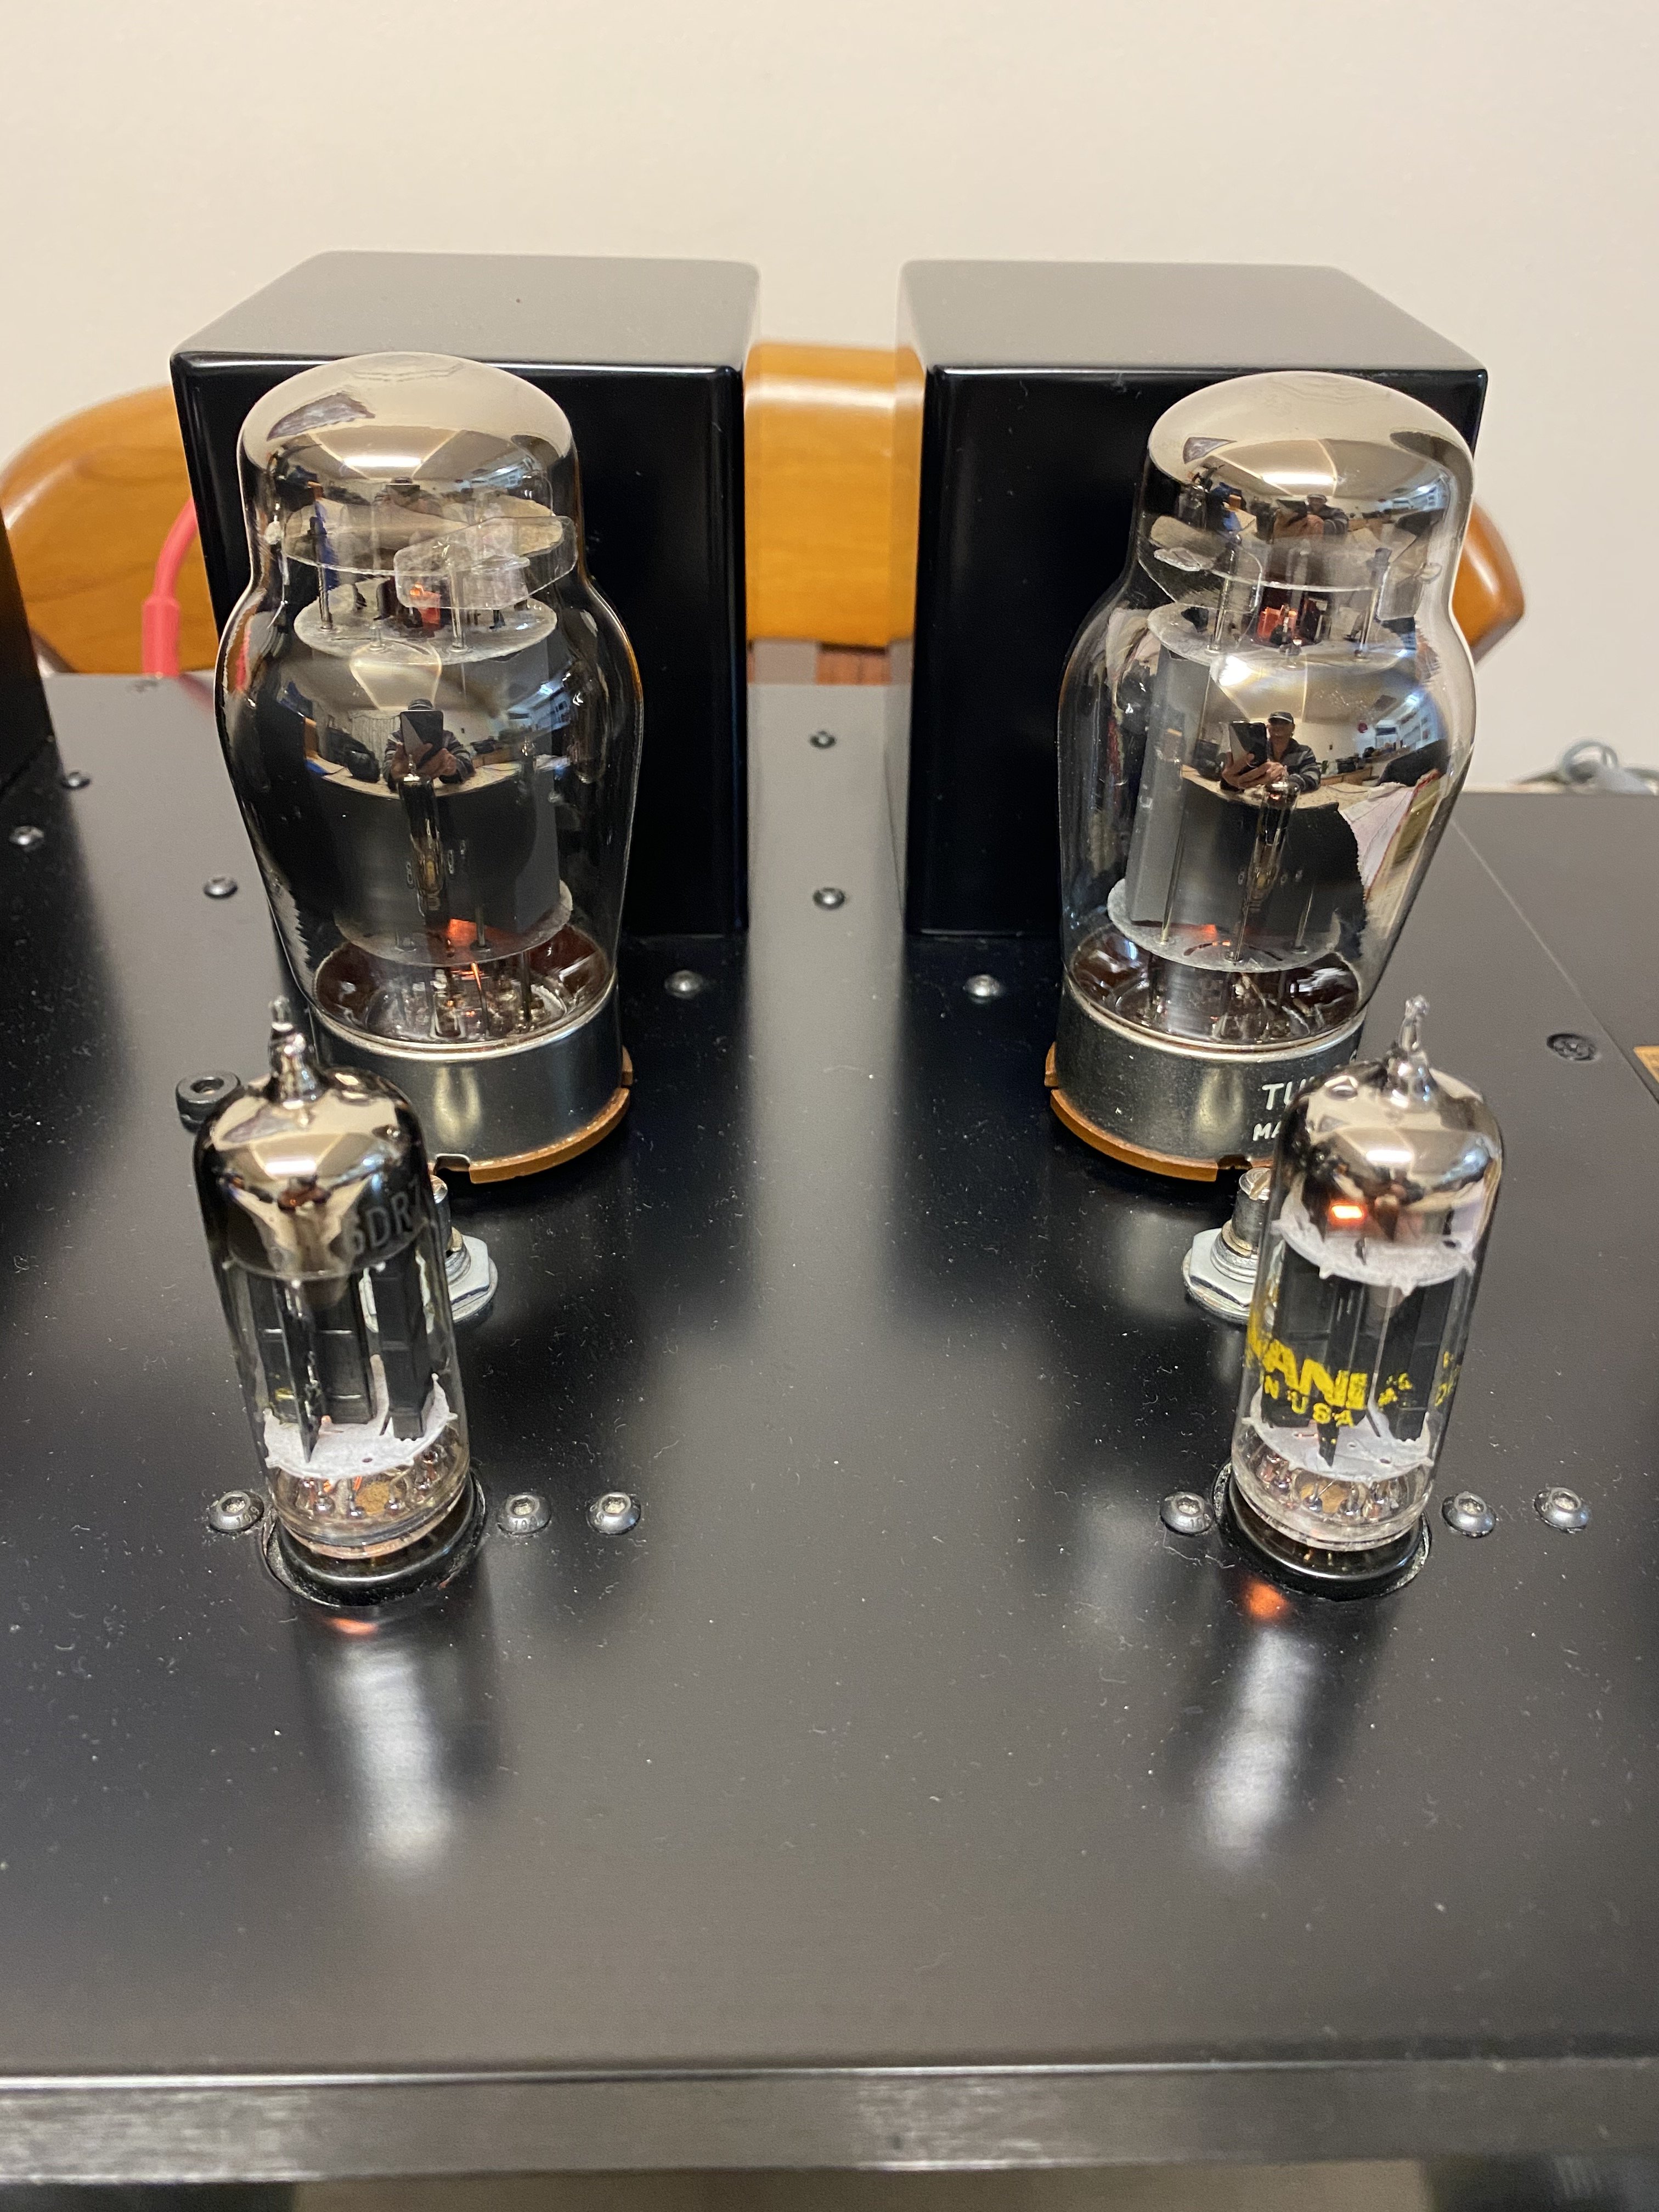
Keep us updated on the tube rolling
") Looks like he dropped the flashlight into water or something, since the wire leads had some corrosion on them. I used some electric liquid insulator paste to secure the led and prevent the light from leaking back into the amp box. Initially I put a 1.37k ohm resistor and it was super bright, almost turning a volume control into a headlight, which would be a overkill for its purposes and too annoying during nights. So I took the amp apart and replaced the resistor with a 10k one which is perfect and should keep the light from burning out faster. Inside the light hole I put a small optical plastic rod machined from the piece of clear plastic from the external hard drive enclosure that had a drive failure lately. The plastic sent the light from the harddrive PCB to the front of the enclosure. After machining the tip to a round shape to fit in the hole it sticks out a little bit and looks better to me than just a simple empty hole with a light in it. I think any piece of clear or other colored acrylic should work just as well.
Looks like he dropped the flashlight into water or something, since the wire leads had some corrosion on them. I used some electric liquid insulator paste to secure the led and prevent the light from leaking back into the amp box. Initially I put a 1.37k ohm resistor and it was super bright, almost turning a volume control into a headlight, which would be a overkill for its purposes and too annoying during nights. So I took the amp apart and replaced the resistor with a 10k one which is perfect and should keep the light from burning out faster. Inside the light hole I put a small optical plastic rod machined from the piece of clear plastic from the external hard drive enclosure that had a drive failure lately. The plastic sent the light from the harddrive PCB to the front of the enclosure. After machining the tip to a round shape to fit in the hole it sticks out a little bit and looks better to me than just a simple empty hole with a light in it. I think any piece of clear or other colored acrylic should work just as well.I am just curious if it is normal that the whole metal chassis case getting pretty warm after a short while when the amp is running? I mean it is not too hot to the touch but is pretty warm let alone the tubes which are actually hot. I believe it should be normal, since the tubes emanate heat that is dissipated and evenly distributed by the metal case but I just wanted to double-check.
When I first assembled the amp, I let it run for a few mins only to make sure there was nothing wrong with it, like excessive heat, smoke, etc. or the transformer making noises. Then I put the case on. I should have probably tested it for a hour at least without the case to make sure no parts get overheated or something (except the tubes, understandingly). In my experience, if something is not done right, it may still work ok, but some components may be overheated and burn out quickly.
Thanks.
The power cord that comes with the Elekit is a two-prong plug with floated ground wire that looks identical to the one for theTriode TRK-3488. I learnt my lesson last time where floating ground silenced hum. It took me no time to reconfirm that on the Elekit. I compliantly replaced the more expensive three-prong power cord with the humble-looking stock.
In the TU-8200DX manual it is recommended to attach the ground wire to the electric outlet if it does have a ground terminal on it. But here in the US all the 120v household outlets already have 3 prongs anyways. Why not replacing the stock one with the 3-prong cord then. Did anyone notice any issues after trying the 3-prong power cord by chance?

