tomb
Member of the Trade: Beezar.com
- Joined
- Mar 1, 2006
- Posts
- 10,891
- Likes
- 1,066
While I'm still working on getting the kits and website ready, I thought I'd post a build thread for the Dsavitsk/Beezar Torpedo amp.
To review just a bit, the Torpedo is the latest iteration of Dsavitsk's parafeed designs known as the L'ess Pressivo. There are many links that chronicle the evolution of the basic design on Dsavitsk's excellent DIY website:
http://www.ecp.cc/less-pressivo.html
http://www.ecp.cc/less-pressivo-build.html
http://www.ecp.cc/less-pressivo-plus.html http://www.ecp.cc/less-pressivo-plus-plus.html
In my layman's terms, the design is a great representation of a true, high-voltage, transformer-coupled, tube headphone amplifier. One of Dsavitsk's design goals was low cost, too.
After a time, I challenged Dsavitsk to bring one of the L'ess Pressivo designs to a fully PCB-based construction. Little did I know that after a quick successful backboard build, the final implementation became perhaps the longest development and prototyping periods for a DIY headphone amp. The reasons are many, but the result is that the design is already quite refined. The Torpedo is the culmination of that work.
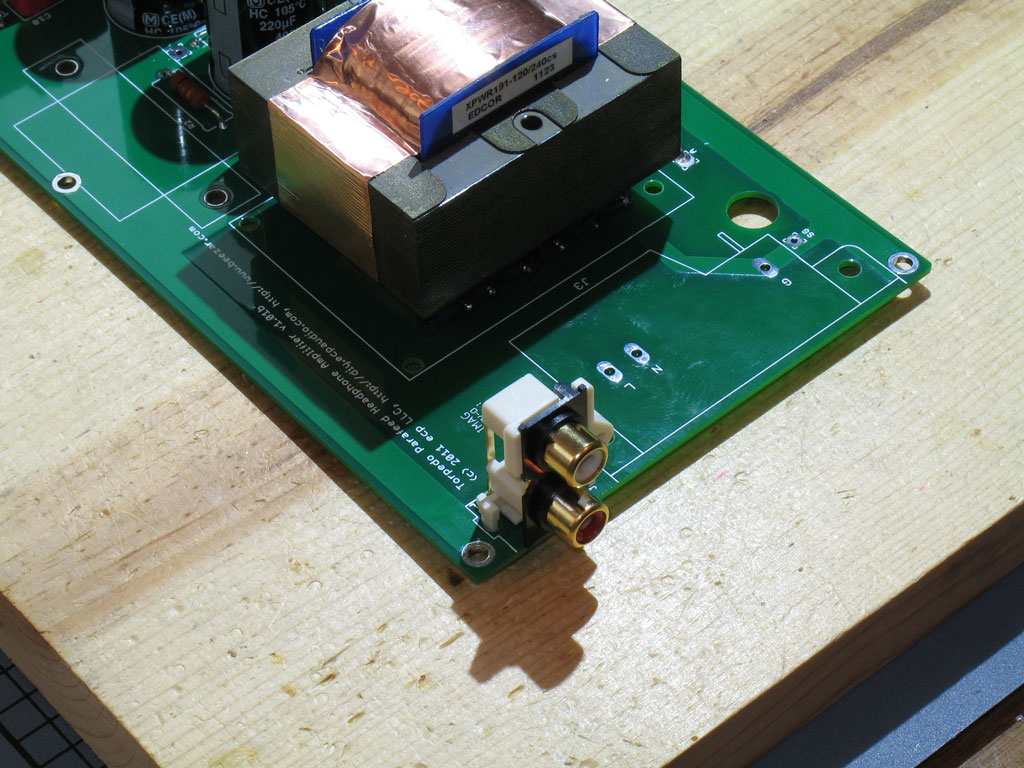
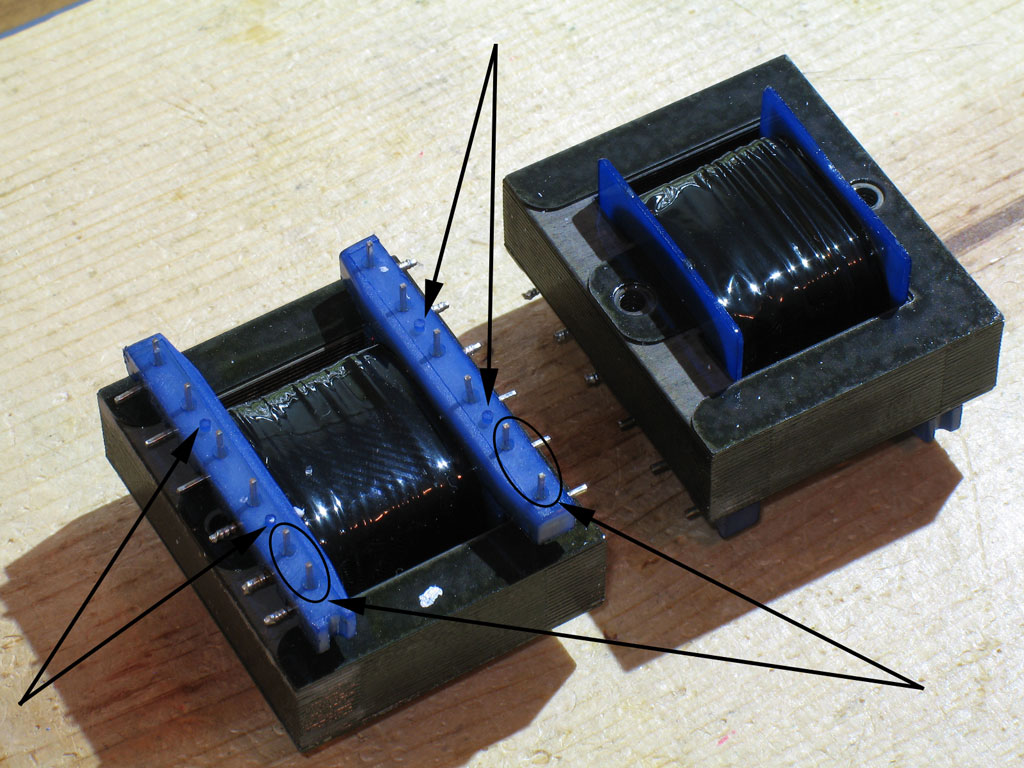
The Torpedo is fully PCB-based with no wiring needed, save a ground wire for the Alps pot and a safety ground wire from the PCB to the case. It uses readily available components, including tubes that run about $2 and less (6J6 - the 6V heater version of the Starving Student tubes). The only exception to that are the custom power and output transformers and a custom-designed case that requires no drilling/cutting. (BTW - most tube dealers say the 6J6 runs into the tens of thousands in stock, so no running out as happened with the 19J6.)
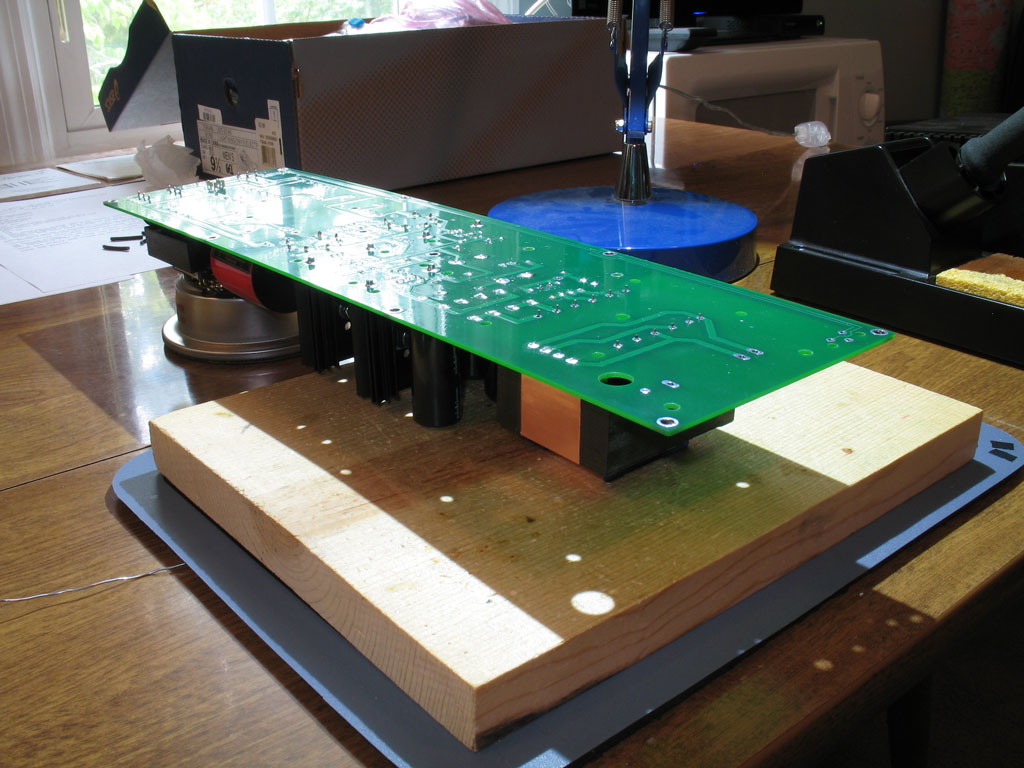
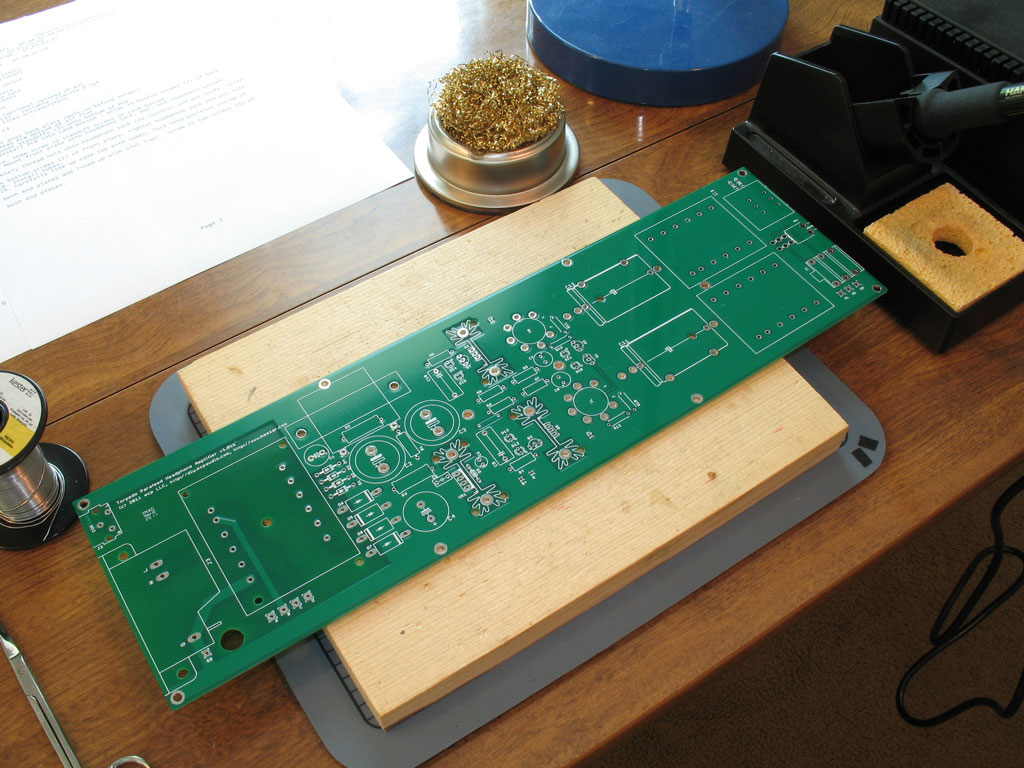
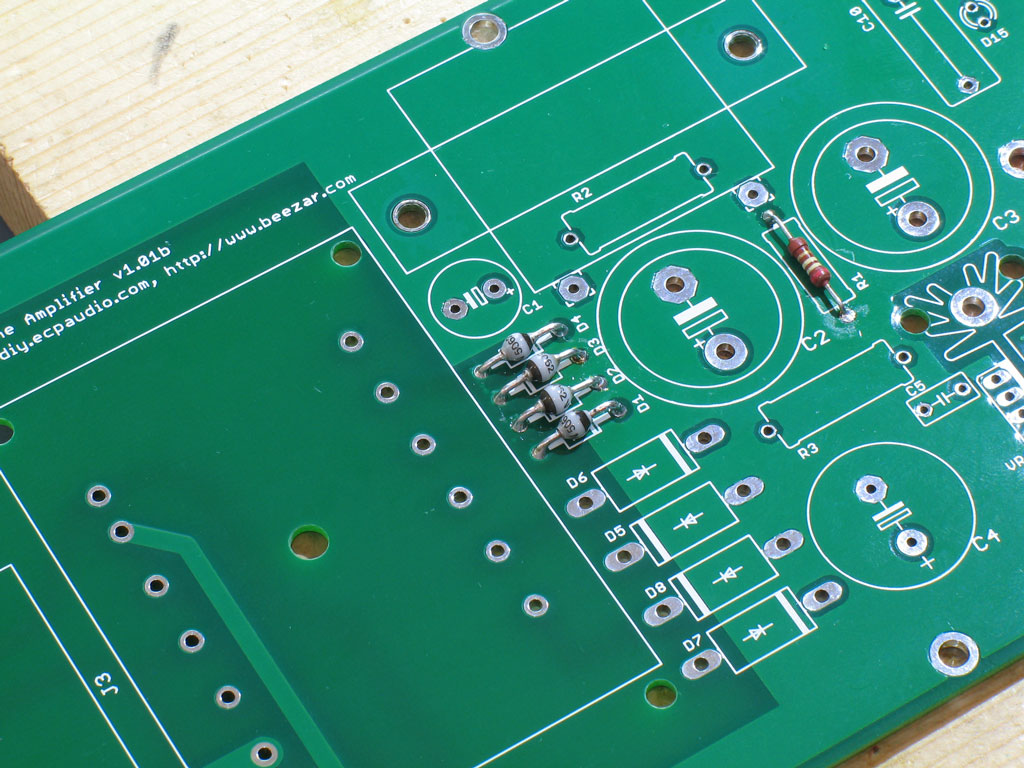
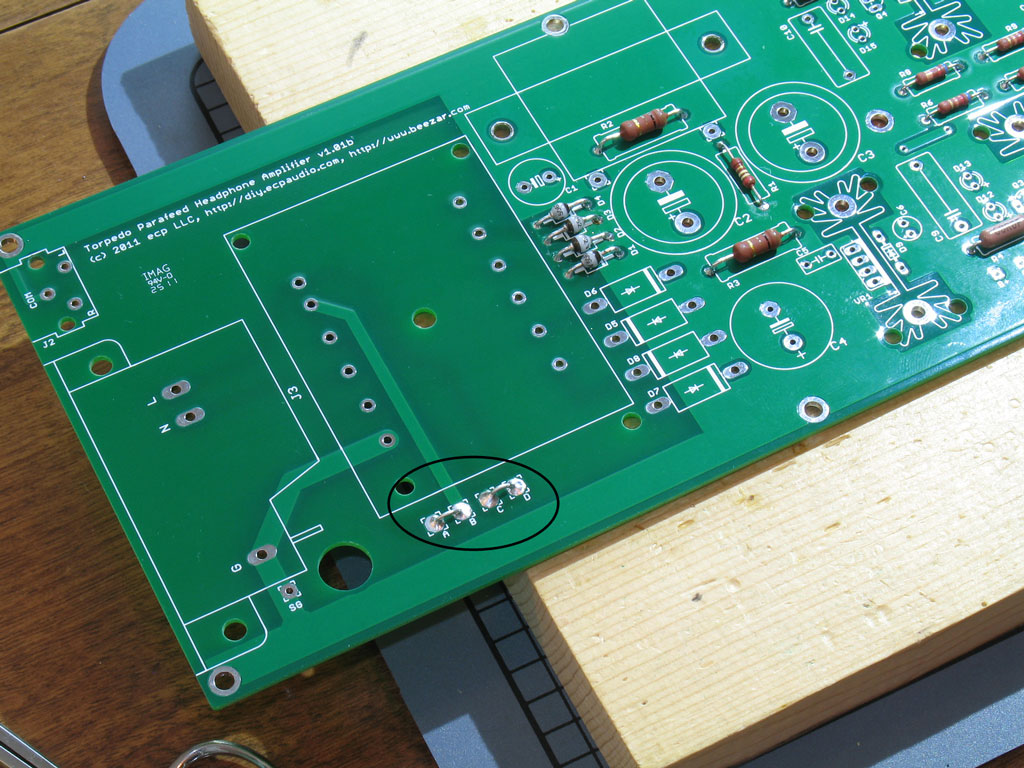
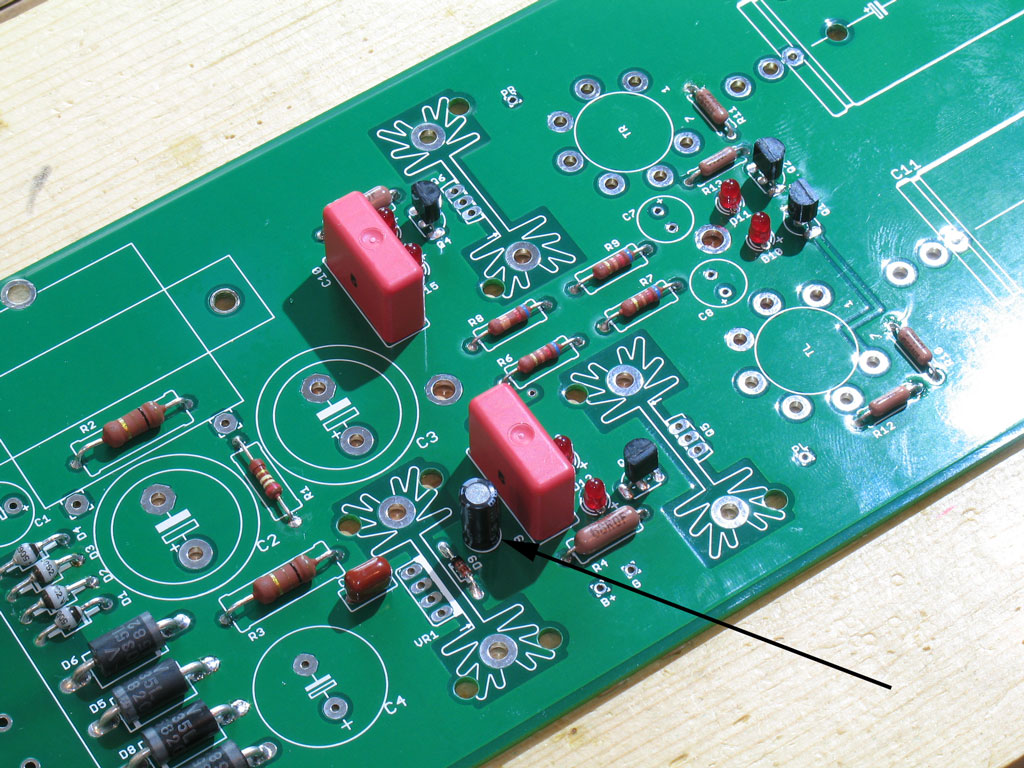
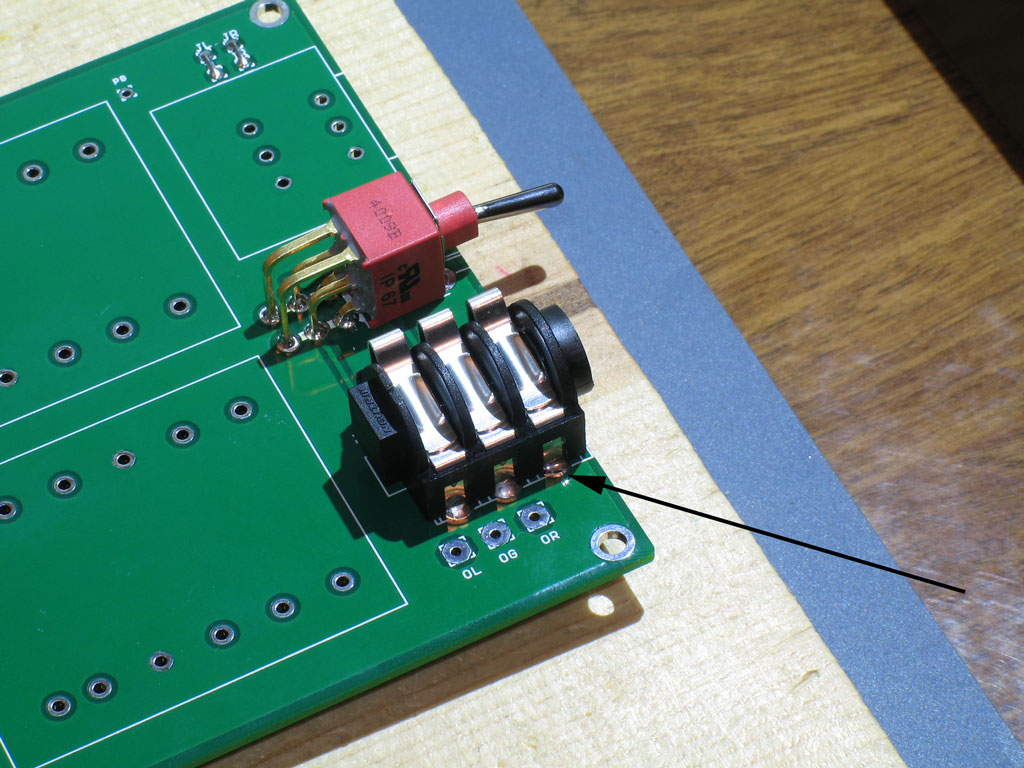
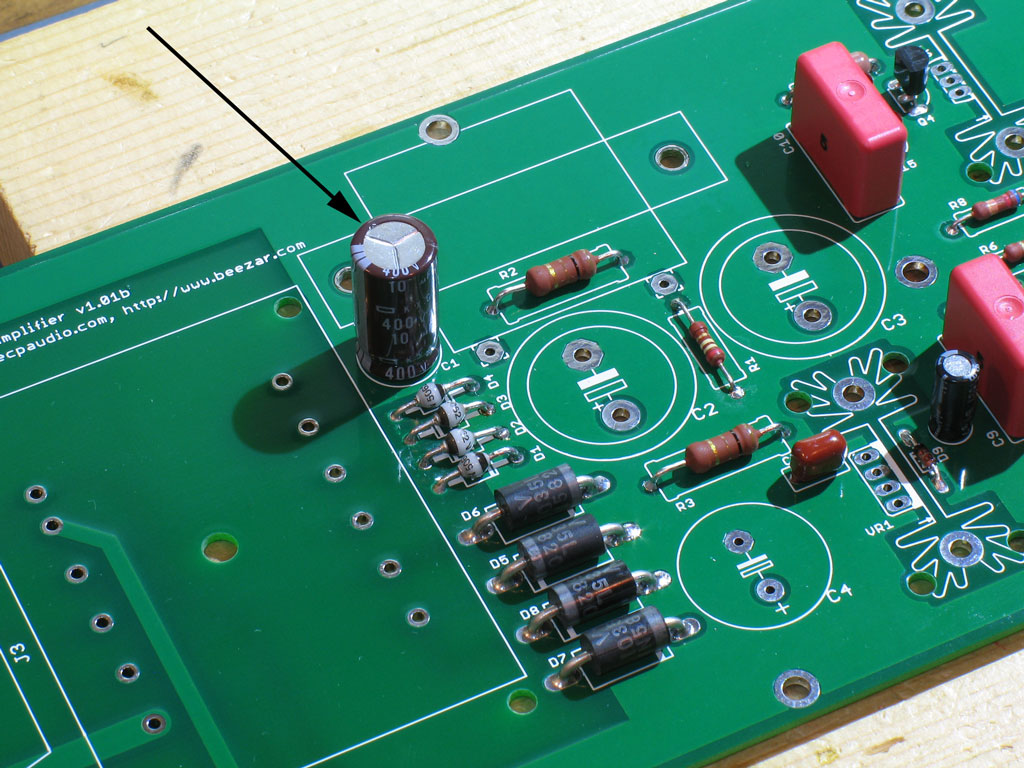
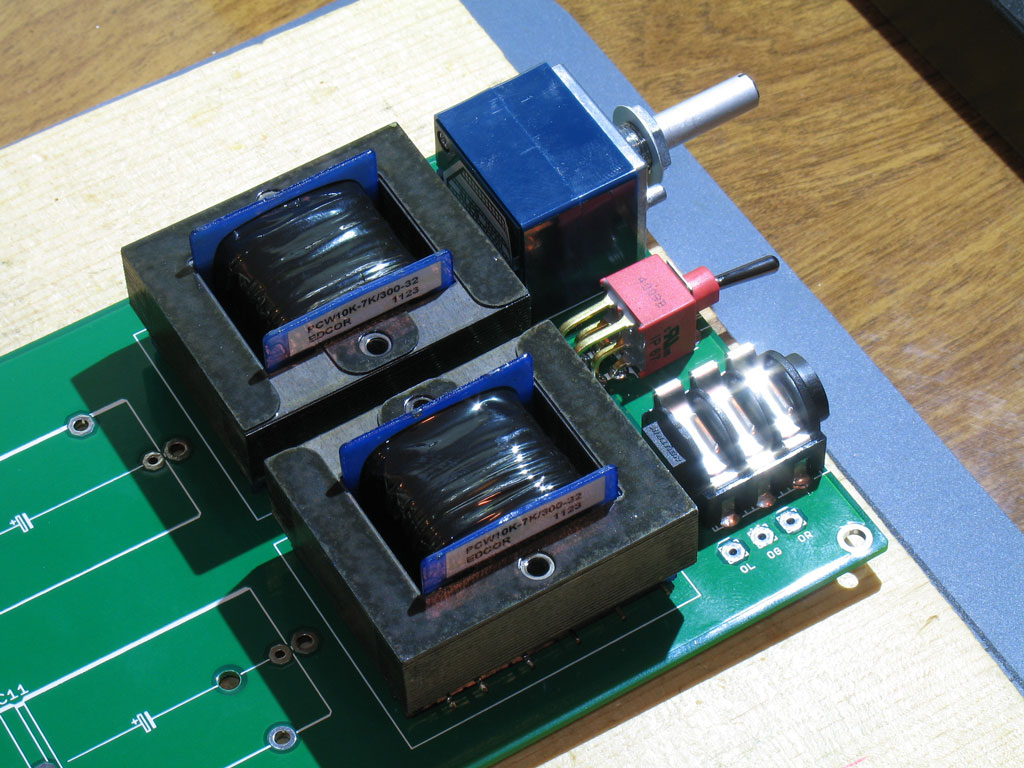
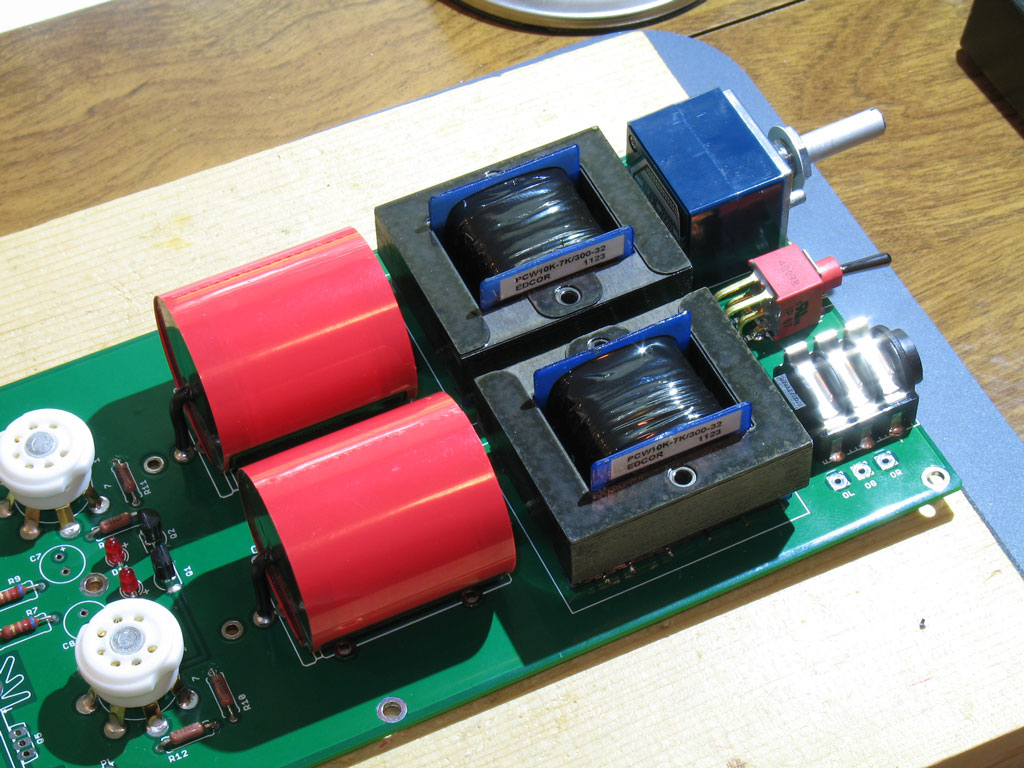
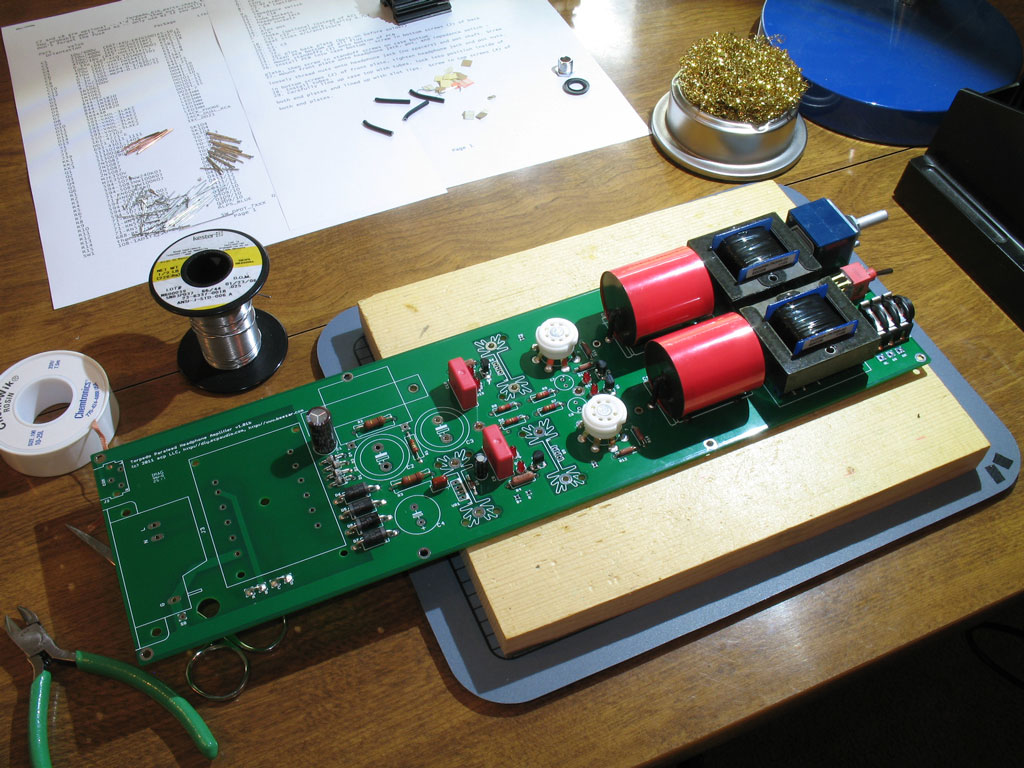
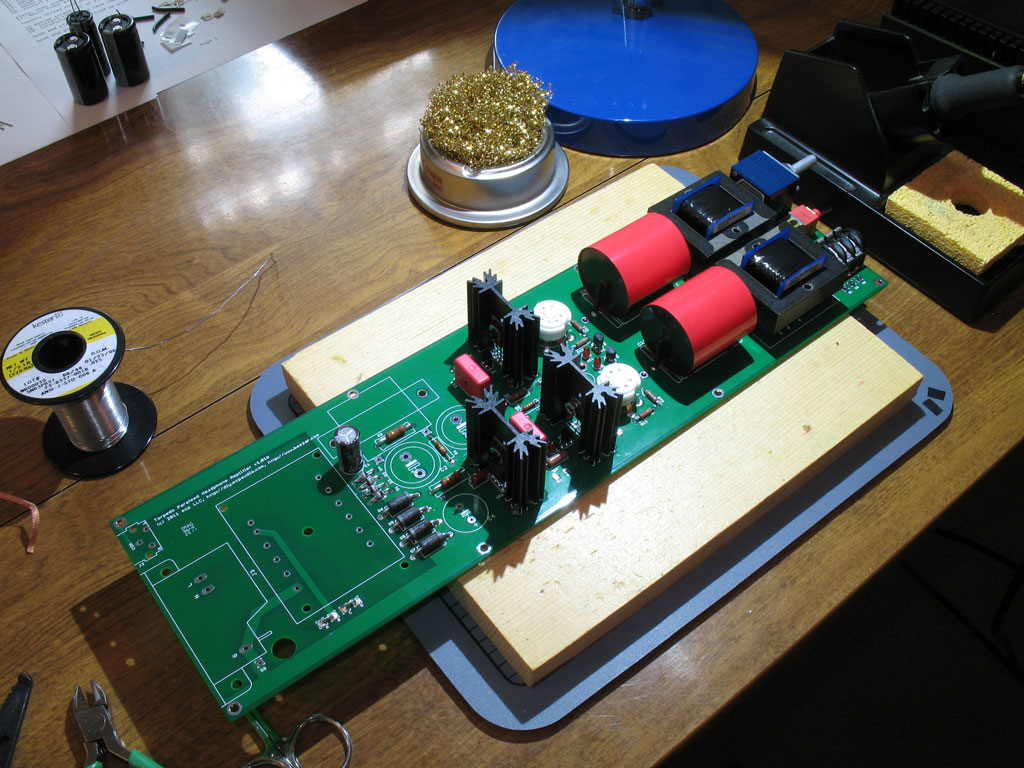
Enough of that, here goes - Pictured below you see the PCB. Yes, it's long. It was done that way to get the power transformer as far away as possible from the output transformers - to reduce any tendency toward hum.

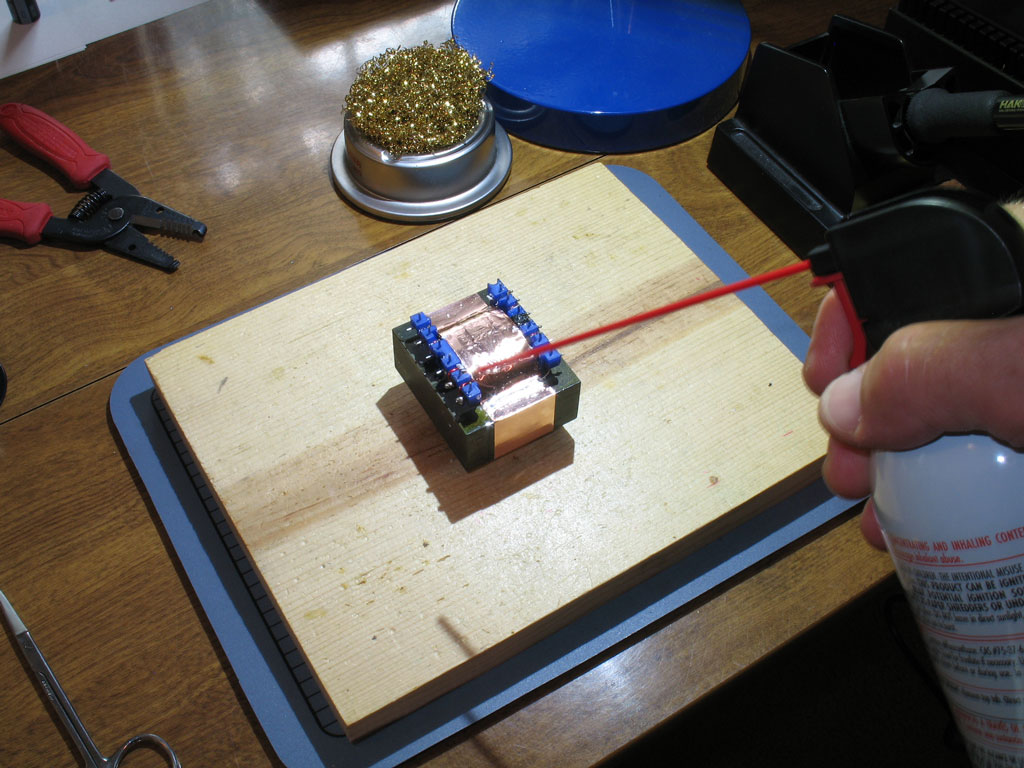
You can also see above, some of the tools that I use to populate a PCB -
Some of the other tools I use when soldering a PCB:

To review just a bit, the Torpedo is the latest iteration of Dsavitsk's parafeed designs known as the L'ess Pressivo. There are many links that chronicle the evolution of the basic design on Dsavitsk's excellent DIY website:
http://www.ecp.cc/less-pressivo.html
http://www.ecp.cc/less-pressivo-build.html
http://www.ecp.cc/less-pressivo-plus.html http://www.ecp.cc/less-pressivo-plus-plus.html
In my layman's terms, the design is a great representation of a true, high-voltage, transformer-coupled, tube headphone amplifier. One of Dsavitsk's design goals was low cost, too.
After a time, I challenged Dsavitsk to bring one of the L'ess Pressivo designs to a fully PCB-based construction. Little did I know that after a quick successful backboard build, the final implementation became perhaps the longest development and prototyping periods for a DIY headphone amp. The reasons are many, but the result is that the design is already quite refined. The Torpedo is the culmination of that work.
The Torpedo is fully PCB-based with no wiring needed, save a ground wire for the Alps pot and a safety ground wire from the PCB to the case. It uses readily available components, including tubes that run about $2 and less (6J6 - the 6V heater version of the Starving Student tubes). The only exception to that are the custom power and output transformers and a custom-designed case that requires no drilling/cutting. (BTW - most tube dealers say the 6J6 runs into the tens of thousands in stock, so no running out as happened with the 19J6.)
Enough of that, here goes - Pictured below you see the PCB. Yes, it's long. It was done that way to get the power transformer as far away as possible from the output transformers - to reduce any tendency toward hum.
You can also see above, some of the tools that I use to populate a PCB -
- A nice, flat piece of high-quality pine used as the building board,
- My trusty Hakko 936,
- and brass wool to keep the Hakko tip's clean.
Some of the other tools I use when soldering a PCB:
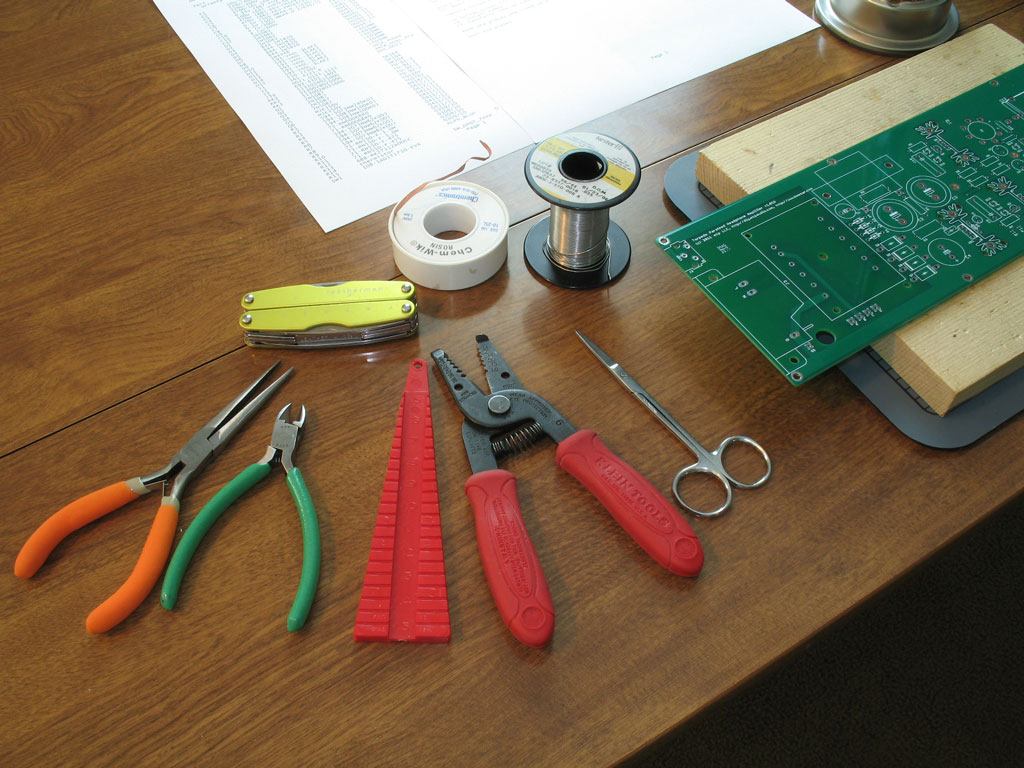
- Smooth jaw needle-nose pliers (keeps the marks off of those part leads),
- Flush cutters (for keeping the PCB bottom clean and trim),
- A lead-bending jig,
- Wire cutters/strippers,
- Scissors for cutting parts packs, etc.,
- A Leatherman for those unforseen quick tool needs,
- De-soldering wick, and
- Finally, Kester eutectic (63-37) solder.


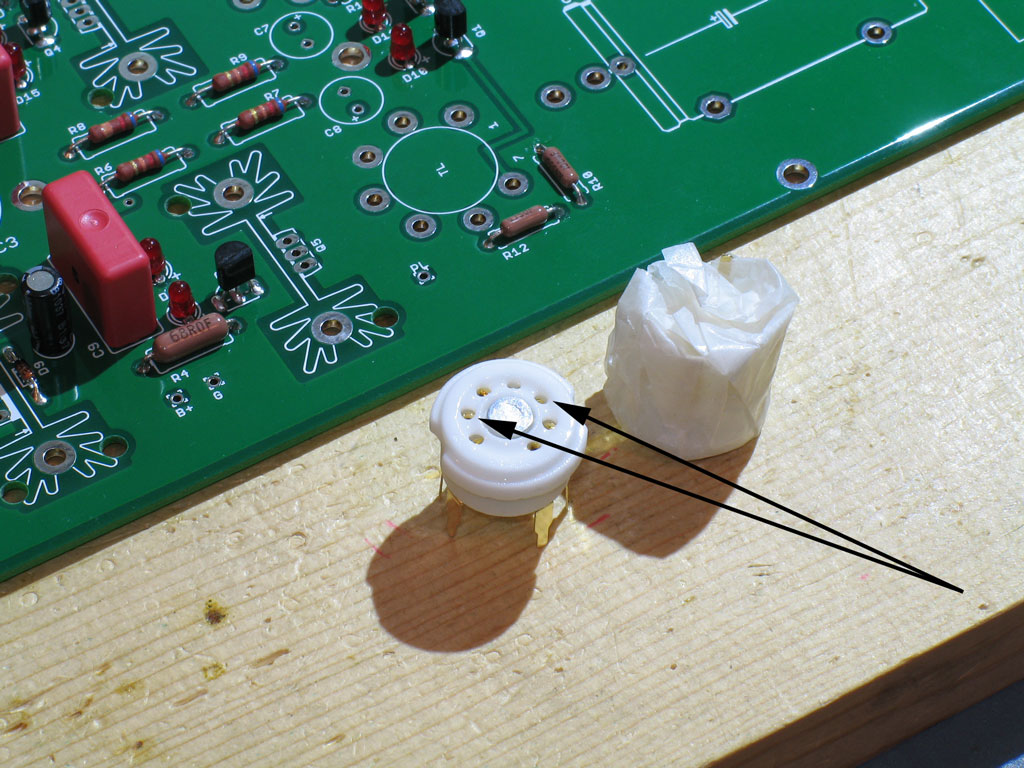


")