Tapiozona
100+ Head-Fier
- Joined
- Feb 20, 2008
- Posts
- 205
- Likes
- 14
I've had my D2000's for about a decade now and at this point they've completely fallen apart. It started with the attachment point for the cups and the headband which was a known and common problem with all of the denon cans in this line. From there the leather pads and the headband completely deteriorated and fell apart which left me wanting to either upgrade to Fostex x00's or fix my current headphones.
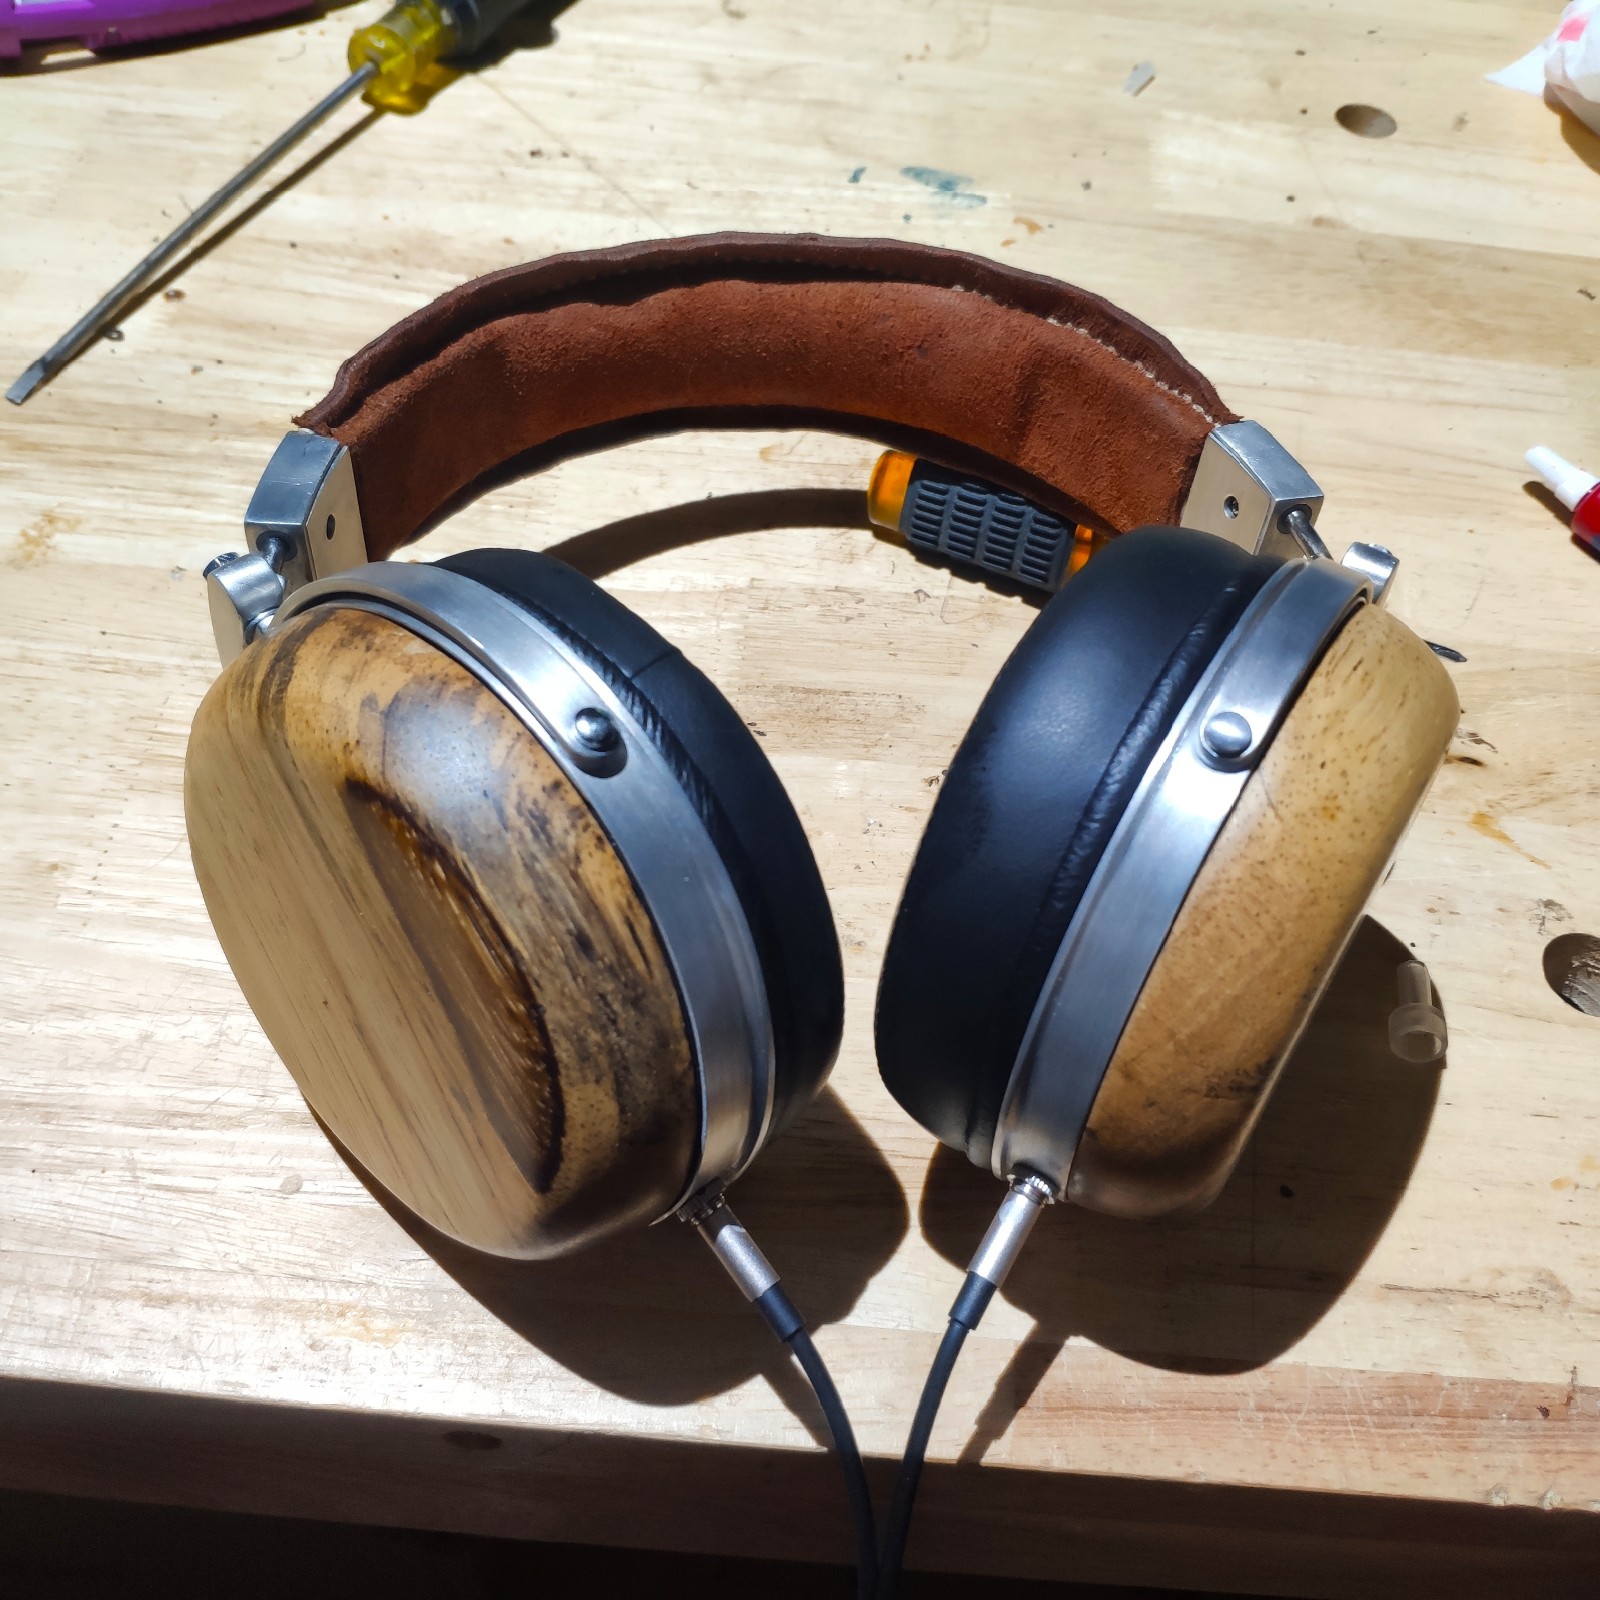
I went with the later. I started with the zebra wood ear cups which I made on a cheap lathe from craigslist. It wasn't terribly difficult except for the inside where I could only remove the innermost sections on the lathe. Because of the tabs which hold the cups on, I had to manually carve the outer sections of the inside with various dremmel bits. I dampened the backs with dynamat.
I had originally planned on painting all of the metal parts black but had issues with adhesion of the paint and didn't want it to look crappy. After grinding everything back to bare metal I tried to nickel plate the metal but it had a strong reaction to both the acid etching as well as the plating itself. It left everything burnt looking. (I since found that it's not aluminum but a magnesium alloy so I'm guessing that's the problem. Also, the magnesium had a VERY strong reaction to the acid etching, violently bubbling and spitting the second it touched the diluted solution.) I ended up removing the black tarnish the plating process created with the dremmel and used sanding and polishing bits to create a shiny bare metal look.
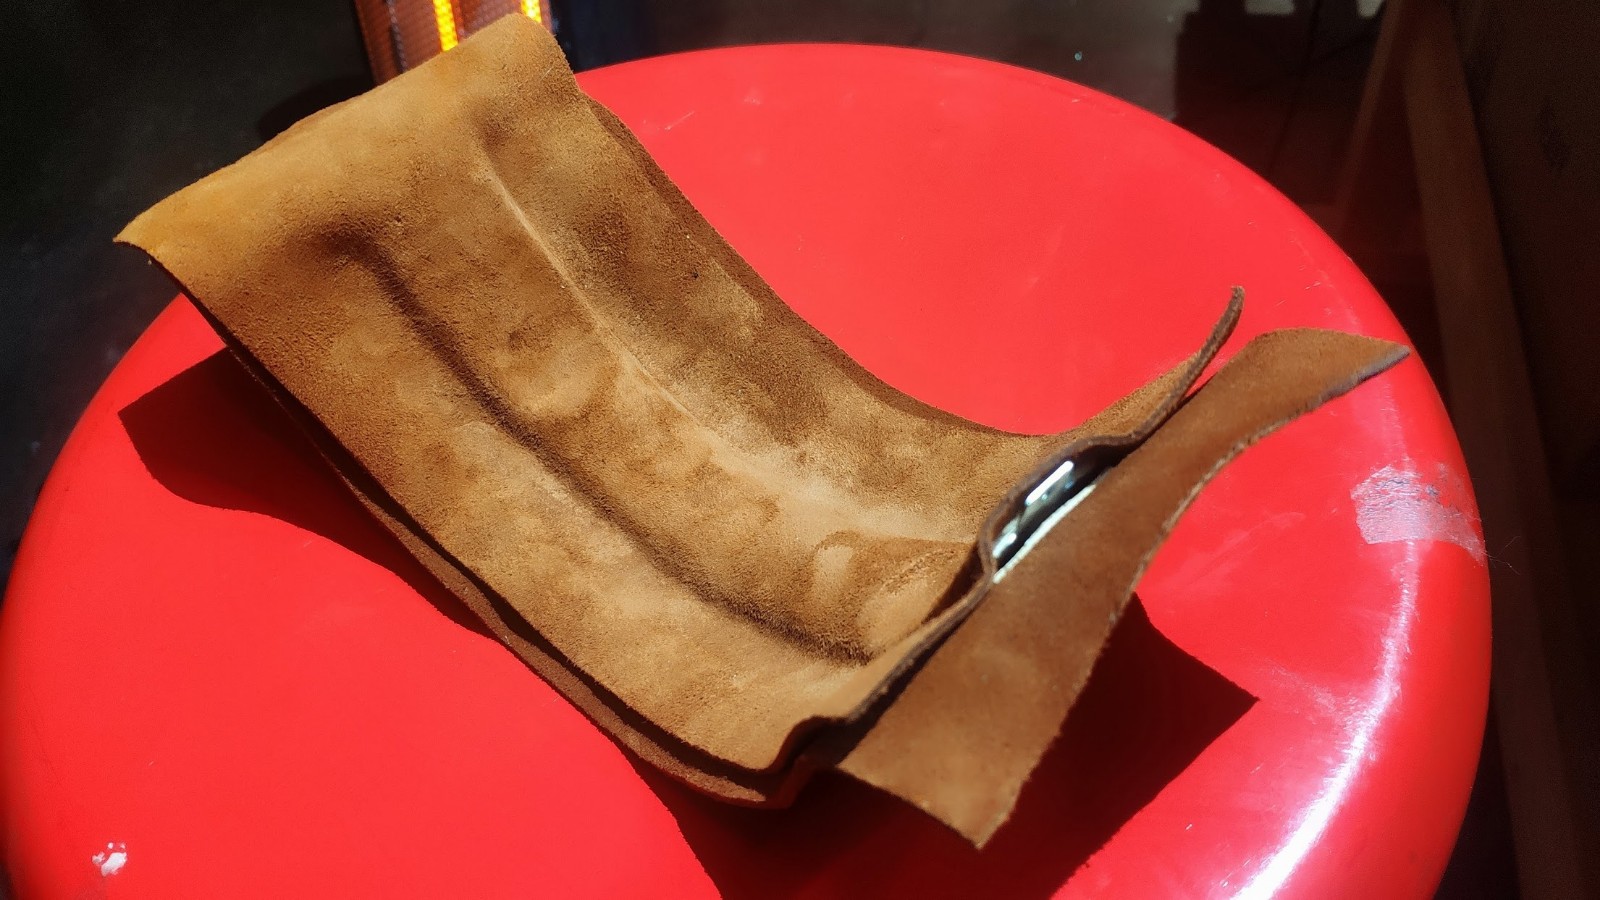
For the headband I went with a natural leather while also increasing the tension/pressure to provide a better seal. I switched the thin plastic inside the band with wood veneer, added a piece of memory foam on the bottom, and hand stitched the leather. I didn't do a good job accounting for the thickness of the leather so a fair amount of time was spent trimming, sanding, and cursing until it eventually fit (barely).
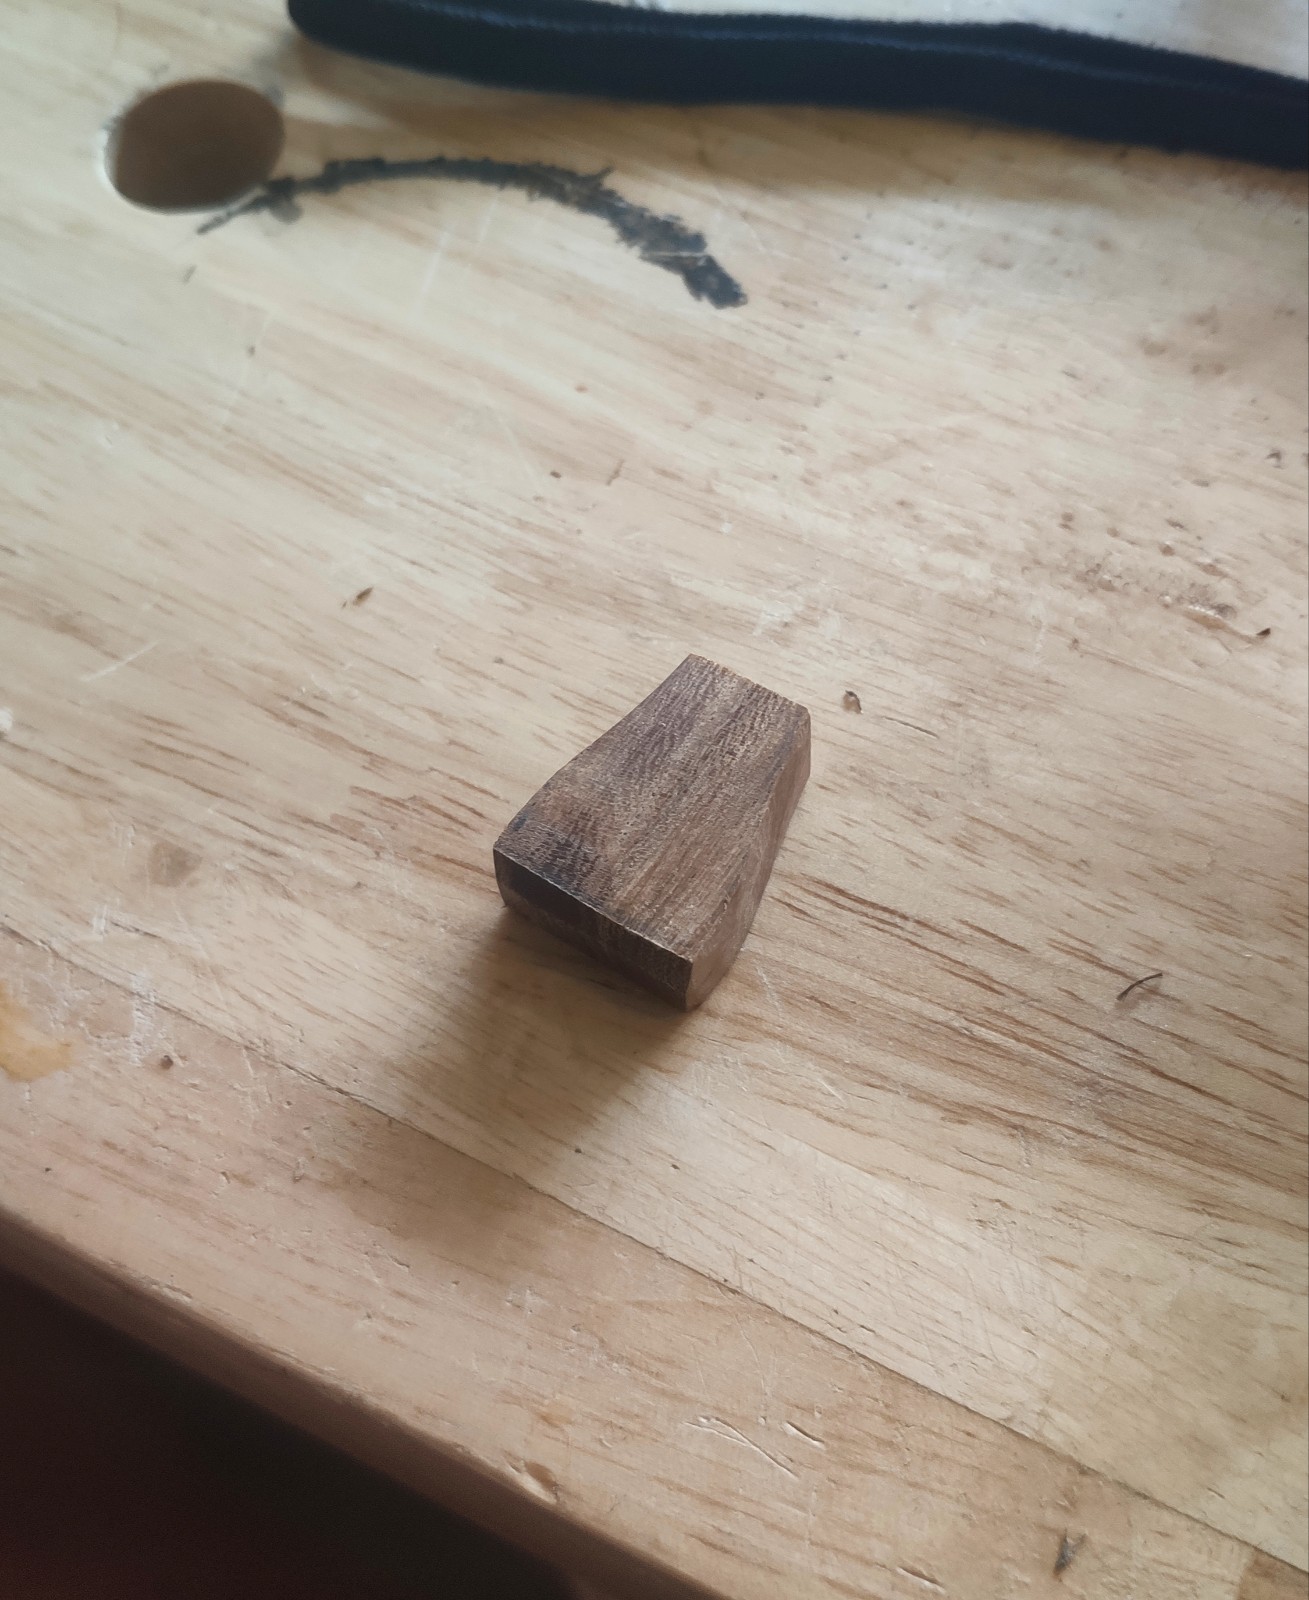
A long while back I switched the factory D2000 cable with a D5000 one I found here. While better, it still had a lot of the same issues the original cable had with it's length and kinking because of its stiffness. I added 3.5mm jacks which meant trimming the baffle a bit and widening the original holes in the frame. I shortened the cable about 3-4 feet and added the TS plugs. I made the Y-splitter from scrap pieces of walnut and oiled it with Danish Oil. Super happy with how this came out in the end and the detachable ends should prevent the kinks.
I did a modified version of the markl mods but I also wanted to stop the sound leakage which is why I created more tension through the band. I added window screen spline around the edges of the inside of the cups to seal it up better.
Here's the completed product which I'm very happy with. Unfortunately I hadn't listened to the headphones in years before fixing everything so I can't describe the differences in sound but overall they do sound better to me.
That said, I'm still going to buy a set of Fostex x00's because I'm addicted again and down the rabbit hole I go...
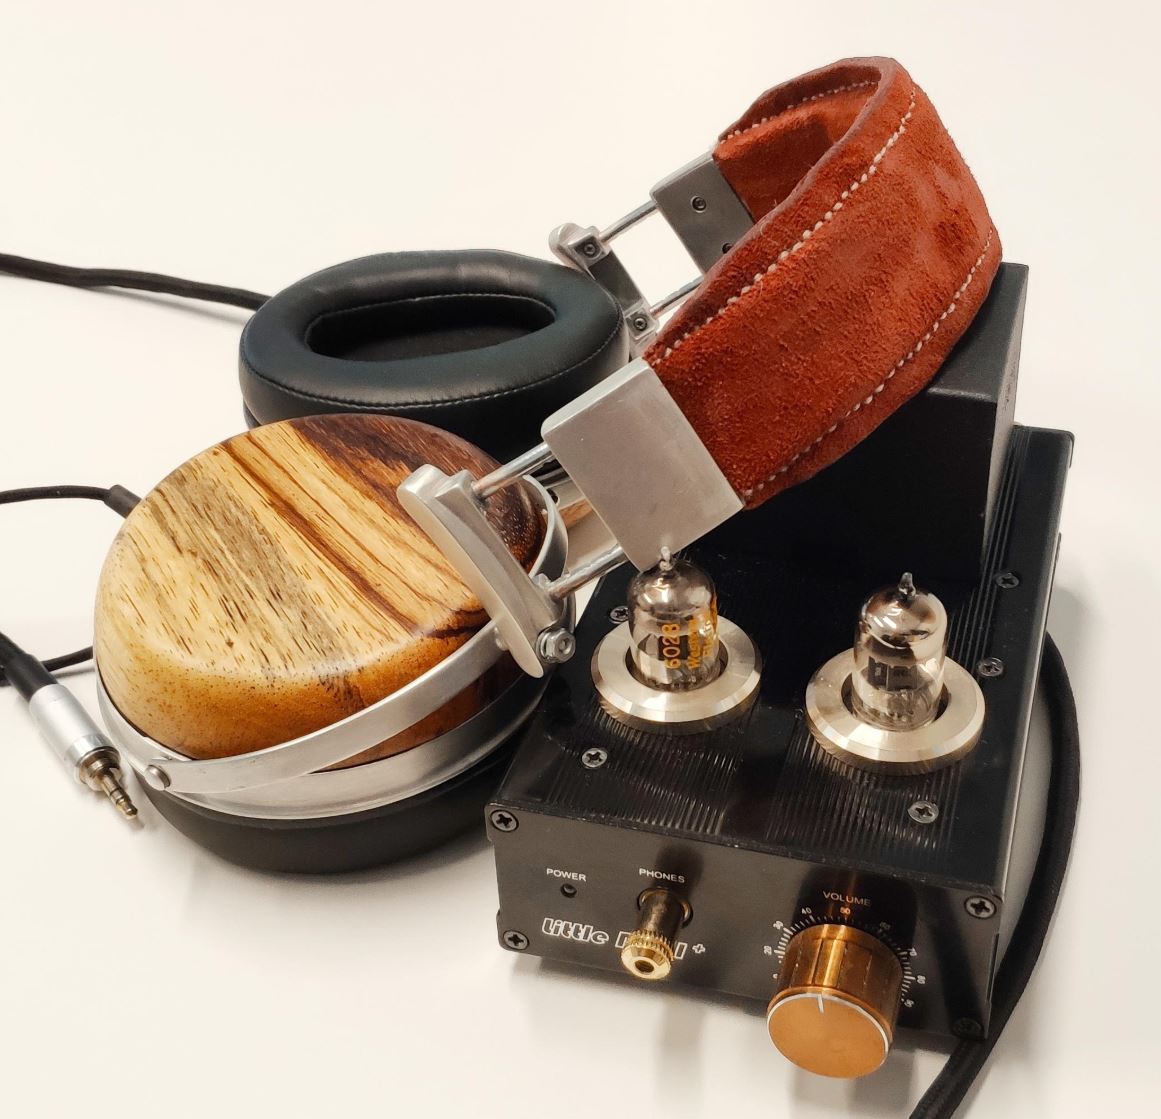
Here's some pics of the various build pieces...
The headband. Strong double-stick tape worked great for molding the leather around the veneer and memory foam..


The Y-splitter made from walnut. I just drilled halfway through with a larger bit, and diagonally with smaller bits until the holes connected inside..

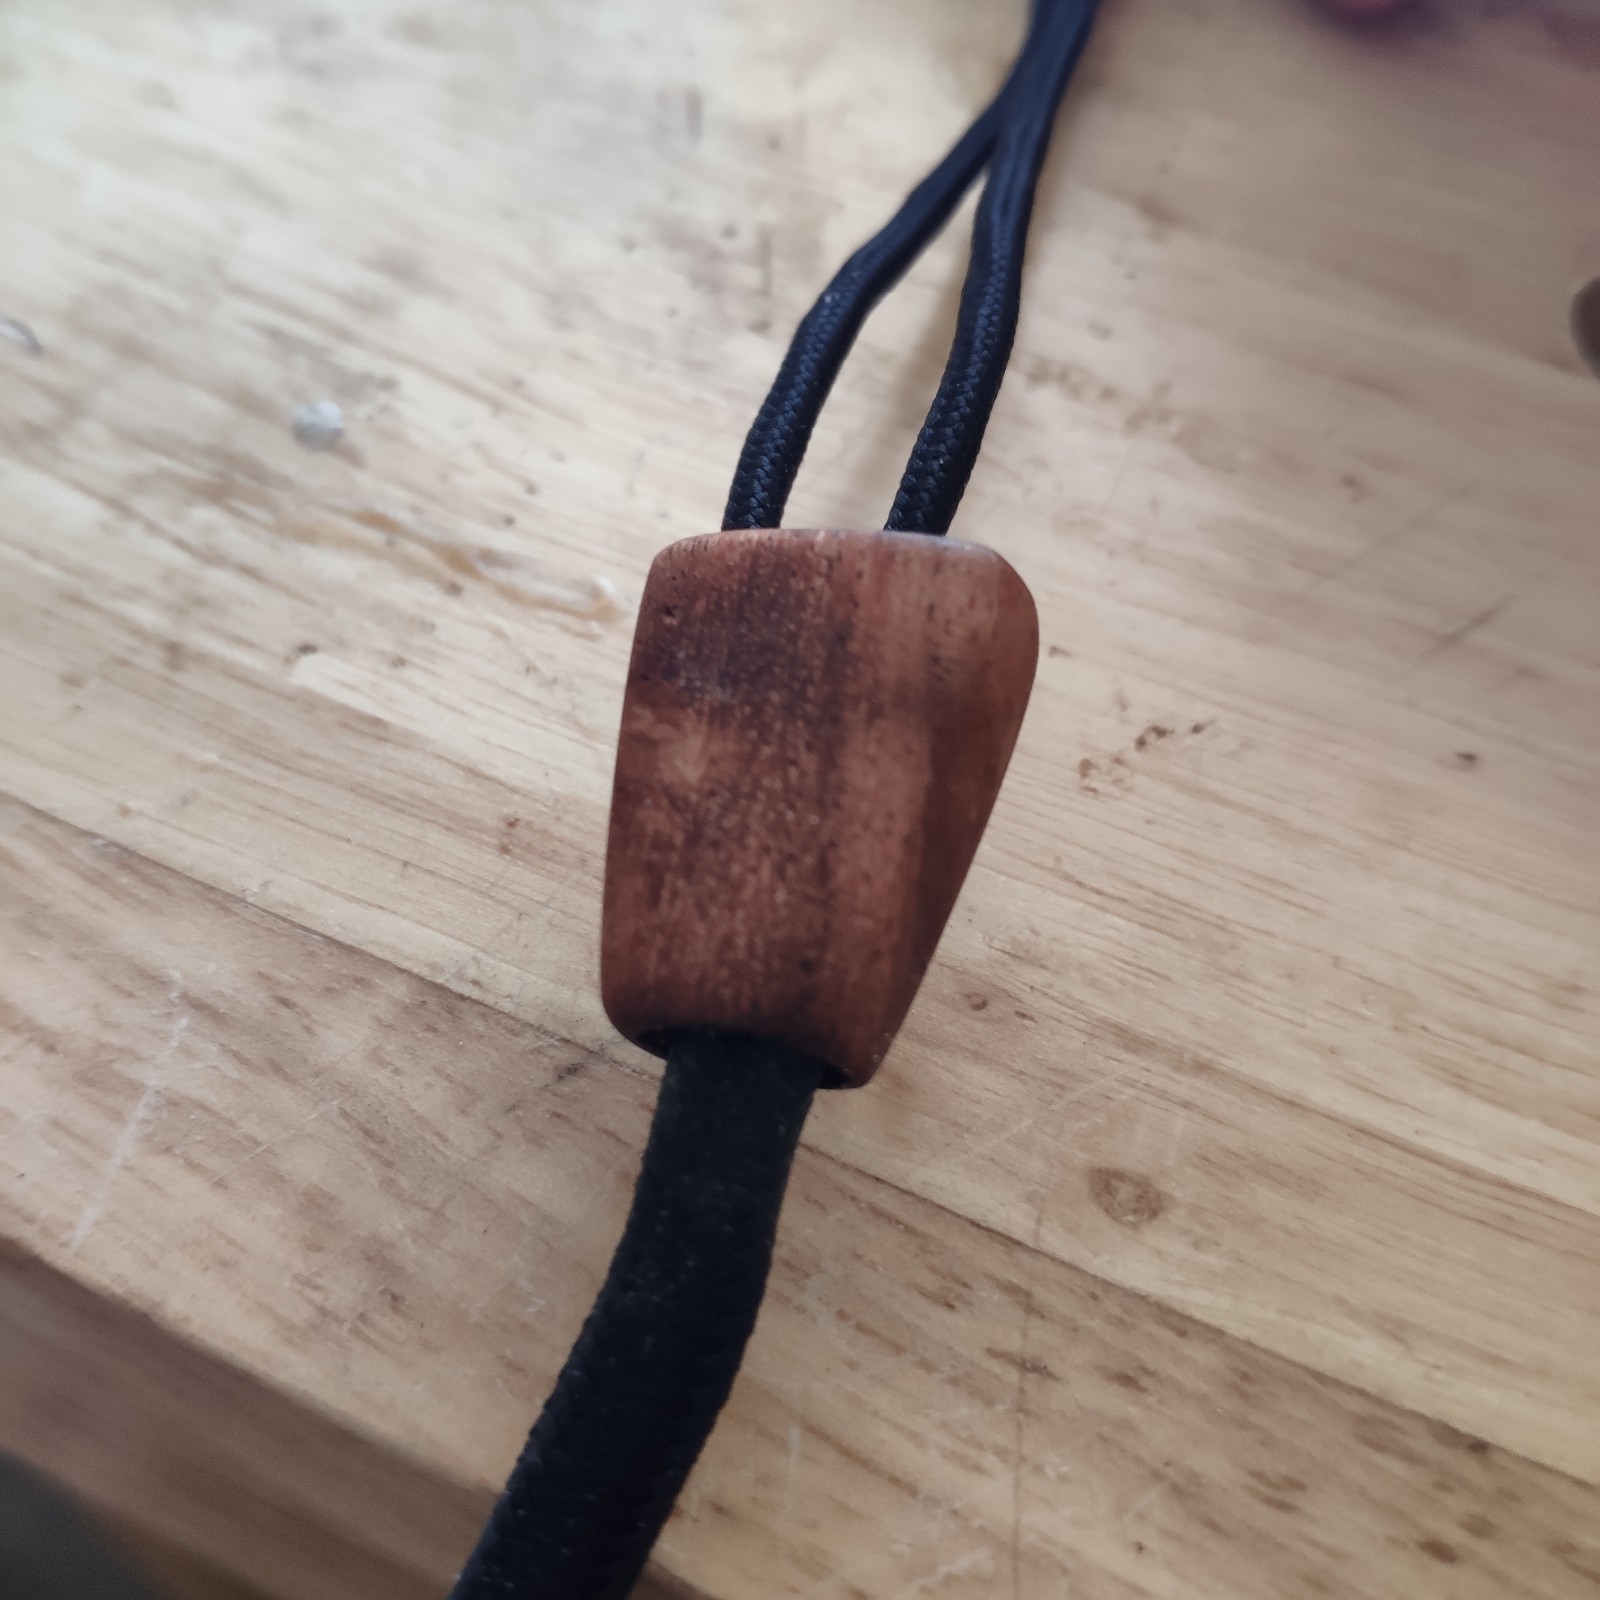
The final cable...

View of the headphones with the 3.5mm jacks (the cable attached is a cheap one i found on amazon before I redid the D5000 cable...
I went with the later. I started with the zebra wood ear cups which I made on a cheap lathe from craigslist. It wasn't terribly difficult except for the inside where I could only remove the innermost sections on the lathe. Because of the tabs which hold the cups on, I had to manually carve the outer sections of the inside with various dremmel bits. I dampened the backs with dynamat.
I had originally planned on painting all of the metal parts black but had issues with adhesion of the paint and didn't want it to look crappy. After grinding everything back to bare metal I tried to nickel plate the metal but it had a strong reaction to both the acid etching as well as the plating itself. It left everything burnt looking. (I since found that it's not aluminum but a magnesium alloy so I'm guessing that's the problem. Also, the magnesium had a VERY strong reaction to the acid etching, violently bubbling and spitting the second it touched the diluted solution.) I ended up removing the black tarnish the plating process created with the dremmel and used sanding and polishing bits to create a shiny bare metal look.
For the headband I went with a natural leather while also increasing the tension/pressure to provide a better seal. I switched the thin plastic inside the band with wood veneer, added a piece of memory foam on the bottom, and hand stitched the leather. I didn't do a good job accounting for the thickness of the leather so a fair amount of time was spent trimming, sanding, and cursing until it eventually fit (barely).
A long while back I switched the factory D2000 cable with a D5000 one I found here. While better, it still had a lot of the same issues the original cable had with it's length and kinking because of its stiffness. I added 3.5mm jacks which meant trimming the baffle a bit and widening the original holes in the frame. I shortened the cable about 3-4 feet and added the TS plugs. I made the Y-splitter from scrap pieces of walnut and oiled it with Danish Oil. Super happy with how this came out in the end and the detachable ends should prevent the kinks.
I did a modified version of the markl mods but I also wanted to stop the sound leakage which is why I created more tension through the band. I added window screen spline around the edges of the inside of the cups to seal it up better.
Here's the completed product which I'm very happy with. Unfortunately I hadn't listened to the headphones in years before fixing everything so I can't describe the differences in sound but overall they do sound better to me.
That said, I'm still going to buy a set of Fostex x00's because I'm addicted again and down the rabbit hole I go...

Here's some pics of the various build pieces...
The headband. Strong double-stick tape worked great for molding the leather around the veneer and memory foam..


The Y-splitter made from walnut. I just drilled halfway through with a larger bit, and diagonally with smaller bits until the holes connected inside..


The final cable...

View of the headphones with the 3.5mm jacks (the cable attached is a cheap one i found on amazon before I redid the D5000 cable...

Last edited:


