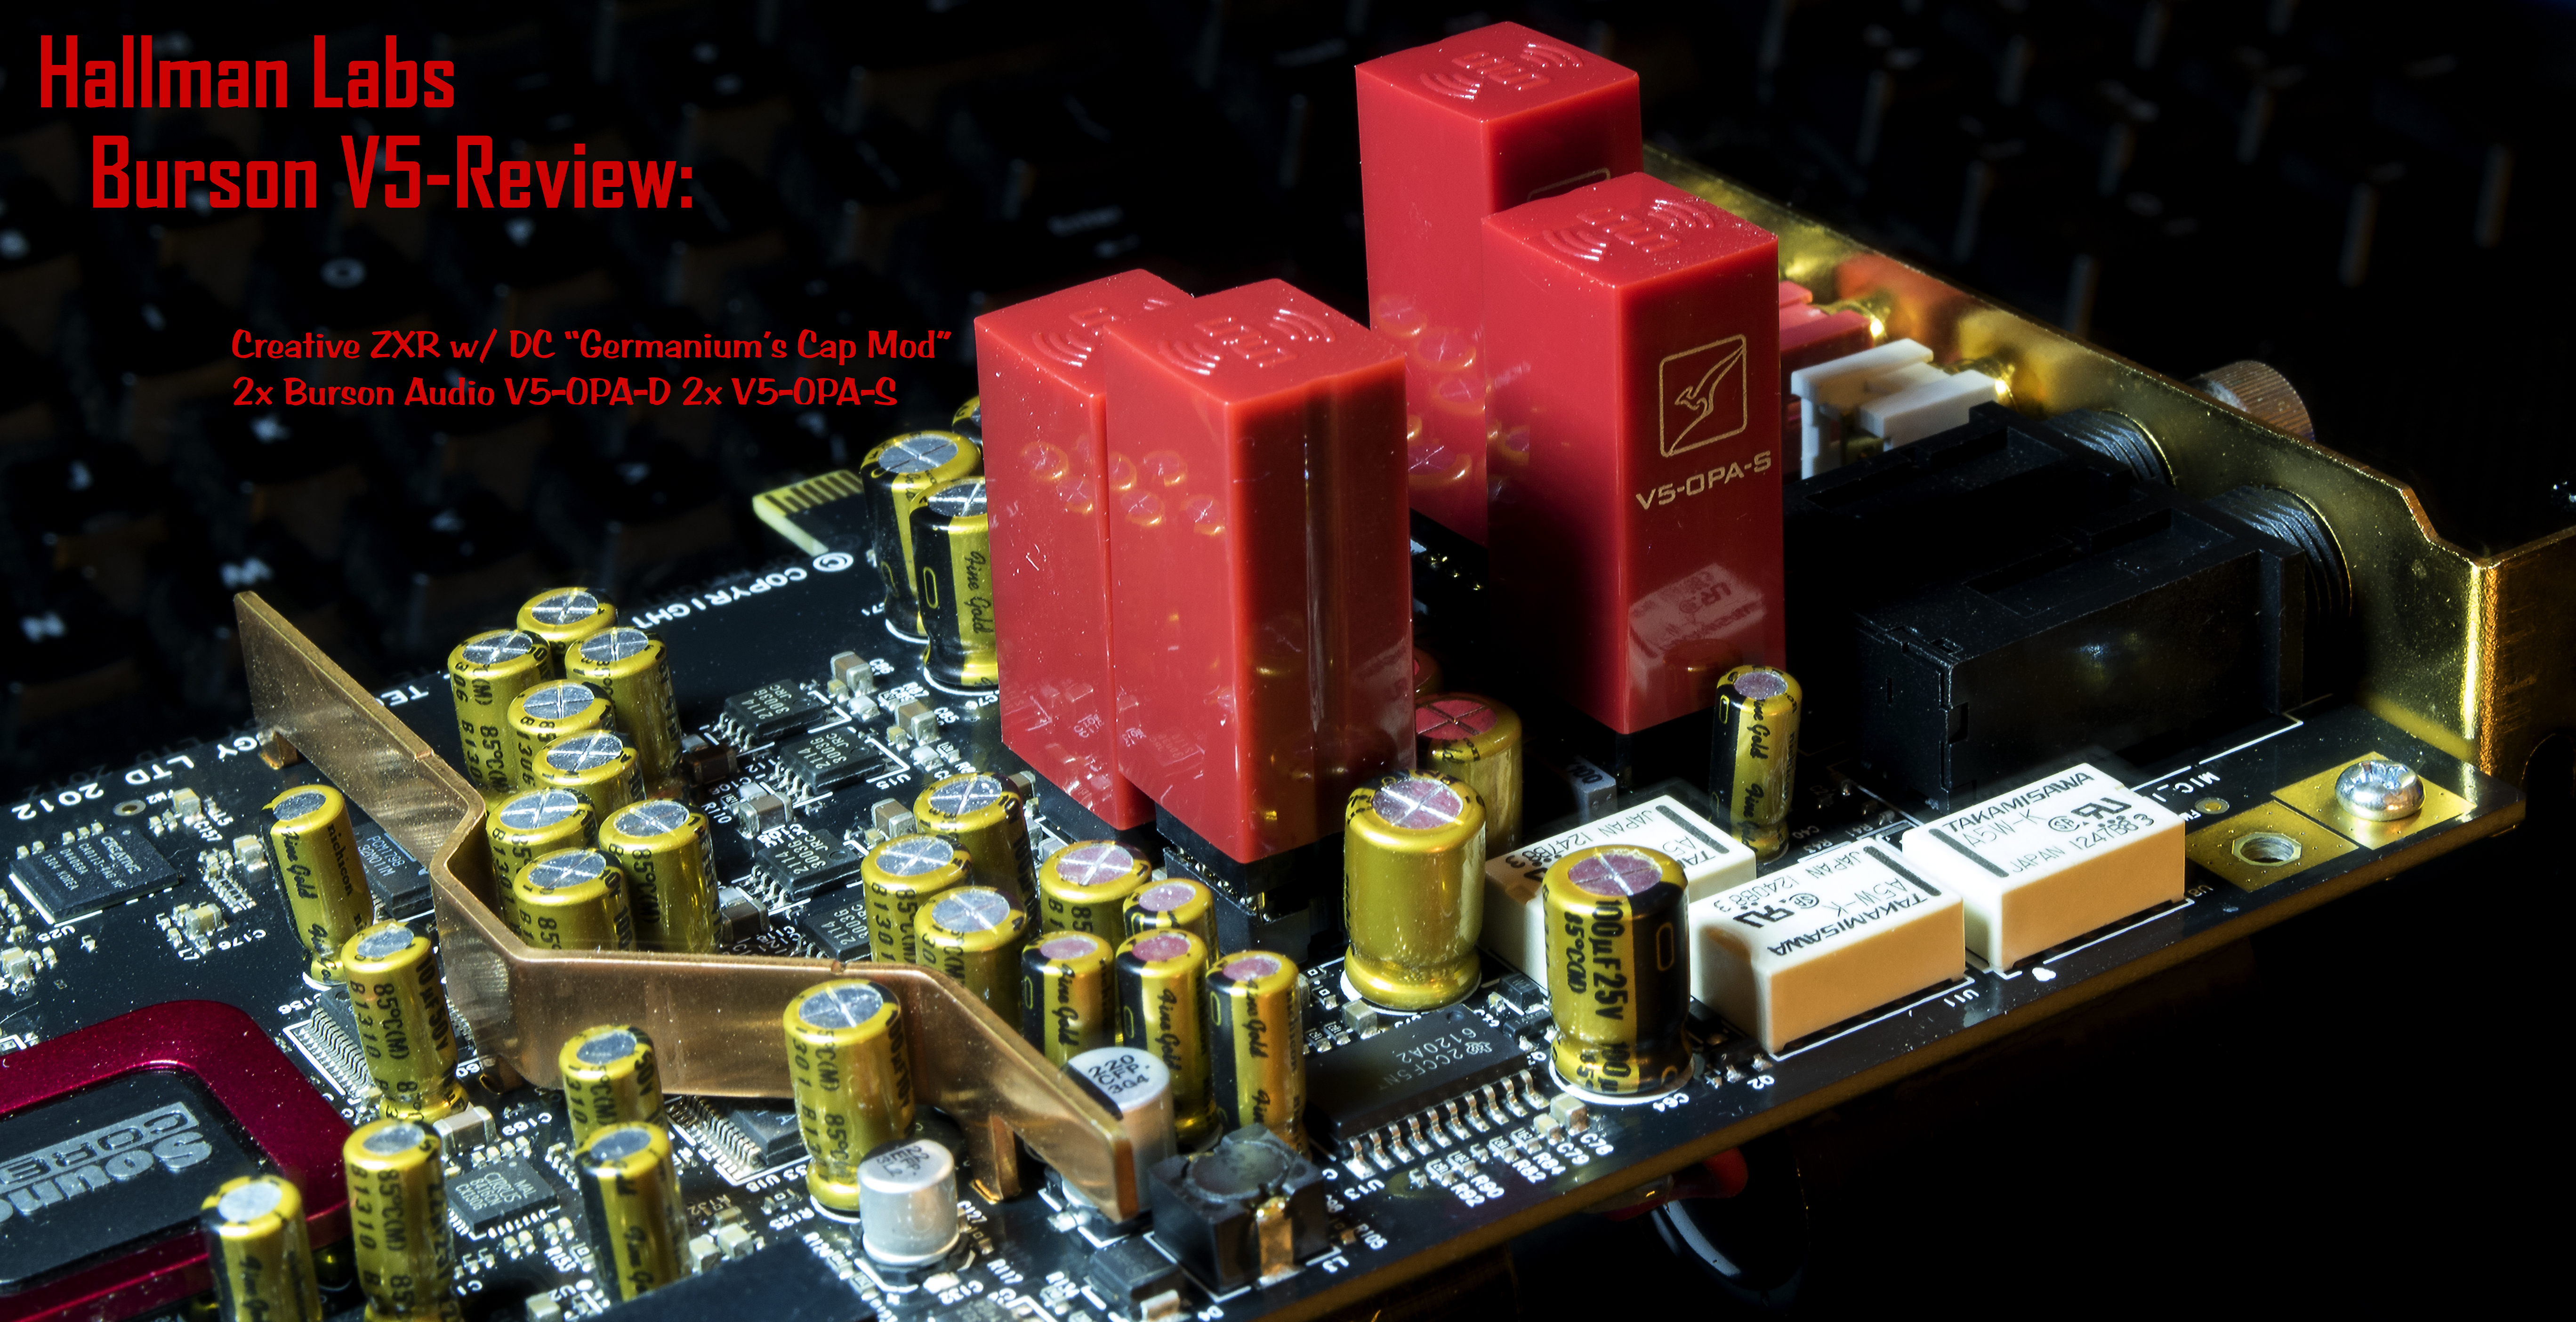
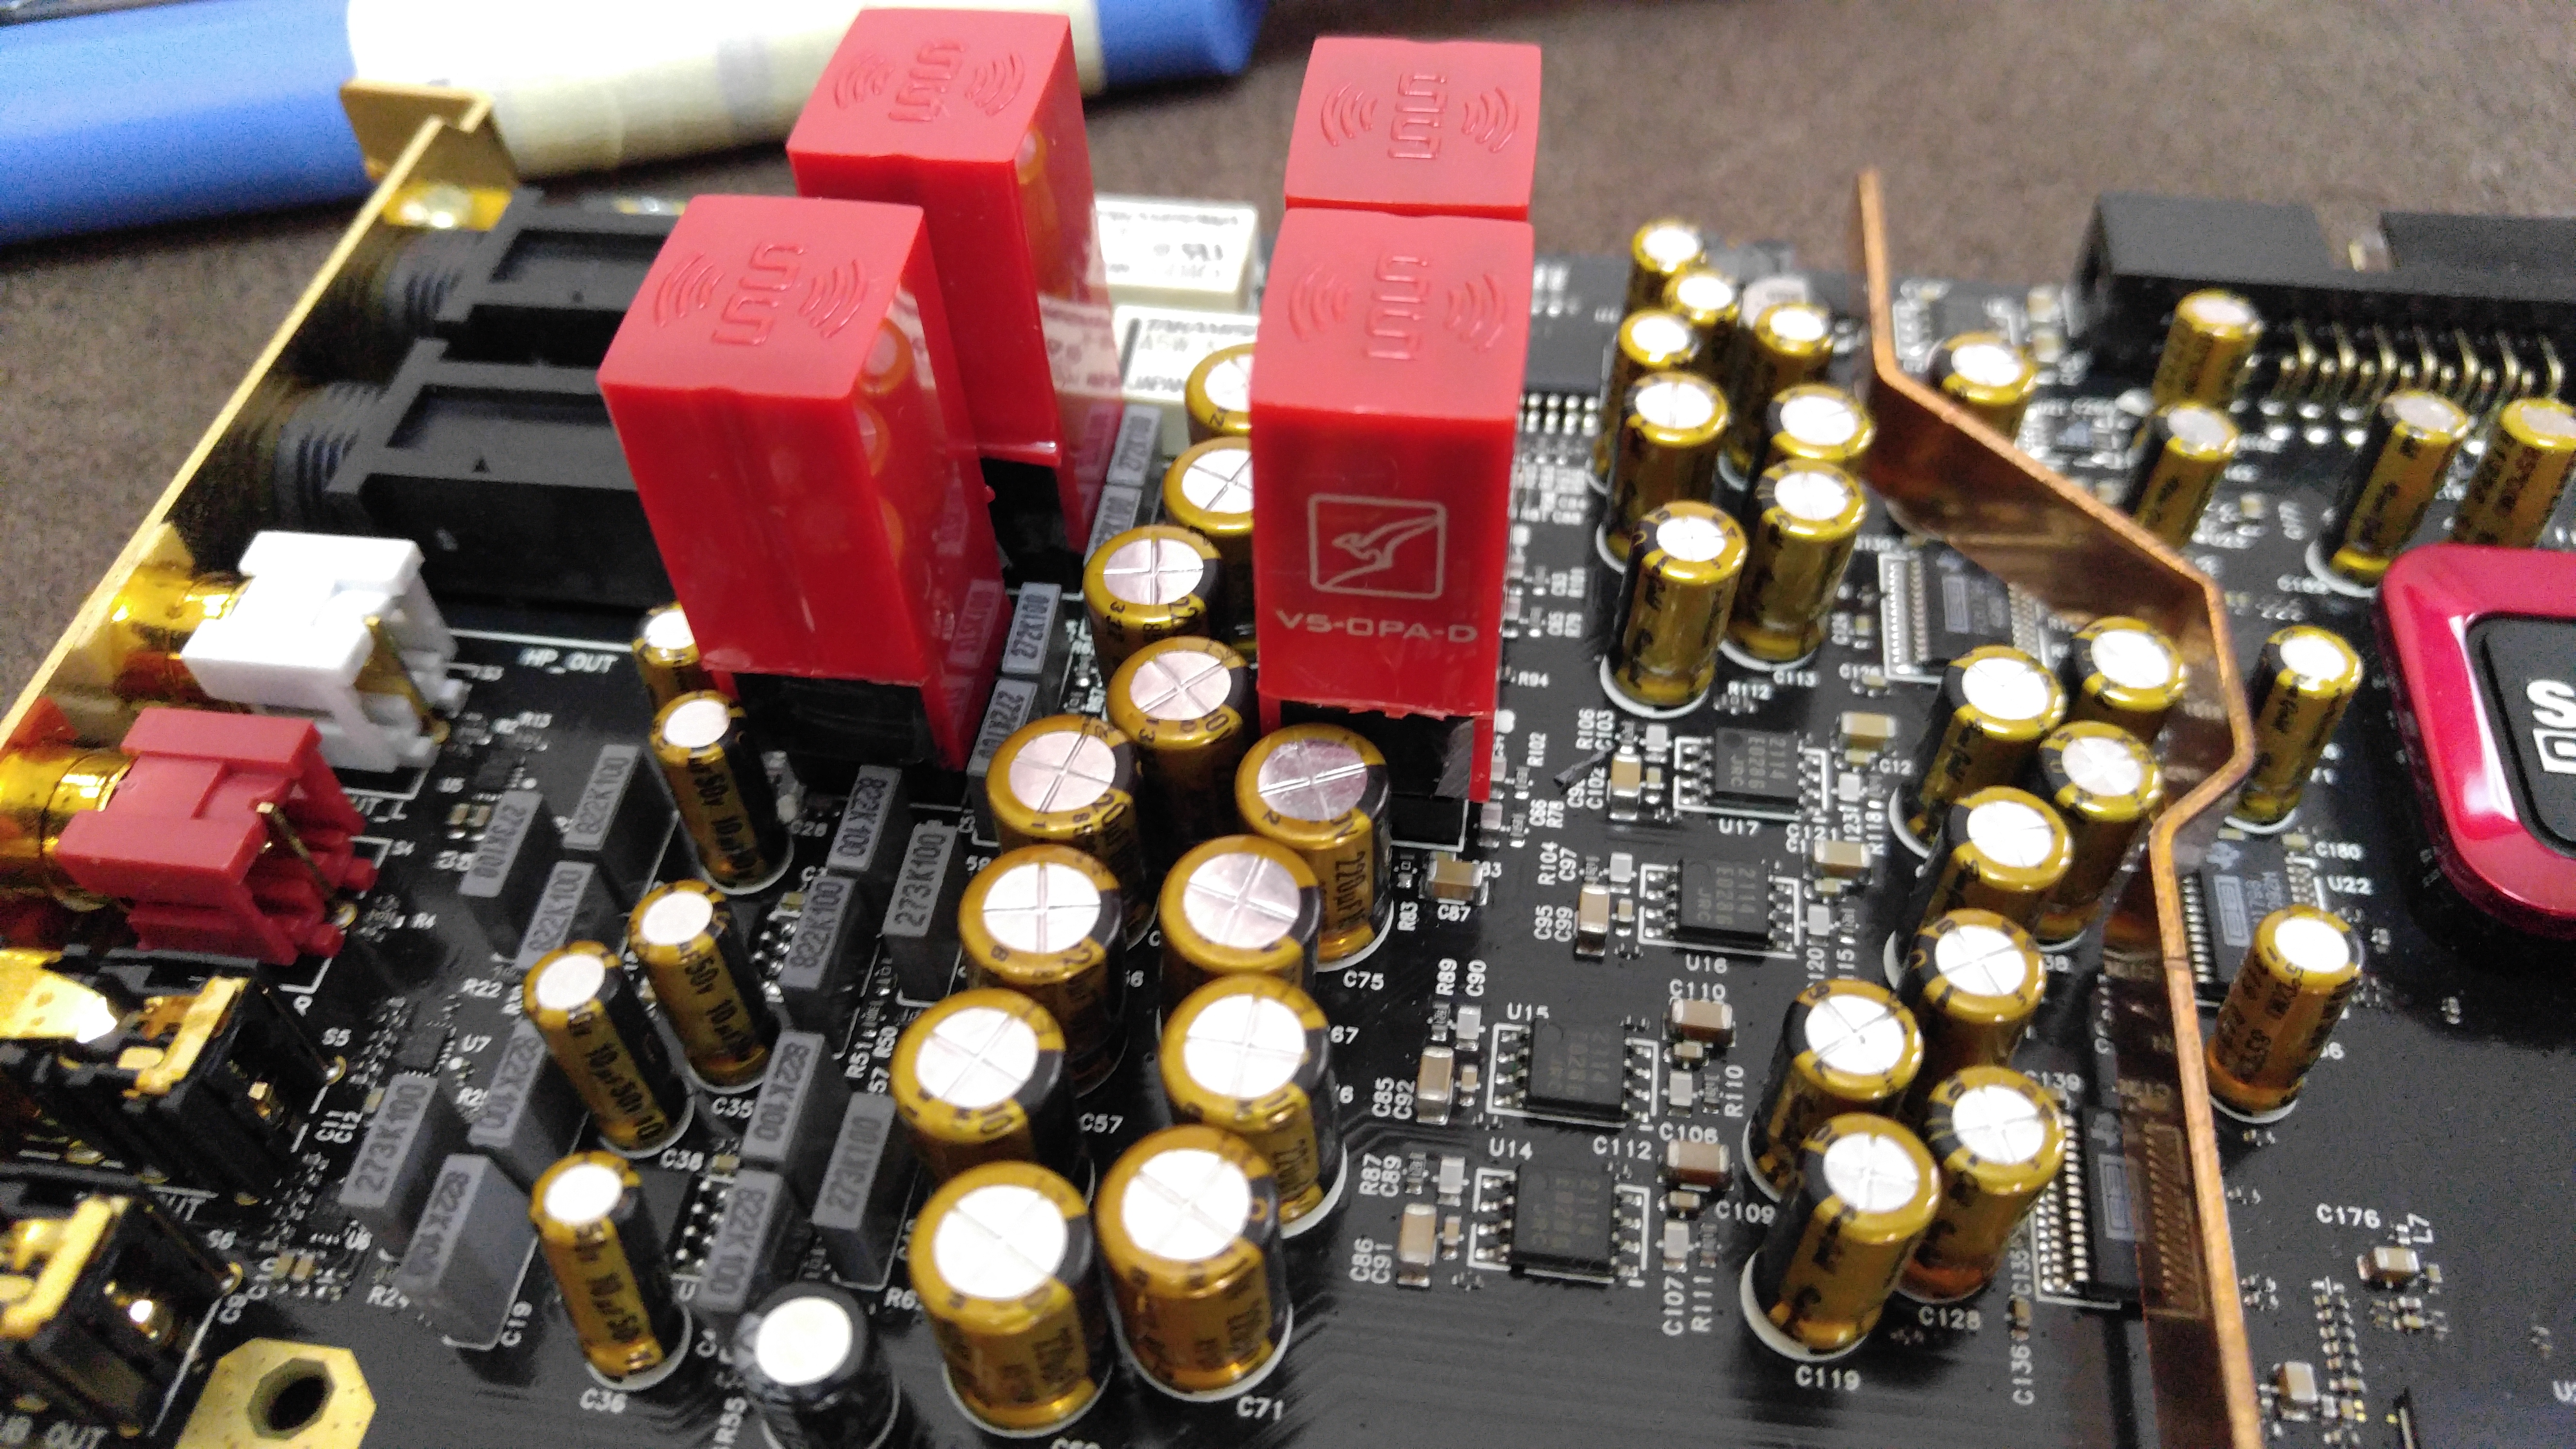
1st Stage Rear and Center/Sub SMD op-amps upgraded! If I did this again I could do it without lifting pads/traces now that I have good desolder wick and MG Chemicals flux & solder paste. Grabbed some ChipQuick, just in case I need it for taking out something with 8+ connections.
This is by far the messiest soldering job I have posted to a forum but never had to repair half a dozen lifted pads/traces and not given up on it, haha.
To my knowledge, nobody has ever tried to replace the SMD op-amps on the ZXR, I mean who the hell would? An Electrical Engineering student with an addiction to modding hardware! I have dozens of hours already invested into soldering this card doing the
DC cap mod and rolling op-amps to find the perfect combo.
I wasn't going to quit after a pad (connection point) lifted off the PCB with the stock op-amp (
or 7 more) leaving me
bare plastic in its place. Then you need to figure out where the connection comes from (what direction on the PCB), then scratch off some plastic at the nearest spot possible until you see copper and then bridge something between that and the op-amp leg! (Be careful, you can easily scratch off the copper or go too deep in a multi-layer PCB and hit a 2nd, incorrect copper trace)
Note: 600F is about where the solder used on the ZXr flows easily, at least in dealing with the metal combos I had. Their solder goes molten around 475F but doesn't make solid connections till ~525F+.
Will let you know my opinions later on if there is any noticeable change going from the stock JRC 2114s to BB 2604AUs.

The 2nd op-amp from the bottom (in the pic below) had pad #7 pull up and this trace (connection line) actually runs underneath the op-amp itself. This means the leg I added to bridge the lifted pad is running under the op-amp. Try getting that to make a solid connection without bridging legs! Leg/pad #1 on the bottom op-amp is also like this, so this was definitely a learning experience for me, dealing with such close quarter connections/repairs.
 (had my lowest end op-amps in place during testing in case of a serious malfunction)
Leg/Pad #1 and Leg/Pad #7 are the outputs of the op-amp which explains why these are the only two traces seen leaving the op-amp. All other legs are inputs & Vcc/GND. Their traces all come from the sides,
so if you ever need to repair the traces on the SMD op-amps remember that. You can always get a trace going towards the outside of the original pads except for pads #1 and #7 (this is true of all dual-dip op-amps in this location on the ZXR, other cards/equipment may vary). For pads #1 and #7 you will need to piggyback onto the correct output trace; hold a flashlight at the correct angle and you can see the traces (downward at a 45 degree, then straight down). This will usually result in a replacement pad/bridge laying under the op-amp itself which is the hardest way to repair a pulled pad. Avoid damaging these locations!! If nothing else make sure you got pads #1 and #7 off cleanly.

A reminder, here is the signal chain:

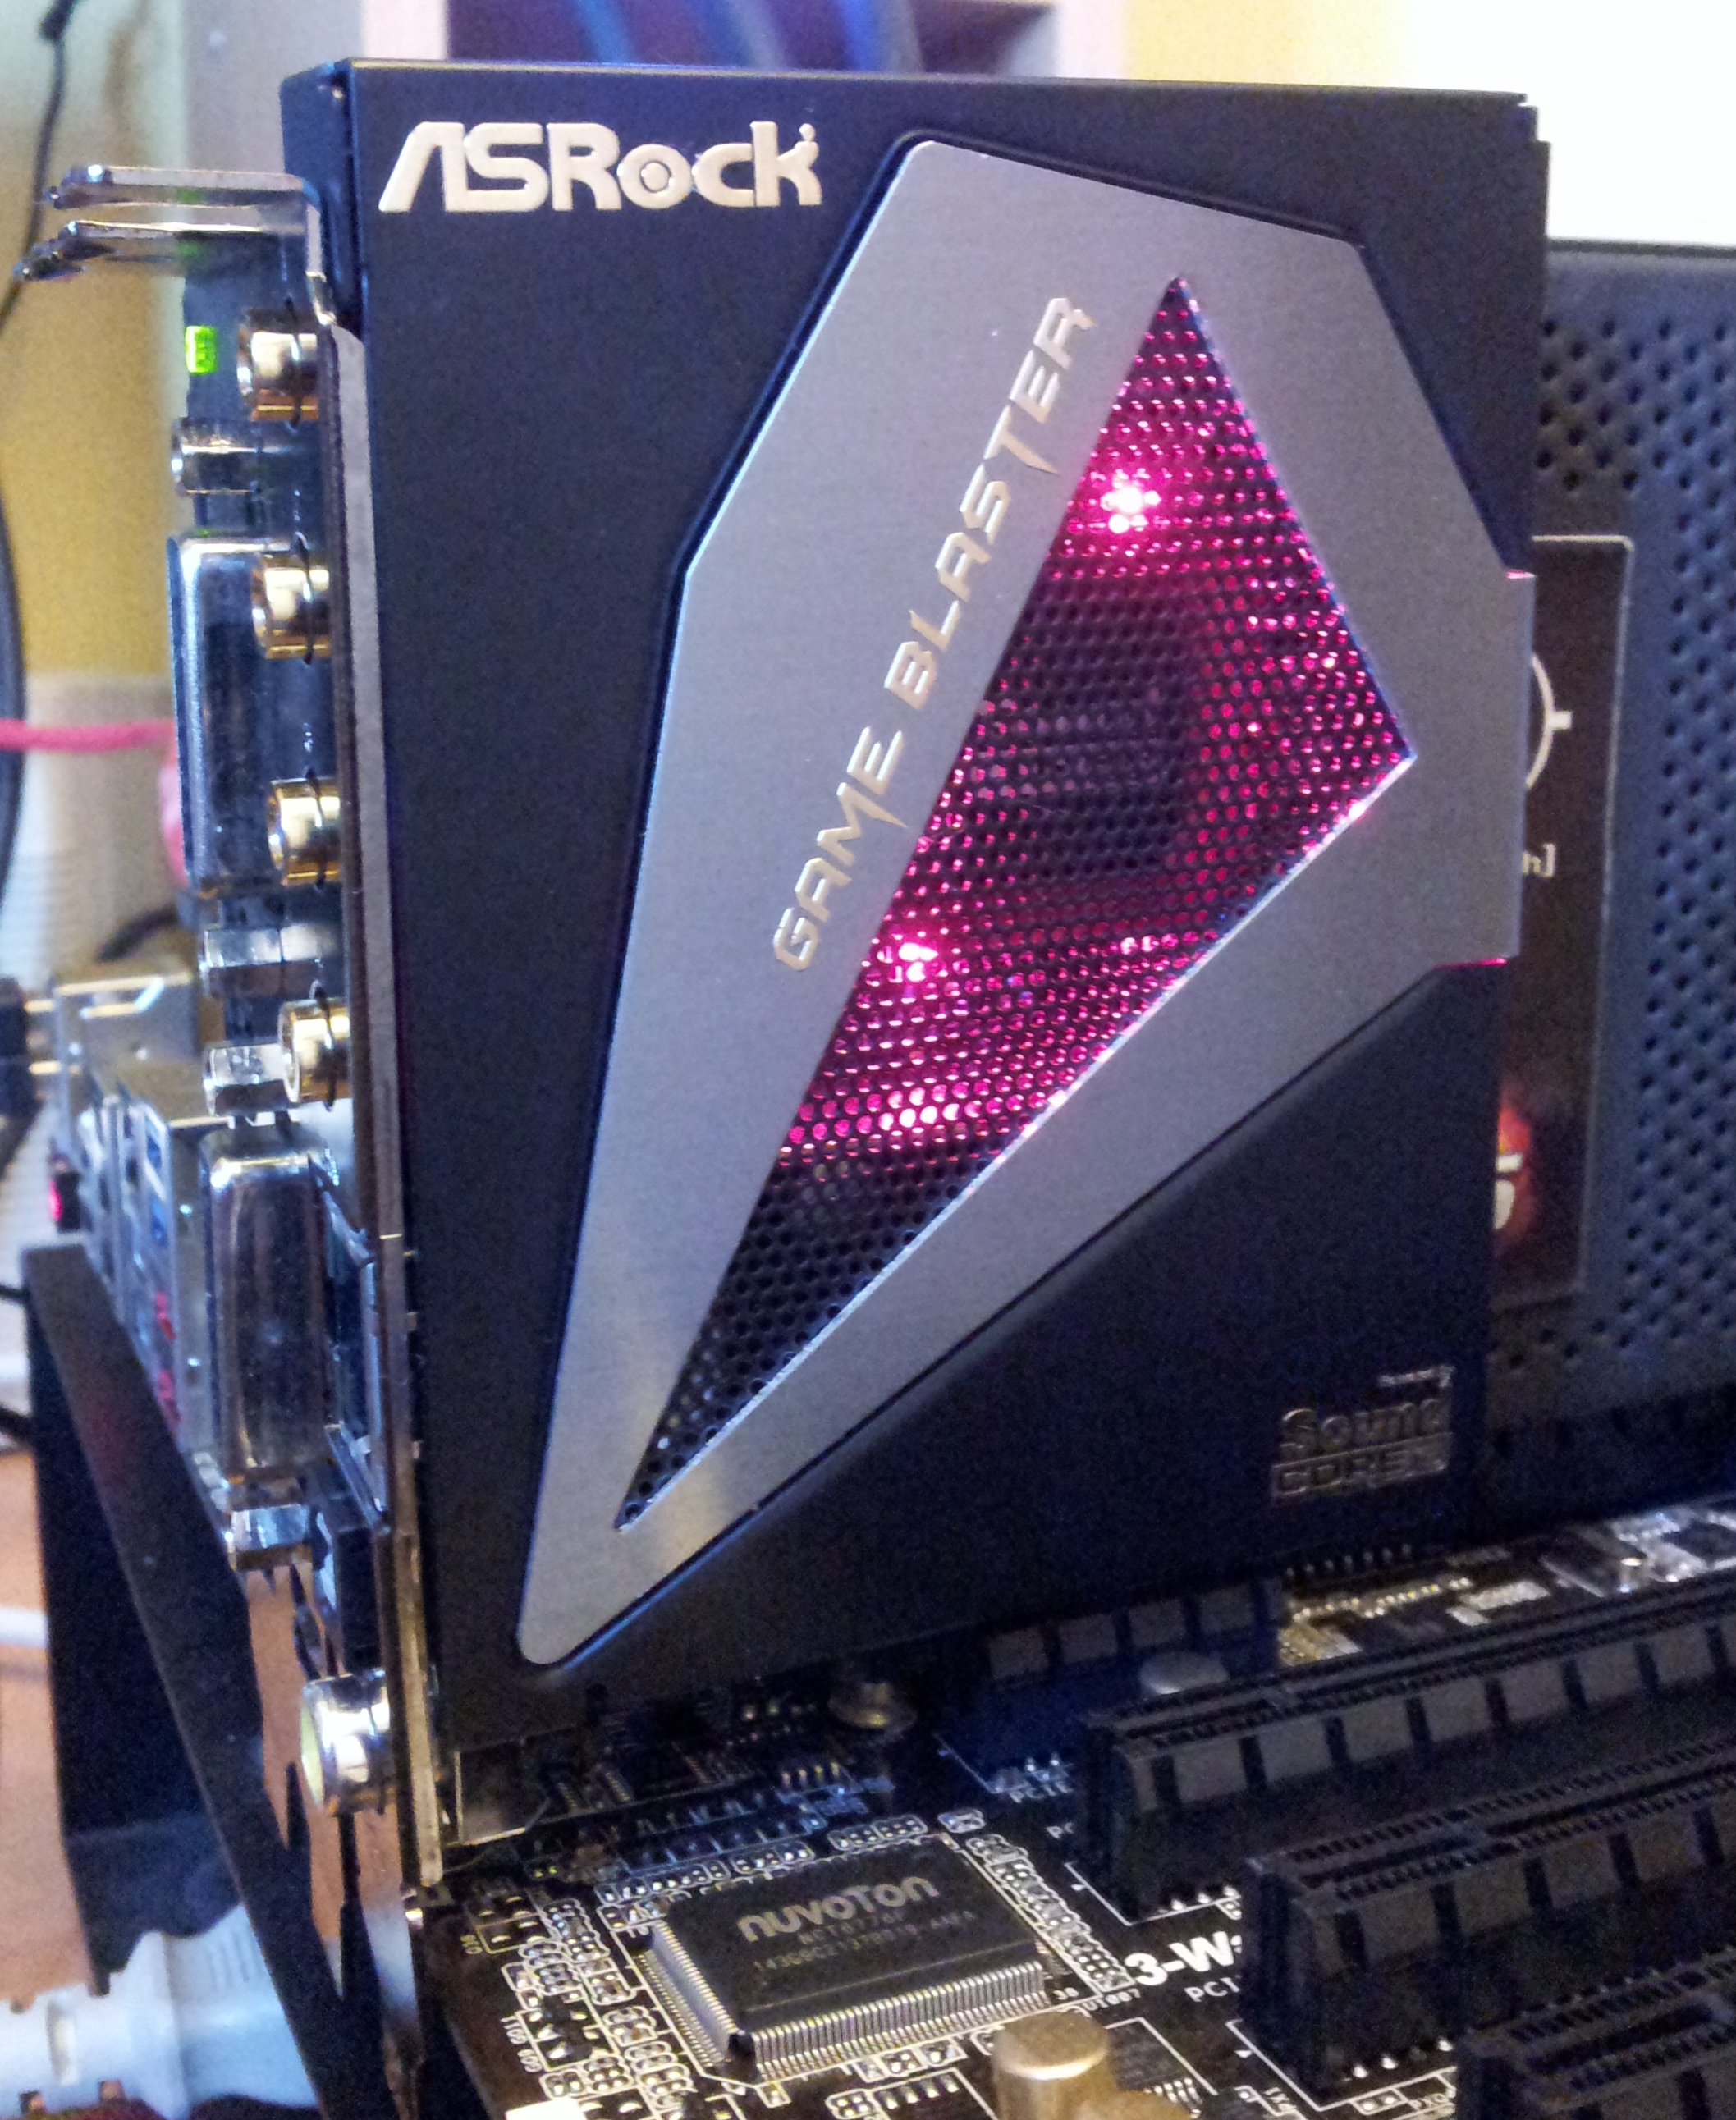
Some of my modding rig tools:

Also, you can buy sockets for SMD to DIP-8, but you only have room for the 1st stage of SMD op-amps, the 2nd stage is surrounded by capacitors. I personally think $5 a piece is a little high for an adapter, but it is a pretty unique item:
http://www.ebay.com/itm/361490134147?_trksid=p2060353.m1438.l2649&ssPageName=STRK%3AMEBIDX%3AIT


 better to by a schiit dac ....
")
