Bravo Audio V3 Discussion and Mods.
Apr 16, 2015 at 5:14 PM Post #92 of 172
Had you replaced the heat sinks? And, just a thought, did you use "Arctic Silver" or equivanent between the regulators and the heat sinks?
 
Apr 17, 2015 at 8:15 AM Post #94 of 172
Finished my V3 modding yesterday and must say that I'm very impressed! Switching to IRL510 made a huge difference in detail with silky-smooth crisp highs and together with photoflash cap for power and bigger output caps for the lower end I'm 100% satisfied and done modding this thing.
 
Since I'm still unable to post any pictures I'll share these links to the files showing the finished amp and a closeup of the heatsink with the moved components.
 
https://dl.dropboxusercontent.com/u/39367418/Headphone_Stuff/bravo_v3-3_finished.jpg
https://dl.dropboxusercontent.com/u/39367418/Headphone_Stuff/bravo_v3-2_heatsink.jpg
 
Apr 17, 2015 at 1:58 PM Post #95 of 172
Yes, I did miss post #30. I have been reviwing all posts of the V3 mods, and I saw the mod with the white LEDs (not your's and not recommend). Still waiting for final use of IRL510 or IRL530. Ordered a non-contact Laser thermometer for $11 and change from Amazon just for proof of temps. Cant wait to start modding my 2 units!
 
Apr 18, 2015 at 1:29 PM Post #96 of 172
  Yes, I did miss post #30. I have been reviwing all posts of the V3 mods, and I saw the mod with the white LEDs (not your's and not recommend). Still waiting for final use of IRL510 or IRL530. Ordered a non-contact Laser thermometer for $11 and change from Amazon just for proof of temps. Cant wait to start modding my 2 units!

May I just ask why it's not recommended to change the blue led? If I have done something risky I want to know and want to learn the leasson from you guys before I learn it the hard way with a broken amp. As of right now it works flawlessly and i really don't understand why it could be a bad idea.
 
Note: The red LED is untouched and intact.
 
Apr 19, 2015 at 12:02 PM Post #98 of 172
For Euf0ira, those are some impressive looking mods! Can you tell me what the Caps are in value? I saw the one valed 2200 mF. I also see you have wired some elements to a common point (ground?) . Has this improved the hum? Thanks...
 
Apr 20, 2015 at 2:54 AM Post #99 of 172
  For Euf0ira, those are some impressive looking mods! Can you tell me what the Caps are in value? I saw the one valed 2200 mF. I also see you have wired some elements to a common point (ground?) . Has this improved the hum? Thanks...

Lets see what I have done in total:

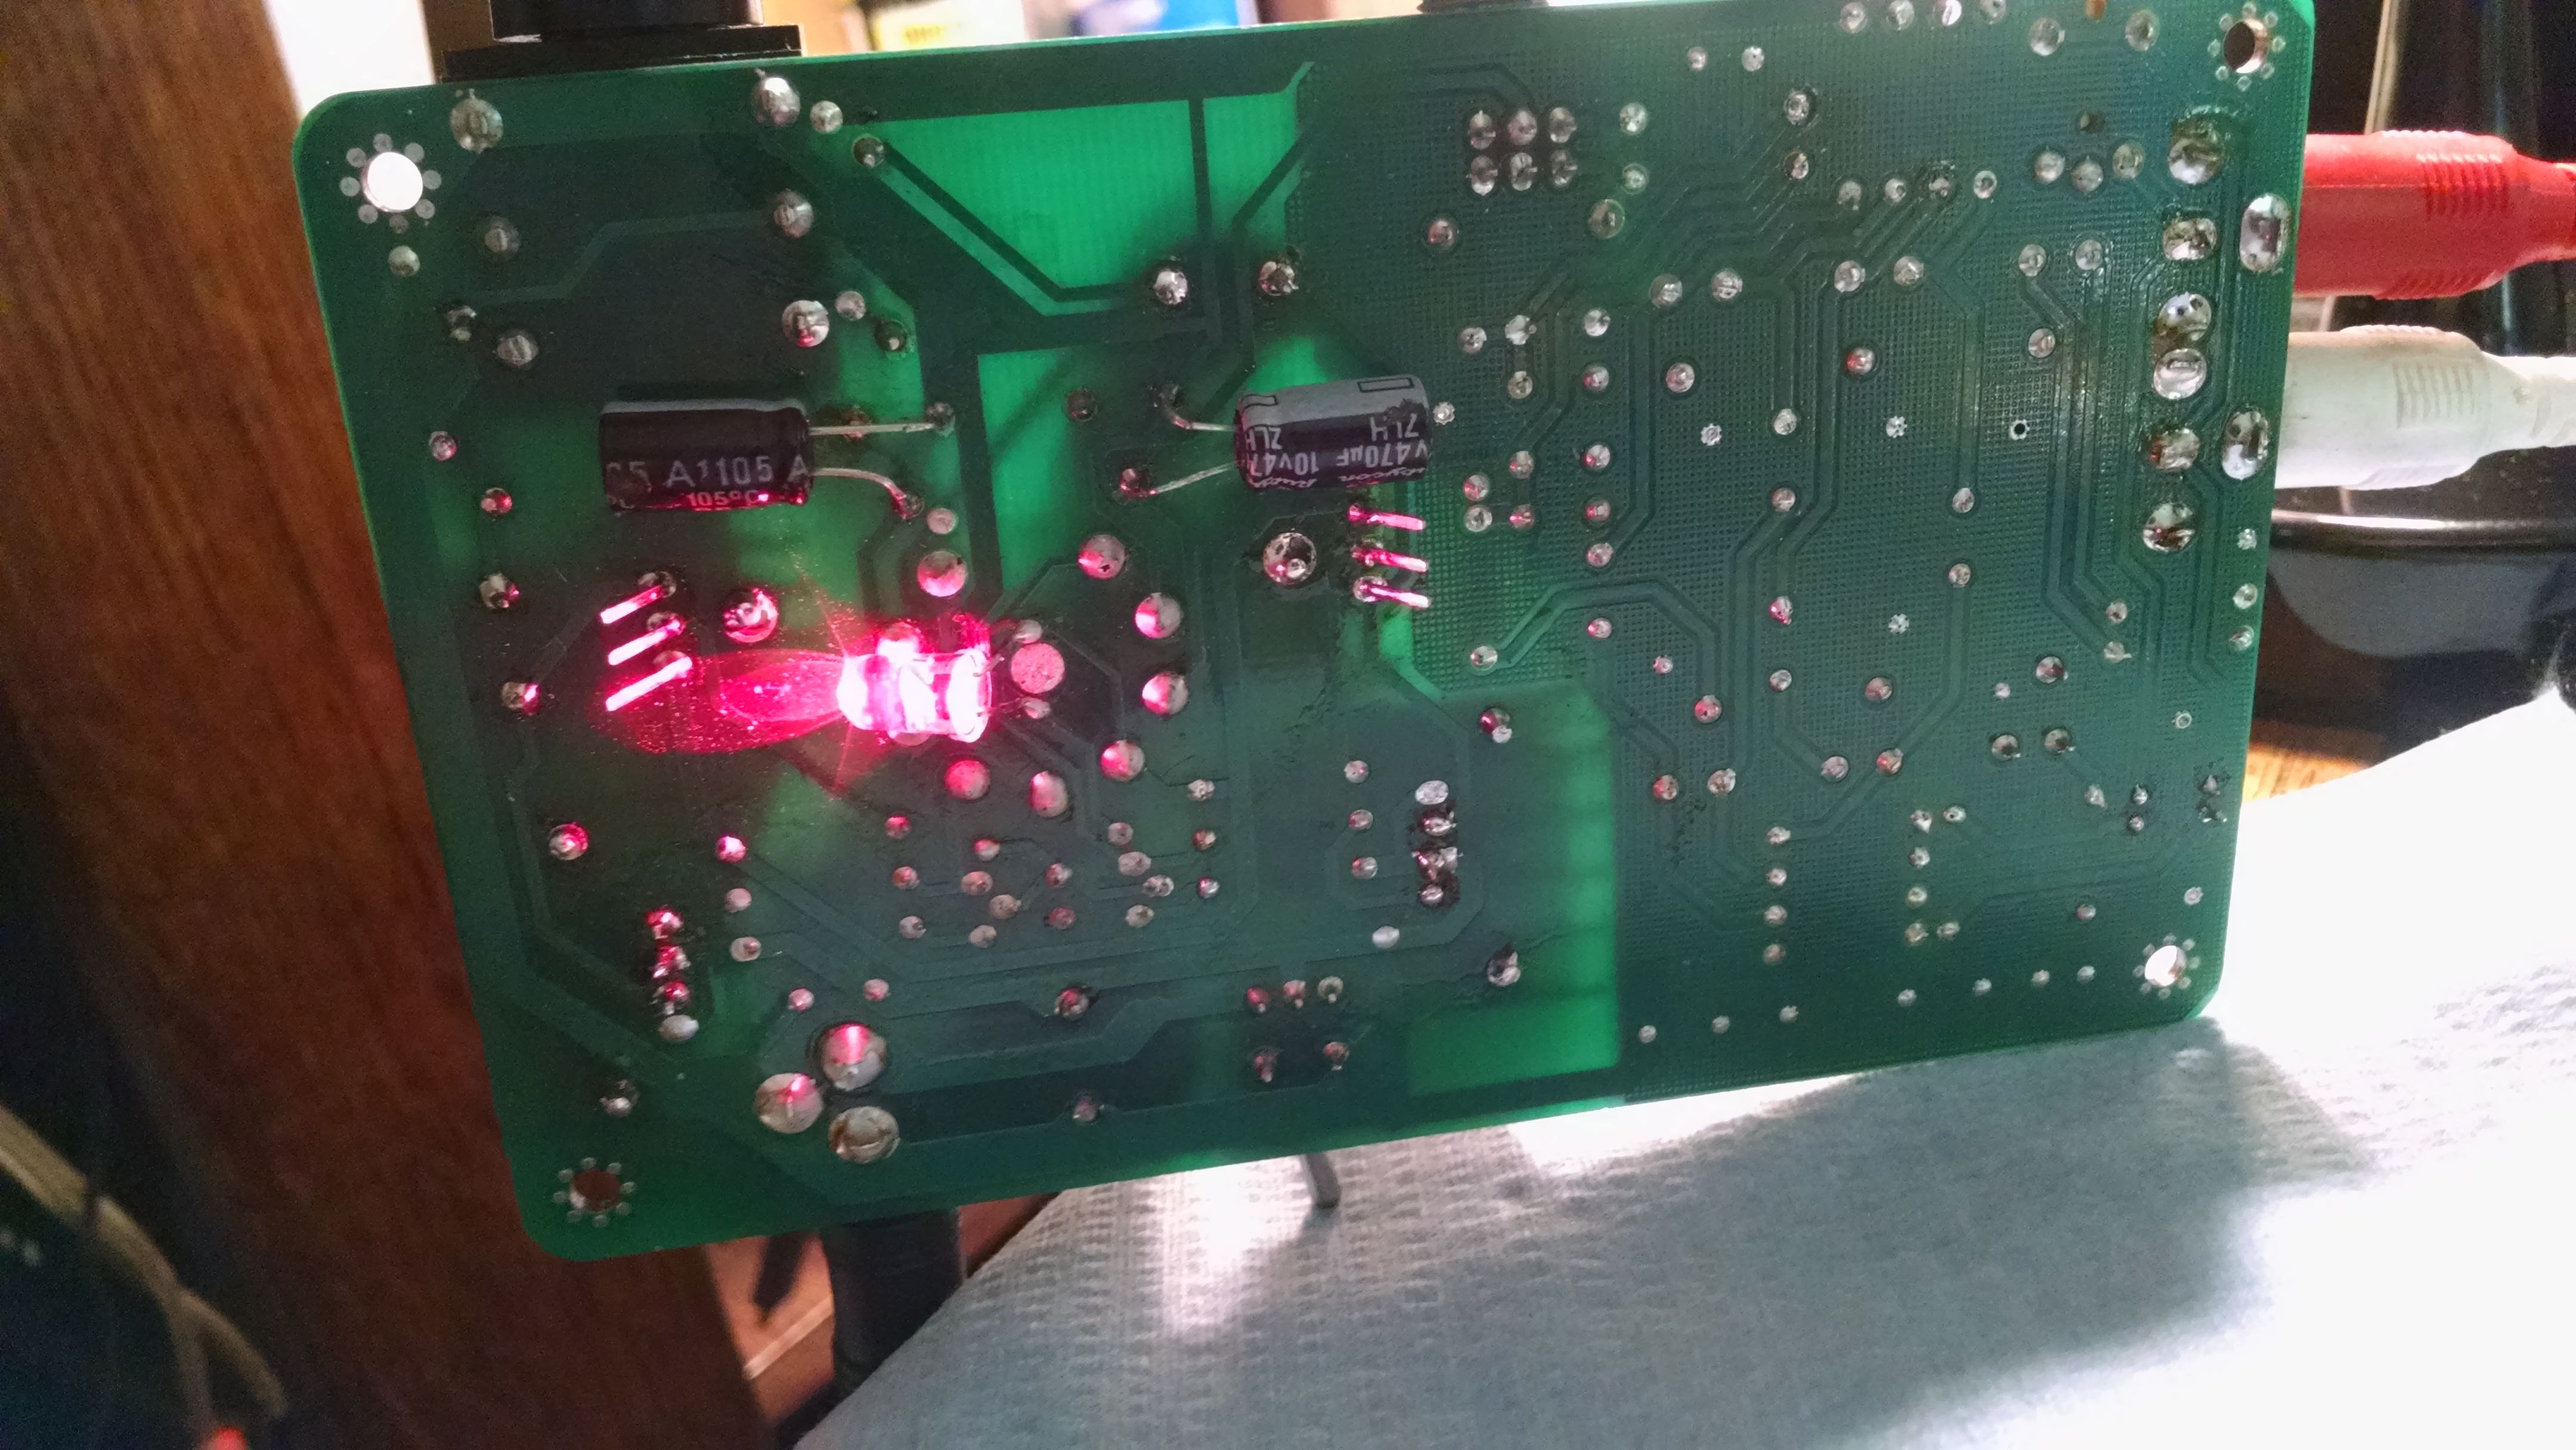
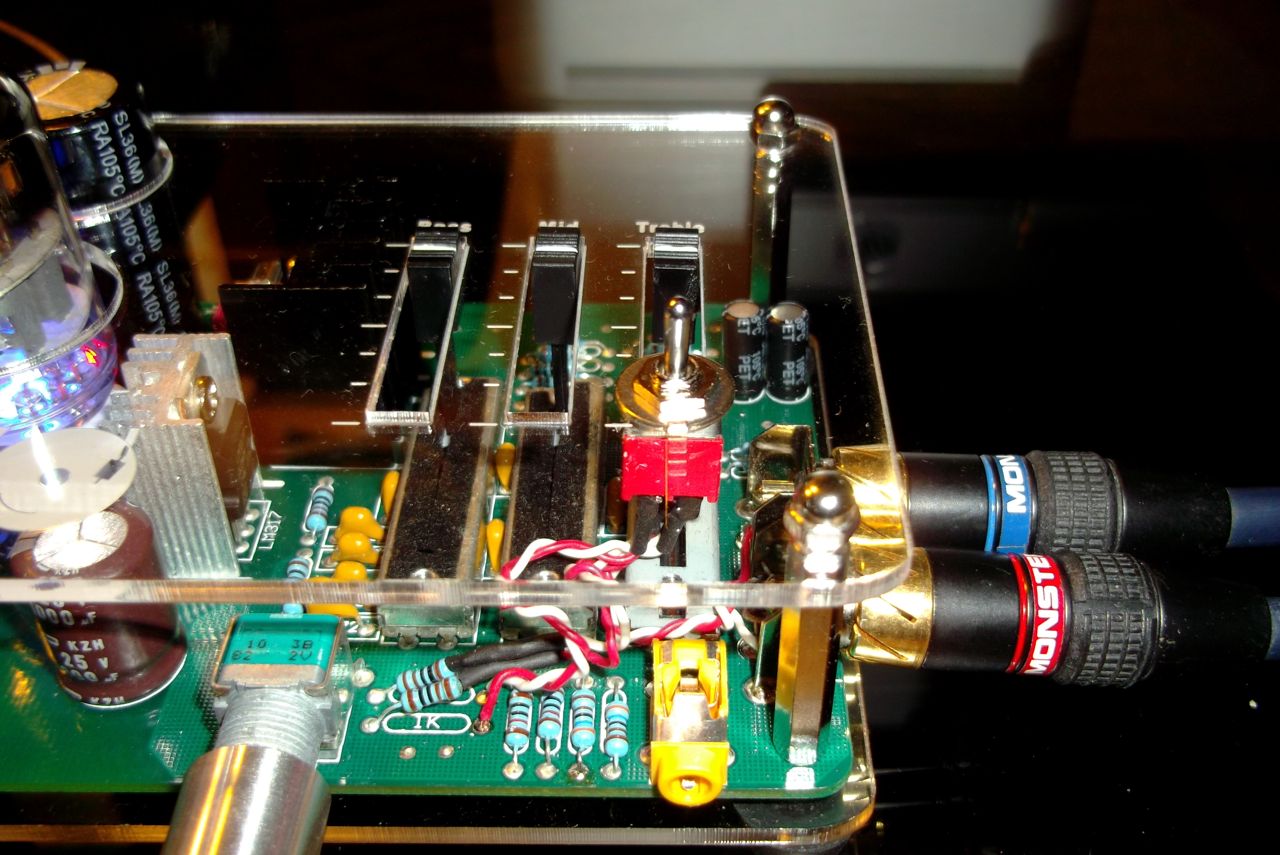
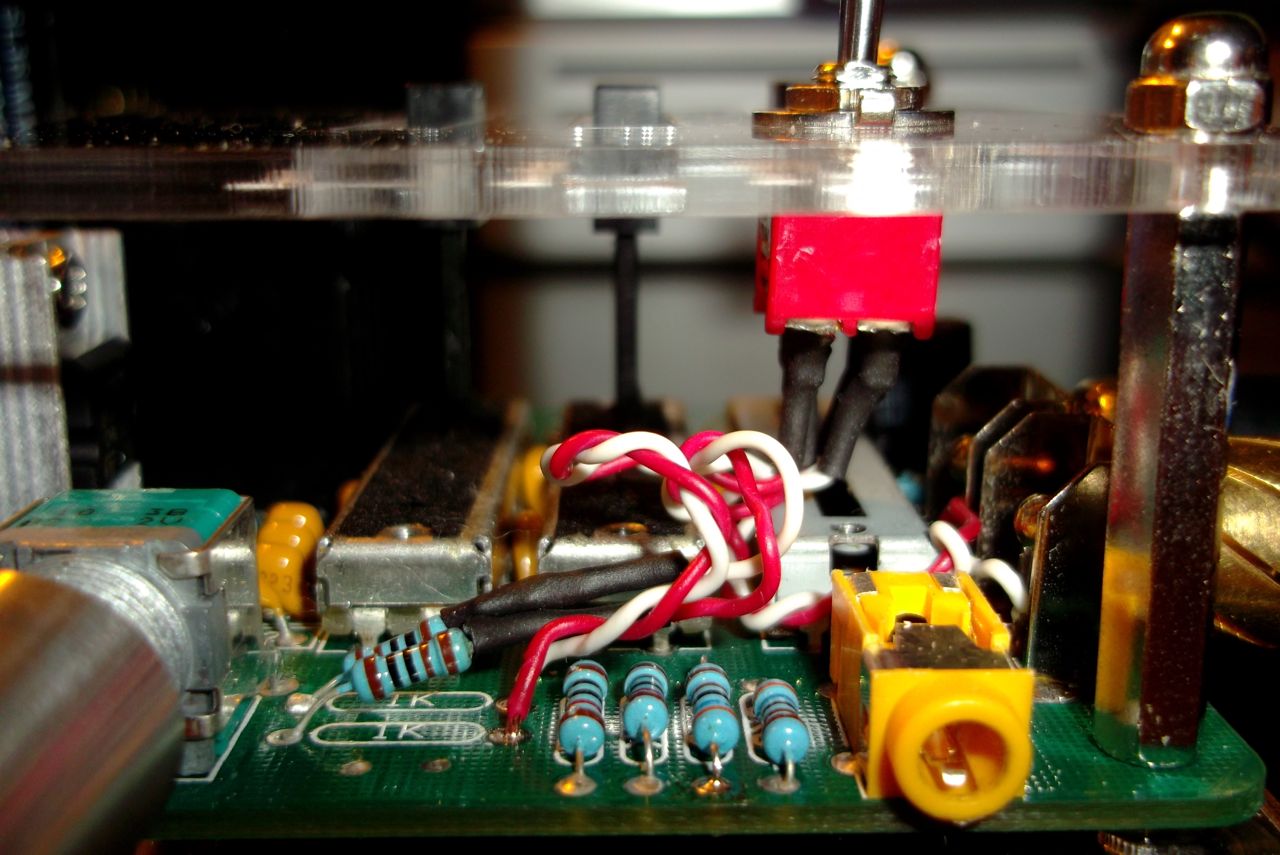
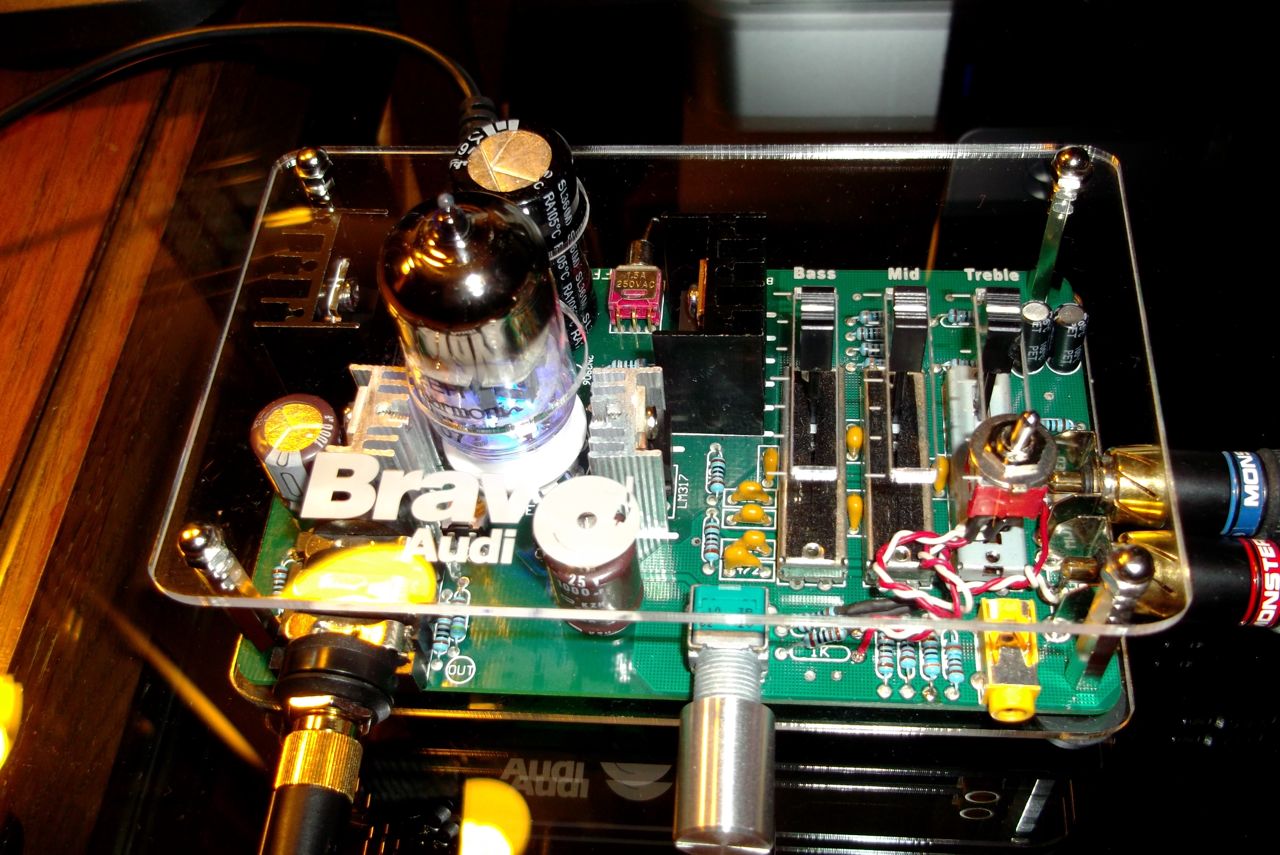
- Powercap (original 6800uF) changed to 3300uF 35V cap + 70uF flash capacitor in parallell soldered on the bottom side of PCB
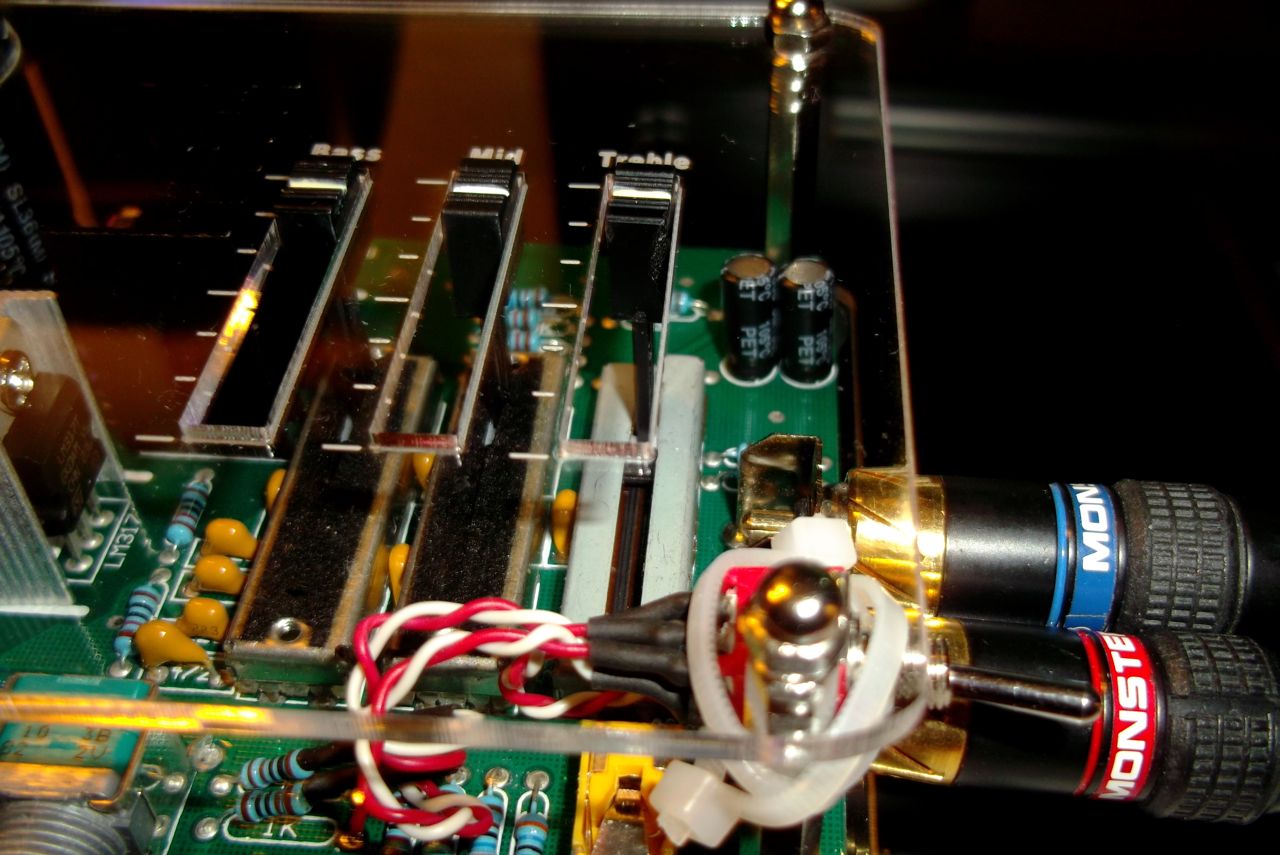
- Input capacitors changed to 1uF WIMA polyester caps.
- Output capacitors changed to 2200uF Nichicon Fine gold 
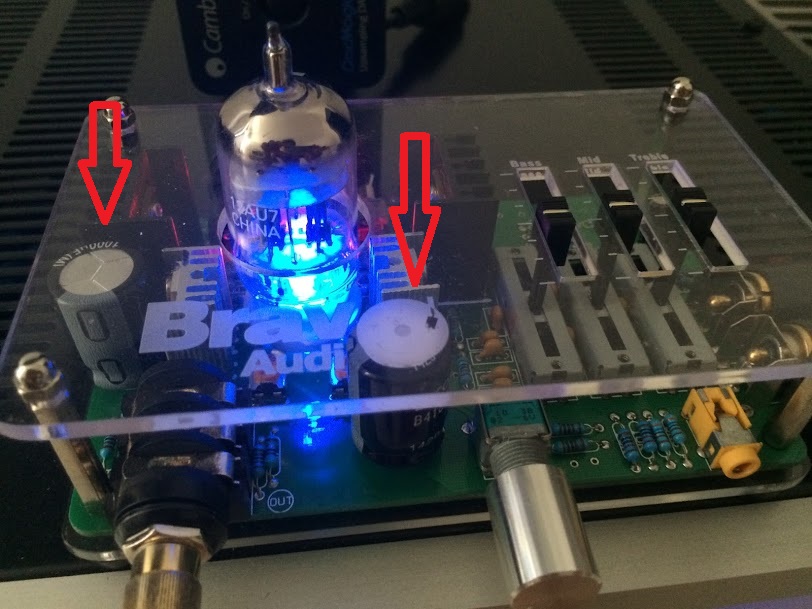
- Blue LED changed to white LED mounted from the bottom in case I want to change color
 
- Mounted big heatsink 
- Changed to IRL510 mounted with inuslation pad to heatsink, extension cables to original holes in pcb
- Changed to LM317AT mounted in the same way as the MOSFETS. These also got the adj. resistor soldered directly to the pins instead of on the pcb and thuis giving one less cable to extend
- Made two new holes in the top acrylic plate for the output caps to fit.

There is no new wiring-design/bypassing, things are just exchanged for better values and types.
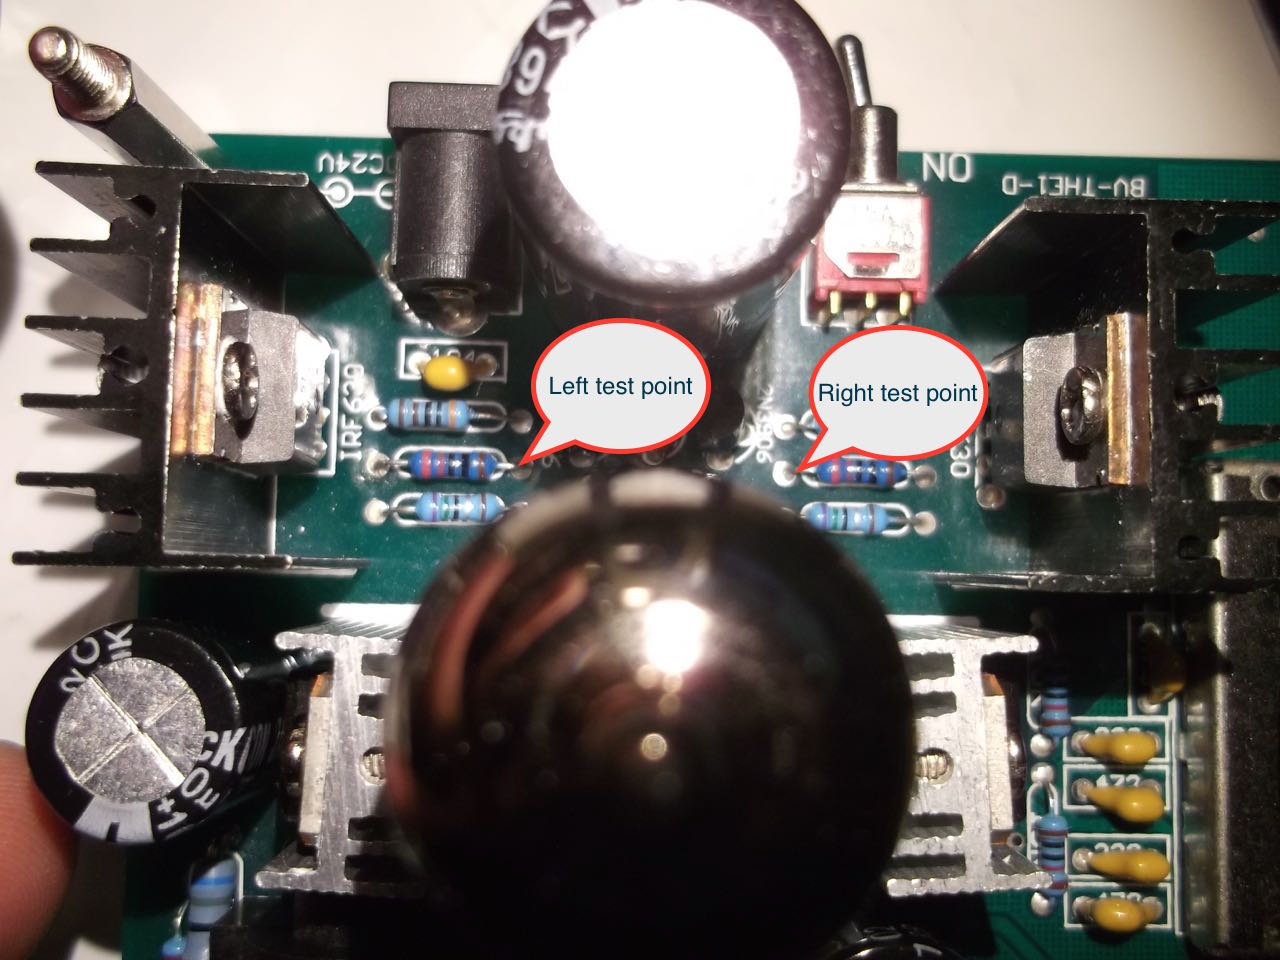
Bias voltage is for now 15.1v and the heatsink still gets really hot but you can keep you fingers on it. Compare this to the default heatsinks where you could have your finger on it for 1,5 seconds before the intense burning sensation made you regret even touching the thing.
 
Apr 20, 2015 at 12:42 PM Post #100 of 172
Thank you Euf0ira for the mod info. I had found a picture of a modded Bravo V3 (with the white LED) which prompted some of my questions. I have made it my desktop background for now! I  have two V3's because I purchased a new one to replace the first one. I will try and find the picture again and send it along.
 
Apr 20, 2015 at 1:11 PM Post #101 of 172
This is the V3 I found but it looks like it is yours! Came from DropBox.
 
https://dl.dropboxusercontent.com/u/39367418/Headphone_Stuff/bravo_v3-2_heatsink.jpg
 
Again, it is now my desktop wallpaper to study. Do you see why I asked about the wires going to the "basement" of the unit?
 
Apr 20, 2015 at 4:13 PM Post #102 of 172
Yep, that is my amp right there Cirric.
 
I will make sure to take som better pics soon and hopefully if some of the nice admins will find and look into my reported problem with posting pictures I could finnally upload them here:wink:.
 
Apr 20, 2015 at 10:24 PM Post #103 of 172
I was pretty sure that was your amp. It seems that you are happy with the performance and sound. And it looks good to boot! I assume that you used stand-off extensions to add the bottom level.  I still would like to know what the wires connect to on the bottom level. Thanks!
 
Apr 25, 2015 at 7:04 PM Post #104 of 172
  My understanding is that the red an blue LEDs are part of the circuit. They are diodes after all.

 
Yes they both are part of the power supply, in fact the blue LED was causing my problem with my V3!
 
Wow! a lot of activity on this thread since I last checked in.
 
After replacing the heat sinks, the LM317s and the MOSFETs the amp eventually didn't power on at all!
I had a junk optical mouse that had a regular red LED and mounted it under the PCB and now it's fine again!
 
Apr 25, 2015 at 7:14 PM Post #105 of 172
  Finished my V3 modding yesterday and must say that I'm very impressed! Switching to IRL510 made a huge difference in detail with silky-smooth crisp highs and together with photoflash cap for power and bigger output caps for the lower end I'm 100% satisfied and done modding this thing.
 
Since I'm still unable to post any pictures I'll share these links to the files showing the finished amp and a closeup of the heatsink with the moved components.
 
https://dl.dropboxusercontent.com/u/39367418/Headphone_Stuff/bravo_v3-3_finished.jpg
https://dl.dropboxusercontent.com/u/39367418/Headphone_Stuff/bravo_v3-2_heatsink.jpg


Nice job Euf0ria!
Where did you get that slab of aluminum?
That looks like an elegant way to dissipate heat and create a ground plane at the same time!
 

Users who are viewing this thread

Back
Top