Aune T1 USB Tube DAC+ SS Amp Discussion Thread ***See first post for FAQ--Updated on 02/14/15***
Aug 13, 2014 at 10:03 PM Post #5,791 of 8,309
   
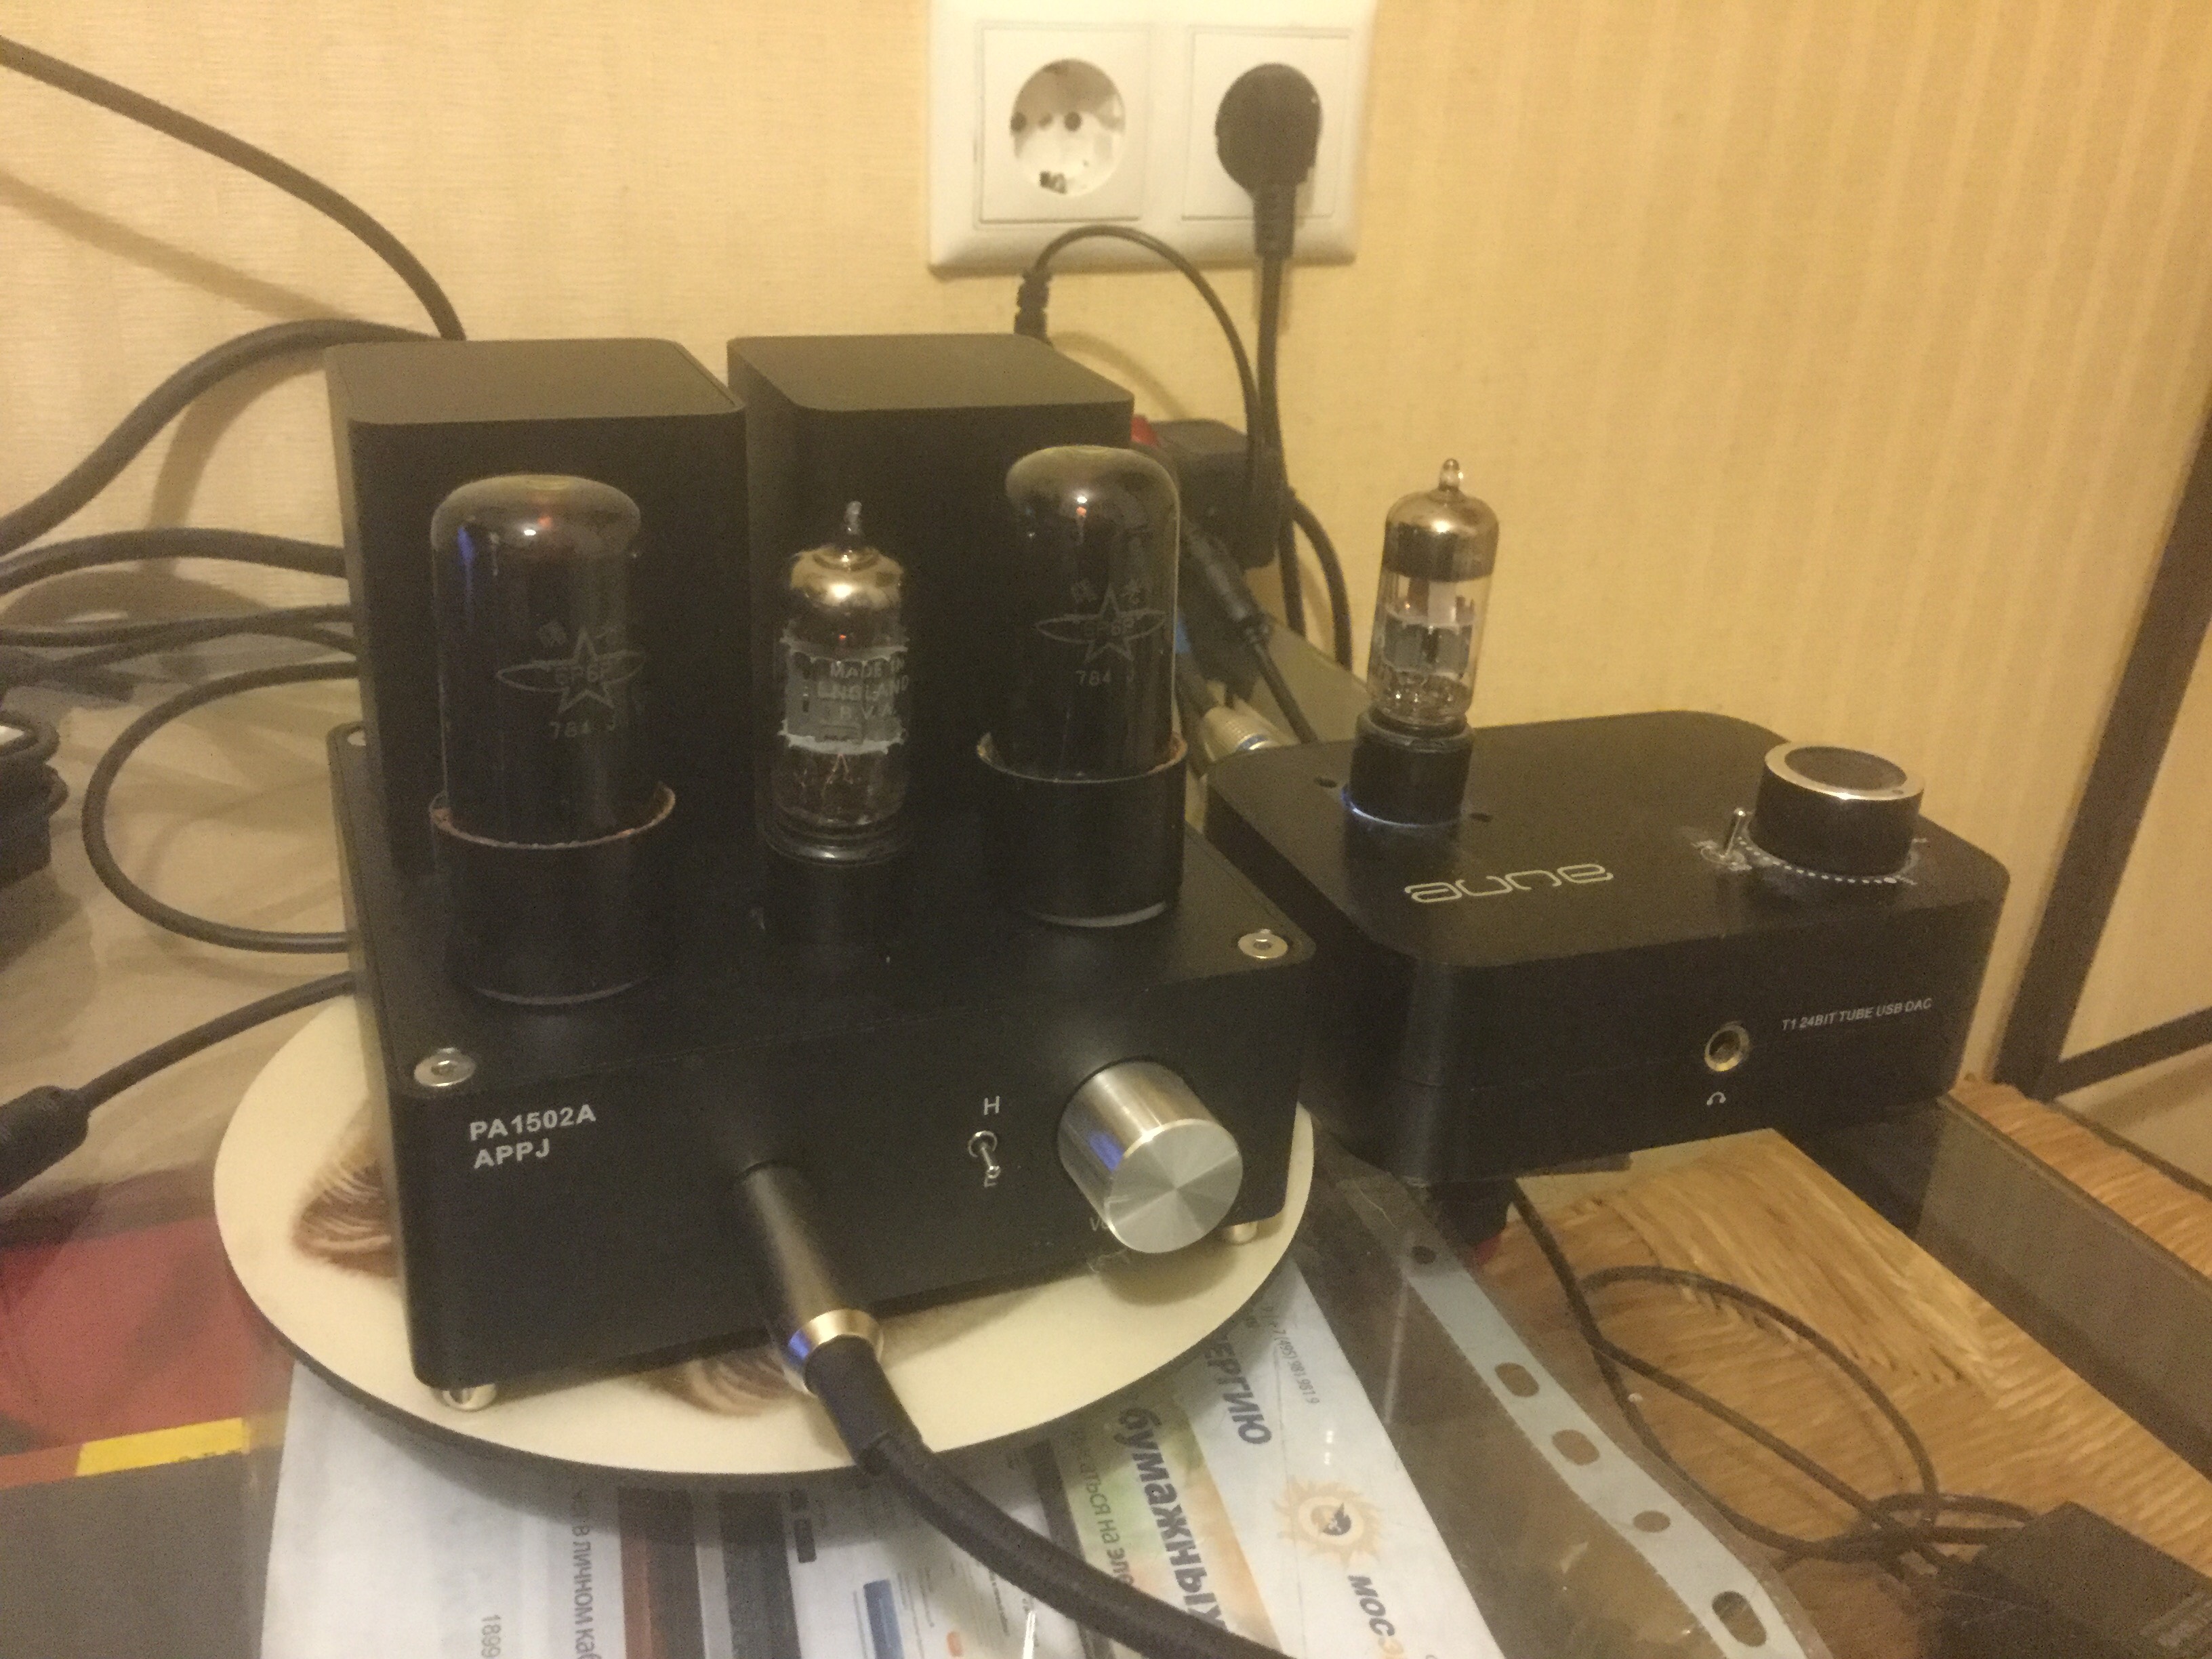
I'd like to add that doing the cap upgrade is really easy, if you go back through the thread there are pictures of what caps need to be replaced and the soldering on those is very easy.
 
The only advice I'd like to give if you're going to do it though is remember to take off the volume knob first, there's a small hole on it which has a flathead screw, otherwise the board won't come out of the enclosure. (It's something I had an issue with for a little bit :p)

Thanks for the hint.
 
Aug 14, 2014 at 1:16 AM Post #5,792 of 8,309
That nut on the potentiometer (volume control) can actually be removed with your fingers, from the factory it is not that tight.  I found the best way to pop that top cover off is to remove the tube and use a small flat head screwdriver in the tube's hole and gently pop it up (try to stay clear of the socket).  It should come right off if you have removed the volume knob.
 
Aug 14, 2014 at 6:54 AM Post #5,793 of 8,309
  That nut on the potentiometer (volume control) can actually be removed with your fingers, from the factory it is not that tight.  I found the best way to pop that top cover off is to remove the tube and use a small flat head screwdriver in the tube's hole and gently pop it up (try to stay clear of the socket).  It should come right off if you have removed the volume knob.

Good information.  My thought was to go through the bottom to get at the circuit board.
 
Did you replace the caps with the same capacitance as the original components on your board?
 
Aug 14, 2014 at 9:06 PM Post #5,794 of 8,309
Thanks for everyone who helped with my issue with the Voskhod tube. Turned out to be bad tubes. 3 of 4 tubes were bad.
 
 
Out of curiosity, how many people are using the T1 with IEMs? I listened with the Phonak PFE 022 (Grey Filters) and they sound amazing.
 
Aug 15, 2014 at 12:34 PM Post #5,795 of 8,309
  I'm using a BitScope 325 (http://www.bitscope.com/product/BS325/); it's network attached and uses software for display.  I've actually never used it for analog work before, normally I use it with the Logic application to watch I2C and SPI traffic with microcontrollers - it will decode and do deep inspection, which greatly simplifies firmware development.  The DSO application will do a live FFT for display.  It takes some tricks and a little practice to get the most out of it though, and since this is my first analog use of it (despite owning it some six-seven years now) I'm still figuring things out...  But it's really a great little tool.

 
Looks really nice. Unfortunately the price is a little too steep for me right now. But I have oscilloscopes at work that can do stuff like that and more, so maybe I will do some measurements at work.
 
Aug 15, 2014 at 12:44 PM Post #5,796 of 8,309
  Good information.  My thought was to go through the bottom to get at the circuit board.
 
Did you replace the caps with the same capacitance as the original components on your board?

 
You will need both the top and bottom off.  You are going to desolder from the top of the Aune T1 (the bottom of the PCB).  The issue is how fast solder turns back to a solid, so you will want to be giving a little pressure from the bottom of the T1 (the top of the PCB) pulling away from the PCB.  If you do not have a desoldering iron this can be a little difficult. 
 
I did replace caps with the same stock values.
 
Aug 15, 2014 at 1:12 PM Post #5,797 of 8,309
   I found the best way to pop that top cover off is to remove the tube and use a small flat head screwdriver in the tube's hole and gently pop it up (try to stay clear of the socket).  It should come right off if you have removed the volume knob.

It can also be pushed off from the bottom side at the corners.  I used the eraser end of a pencil at two corners.
 
Aug 16, 2014 at 3:30 AM Post #5,798 of 8,309
Does anyone have problems trying to get 24 bit options to show up in Windows 8.1 on their T1? For the life of me I can't get it to work. The device only offers two options for output, 16 bit 32-96kHz and 32 bit 44.1-96kHz. Obviously neither the DAC or the USB chip on the T1 support 32 bit, so none of those options do anything. I've also tried WASAPI in Foobar with 24 bit mode and unsurprisingly it reports the hardware doesn't support any of the 24/96 tracks I have. 
 
Aug 16, 2014 at 10:12 AM Post #5,800 of 8,309
Tried different USB ports, tried uninstalling/reinstalling, no 24 bit option anywhere.
 
http://imgur.com/a/NZpc8
 
Edit: Just tried it on my Windows 8.1 laptop and same thing! Charging up the girlfriend's Win 7 laptop to see if it ends up any different there....
Edit 2: ...and on her Win 7 laptop it only shows 16 bit 32-96kHz. This is pretty damn weird. 
 
Aug 16, 2014 at 8:03 PM Post #5,801 of 8,309
   
You will need both the top and bottom off.  You are going to desolder from the top of the Aune T1 (the bottom of the PCB).  The issue is how fast solder turns back to a solid, so you will want to be giving a little pressure from the bottom of the T1 (the top of the PCB) pulling away from the PCB.  If you do not have a desoldering iron this can be a little difficult. 
 
I did replace caps with the same stock values.

I just completed the cap upgrade on my little Aune T1.  I did all four sets of the caps.  Little is an overstatement.  Tiny is more like it.  Have the replacement caps out of the bottom of the box; will need to figure a new way to cover the bottom but... it still works.  Gonna take some burn in; with my Grado RS1's, it is a little bright.  But, it does sound pretty darn awesome.  Putting boards back in the box needs two small hands that don't shake as much as mine but I still have some skills (used to be a pinball/video game tech along time ago in a land far, far away).  The biggest problem I came across is that the brass supports on the little board were stuck and the screws were so crappy, they immediately self destructed when trying to remove them.  Finally grabbed the head of the screws with my nippers and with the use of a nut driver, removed them from the posts.  Thank you for the persons involved in doing this hack.  I think I'm gonna like the results in 100hrs or so...
 
Aug 16, 2014 at 8:44 PM Post #5,802 of 8,309
Here's how I did it.  I found some 55mm M3x0.5 screws and 20mm M3 round nylon standoffs (would have preferred silver, steel).  Put a screw through each hole, added a standoff, then two layers of heatshrink.  The heatshrink makes the screws fit reasonably tightly in the screw guides on the main part.  Topped it off with some picture frame rubber bumpers, but I'm sure there are better feet out there.  Or you could reuse the original clear ones.
 
My original plan was to use 20mm standoffs and 60mm screws, then screw it on properly.  But the only ones I could find were flat heads, not beveled so I went with plan B.
 
Bottom cover, screws, heatshrink, standoffs.  (Two corners already done.)


Screw:


Slip on the standoff:


First heatshrink:


Second (heatgun for illustration only, wasn't running):


All four corners done:


Slip shrinkwrapped screw ends into the main enclosure:


Bumpons:


Final result!


Aug 16, 2014 at 11:40 PM Post #5,803 of 8,309
My God, with that much space I could throw mylars in there.
 
Aug 17, 2014 at 10:32 AM Post #5,805 of 8,309
  Here's how I did it.  I found some 55mm M3x0.5 screws and 20mm M3 round nylon standoffs (would have preferred silver, steel).  Put a screw through each hole, added a standoff, then two layers of heatshrink.  The heatshrink makes the screws fit reasonably tightly in the screw guides on the main part.  Topped it off with some picture frame rubber bumpers, but I'm sure there are better feet out there.  Or you could reuse the original clear ones.
 
My original plan was to use 20mm standoffs and 60mm screws, then screw it on properly.  But the only ones I could find were flat heads, not beveled so I went with plan B.
 
Bottom cover, screws, heatshrink, standoffs.  (Two corners already done.)


Screw:


Slip on the standoff:


First heatshrink:


Second (heatgun for illustration only, wasn't running):


All four corners done:


Slip shrinkwrapped screw ends into the main enclosure:


Bumpons:


Final result!


Wonderful idea!  Anyone else have a mod to show?  I'm collecting ideas... :)
 

Users who are viewing this thread

Back
Top