THE DIY HEADPHONE STAND THREAD
Feb 8, 2013 at 11:05 AM Post #1,651 of 3,874
Quote:
That looks fantastic! is that copper pipe?

Thanks!
 
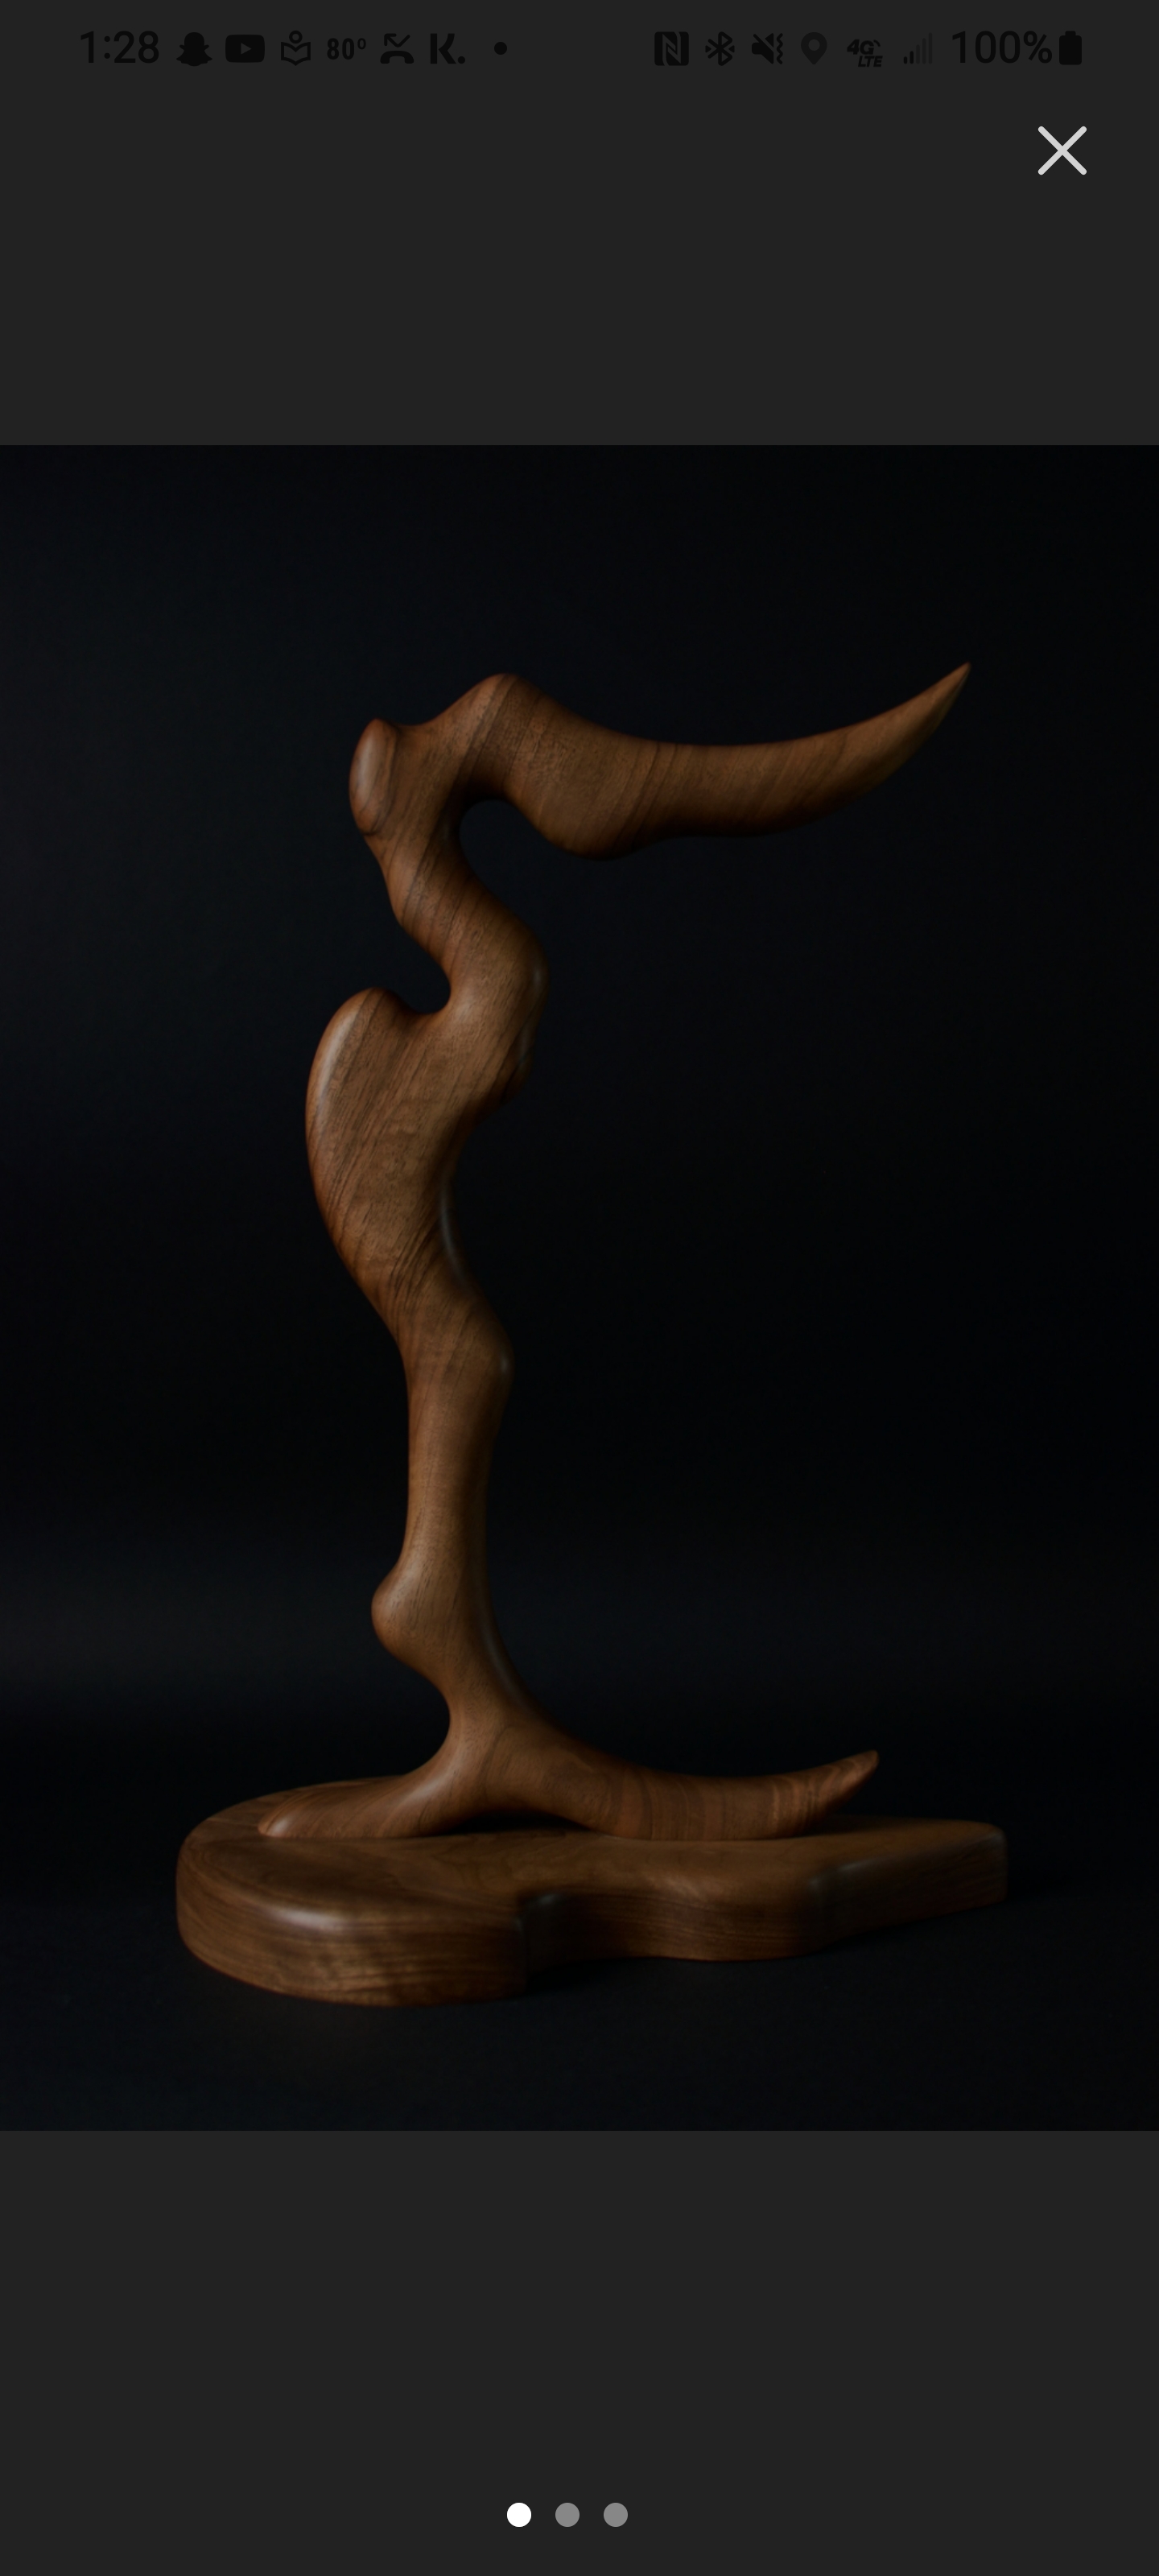
Yes it is with an oak base... and here is it's big shiny sister....
 
The big shiny one... 
biggrin.gif


Feb 8, 2013 at 11:58 AM Post #1,653 of 3,874
Quote:
 
How much did it cost? and did you use some sorta polishing paste to make it so shiny 
cool.gif
?

 
Cost:
6' 1/2 pipe, (4) 90's, (2) Street 90's, (4) 45's, (6) Tee's, (4) Caps and 6' 1/2 Insulation was $30 from Kent Building Supplies.
Lacquer, Steel Wool (Medium & Superfine) and PC7 Epoxy $25 from Home Hardware.
 
Then it was buffed with compound and a 4" Mushroom buffing wheel on a hand drill then lacquered to keep the shine.
 
Feb 8, 2013 at 11:59 AM Post #1,654 of 3,874
Quote:
 
Cost:
6' 1/2 pipe, (4) 90's, (2) Street 90's, (4) 45's, (6) Tee's, (4) Caps and 6' 1/2 Insulation was $30 from Kent Building Supplies.
Lacquer, Steel Wool (Medium & Superfine) and PC7 Epoxy $25 from Home Hardware.
 
Then it was buffed with compound and a 4" Mushroom buffing wheel on a hand drill then lacquered to keep the shine.

 
I'd keep all bright light sources away from that stand, so I wouldn't have to get blinded by the glare!
 
Feb 8, 2013 at 12:15 PM Post #1,655 of 3,874
Quote:
 
I'd keep all bright light sources away from that stand, so I wouldn't have to get blinded by the glare!

Yes Indeed!
I was going to go for a mirror finish but I didn't have the gear and it was just way too much buffing...


Feb 9, 2013 at 10:49 AM Post #1,656 of 3,874
Finished my DIY headphone stand. Thanks for all the inspiration this thread has given me! It's made from an oak base sourced from an old shelf and a birch arm with leather for headphone comfort! The lamp is mostly made of birch with curtain cloth wrapped around it and leather on top. Inside there are four red leds and one "warm" white led with a on-off-on switch on the front to choose color. Finally it's powered by USB sleeved with paracord.


Feb 9, 2013 at 8:04 PM Post #1,659 of 3,874
Btw guys, what would you reccomend as a good remover of dust particles and whatnot from a stained wood surface? Without removing the stain, trying to get the finish perfect before putting a clear coat on. 
 
Feb 9, 2013 at 8:26 PM Post #1,660 of 3,874
I am NOT a wood worker... But I have always used a lightly damp tack cloth to remove sanding dust etc... Cover and let dry then lacquer... I don't have the patience for that gym floor finish, I wish I did. :D

Sent from my HTC Desire HD A9191 using Tapatalk 2
 
Feb 9, 2013 at 11:22 PM Post #1,662 of 3,874
If there is stuff stuck in the stain like dust etc then you'll probably have to sand right back to the bare wood and stain again after making sure everything is clean and dust free.
 
Info below gleaned from the page here
Well... from what I read:
 
Sand the piece
Clean the piece and the room very well to remove all dust particles etc.
Stain the Piece
Apply a layer of Sanding Sealer after Stain completely dries.
Sand the layer of Sanding Sealer
Then Lacquer or Varnish.
 
Sawdust, breeze, temperature, humidity will affect the final outcome.
Also use Water/Water or Oil/Oil stain and poly, never mix water with oil etc...
 
But like I say I am no refinisher, others who have done some of the excellent woodworkers here can chime in.
Getting a nice finish is another whole skill set on its own...
 
Feb 9, 2013 at 11:28 PM Post #1,663 of 3,874
Ah..crap..Im gunna cry if I gotta resand...I went from 220-400-1000-2000..Took me an hour and 30min. Gunna try and use the finer sandpaper maybe to remove it, if that wont work then ill have to re-do it maybe..
 
Feb 9, 2013 at 11:41 PM Post #1,664 of 3,874
Post some pics of the problem and maybe some others more in the know might be able to provide an easier fix.
It's a lot of work resanding, and I would not want you to do it if you didn't have to.
beerchug.gif


Users who are viewing this thread

Back
Top