


Slater
Headphoneus Supremus
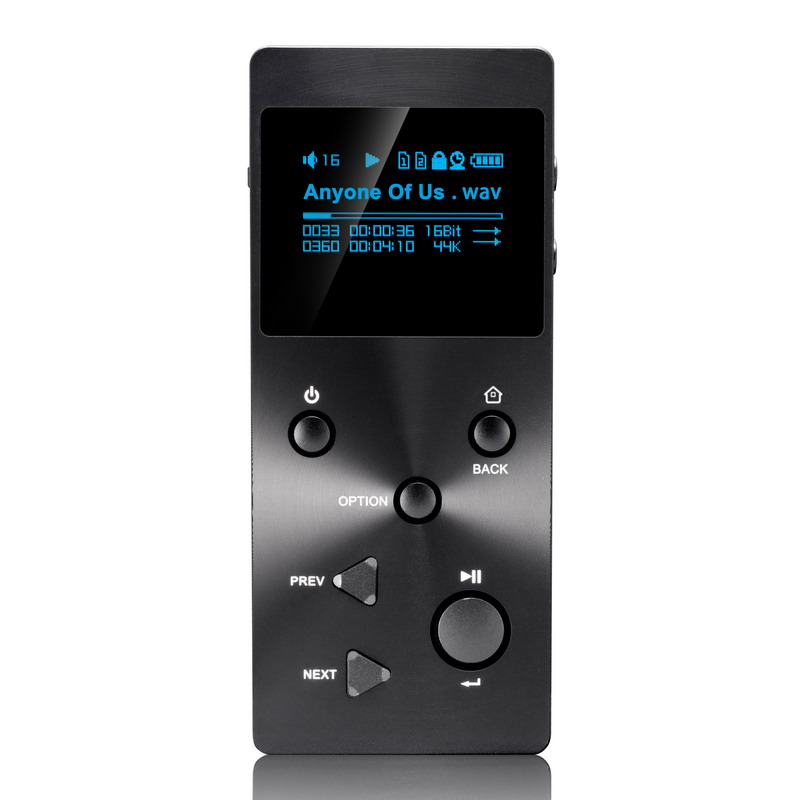
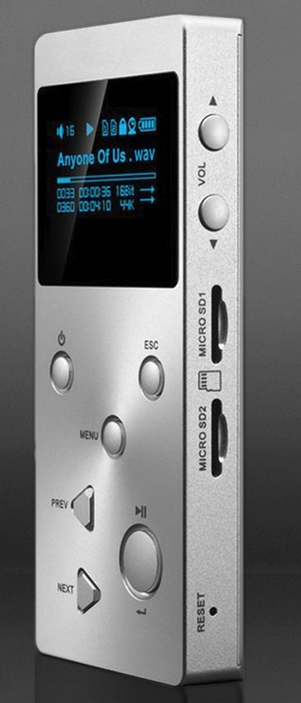
So I wanted to share this case I made for the X3.
As we all know, the leather case available for the X3 pretty much sucks, and there are no other cases available. There is a file available to print your own 3D case, but I don't know how well the case fits and I don't own a 3D printer anyways (yet).
So I decided to go old school, bust out the Dremel, and make my own case.
The case is based off a "Nintendo DS Lite Game Storage Accessory Kit" from a company called "PowerA". It's got to be the PowerA version - other DS Lite cases don't work the same. You can get the cases from ebay and Amazon (https://www.amazon.com/dp/B002FB6830), and they come in a variety colors. I went with black, and paid $3. I've also seen them in the reduced section of Walmart a number of times due to the fact that the DS Lite is so ancient.
Here's what the product looks like:


It's actually used to store the cartridges, not the DS Lite itself. One bonus is it includes a few screen protectors, which are easy to trim and use on the X3.
So to make the case you first remove the 2 rubber inserts in the storage case. They pop right out. Save them, as you'll need them later.
One thing you'll notice is that the X3 fits pretty well into the PowerA case, but there is a few issues that have to be dealt with. The PowerA case is larger than the X3 by about 2mm in all dimensions. So there's a 2mm gap around the top, bottom, and sides of the X3, and the X3 sits a few 3mm or so too deep into the case. We can easily solve both of these issues.
To address the case being a little too deep, we simply line the bottom of the case with a layer of adhesive-backed insulation tape (available at Home Depot/Lowes in HVAC section):


To address the gaps around the sides of the X3, we're going to make a spacer using the PowerA rubber cartridge inserts that you removed. The goal is to make a spacer that takes up the extra gap in the case around 2 edges of the X3. The PowerA case is close to the X3s size, but there is about 2mm worth of space around the top, bottom, and sides. So what I did was to orient the X3 into the PowerA case such that it's flush with the BOTTOM LEFT corner of the case. That means there's NO gap between the X3 and the PowerA case on the BOTTOM and LEFT side, and there's a 4mm or so gap around the TOP and RIGHT edges of the X3.
Here's clarification of the orientation of the X3 in the case:

You can trim the rubber spacer using scissors, like so:

I used a Dremel with sanding drum to shape a few spots of the rubber spacer as needed. The goal is to have the X3 fit into the PowerA case tightly with no slop. So tweak the insulating tape and/or spacer as needed to get a tight fit. I also sanded out an indentation for the volume buttons in the rubber spacer, both to make it easy to reach the buttons and change the volume, and also so the spacer didn't push against the buttons and make inadvertent volume changes.
The result is something like this (ignore the cutouts in the bottom of the case for the jacks; we'll get to that later. Just pay attention to the insulation & spacer):

Note the sanded cutout for the volume buttons in the above photo.
Next you need a way to accurately reference the location of the buttons and screen on the X3. To do this, I just laid the X3 on a photo copier, made a copy, and carefully cut out the spot for the buttons and screen using an Xacto knife. Then I taped the paper stencil (face down) against the inside "door" of the PowerA case. I scratched the outline of the buttons and screen into the plastic using a scratch awl (a pencil could work too). You can see some remnants of where I scratched the reference lines here:

Now simply cut out the holes using a Dremel, and clean any edges up as needed using a flat file. It may be helpful to make the button cutouts oversized by like 1-2mm, which makes it easier to push the X3 buttons while mounted in the PowerA case.
You may notice that I cut the hole for the X3's screen smaller than is on the X3. The reason is because the "screen" on the X3 is simply a smoked plastic window, and is significantly larger than the actual OLED display itself. I think Xduoo did this to make the X3 screen appear larger in photos than it really is. If they showed it with a dinky little screen people might have been turned off. Regardless of the reason, the actual OLED display is about 50% smaller than the "window". So I cut the hole to match the OLED display itself, not the smoked window. It's a personal preference thing - if it bothers you, you can certainly cut the screen hole in the PowerA case larger if you want. But I saw a large hole as being pointless, and instead preferred having as much of the PowerA case protecting the X3 as possible. There is no issue seeing any information on the X3 display whatsoever.
Now that you've lined the case, made the spacer, and cut out the button and screen holes, test out the PowerA case by closing it with the X3 inside, making sure the X3 fits tightly against the inside of the top lid with no looseness. Again, tweak the spacer and/or insulating tape as needed to remove any slop. The goal is to prevent the X3 from shifting around when inserting/removing cables, working out, jostling about in your pocket, etc.
Now that you have the X3 fitting tightly in the case, it's time to make the cutouts for the jacks. With the PowerA case lid open, you'll be able to see where the jack holes need to be cut out. I used a Dremel sanding drum for this. I made my jack cutouts slightly oversized to accommodate for a variety of headphone cables. I used a cable with the fattest shoulder as my maximum clearance reference.
You'll end up with something like this:


Repeat the process for the USB micro jack. You may need to sand a little notch out of the rubber spacer to get the clearance needed for a USB micro cable to fit into the port just right. Sorry, no shots of that (use your imagination).
To make the case look a little nicer (and to hide scratches that will develop from use), I used a Scotch brite (green) pad to put a brushed finish on the plastic case, like so:


Now all that's left to do is put the screen protector on the X3, and you're ready to go.
The overall size of the X3 in the PowerA case is almost identical to a Fiio X5. The outside dimensions of the PowerA case are 115mmx60mmx20mm. It fits into my pocket easily, and with the case protecting the X3 I can throw it around in my car, glovebox, laptop bags, desk, working out, etc without worrying about the X3 getting damaged or scratched. The PowerA case also keeps my Fiio E12 from getting scratched up by the bare X3. And any blemishes/scratches that develop on the PowerA case can simply be removed by a few swipes of the Scotchbrite pad.
Is the case perfect? No. There's no way to access the lock switch and volume buttons without opening the case. And cutouts for the lock switch and volume buttons isn't possible without damaging the PowerA case (ie the case hinges are in the way of the volume buttons, and the case closure clasp is in the way of the locking switch). Neither have really been deal breakers for me. The lock switch isn't required because it's impossible to inadvertently bump any of the buttons (because the buttons are now recessed in the PowerA case). And once I set the volume for a particular listening session, I leave it there. When I do need to change the volume, it takes 1 second to flip open the case and change the volume. The X3 doesn't have to be lifted out of the case to do so, because the little notch sanded into the rubber spacer leaves plenty of room to use the volume buttons.
Overall I'm happy considering the $3 spent. If a purpose-built plastic case comes out for the X3, I may go with that. But at this point I seriously doubt we'll ever see any X3 cases (and if so, it certainly won't be $3).
Here's how the finished product looks with the Fiio headphone amp (stacks very nice, with or without the silicone bands):


And a shot showing the screen (the bottom of the screen looks like the display is cut off a little, but that's just the angle I was holding the camera):

Enjoy,
- Slater
UPDATE 05/24/17 - I wanted to give an update on the DIY X3 case, and point out a cool 'hidden' feature that I found. There have been many times where I needed to reset the X3, and it has always been at inopportune times when I was out and about and had no access to a paper clip or mechanical pencil. Once Rockbox would freeze and I couldn't find something to push the reset switch with, I was totally screwed until I returned home often hours later.
Anyways, I noticed on the inside edge of the case, between the 2 hinges, is a small secret compartment type cubby. It's a little 'slot', perfectly sized to fit a "X3 Reset Tool" - a small piece of straightened paper clip, piece of wire, toothpick, dulled sewing needle, etc. And once the lid is closed, whatever is in the little slot does NOT fall out. Once I started carrying my "reset tool" in the little slot, I have used it at least 6 times over the past few months for various reasons. It's gotten me out of jams where I would have otherwise been stuck with no music. It's worth its weight in gold!
Here's a photo showing the little slot I'm referring to:

Last edited:
