Well.......honestly, I am in "overload mode".
Give me a few millennia to digest this.....
Edit:
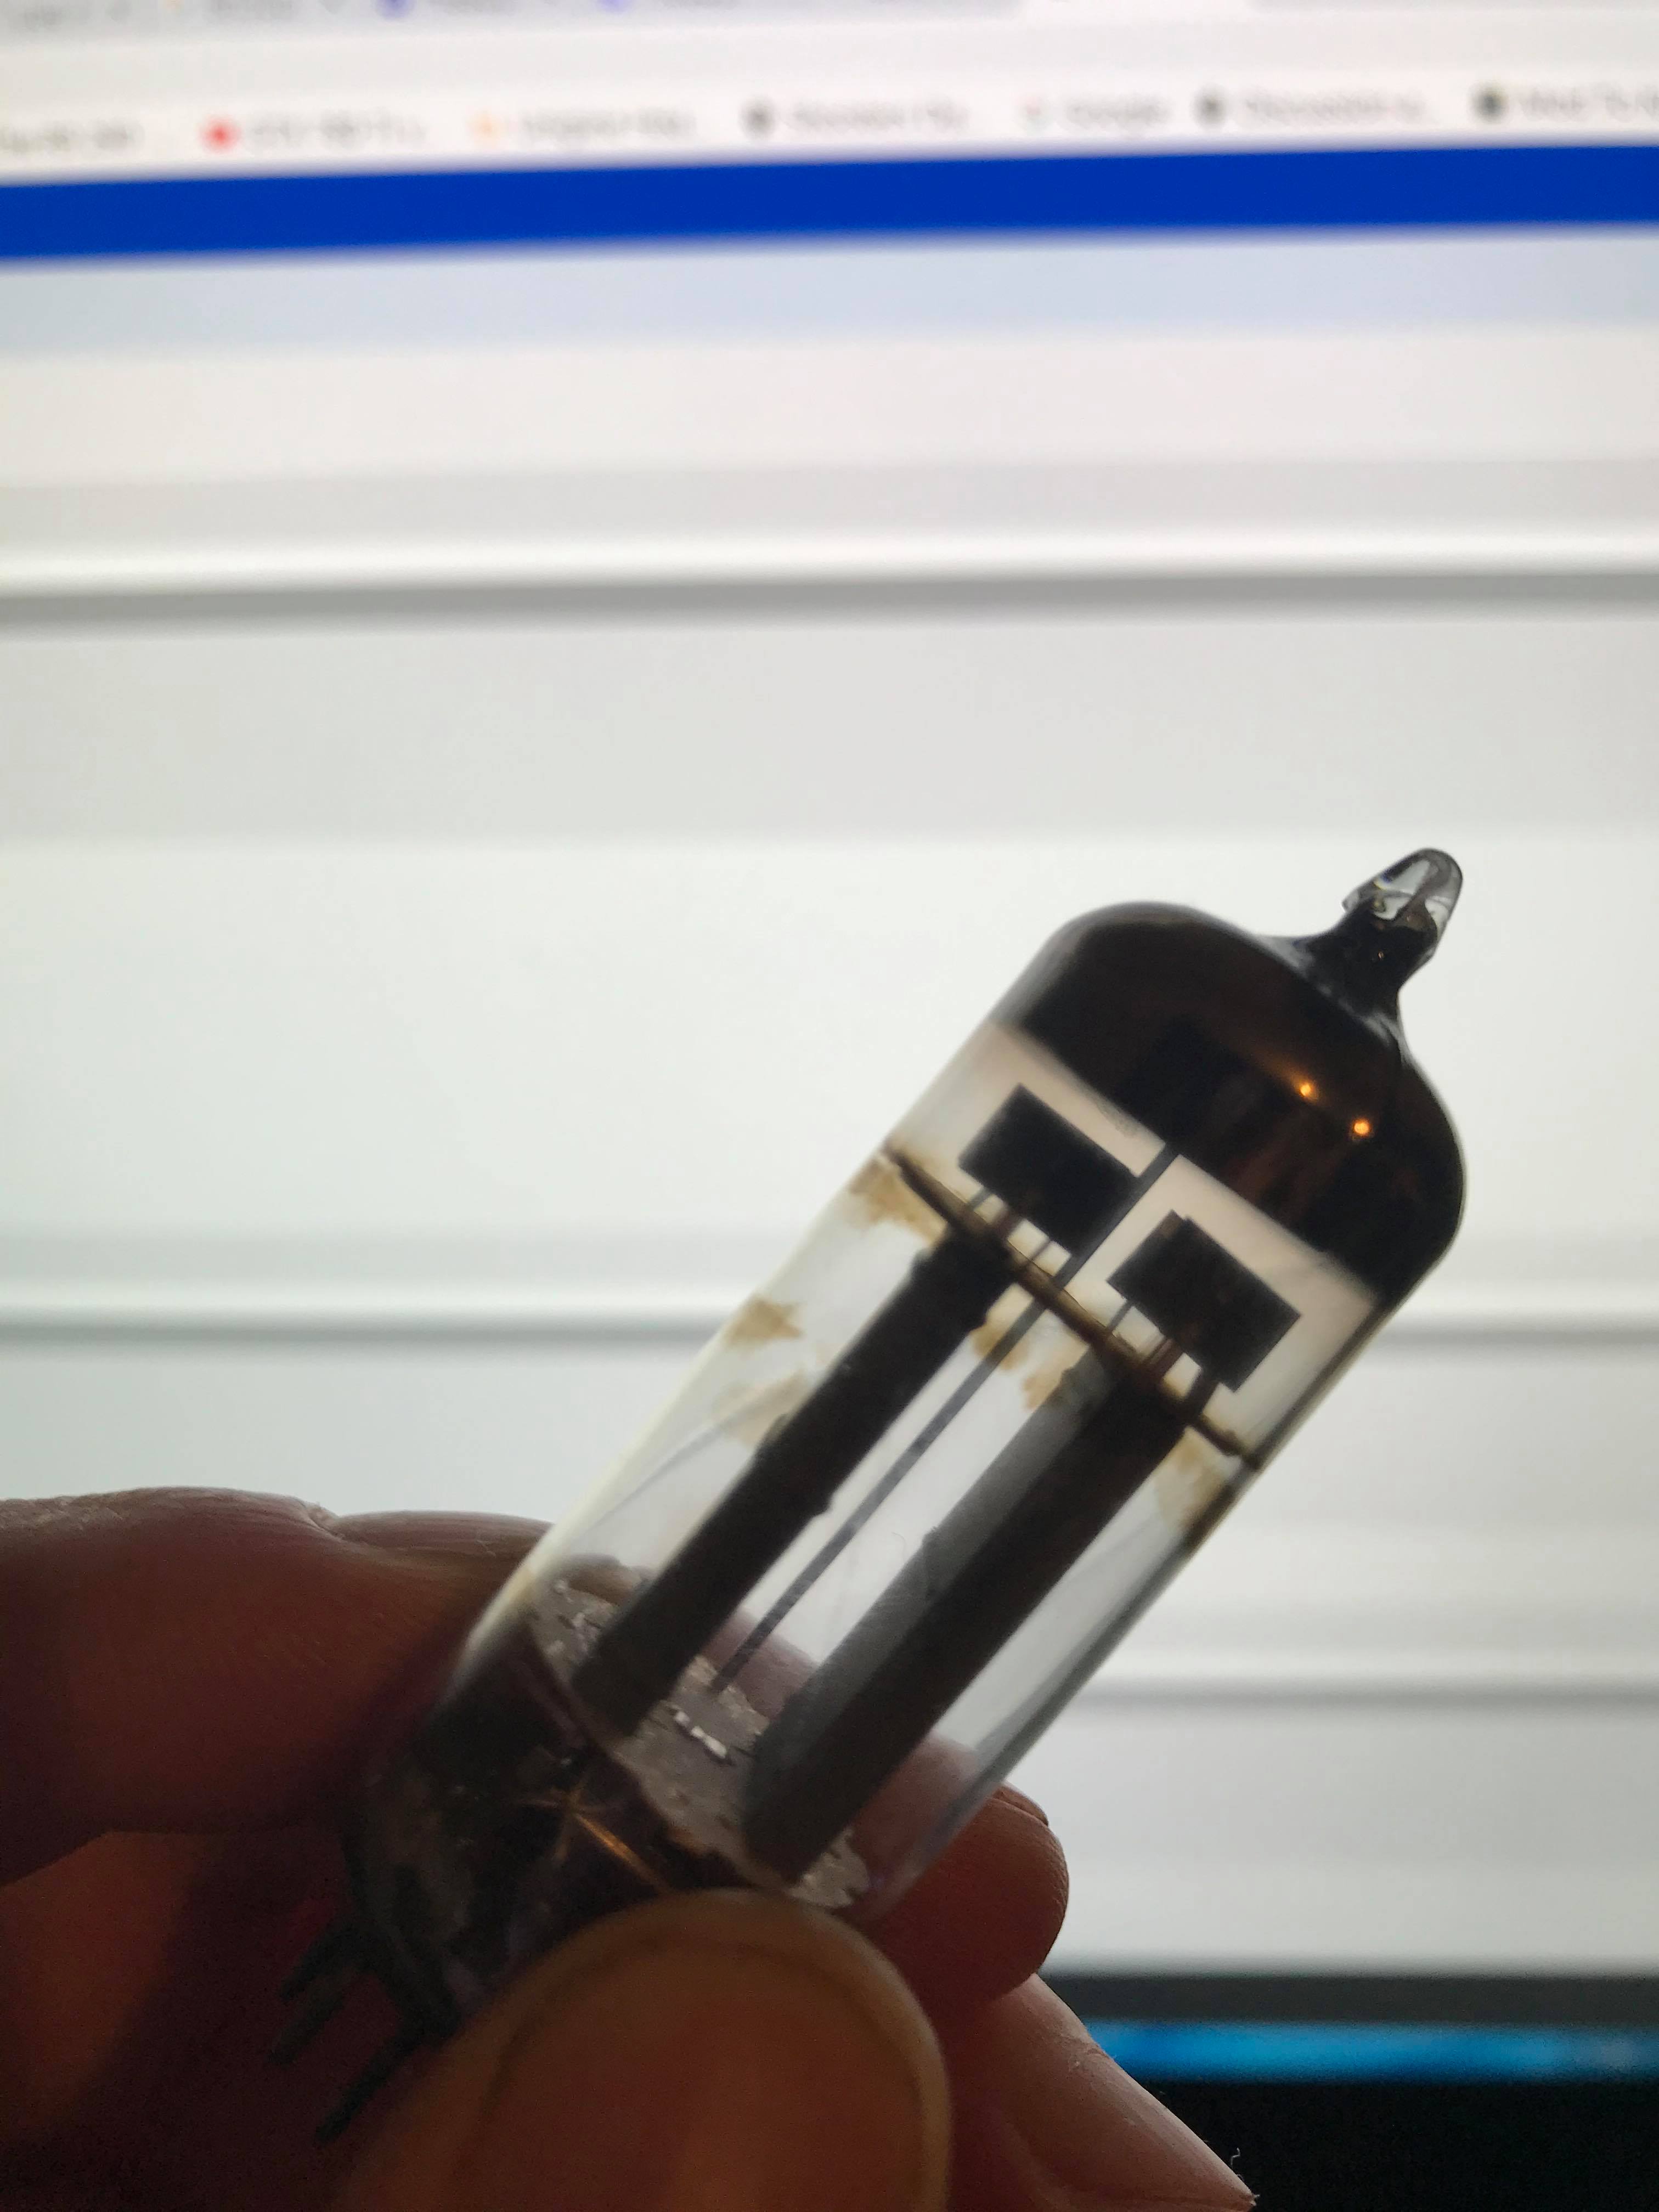
You don't have to worry about the envelope temperature of the 6AS7, but you may want to check the case temperature of your Little Dot.
Hi Chris J.
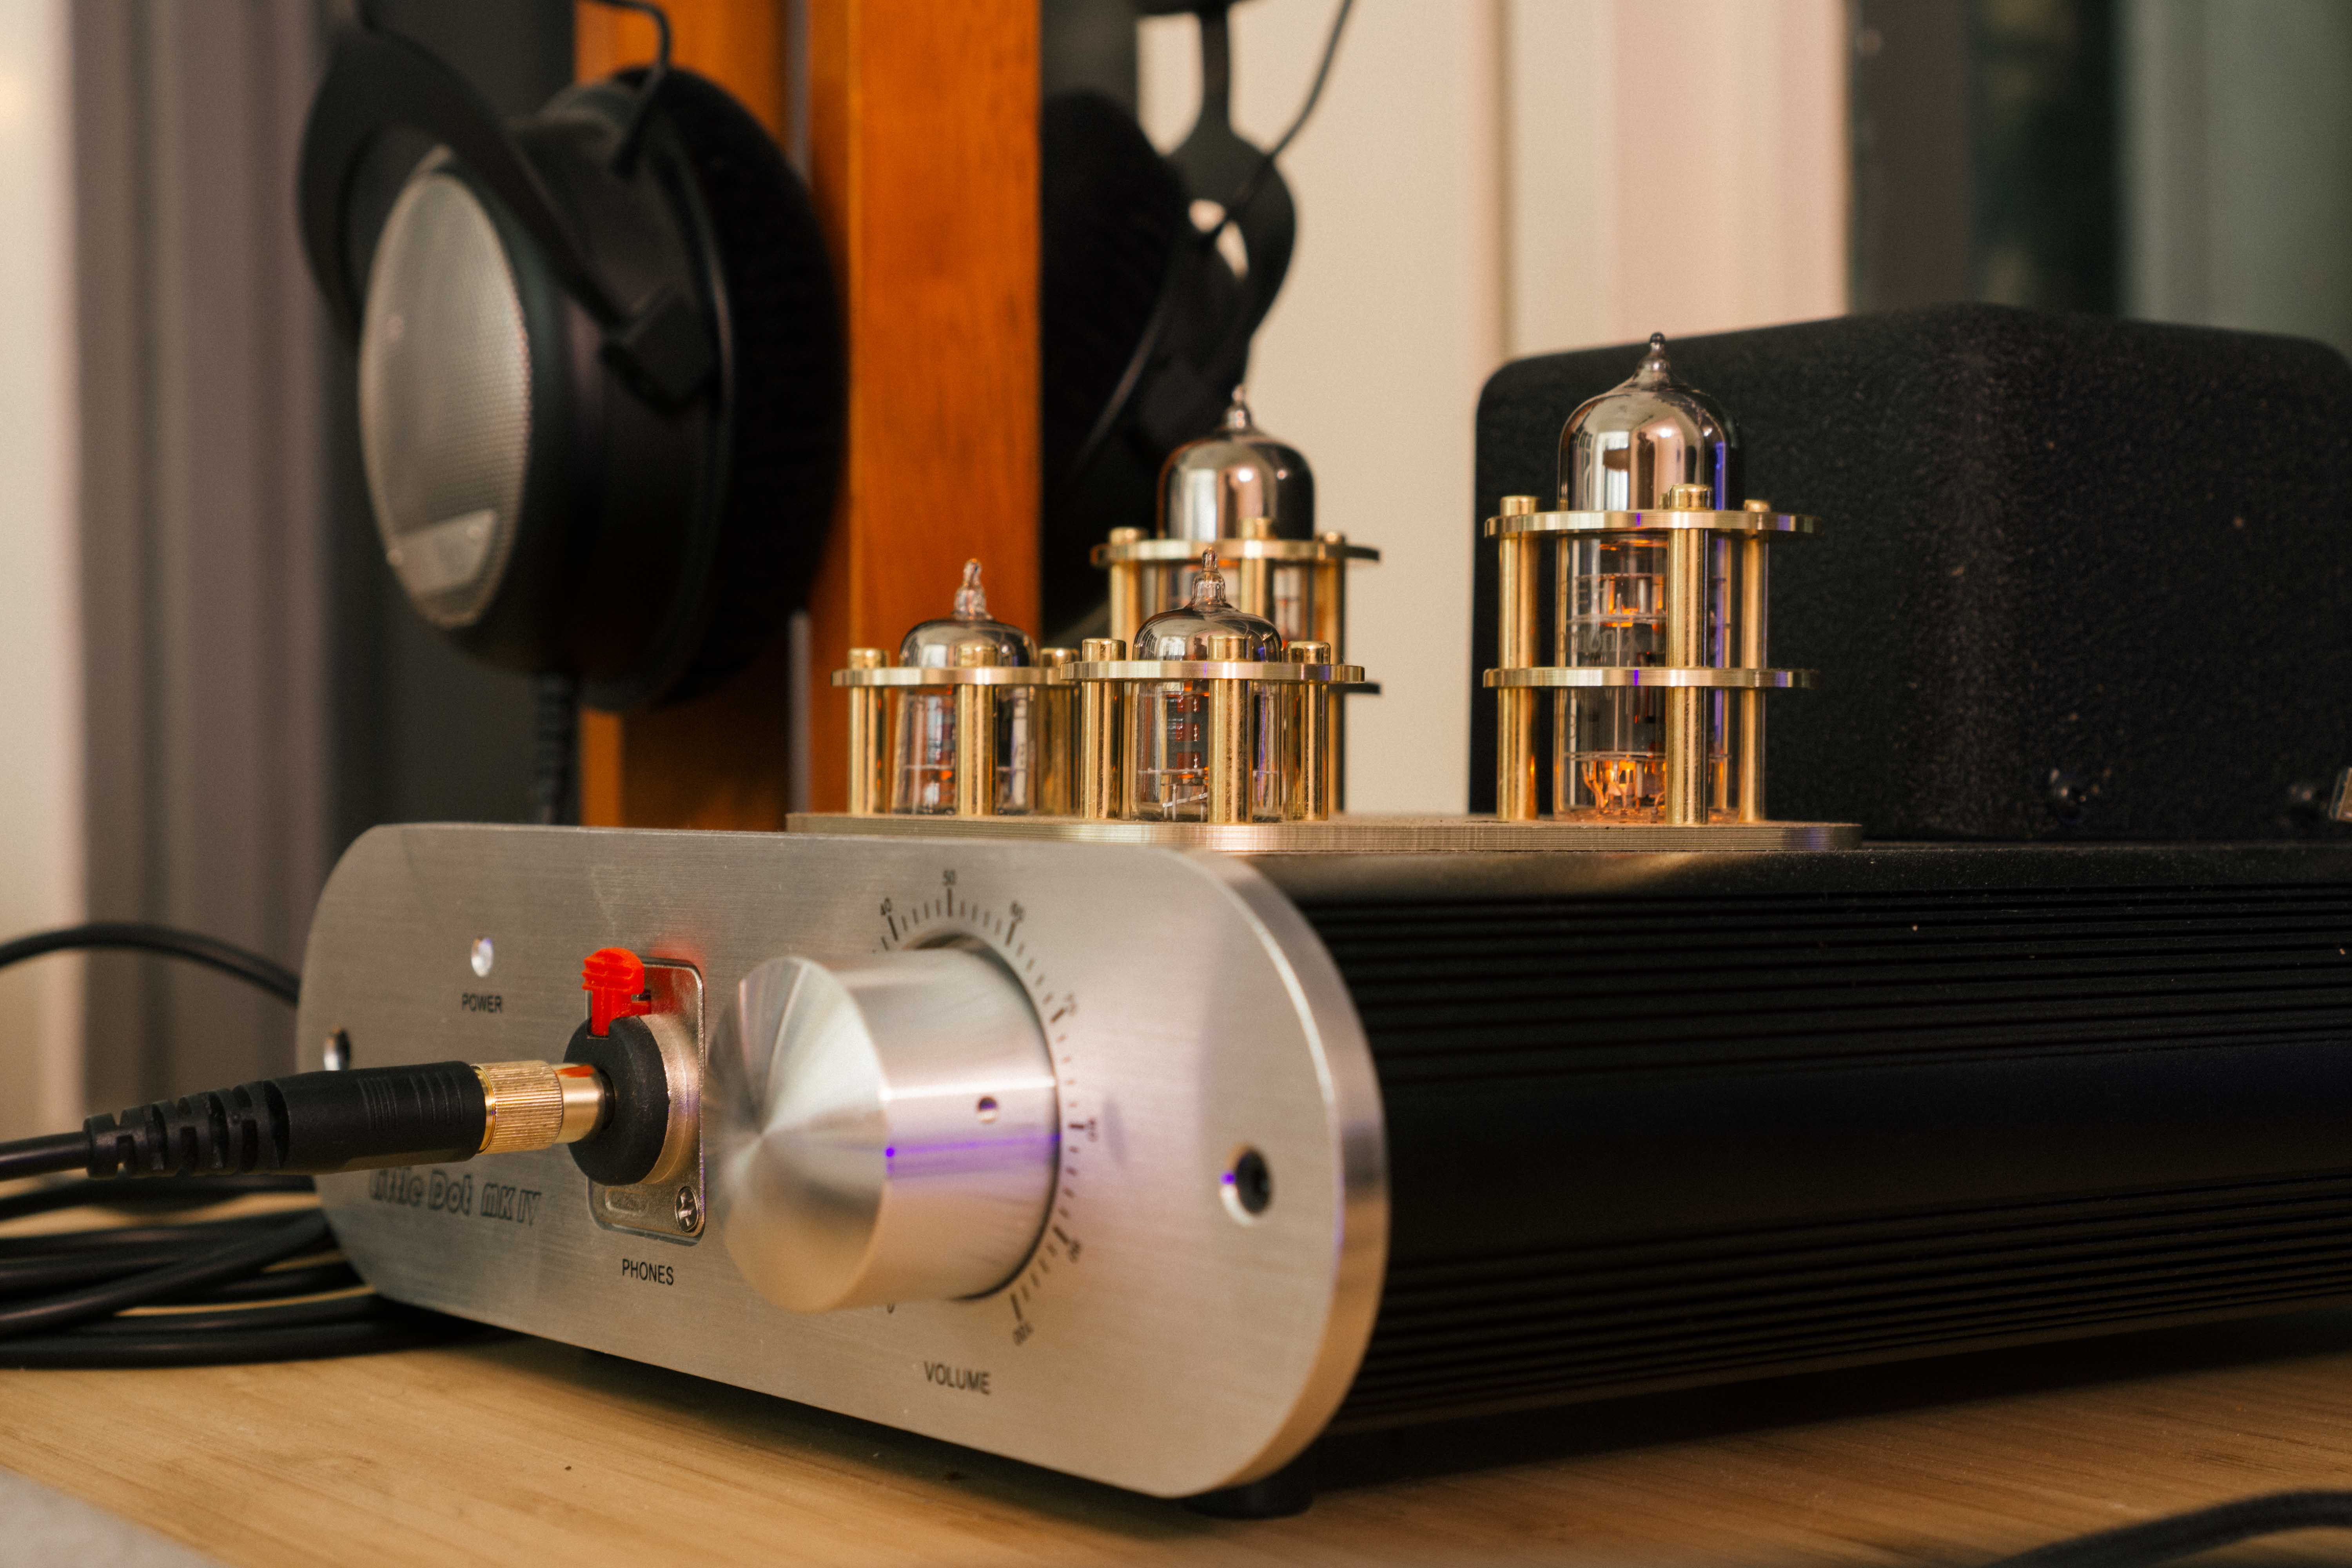
Checked the case temp. and read 36C after 1 hour and just 39C after 4.5 hrs. Nothing
too drastic, eh? Hopefully the MKIV SE has displayed its amazing, forgiving versatility once again...
.
"I can say that without doubt these 6AS7Gs are giving me a taste of hi-end at a lo-to-mid-end price."
Well I probably won't be making mods for quite a while after I get to hear other systems and I'm convinced it would be worth it. But what you are saying about high-end at nearly low-end prices is sounding good should I think it worth it. I probably won't hear the other systems I would like to hear until a headphone show in early October. So I am certainly considering modifying my IV SE amp on what must be considered a very long-term basis.
Consequently since I find that rolling thread hard to follow since the information there is very spread out among many pages I would appreciate it if when you are all through you could post say on this thread a consolidated guide for dummies that might be easier to follow.
So far I am gathering the big power tubes you are using need a beefier heater current supply there are no pictures on that rolling thread showing how you wire in the beefier power supply. It also seemed like you were suggesting some resistors have to be changed to higher wattage, but then may have changed your mind.
So it won't be for quite a while when I may wish to embark on doing mods, but will certainly very much appreciate it if when you feel you have come close to finishing your little dot IV SE mods you would post some sort of guide for dummies.
PS I used to be electronic technician so I probably have adequate screwdriver and soldering ability.
Hi bb.
As promised, here's a couple of photos of the set-up - the laptop supply and the voltage regulator are usually tucked away underneath, on a lower shelf of my equipment stand...:


The laptop power supply connector is crudely patched to the regulator...didn't want to cut the cable - still need it for the laptop! Am getting a similar supply (but aimed at powering led string lights - 12V/6A) from Amazon for just £11...the tubes need a total of 5A for the heaters.
This particular voltage regulator - $8.99 from Amazon, and rated for 8A - is not very solidly made (I managed to dislodge the solder connections on the output block just by tightening the screws!... but easily resoldered). It also does not have a readout, so a meter is needed to get to the required 6.3V - rough measurement first at the regulator before connecting tubes, then final check at the pins ...some have found a slight difference. This regulator is adjusted by a small screw atop a blue block (can just be seen on the far side of the pic). I was going to splash out on a bench DC power supply, but that was "damaged in transit" - supposedly! - so I am saving myself some money and have gone for another DC 'buck' regulator, but this time a beefier one (12A) with more protection circuits, and even with the new power supply still a lot cheaper than the 'bench'.
Re the heater pins (#s 4&5) of the 6SN7 to 6CG7 adapter (available on ebay, but there are more going the other way ie 6CG7 to 6SN7, so beware!) as can be seen, they have been cut leaving just enough to solder the wires from the regulator. Here I have covered them with white 'blu-tak', a form of plasticine, but good insulating tape would actually be better methinks...it would also be a good idea to insulate at the socket, just to be sure...you do NOT want those pins connecting to the LDs supply,lol!! With as little protrusion as possible, the adapter should seat OK in the socket.
Hopefully this is clear enough, but please ask any questions if unsure about anything...
ps. Sorry if I'm stating the obvious, but when numbering the pins, look from below (as shown in the photo) and with these '9-pins' the larger gap denotes the 1-9 position - #1 is to the left as you look, and they run clockwise.
the C3G Mod is easy, but costly in the end.
http://www.head-fi.org/t/563884/little-dot-tube-amps-vacuum-tube-rolling-guide/6000#post_10512665
At least with our MKIVs we don't (thankfully!) have to worry about the extra extender/tester adapter...we just have to remove ALL of the 'brass' bits (plate included) and the adapters fit OK
.
I'm actually going to see what happens with the straight-replacement 6HM5 in place of the C3g...should be very interesting to see what they can deliver, with the 6AS7G in the hot seat. Will keep you all posted.