That definitely includes you. By the way, I had a good day at the drill press today. I figured a neat little way to get a little more out of this wondrous little machine.

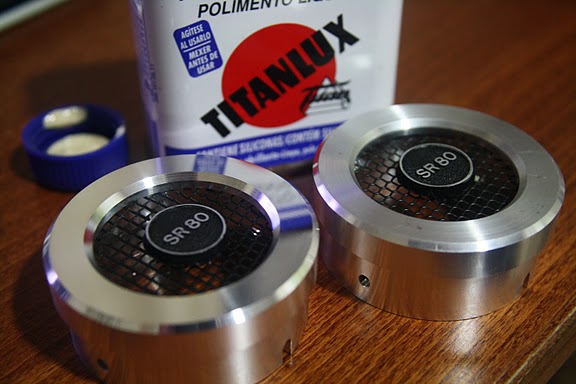
This may not look like much but it's choc full of potential. With a little thought going in, it's possible to bevel the shells a bit, not as well as with a lathe but enough to do some interesting things. The logic of the mushroom top, which everybody associates with the GS1000, goes back to the SR325. The whole reason for that particular design was to go larger, in the second shell, while fitting the gimbal and the primary shell. As all of the Grados are adopting that look (with a bunch of plastic versions of the SR325), there's more involved than creating a trademark look for the Grado brand. There's the attempt to get more real estate within the existing gimbal space.
Anyway, I've figured out how to so this with the drill press. It won't be as pretty as with a lathe, but it works. For example, even though the tight tolerances between the inner and the gimbal requires the secondary or outer shell to begin at 2 1/8" but stop short at around 2 3/8" (just 1/4" further, it's possible to have an O.D. of 3" as long as you drop back to 2 1/4" (2 1/8" produces a shell just too fragile and wafer thin) when you get to the gimbal. I figured out how to do this with nothing but hole saws and a little bit of sanding.
Here's what you want to do:
1. Set up the outside border of the O.D. to the width you want. In this case, 3 inches.
2. Start the I.D. and bore in a bit but don't go all the way through. Just get it started. I like to use 1 5/8".
3. Since I also do a double grip, I put in a groove at 2", to give the inner something to fit into. I go as deep as I want the inner to go. I have notches on my hole saw but I also stop and check, using a driverless cup. I work the inner in to see how far it will go in as well as to doublecheck the fit.
4. Having already established a deep groove/border at 3 inches, I now go to my other hole saws to use them to "sculpt" or "carve" may way to the 2 1/4" OD of what will be the bridge to the inner shell. This is the part that will have to pass through the gimbal. I want it to be small enough to thread the needle, so to speak. I whittle away at it by using a succession of smaller hole saws. With each of these, I measure how far down to stop the cut, then I use each size to cut away wood so that the half of the shell closest to the inner is shaved to 2 1/4".
I don't know if this hammerhead/mushroom top provides any noticeable benefits in sound, but I'm willing to give it a try.


") Btw nice Grados sharkz and great new creation Bill!
Btw nice Grados sharkz and great new creation Bill! 
