


SHAMuuu
Headphoneus Supremus
- Joined
- Sep 23, 2013
- Posts
- 2,960
- Likes
- 1,652
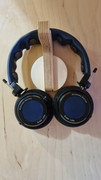
Anyone who has seen my quest to make DT48 woodied up and more music friendly, I present Prototype number 3 from Shamuuu Labs lol
From putting the drivers in Dt770 shell to Fischer Audio Wood cups, and now trying Fostex shell.
Don;t worry these were all spare/junk parts accumulated over the years, and reversible/ re-usable. I'm just documenting this... b/c well I don;t know anyone else who is trying to put DT48 into wood shells, but there are 2 other people modding the DT480 I know. So then I am the lone wolf in this game trying to make the most hated driver "loveable" again

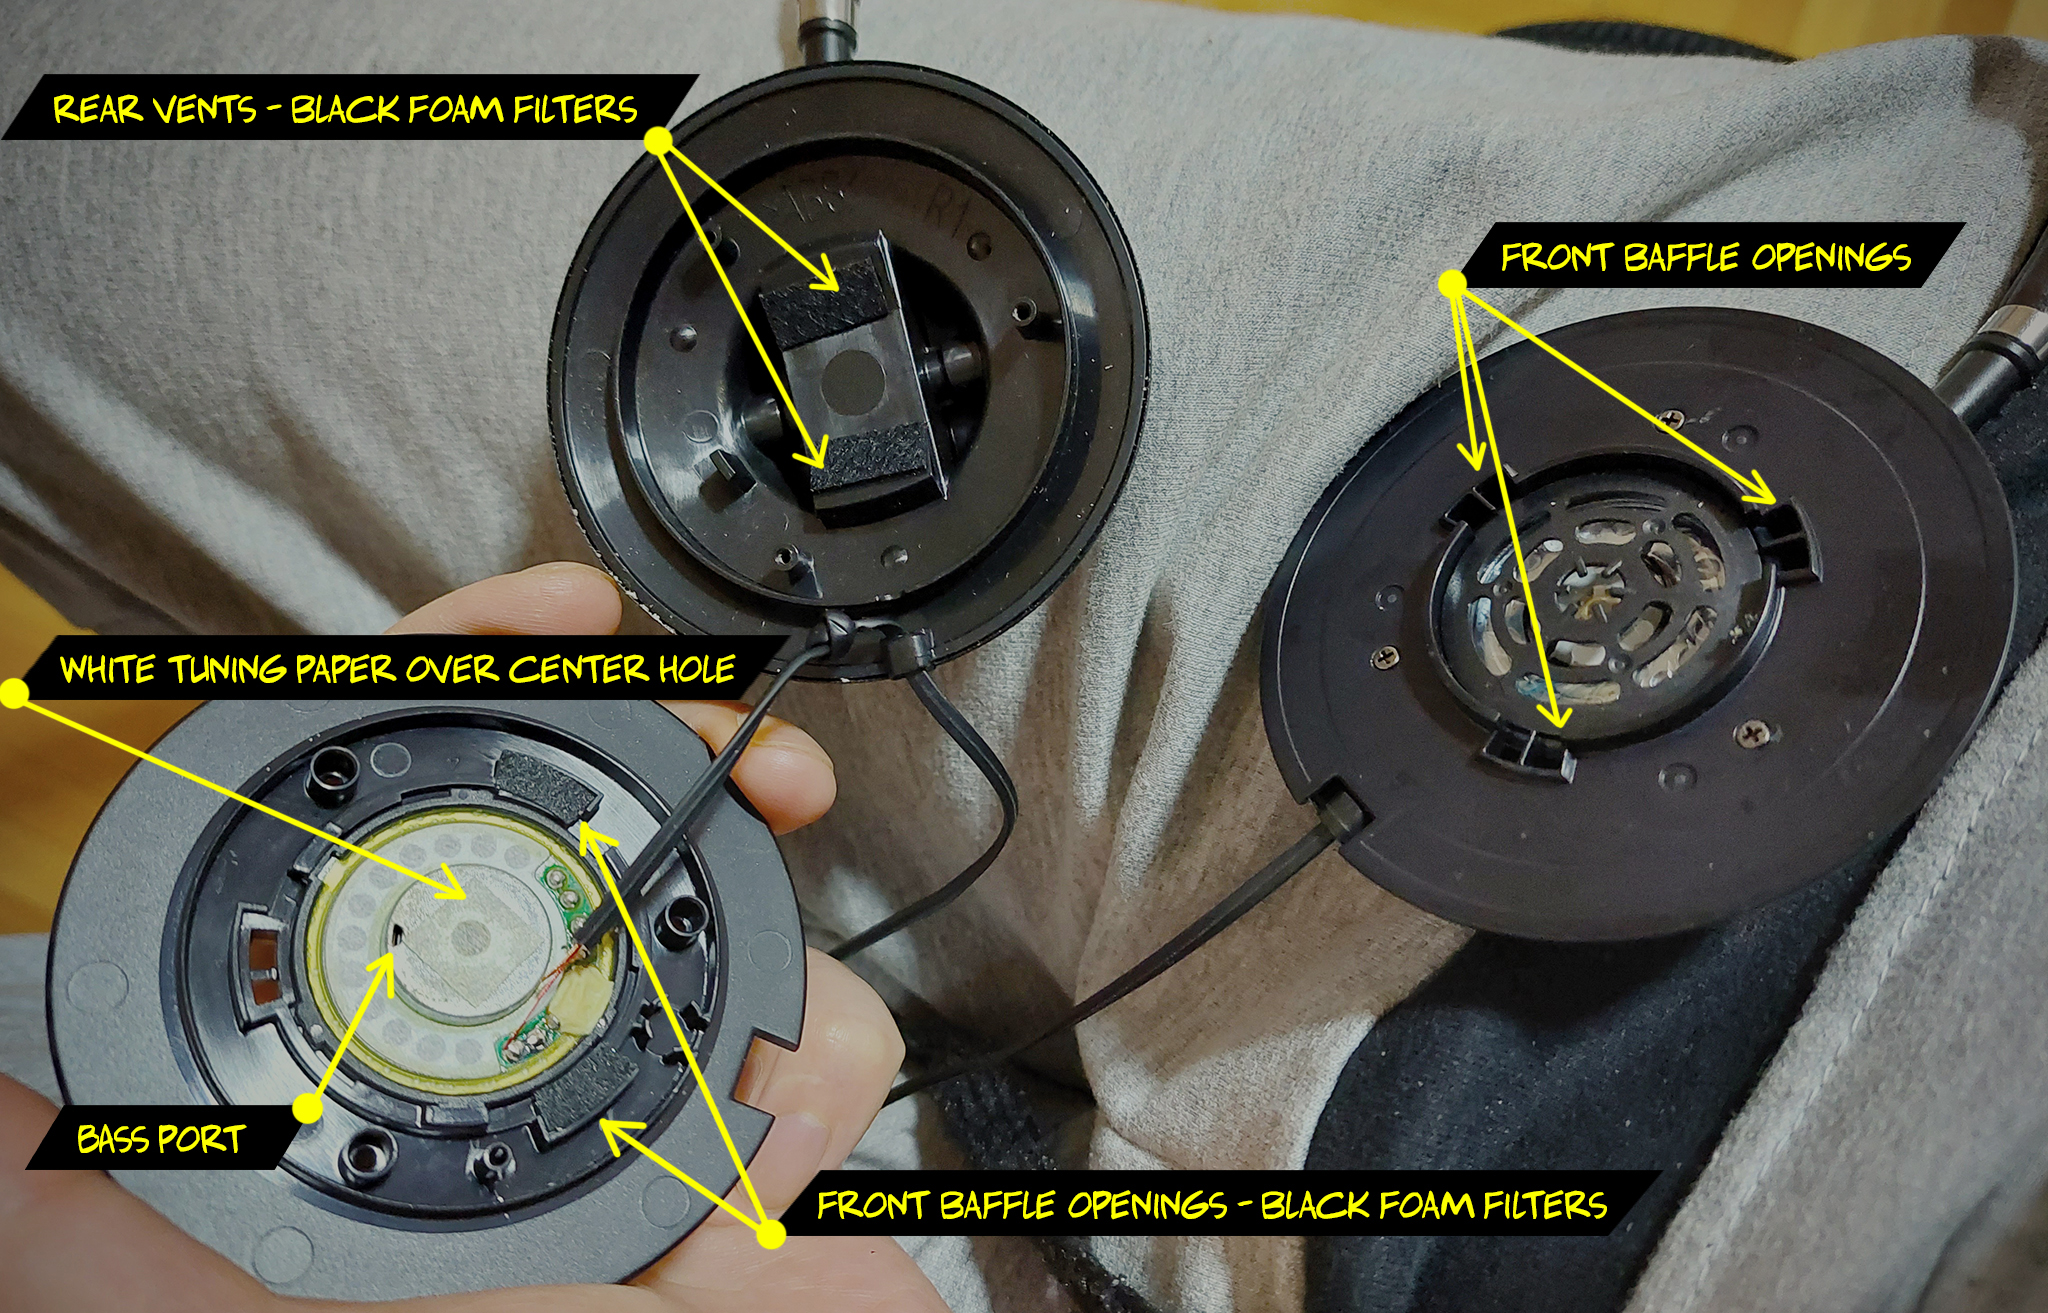
TH-500RP frame from gutted one (cups were used on an open-back d2k I made w/ Alpha pads and Lawton mod...on driver magnet, and Lawton foam)
Rosewood cups given FREE (head-fier hooked me up with d2k on the cheap cheap and threw in Bamboo cups, and this Rosewood was damaged a bit so FREE)
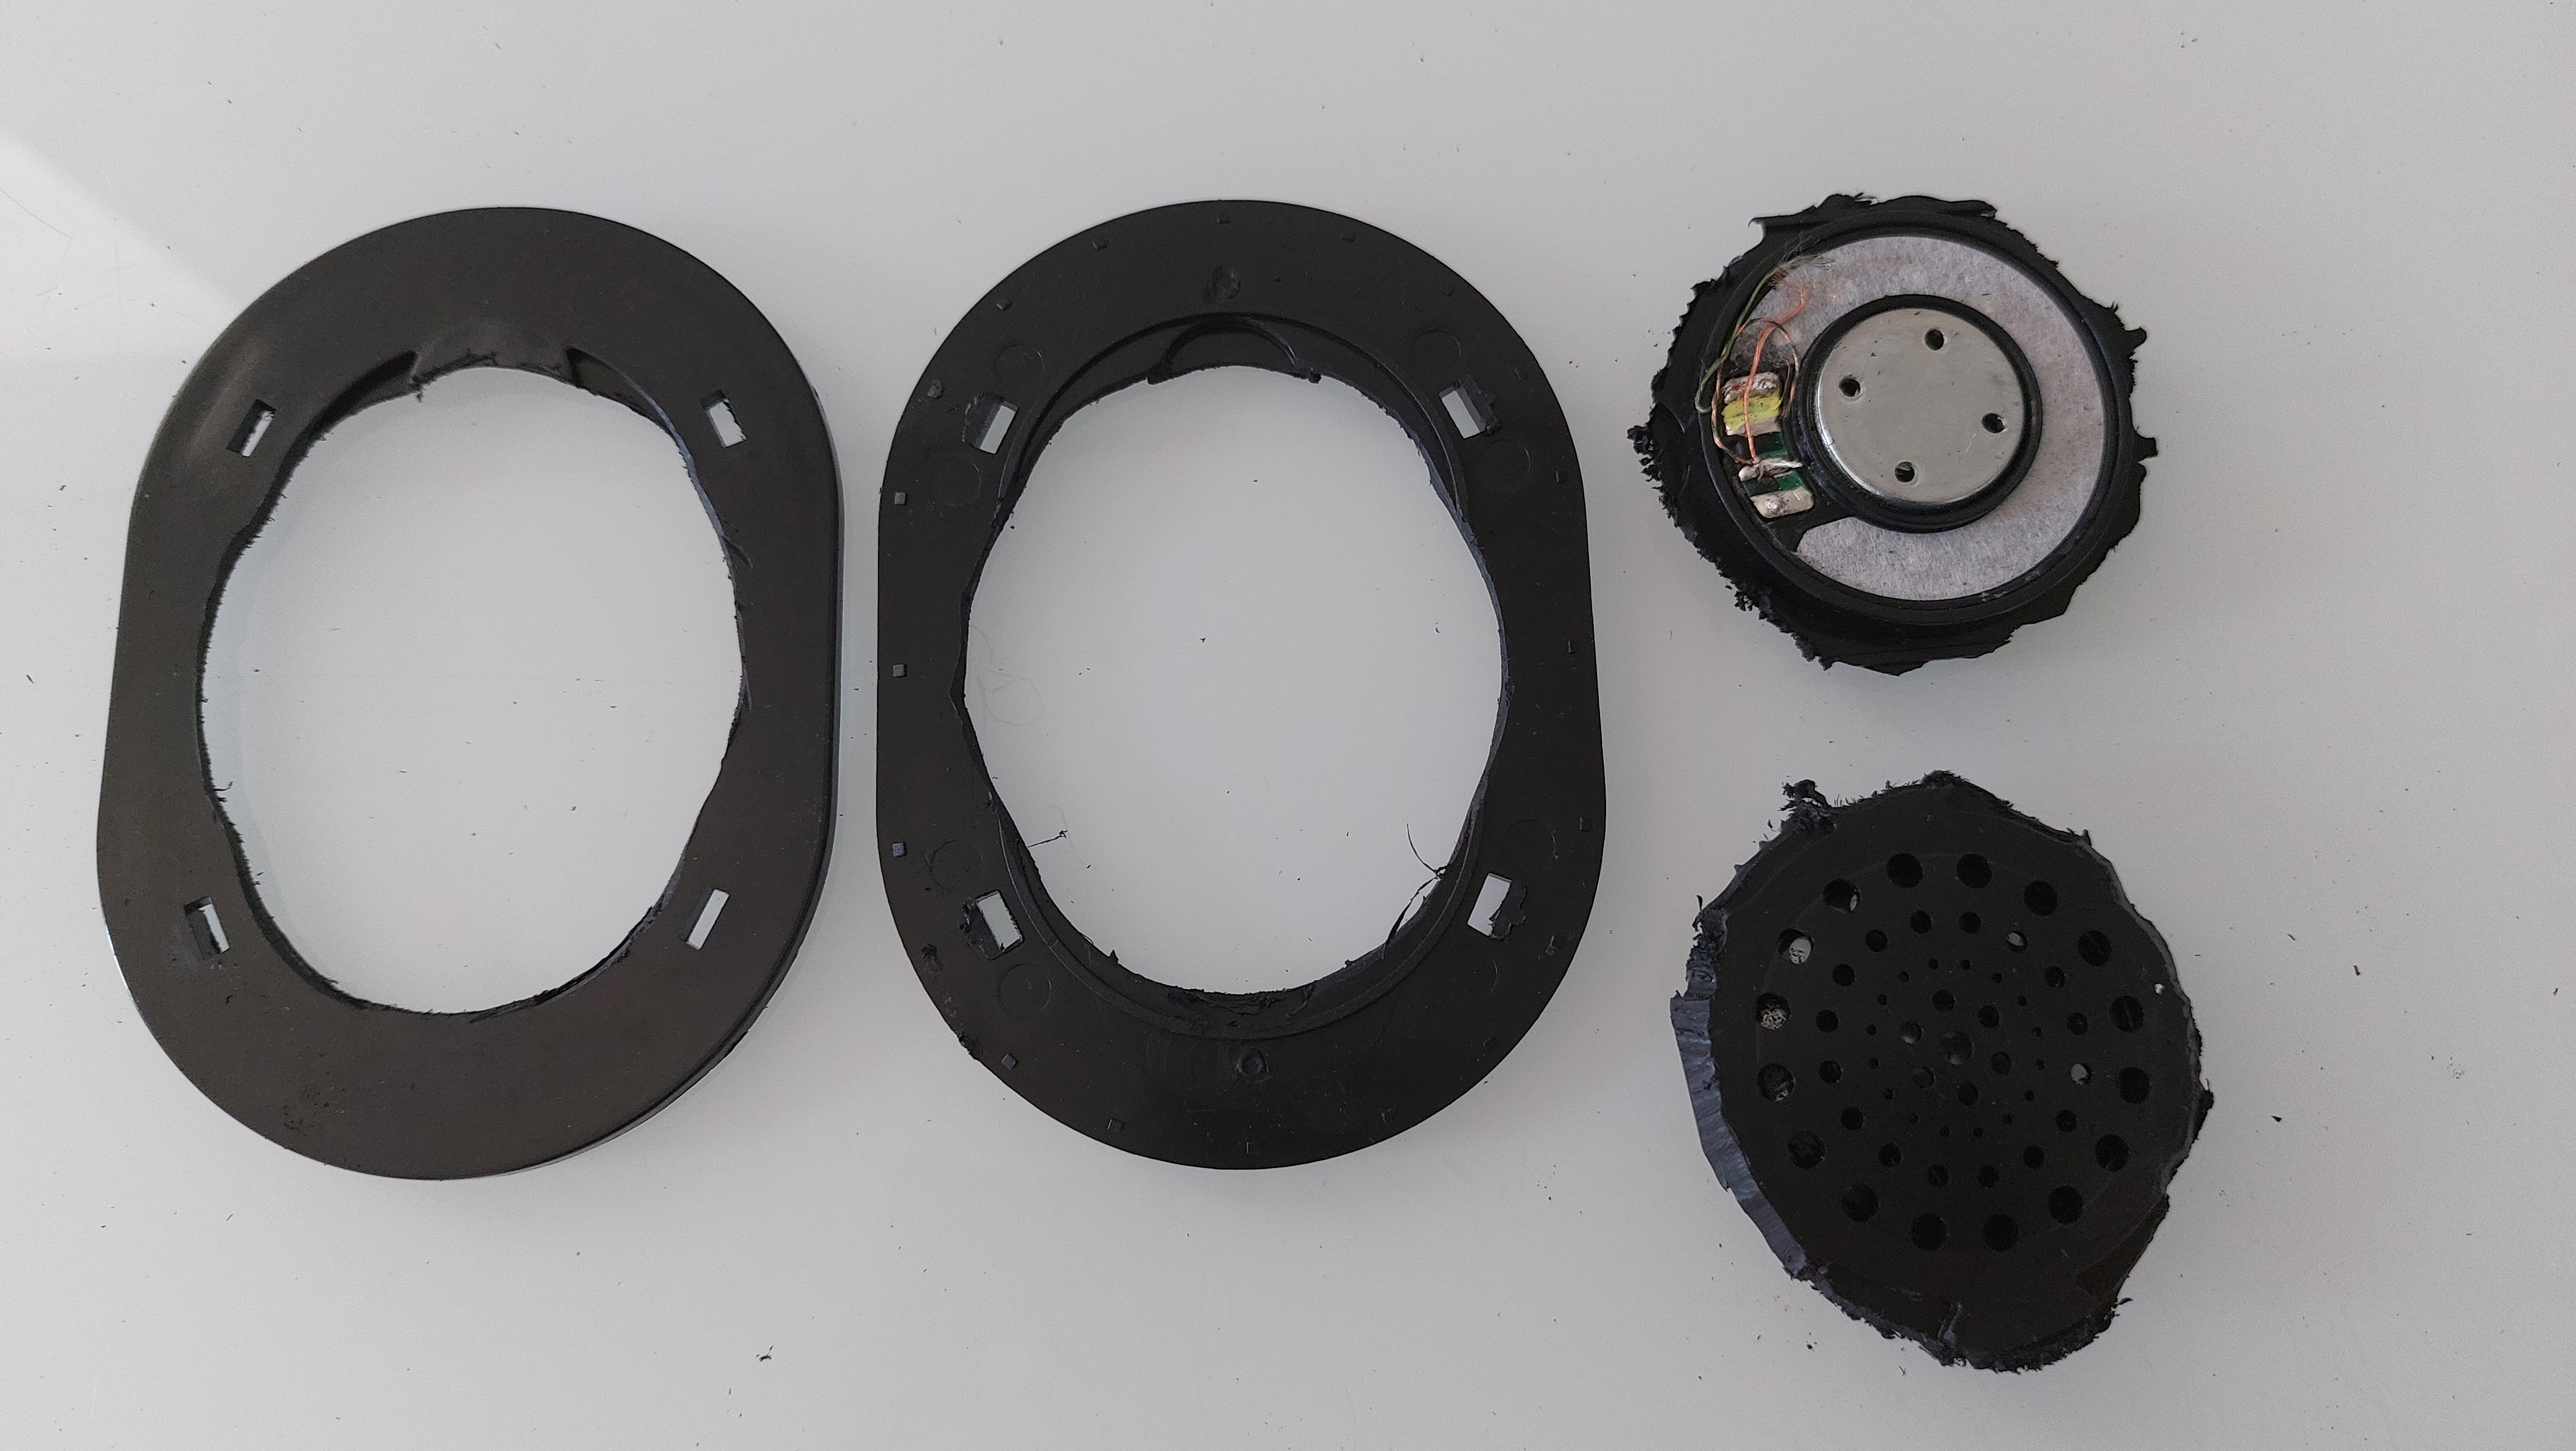
DT48E drivers 25ohm, i've used in the DT770 and Fischer Wood, they've taken a beating but keep on tick'n
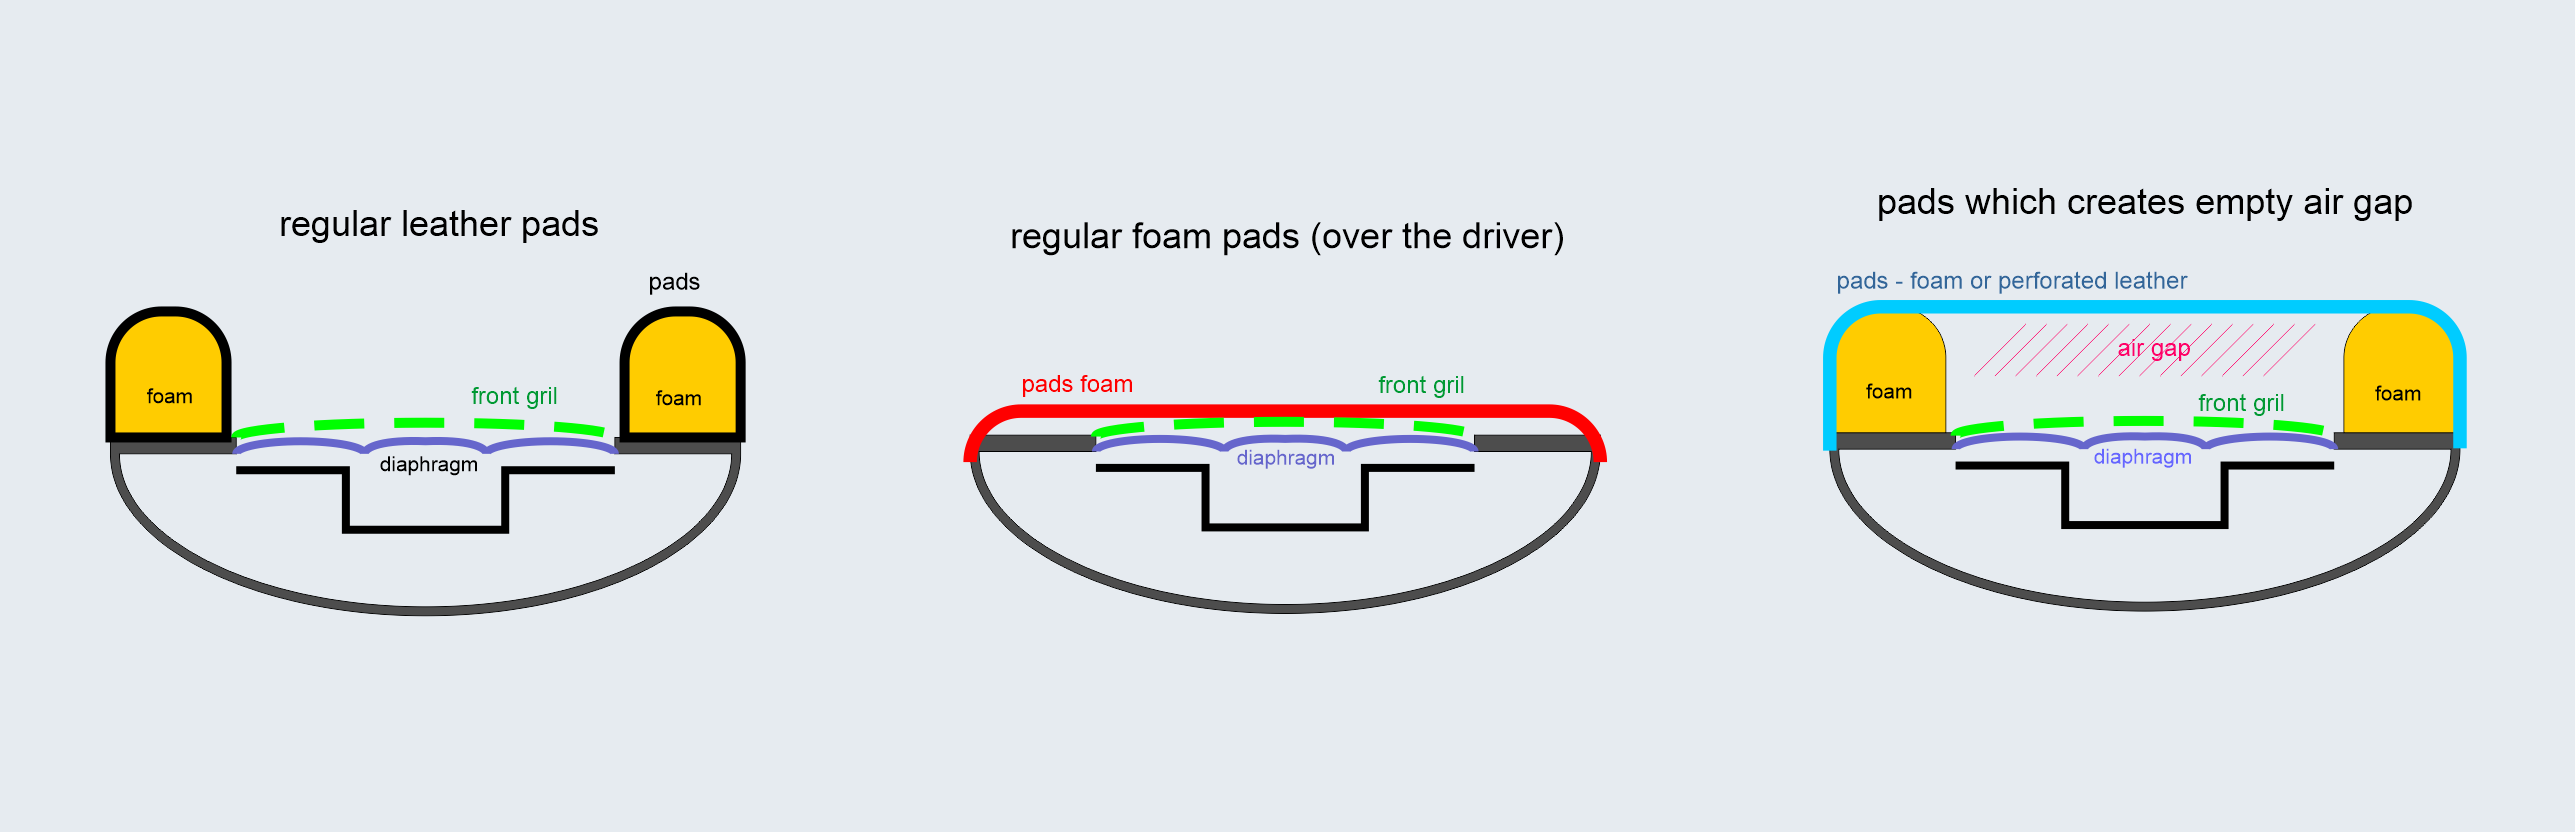
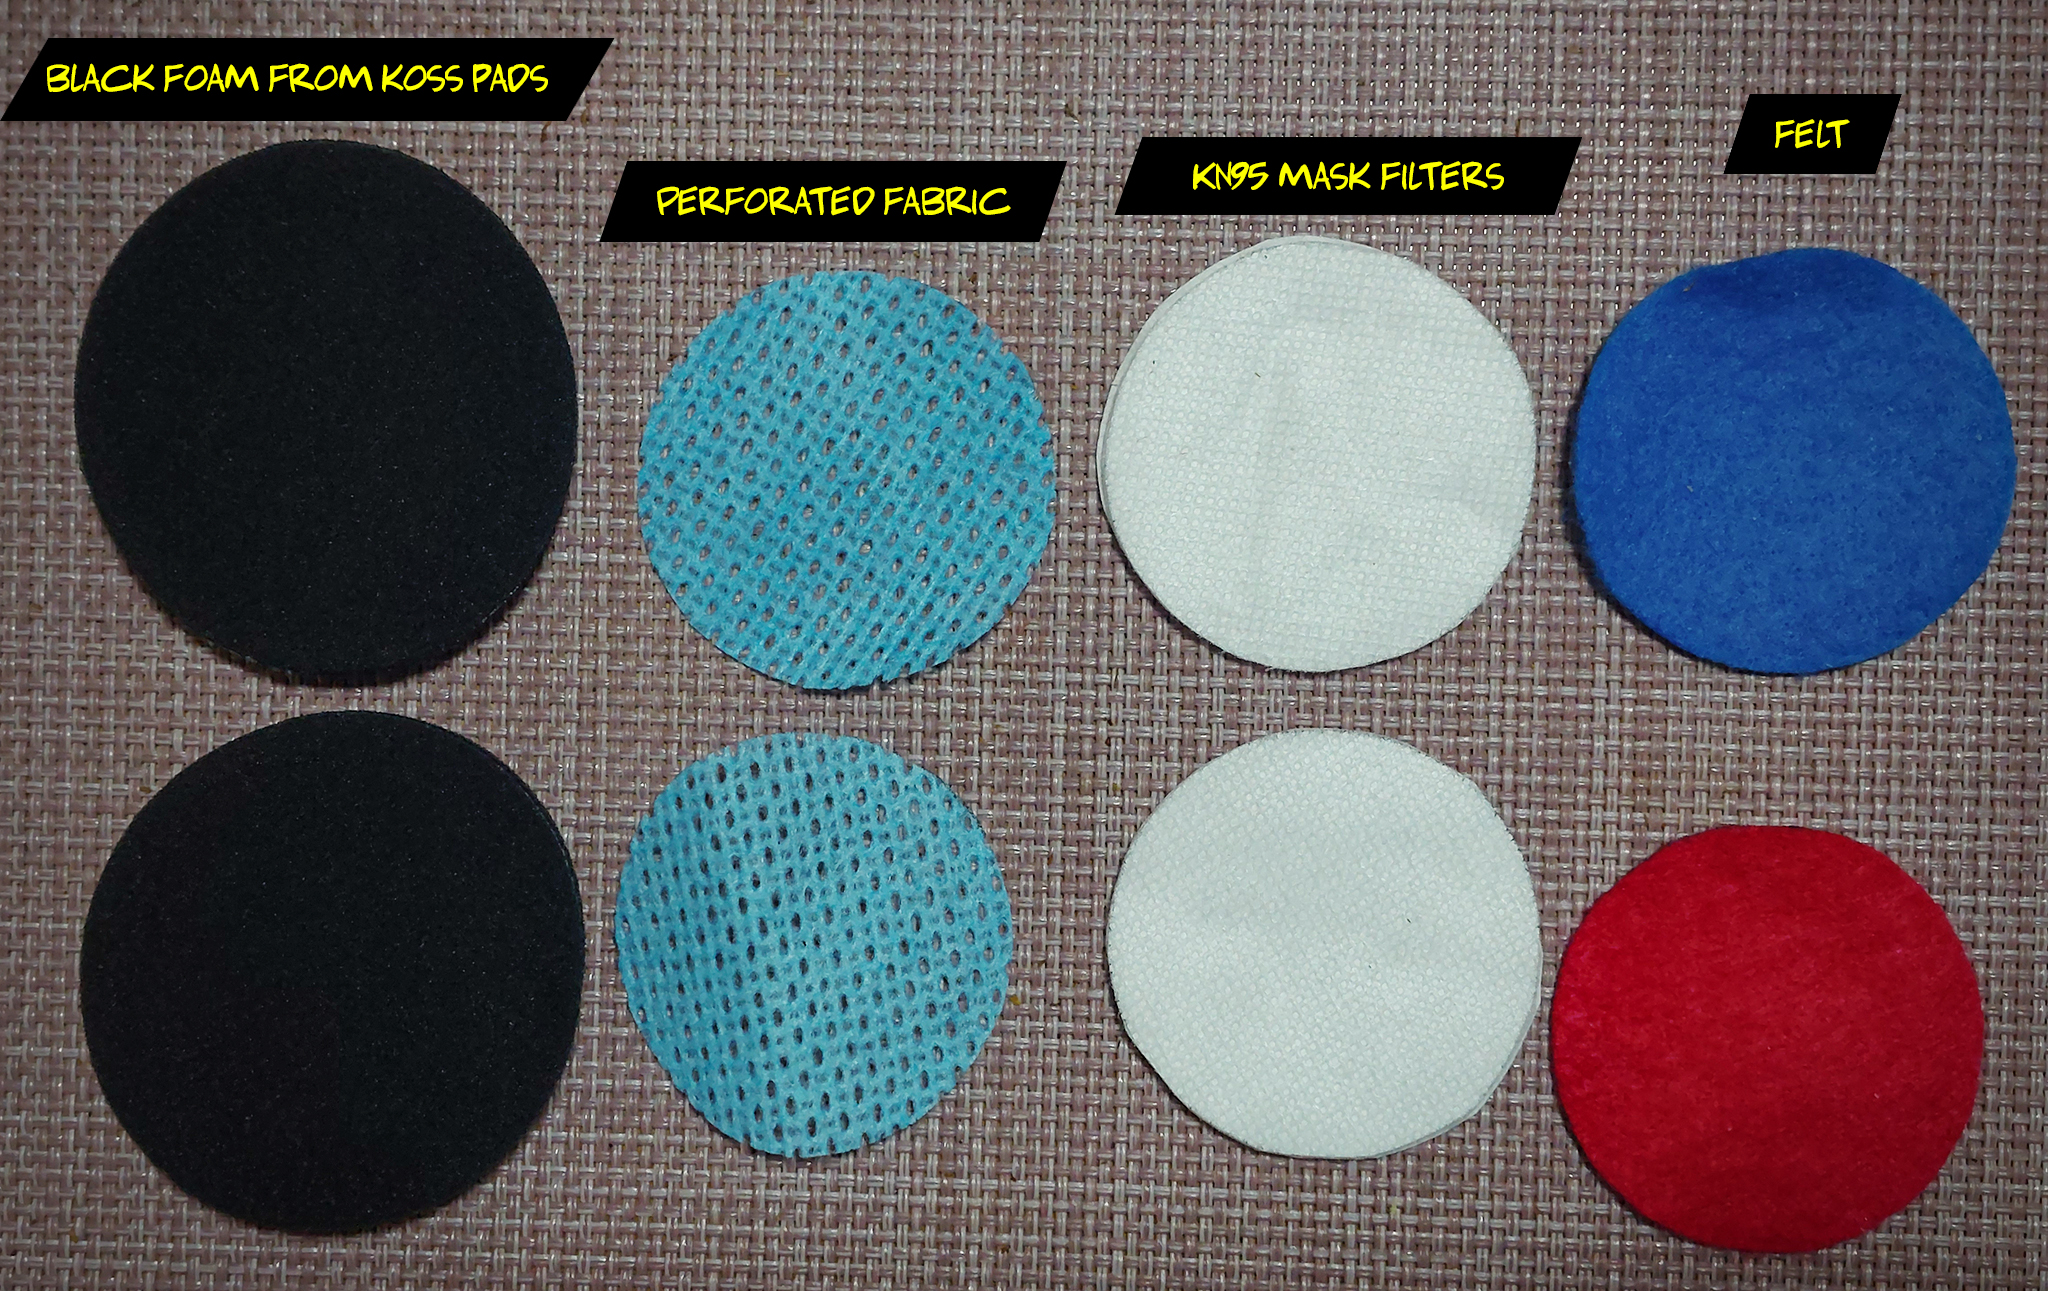
On ear pads to channel bass (similar to new pads with inner part of pad)
Sheepskin pads (these are being used on my d5k w/ Bamboo atm, so just for testing)
My past :


Anyway, I really do like the way these drivers play in woodies. But, this is not exactly the setup which I think will be best for what i want, but they sound pretty good believe it or not with EQ bump in subass and the reverberating wood. Unfortunately some of the parts I want are not easily available, so I will have to come up with some creative solutions for my final one. Deeper cups, and a chamber perhaps like on the JVC DX ones.
But that might be months or years away,
Anyway..................... DT48 + wood =
From putting the drivers in Dt770 shell to Fischer Audio Wood cups, and now trying Fostex shell.
Don;t worry these were all spare/junk parts accumulated over the years, and reversible/ re-usable. I'm just documenting this... b/c well I don;t know anyone else who is trying to put DT48 into wood shells, but there are 2 other people modding the DT480 I know. So then I am the lone wolf in this game trying to make the most hated driver "loveable" again
TH-500RP frame from gutted one (cups were used on an open-back d2k I made w/ Alpha pads and Lawton mod...on driver magnet, and Lawton foam)
Rosewood cups given FREE (head-fier hooked me up with d2k on the cheap cheap and threw in Bamboo cups, and this Rosewood was damaged a bit so FREE)
DT48E drivers 25ohm, i've used in the DT770 and Fischer Wood, they've taken a beating but keep on tick'n
On ear pads to channel bass (similar to new pads with inner part of pad)
Sheepskin pads (these are being used on my d5k w/ Bamboo atm, so just for testing)
My past :
Anyway, I really do like the way these drivers play in woodies. But, this is not exactly the setup which I think will be best for what i want, but they sound pretty good believe it or not with EQ bump in subass and the reverberating wood. Unfortunately some of the parts I want are not easily available, so I will have to come up with some creative solutions for my final one. Deeper cups, and a chamber perhaps like on the JVC DX ones.
But that might be months or years away,
Anyway.....................
DT48 + wood =
Last edited:


")


