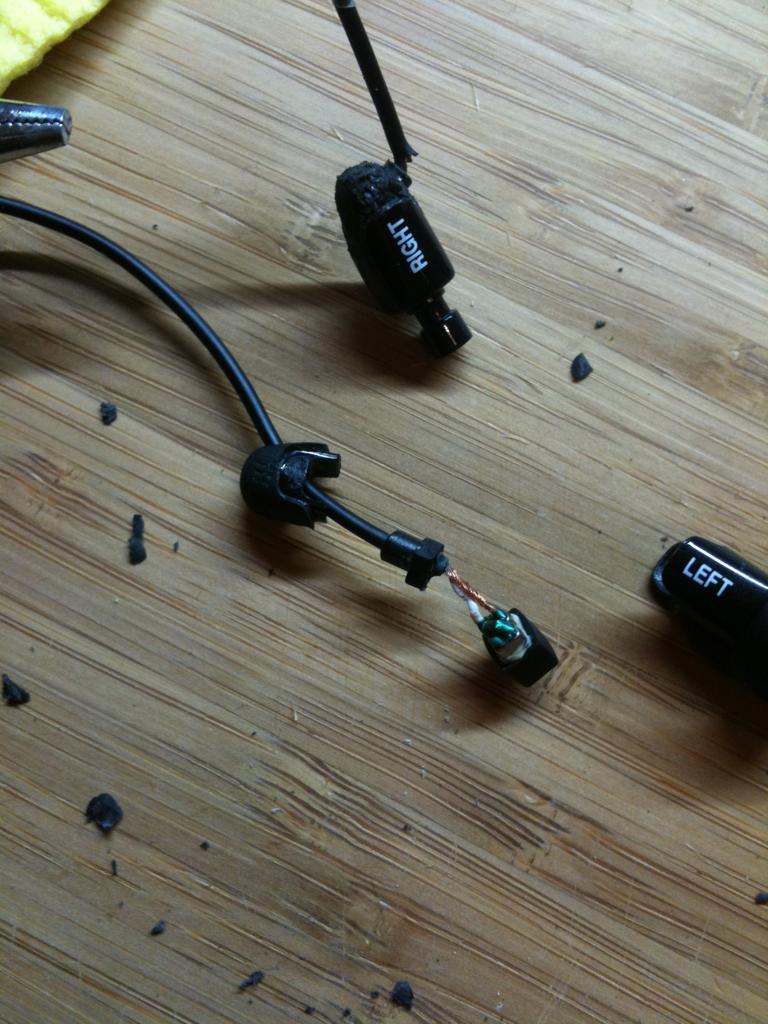
preparing the casing:
The cable is held by a plastic thingy (please forgive my english, corrections appreciated
")
) at the bottom of the rubber cap and is glued to the cable. you can remove it by pushing it through the bottom hole at the rubber back (might take a lot of force).
now you might consider soldering your cable onto the existing ones or soldering it to the driver itself.
** be sure to put on the desired shrink tubes and the rubber cap onto the headphone wire before you solder I ALWAYS FORGET!!! be sure to have them at the right length and size to be able to put it into and bend them inside the rubber cap**
I have found the latter to be more easy (still quite hard), because there is very little room inside the casing. to solder it onto the driver, remove the green plastic coating around the spots the cables are connected to using a sharp screw driver. then solder your cables onto it. It will require precision and a bit of soldering experience. I wasted two q-jays drivers in the process :'(
strain relief:
The q-jays offer no strain relief at the casing! no way to make a knot, so i tried to make one with different shrink tubes, but after many attempts i gave up on that.
putting it all together:
you might want to file the connecting parts on the rubber cap a bit. apply a little bit of super glue but dont use an overly strong one (if you ever want to take it apart again) nor use too much of it for it will result in a mess.
Rubber-cap bottom:
if your shrink tube leaves a little room for movement or air to flow through, it might impair the hearing experience or the durability. apply some glue or some hot glue (very delicate, i chose to do both) around the bottom at the cap
Youre done
congratulations
you have spend a considerable amount of time, but you will be rewarded with a DIY satisfaction
epilogue:
i wasted hours doing this mod. I wasted two drivers in the process. economically-wise its not worth the effort. For my remaining pair i would like to try to just resolder an iphone headset to the original cable below the casing. I hope to maintain some degree of strain-relief and stability. I will open another thread for this as im regarding it as a more general easy approach.
thanks for reading