amb
Member of the Trade: AMB Laboratories
- Joined
- Apr 1, 2004
- Posts
- 4,933
- Likes
- 41
Quote:
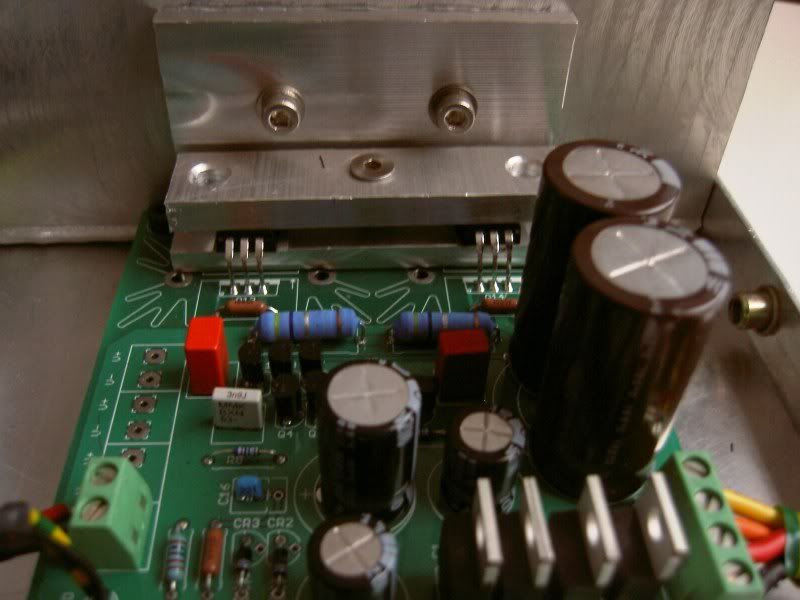
Check to make sure you used the correct value resistors for R6 and R7. Other than that, I think you simply need to turn the trimpot some more. Something would be wrong if you reached the end of the trimpot's travel and still cannot get any voltage across the R9s.
| Originally Posted by Jaypee /img/forum/go_quote.gif started from zero, then +10 turns initially, and +10 more while powered and measuring, still no sign of life across R9. The voltage across C2 (after the initial 10 turns) is 1.65VDC and increases as BIAS is turned clockwise. |
Check to make sure you used the correct value resistors for R6 and R7. Other than that, I think you simply need to turn the trimpot some more. Something would be wrong if you reached the end of the trimpot's travel and still cannot get any voltage across the R9s.