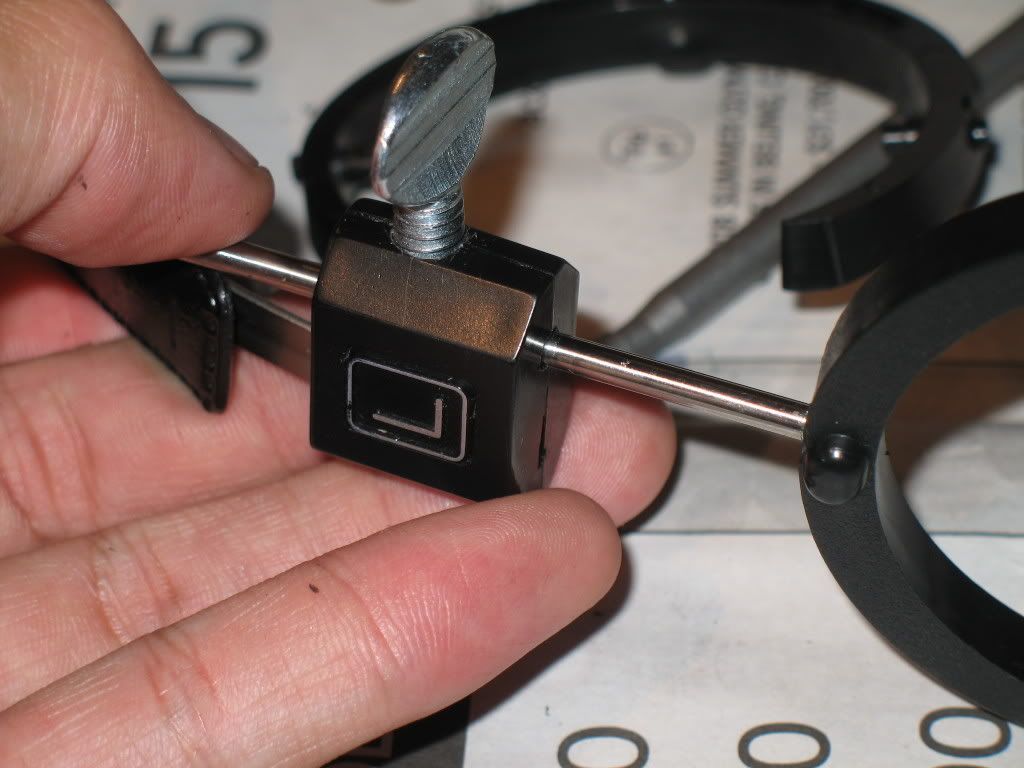
Update. The screws finally fell out of their holes, a very sad day for all of us. I had some free time today (oh man, procrastination is a killer) and I actually picked up a tap and matching screws to replace the now defunct screws. I'm much happier with the results, as the screws (at least the left one anyway) tightens up much better, while the right one is a bit iffy. You'll see why.
Small thought: it might just be easier to make videos of my mods. This whole picture thing takes up a lot of bandwidth. But for now, *shrug*
Also, I did
kontai69's driver sticky goo mod, which has really tamed the highs. The Jonathan Grados used to be on the bright side, but now have almost dropped to K81DJ darkness. Fun, punchy bass, here I come.
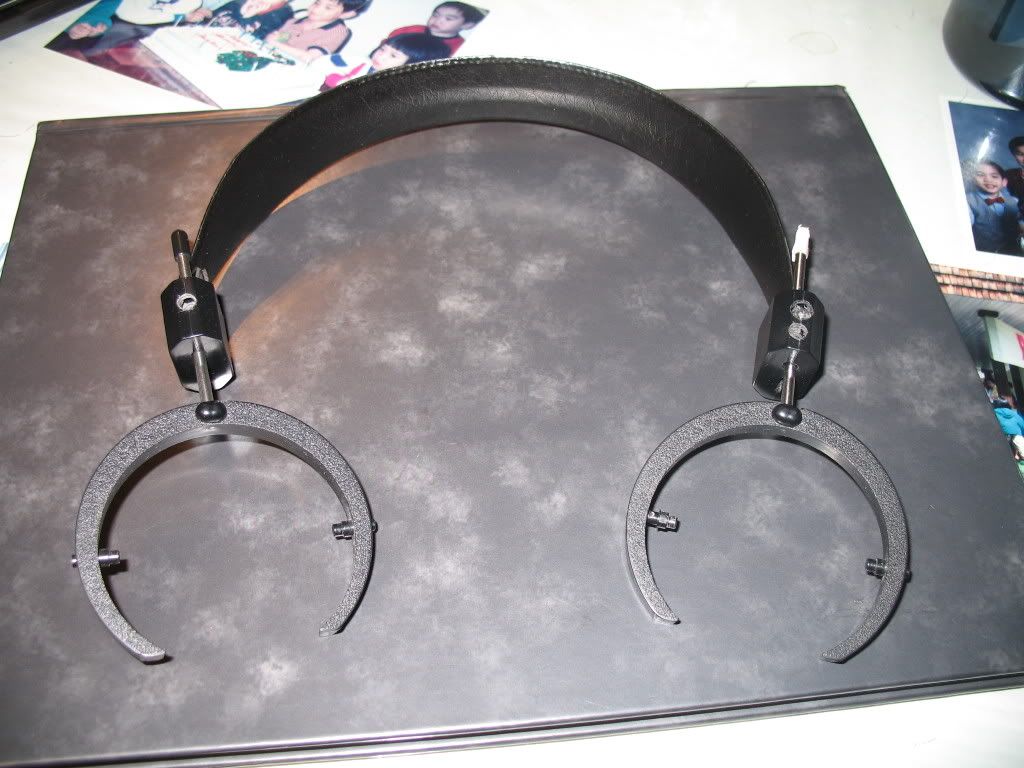
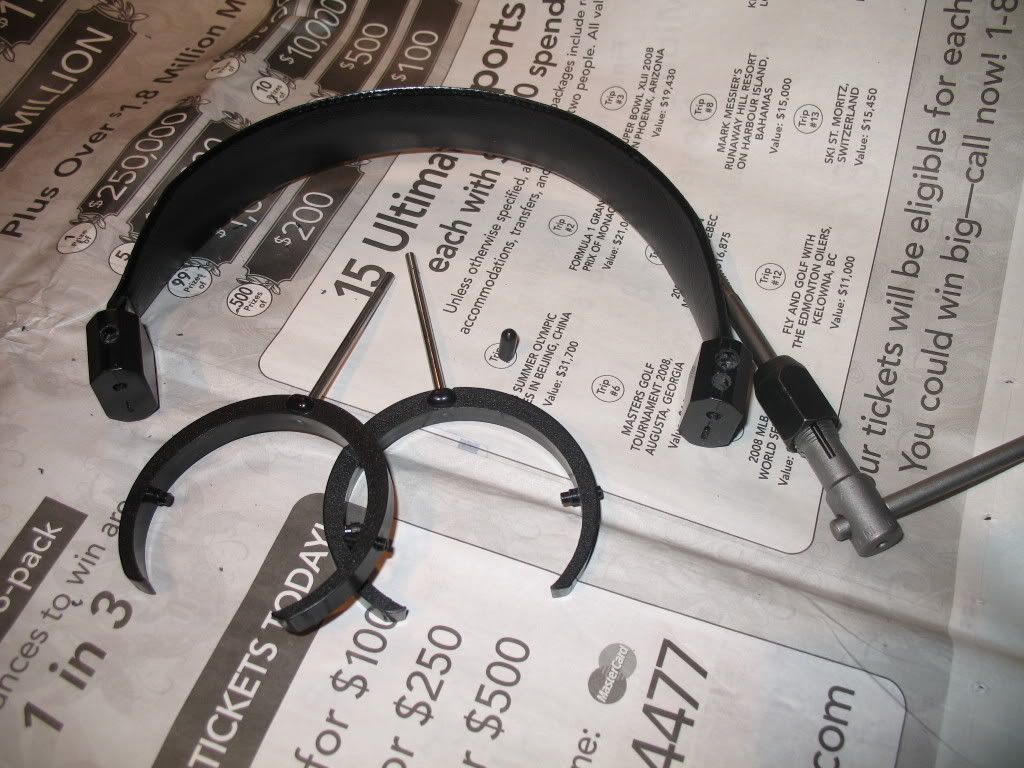
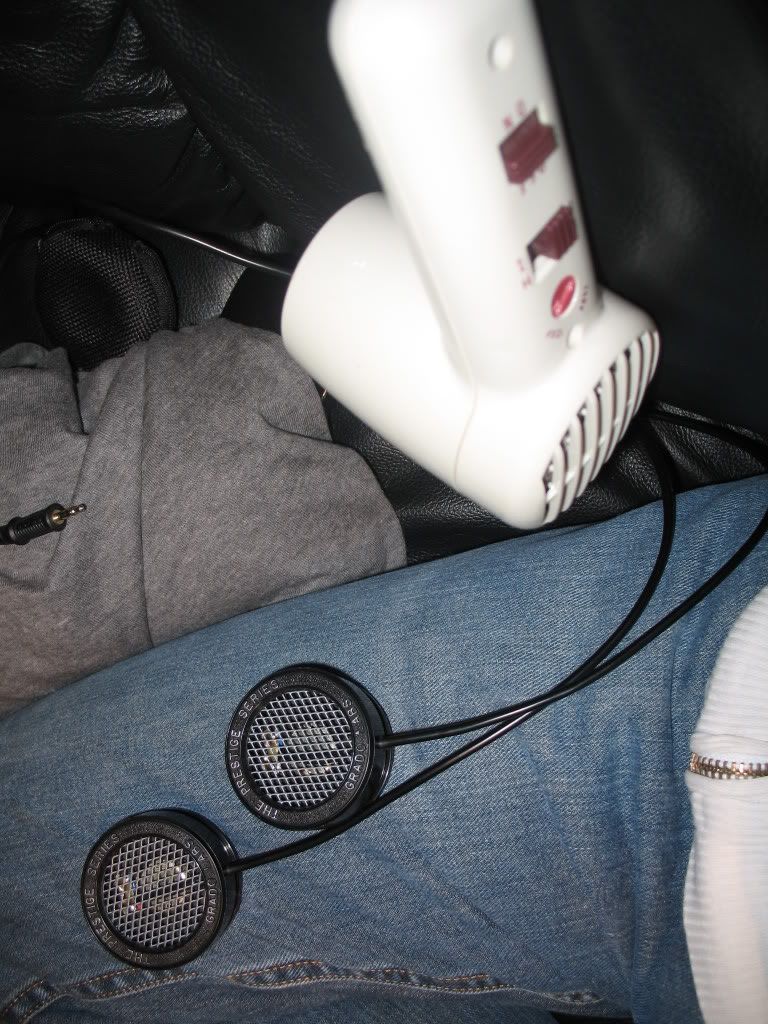
Here they are before further molestation. *whispers* Can I say 'molestation' on the air?
Today's mod made possible by the generous folk at Rona. Why don't they have round thumb screws? =T
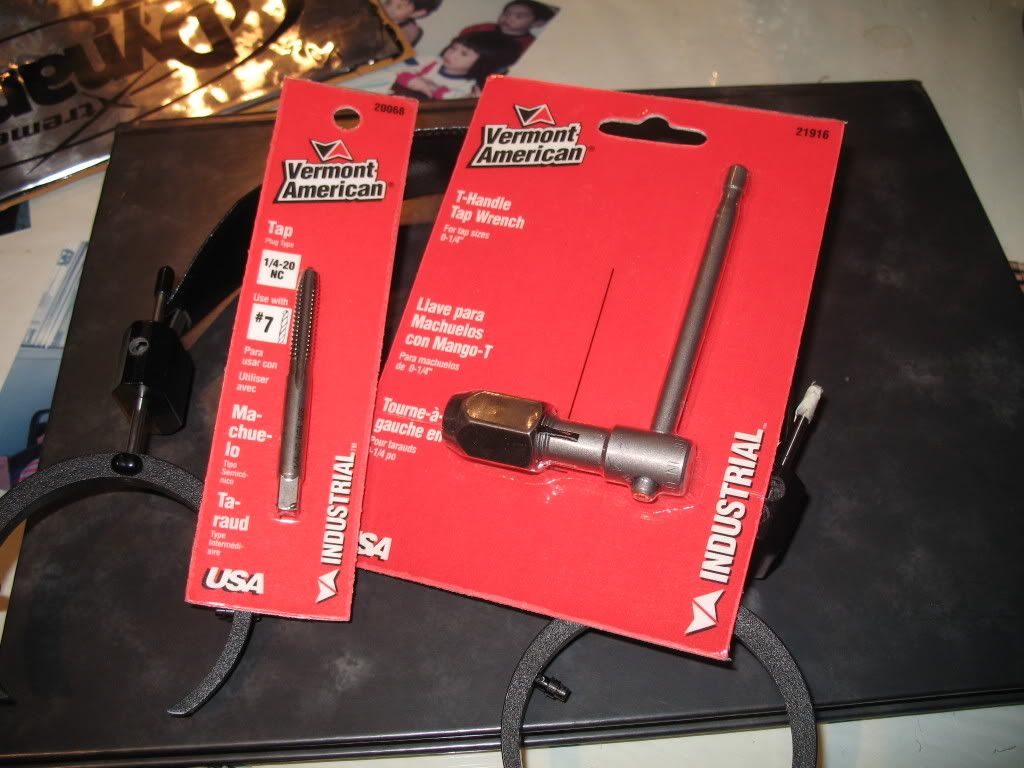
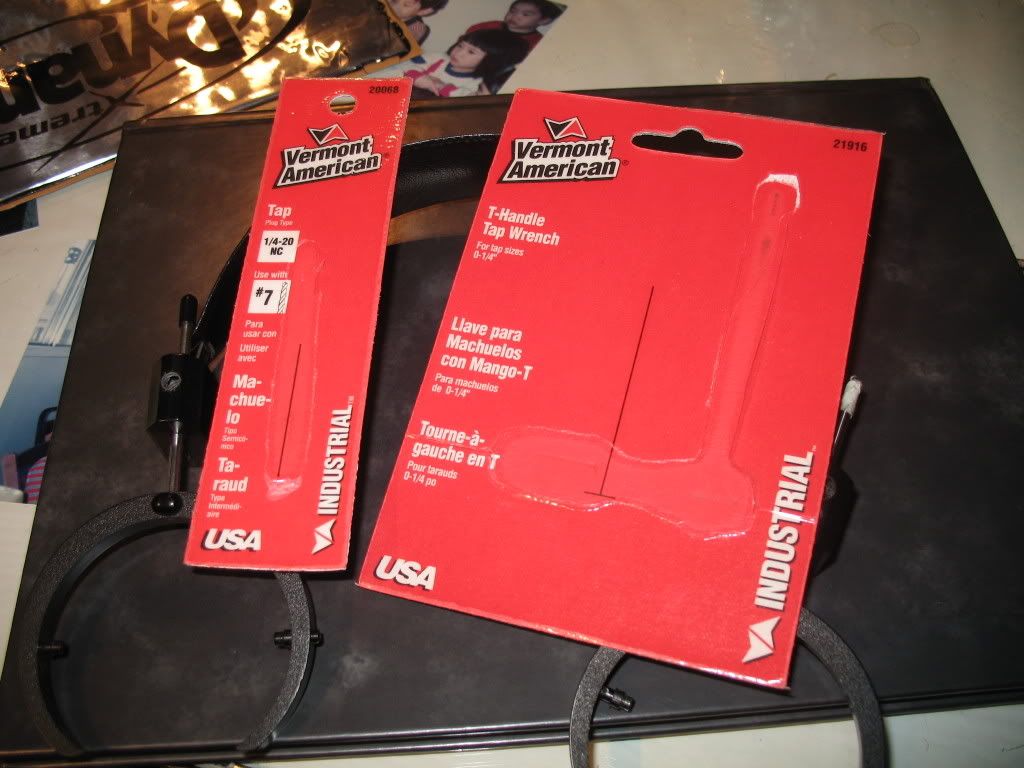
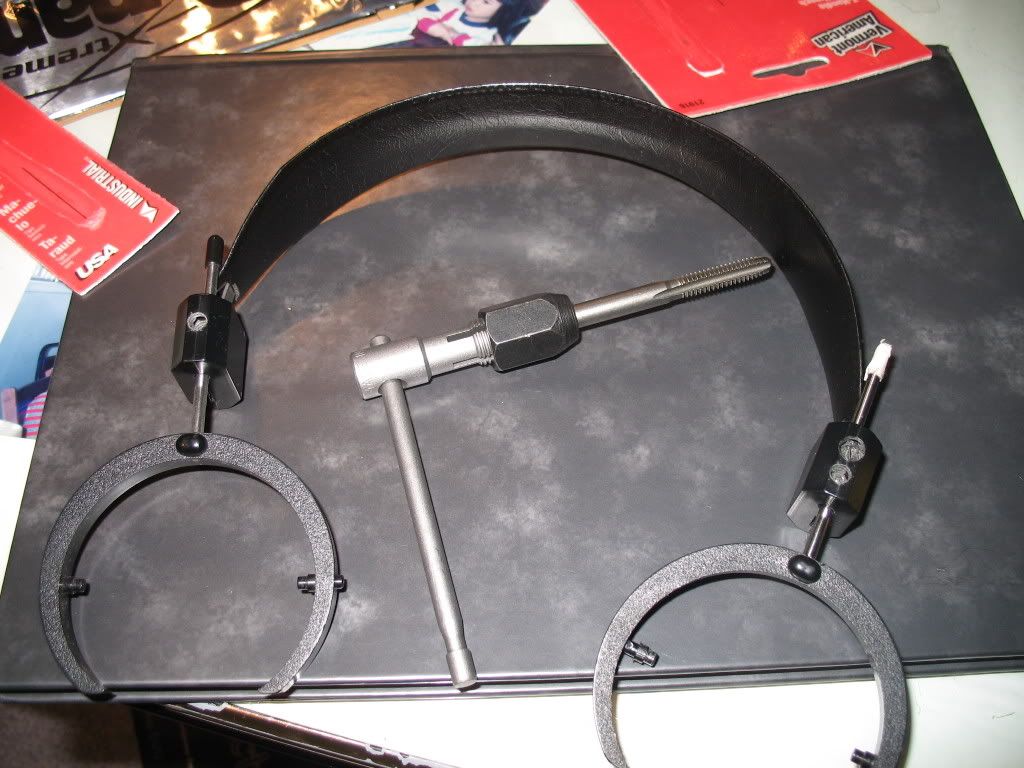
Tools.
Perfect cut out. Where did they go?
Of course! They were right in front of me the entire time. Must have been an optical illusion.
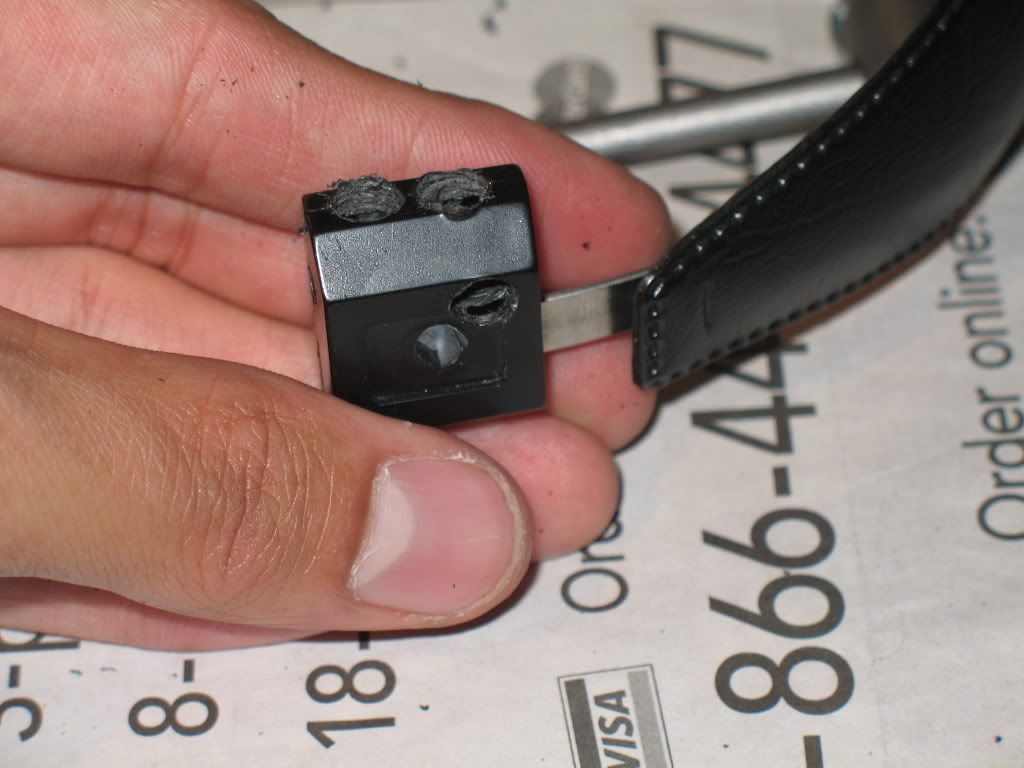
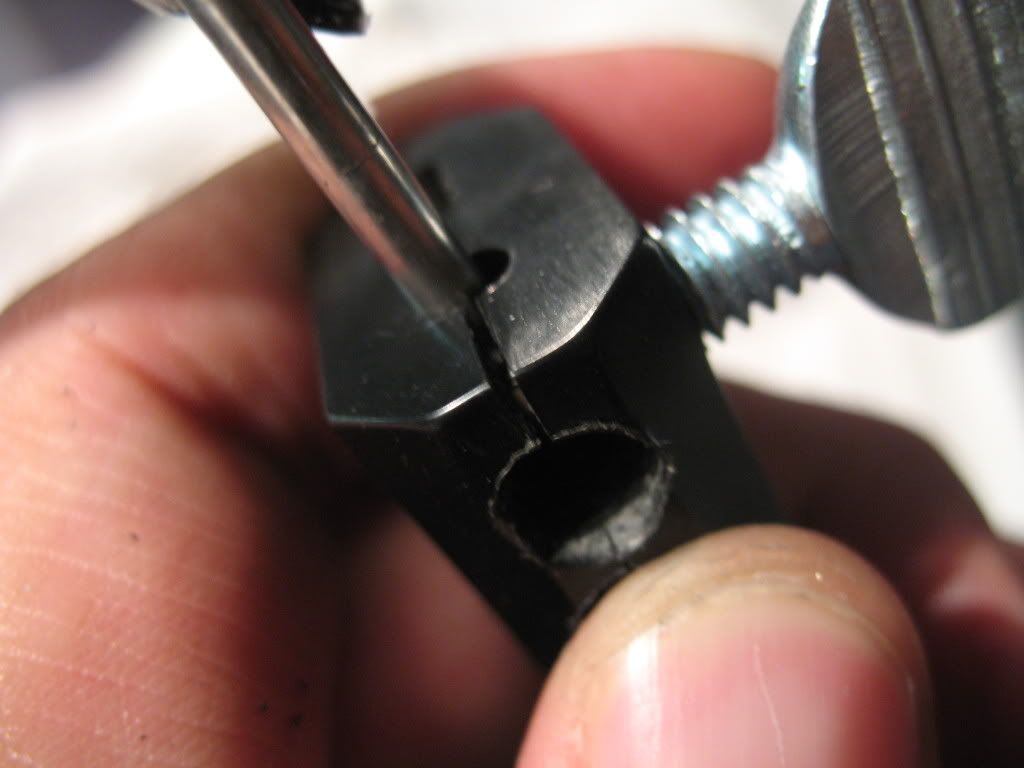
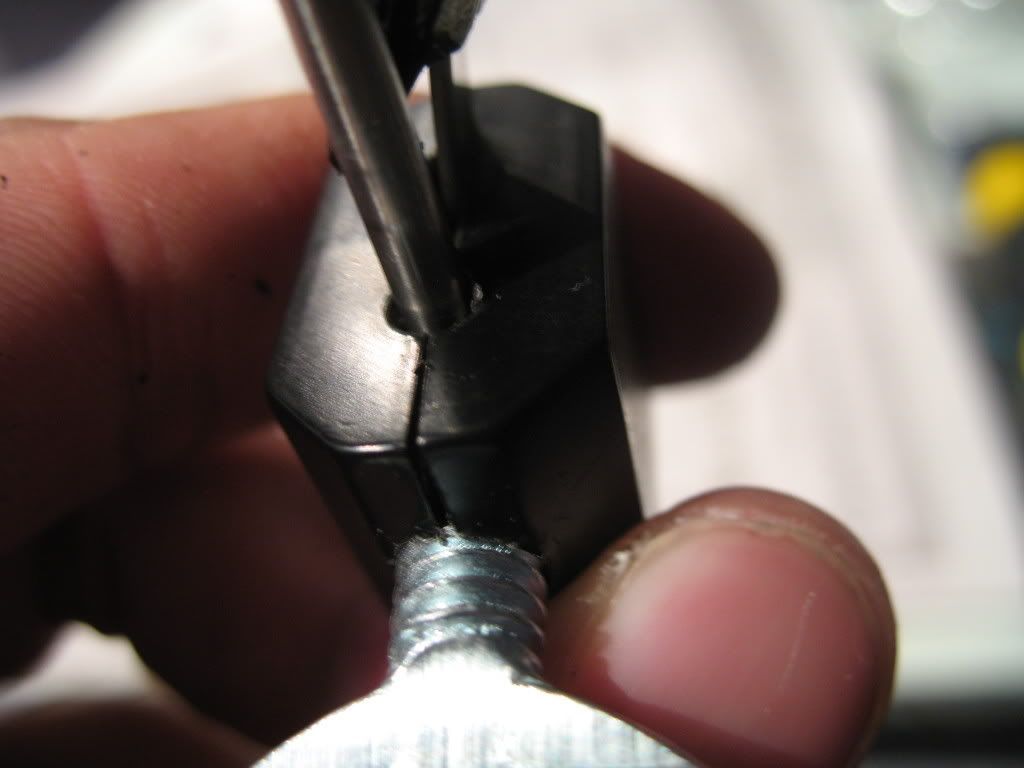
I took out the...driver spinners...so I could fit the tap in a bit better to get to the region of awesome cut.
New and improved thumb screws. They are shorter, so the Doom of Dremel is completely avoided. No garbage fires!
Well that was easy enough for the left side. In, out, bang!
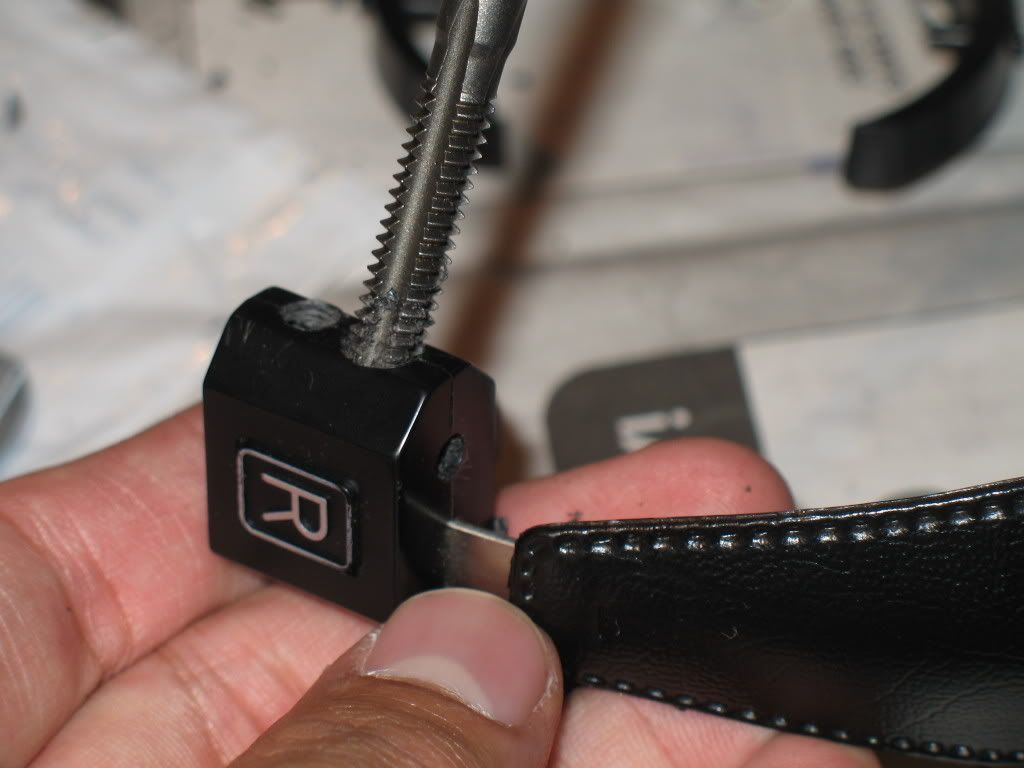
Let's try the right side. Nope, big hole doesn't work, small hole doesn't work.
What to do?
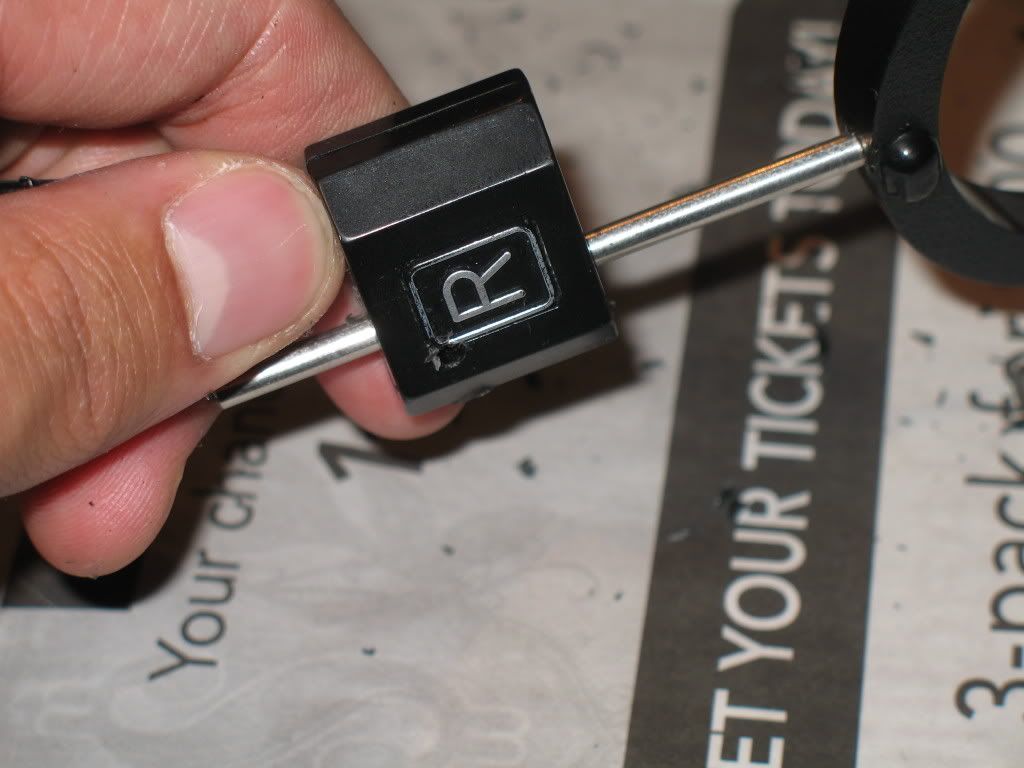
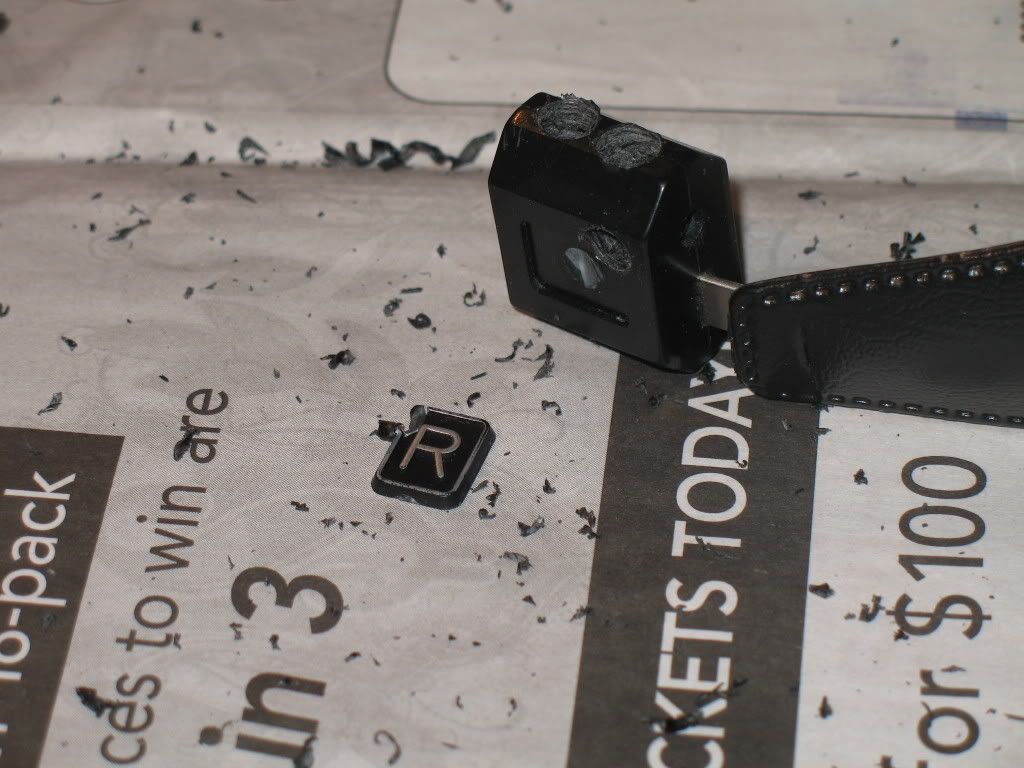
I know! I should drill into the side of the plastic block! That would be swell! Why not take off the 'R' while I'm at it? That would really help me differentiate Left and Right, although it's pretty obvious. Couldn't you tell?
Another angle.
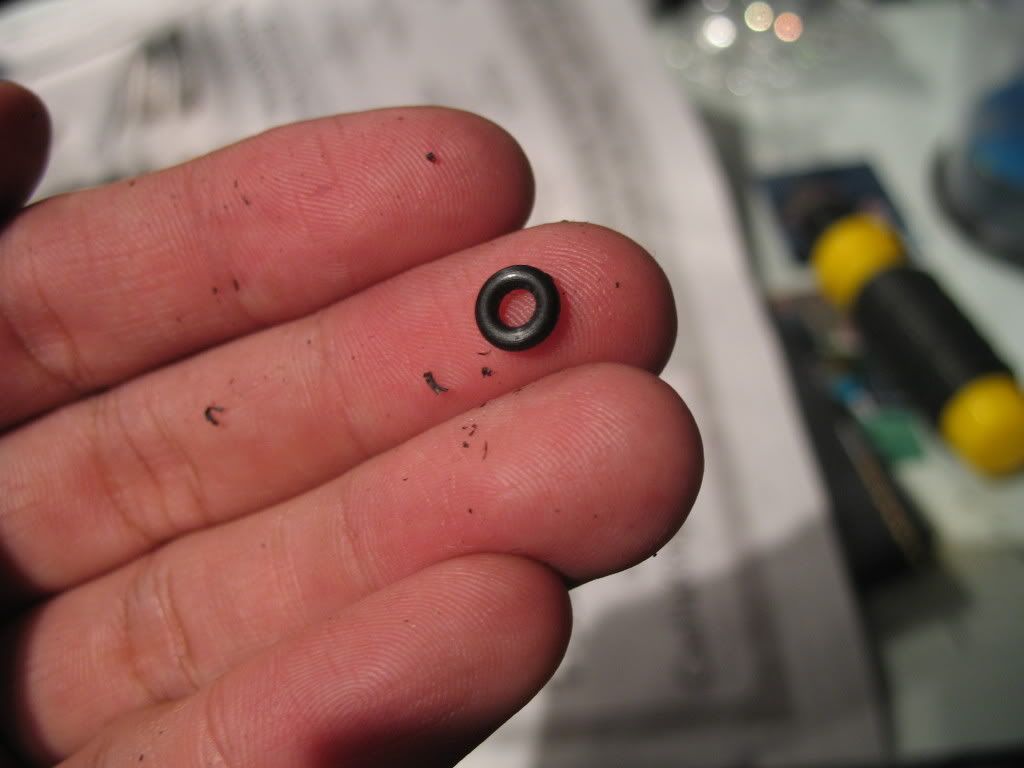
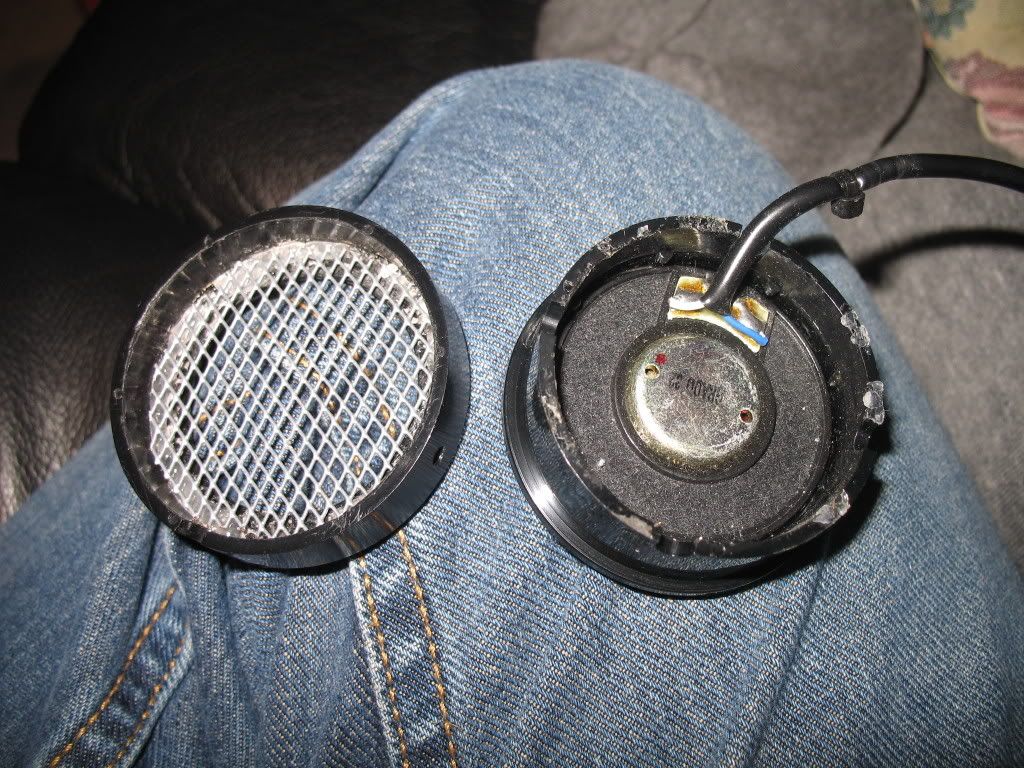
While I was fiddling around inside the plastic block, this fell out. I found this rubber grommet. Seems
noseallinit's mod was pretty close to original.
Here's the finished right side. You can see all the stress I had to go through to get this mod to work. It's manifested itself in the headband itself.
The left side is a thing of beauty.
Onto kontai69's mod. I glue-gunned the halves together for easy future modification. Booya for margin of error!
Another before shot. This is the right channel I think.
Myspace angles shot.
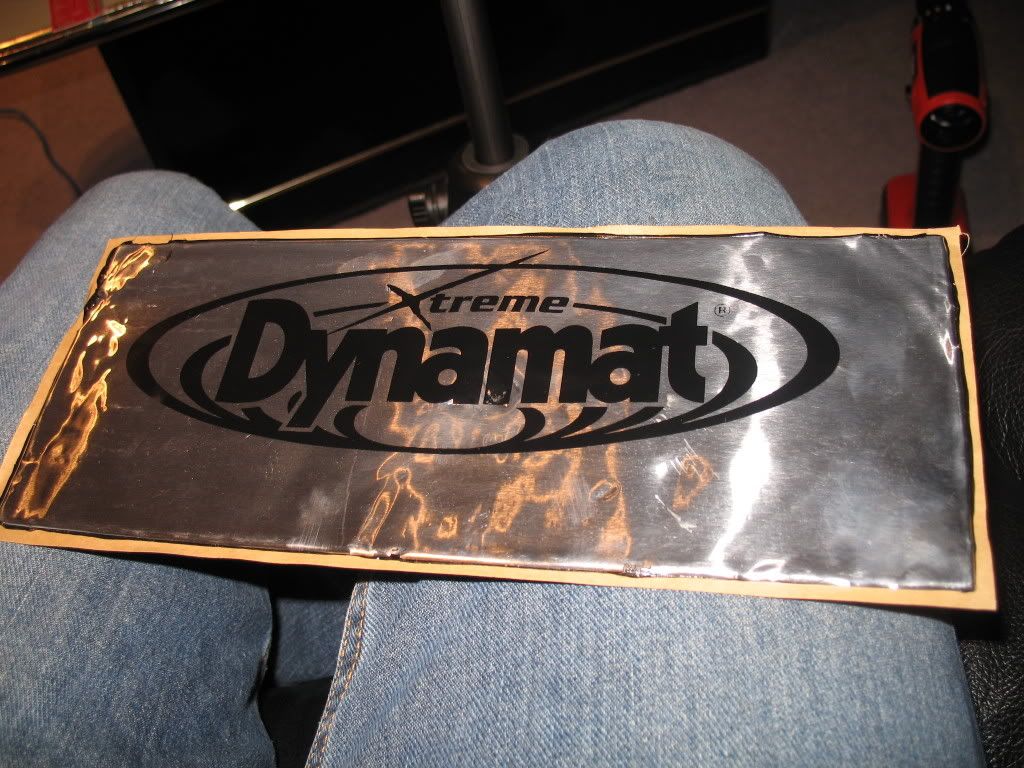
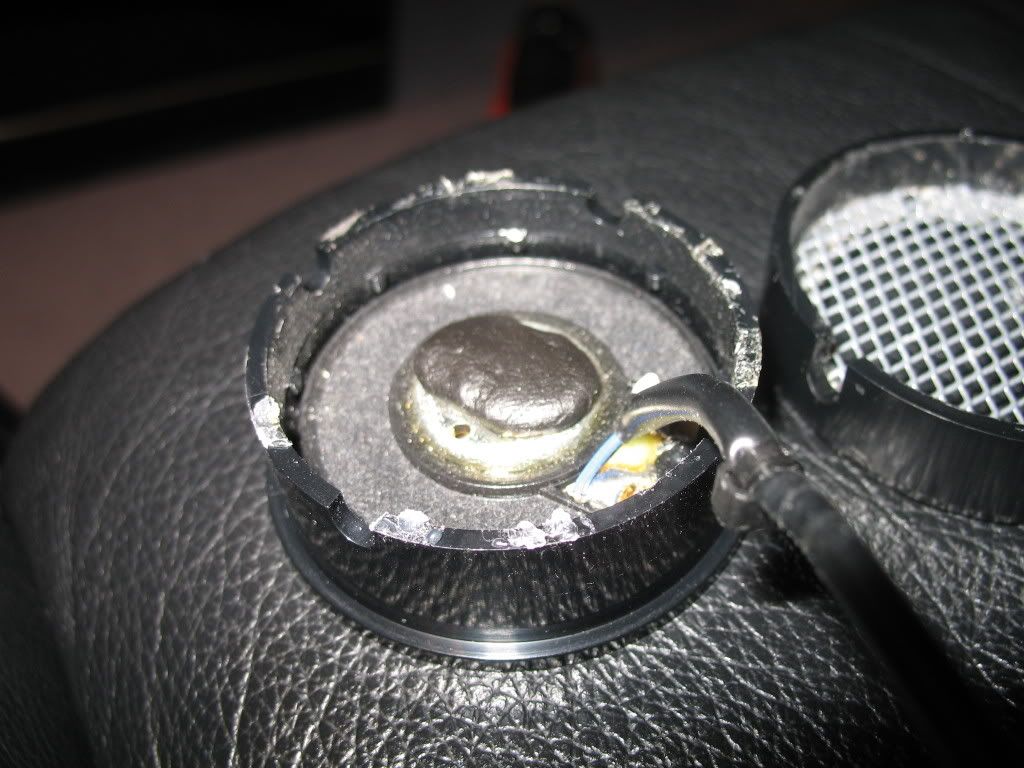
"I've got the medicine, the stickiest of the icky." Here's the very-hard-to-peel material. It was suggested in the thread, I thought I'd pick it up at $20 for fewer than 1 square inch worth.
Finished. I used quite a bit more than kontai69 seems to have used, but that's the fun of modding.
It was hard matching weight between channels. *raises shoulders*
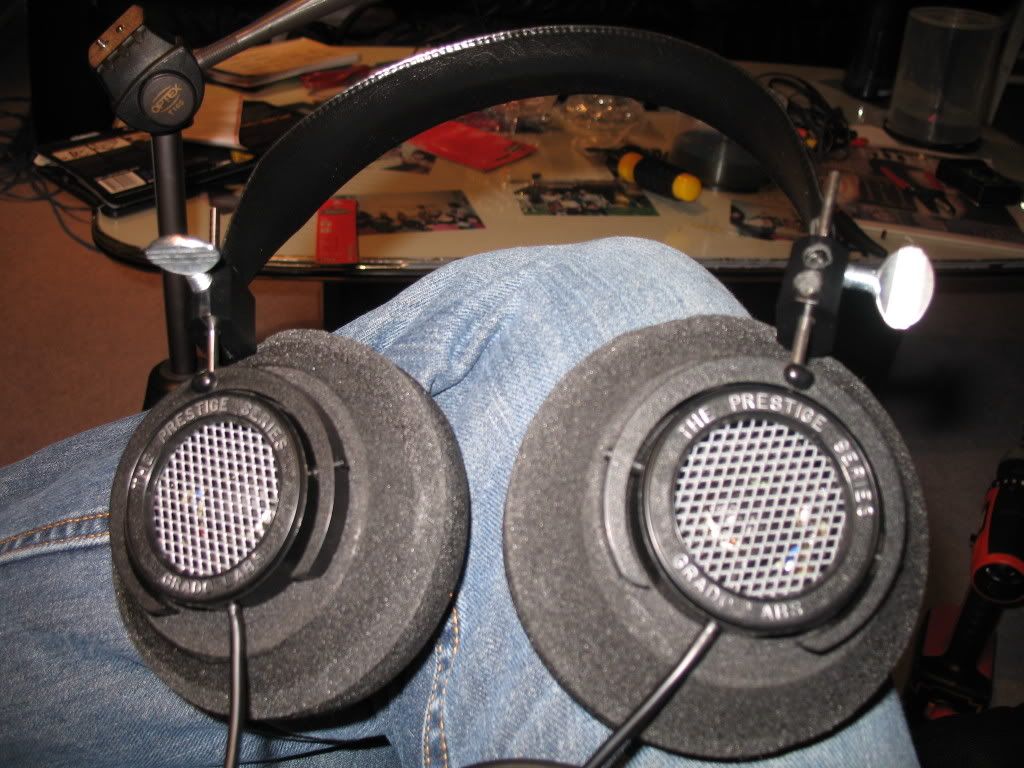
The beautiful final product.
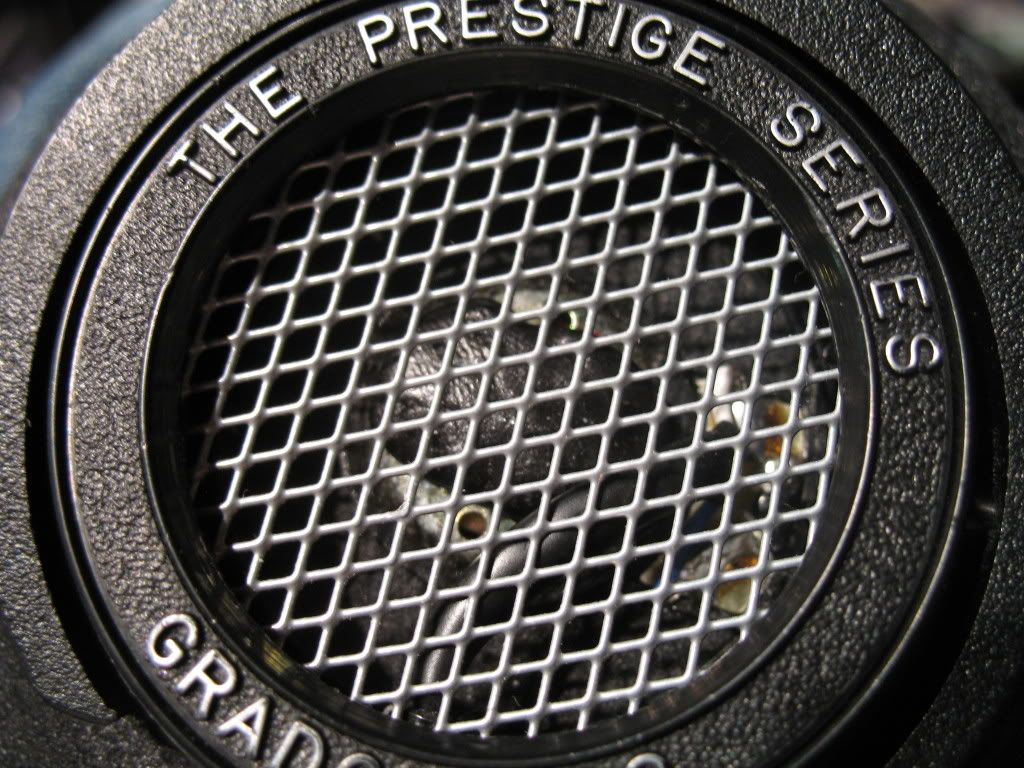
Close-up of the right channel. Notice how I tilted the "grain" of the mesh. I made it so the top would point towards the front. I do this because I need as many Left-Right markers as I can get. I can't wait until I recable both channels with red and blue Starquad.
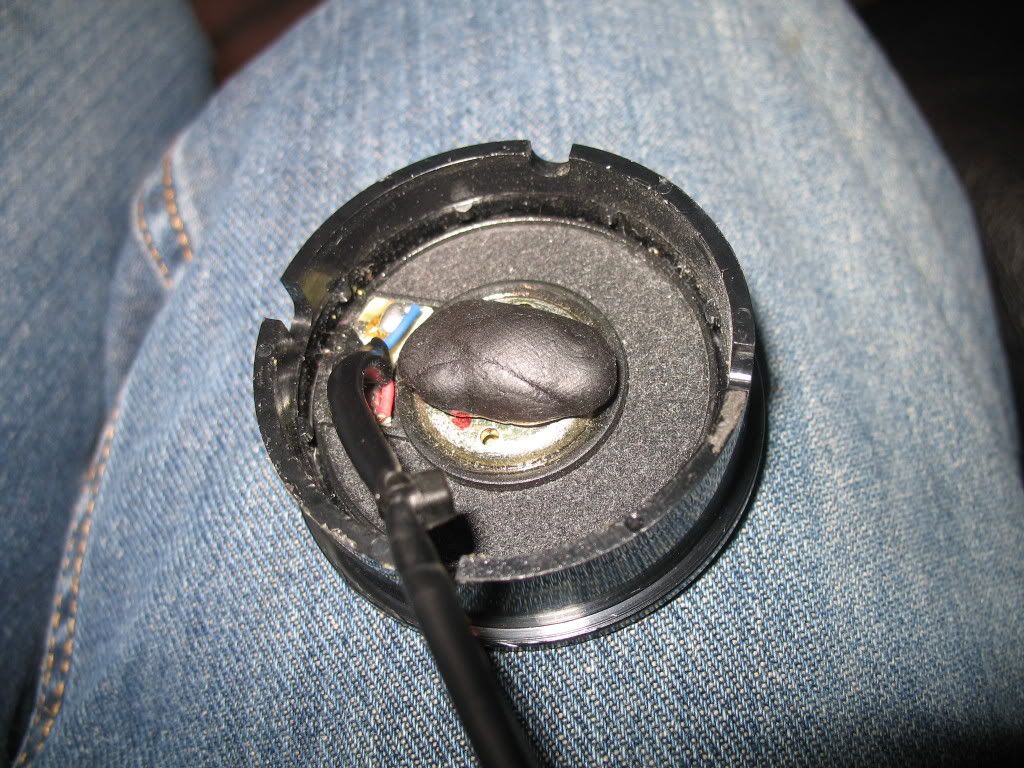
Also, I rotated the driver half so that the cable doesn't touch the Dynamat glue, inspired by kontai69.
Notice the difference in shininess for the Dynamat goo. Another subtle L-R marker for intelligent me.
---
Sonic Impressions:
All harshness and brightness seems a thing of the past. That's what immediately hit me. I normally associated the sound signature of the younger Jonathan Grados to be really bright and sissy. Now it has a dark comfort and brooding about it. I can appreciate detail and precision, but that's what the Stax SR-001 MKII I'm hoping to get for Christmas is all about *crosses fingers*. At any rate, there's bound to be some mad channel mismatching here unless I get in contact with a really precise scale, so let's see how much more
separated my hearing can go (see post 18).
Edit: I'm adding to the impressions bit. I'm going to say that these things are downright bassy. I figured the more glue I put on the driver, the more the highs would be drowned out, the more the lows would get through. The fun part would be finding the perfect balance for both ears. I'm really digging this bass, so I'll keep it until it bothers me.