


AvroArrow
100+ Head-Fier
- Joined
- Sep 4, 2013
- Posts
- 124
- Likes
- 38
Oh, I didn't realize they started blocking non-registered users from even viewing threads, sorry about that.
Here's another link:
2 arm Base station:
http://www.grstools.com/for-jewelry-work/third-hands-and-soldering-stations/third-hand-with-soldering-station.html
standalone arm:
http://www.grstools.com/benchmate-for-jewelers/classic-accessories/third-hand-attachment.html
Also note that if you want the same 3 armed config, you will need to drill 1 hole in the metal base plate to mount the 3rd arm. The standalone arm comes with the mounting hardware (nuts & bolts), you just need to drill the hole.
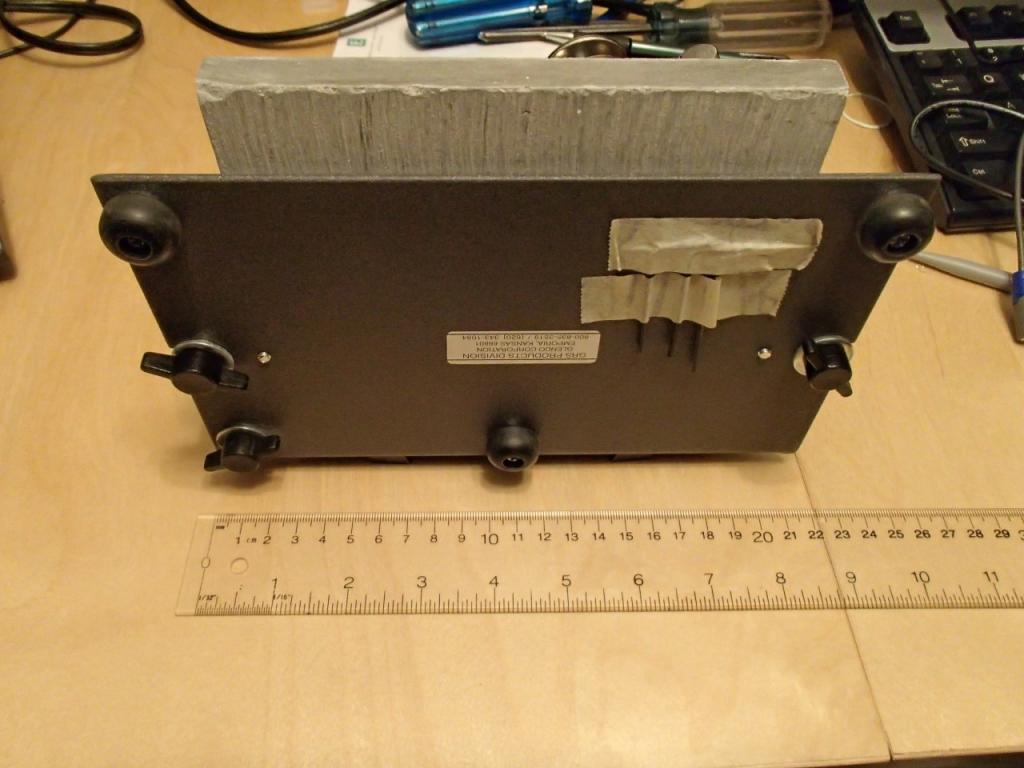
I picked the 2-section variant for more flexibility over the slightly cheaper 1-section variant. septools.com and ottofrei.com also carry them in the US. I'll take a pic of the folded config and post it later once I get home from work.
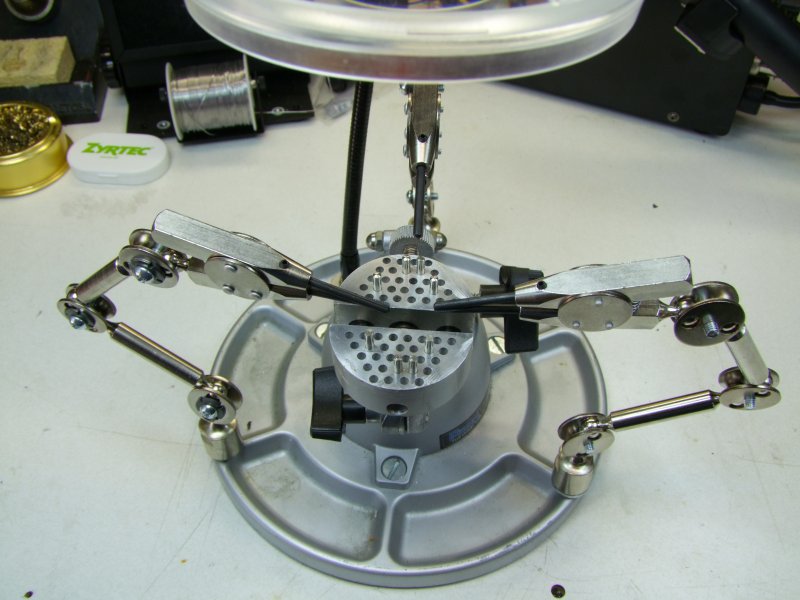
Greystoke, the 2-arm config has some limitations depending on what you're doing. I tend to use 2 arms to secure the PCB and the 3rd arm to hold the wire for soldering. If I had a small Panavise to hold the PCB securely, then the 2-arm station would be enough. Since I don't have a Panavise, I opted for the 3 arm config/build. Also, the "jaws" are fairly strong so if you're gripping soft material you may want to add some heat-shrink tubing around each jaw to prevent teeth marks.
Here's another link:
2 arm Base station:
http://www.grstools.com/for-jewelry-work/third-hands-and-soldering-stations/third-hand-with-soldering-station.html
standalone arm:
http://www.grstools.com/benchmate-for-jewelers/classic-accessories/third-hand-attachment.html
Also note that if you want the same 3 armed config, you will need to drill 1 hole in the metal base plate to mount the 3rd arm. The standalone arm comes with the mounting hardware (nuts & bolts), you just need to drill the hole.
I picked the 2-section variant for more flexibility over the slightly cheaper 1-section variant. septools.com and ottofrei.com also carry them in the US. I'll take a pic of the folded config and post it later once I get home from work.
Greystoke, the 2-arm config has some limitations depending on what you're doing. I tend to use 2 arms to secure the PCB and the 3rd arm to hold the wire for soldering. If I had a small Panavise to hold the PCB securely, then the 2-arm station would be enough. Since I don't have a Panavise, I opted for the 3 arm config/build. Also, the "jaws" are fairly strong so if you're gripping soft material you may want to add some heat-shrink tubing around each jaw to prevent teeth marks.
")
