


tomb
Member of the Trade: Beezar.com
- Joined
- Mar 1, 2006
- Posts
- 10,890
- Likes
- 1,049
Quote:
Push a little harder.
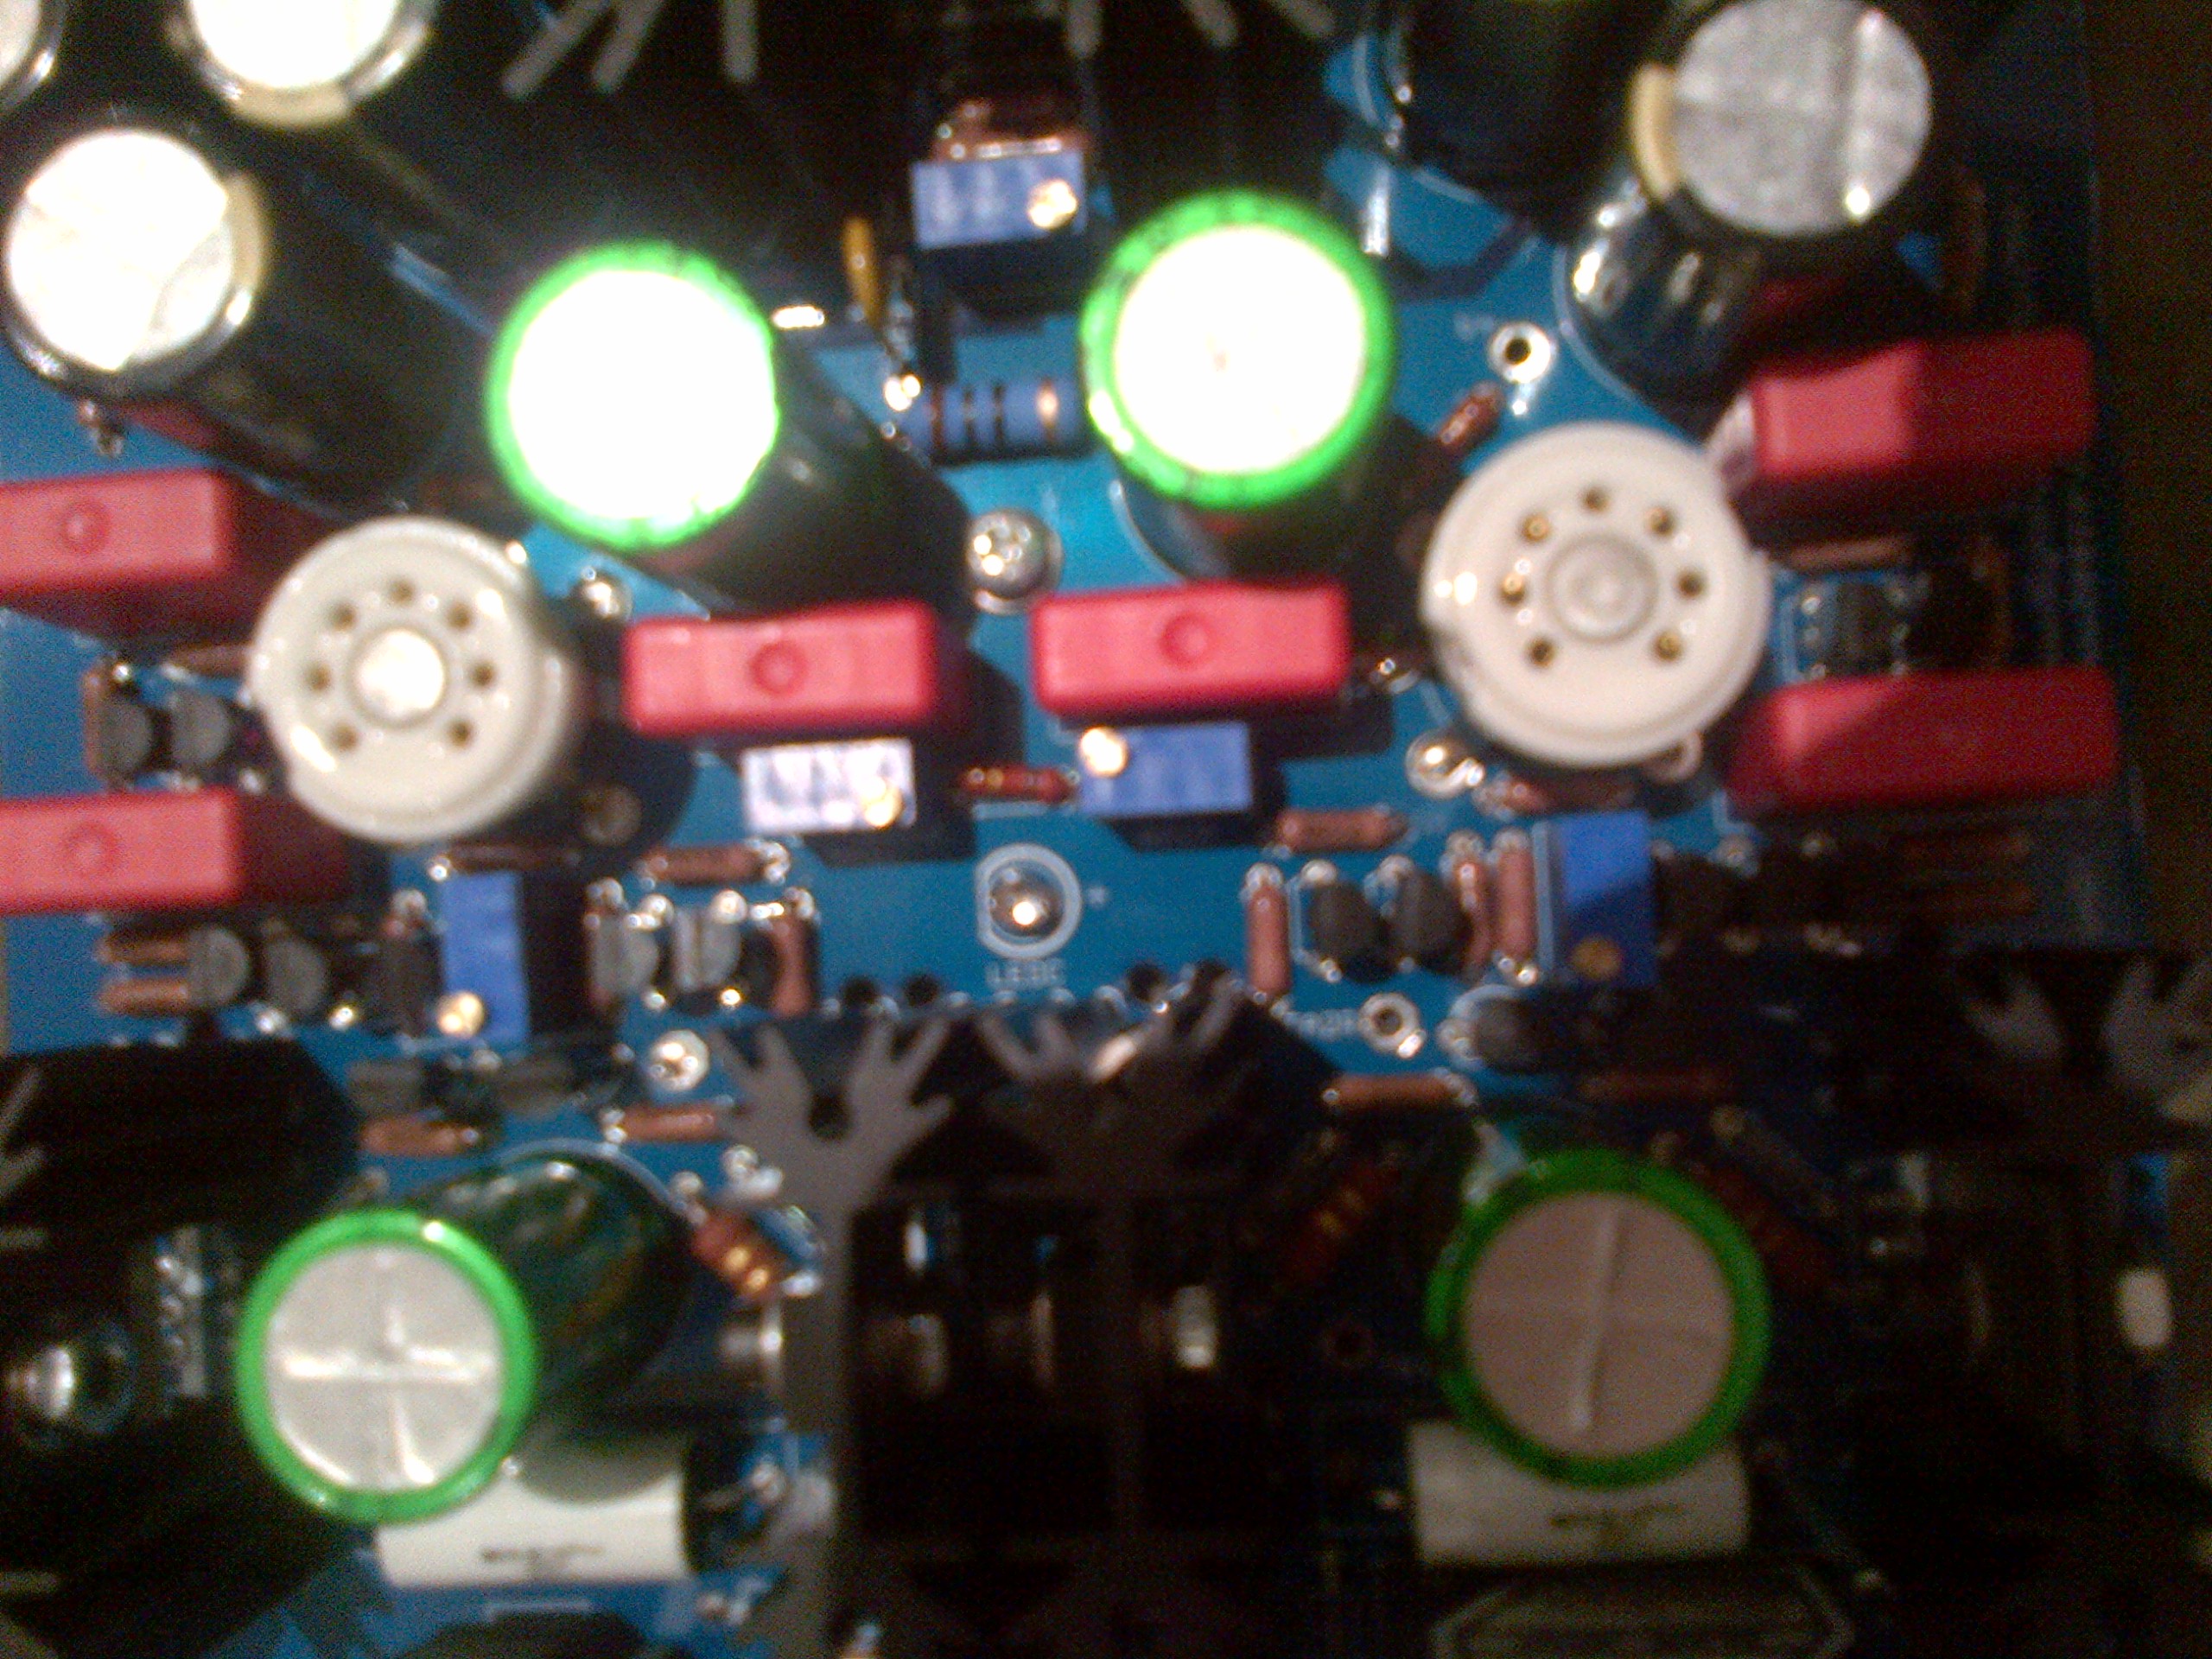
 These aren't delicate solid state parts. That said, however, it's why we recommend filling all the voids in the tube pin holes with solder. It's also why we state that the center of the board must be supported. There's a heckuva lot of stress put on those sockets and the board when plugging and unplugging tubes.
If you drilled out the socket pins and epoxied the socket halves to use the tube LED's (you must have with your LED sockets), then they will be extra-tough the first time you use them. You might even want to use an old tube, if you have one. That way, you can apply more force without worrying about the tube (use a cloth to grip the tube).
When doing the tube LED-thing, it's inevitable that some epoxy gets on the pins on the inside when you glue the socket halves back together. Not to worry - the first couple of times you plug and un-plug a tube, it will break the epoxy off of the pins, but not the ceramic. Things will get a little easier after that.
| Originally Posted by aphexii /img/forum/go_quote.gif Hrmph. So I soldered in the first tube socket and tried to insert the tube to test it out, I didn't want to push all that hard but it really didn't seem to want to go in.... |
Push a little harder.
If you drilled out the socket pins and epoxied the socket halves to use the tube LED's (you must have with your LED sockets), then they will be extra-tough the first time you use them. You might even want to use an old tube, if you have one. That way, you can apply more force without worrying about the tube (use a cloth to grip the tube).
When doing the tube LED-thing, it's inevitable that some epoxy gets on the pins on the inside when you glue the socket halves back together. Not to worry - the first couple of times you plug and un-plug a tube, it will break the epoxy off of the pins, but not the ceramic. Things will get a little easier after that.


 ) being done to the pot, came up with this: