diablo9
500+ Head-Fier
- Joined
- Apr 4, 2003
- Posts
- 510
- Likes
- 10
I bought some bulk cable and connectors in the last few weeks. So it's a good idea to make a spare cable for my HD600.
Here is some guide for the recable:
I used NEUTRIK NP3X-B 1/4 stereo plug, you can find it here:
http://www.partsexpress.com/pe/showd...number=092-320
This plug is really easy to use, and very sturdy, high quality.
Mogami 2534 cable was used, one of the best DIY cable choice, with a rathe humble price.
http://www.markertek.com/SearchProdu...ff=4&sort=prod
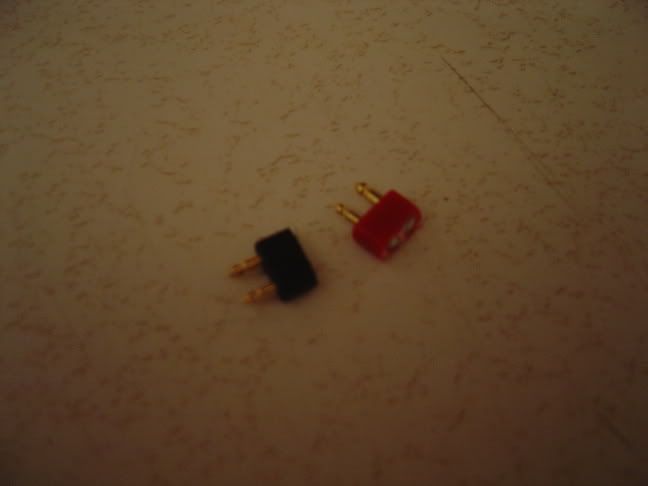
The HD600 pins are the tough part. You have to either take apart your stock cable to get the pins or buy a new stock cable just to use the pins. I bought the pins from grandenigma1. His pins are cut from the bottom of the square holder, with two 1.5mm diameter poles exposed. I don't have the pin pics here, I'll ask him to post his pin pics here.
anyway, the bottom part from the 1/4 plug to the Y part is nothing special. But for the Y part to the pins, someone mentioned a lot of different ways to position the pins in parallel way, to die cast the original connector shape. My way is to first wrap around the 2 single wires for each side individually with electric tape, make it enough thick, to not to be shrunk by the heat shrink, and put on a 1/4" heat shrink in correct color. shrink it, then put another layer of heat shrink, shrink it. make the connector thick enough to just snug into the hole of side of the phone. The trick is to keep adding heat shrink until you can feel the outter layer of the heat shrink can provide enough friction with the hole to keep the pins in position when plugged. If it gets too thick, you can use Xacto knife to slice it a little bit or file it a little. If one layer less is barely enough, but another layer is TOO much, remove the last layer and wrap the last last layer with one layer of electric tape to provide a little bit thickness and wrap another layer of shrink. keep adjusting it until you get satisfying thickness.
here is the pics for my cable:


about the sound... haven't A/B with my cardas and stock cable yet. got some other projects to do, but basically it serves me quite well.
any comments?
Here is some guide for the recable:
I used NEUTRIK NP3X-B 1/4 stereo plug, you can find it here:
http://www.partsexpress.com/pe/showd...number=092-320
This plug is really easy to use, and very sturdy, high quality.
Mogami 2534 cable was used, one of the best DIY cable choice, with a rathe humble price.
http://www.markertek.com/SearchProdu...ff=4&sort=prod
The HD600 pins are the tough part. You have to either take apart your stock cable to get the pins or buy a new stock cable just to use the pins. I bought the pins from grandenigma1. His pins are cut from the bottom of the square holder, with two 1.5mm diameter poles exposed. I don't have the pin pics here, I'll ask him to post his pin pics here.
anyway, the bottom part from the 1/4 plug to the Y part is nothing special. But for the Y part to the pins, someone mentioned a lot of different ways to position the pins in parallel way, to die cast the original connector shape. My way is to first wrap around the 2 single wires for each side individually with electric tape, make it enough thick, to not to be shrunk by the heat shrink, and put on a 1/4" heat shrink in correct color. shrink it, then put another layer of heat shrink, shrink it. make the connector thick enough to just snug into the hole of side of the phone. The trick is to keep adding heat shrink until you can feel the outter layer of the heat shrink can provide enough friction with the hole to keep the pins in position when plugged. If it gets too thick, you can use Xacto knife to slice it a little bit or file it a little. If one layer less is barely enough, but another layer is TOO much, remove the last layer and wrap the last last layer with one layer of electric tape to provide a little bit thickness and wrap another layer of shrink. keep adjusting it until you get satisfying thickness.
here is the pics for my cable:
about the sound... haven't A/B with my cardas and stock cable yet. got some other projects to do, but basically it serves me quite well.
any comments?