


Jack_Straw
New Head-Fier
- Joined
- Jul 10, 2006
- Posts
- 6
- Likes
- 10
Soooo – I’ve been a lurker here for about 5 years. Bought some headphones on the classified section, but this is my first post here ever. I spend most of my forum time on other sites (Mercedes Diesel forums, Photography forums). Now’s the time to make my debut.
About 6 years ago I began this project, a friend made me a schematic, and bread boarded it. I bought all the parts, started the fabrication, but then life got in the way; we moved across country and back 3 times (I'm in the Army National Guard) - now I am finally getting back to this. I have many tube amps, all hand made by my friend Don Allen, from Phoenix, AZ, but I have never built anything myself.
I hand built my 100K step attenuators (ladder type) out of a pair of 48 step Daven shells I got off eBay.

The resistors came from a factory in Iowa. I bought three of each value and kept the two that were the closest. I wanted a volume control for each channel.


During assembly I clamped it into a small vise. In this photo I'm almost done with one side.

I never get tired of looking at these, they came out sooooo nice. All of the contacts were heavily coated with silver, and the main tie cable is actually solid silver wire.


I am now wiring the tube sockets together, following the schematic my friend made for me. It’s a real challenge, actually looking at this paper and deciding on how to physically wire stuff together, not knowing if the way I’m doing it is the right way or not (even though the logic is right there on paper, I’m sure there are a lot of things I’ve done wrong so far). I have been reading whatever I can find online by Susumu Sakuma. He has some great tips for earth ground and signal ground that I’m going to try to employ.

So, here is what I've done so far - the power supply is all together and working, 5R4WGB rectifier for the 325 Vdc (regulated via a Welborne labs kit) - the 12.6 filaments are heated by another Welborne Labs kit. Fit it all into one Bud box, along with a Hashimoto power transformer and a Hashimoto 15 Henry choke.


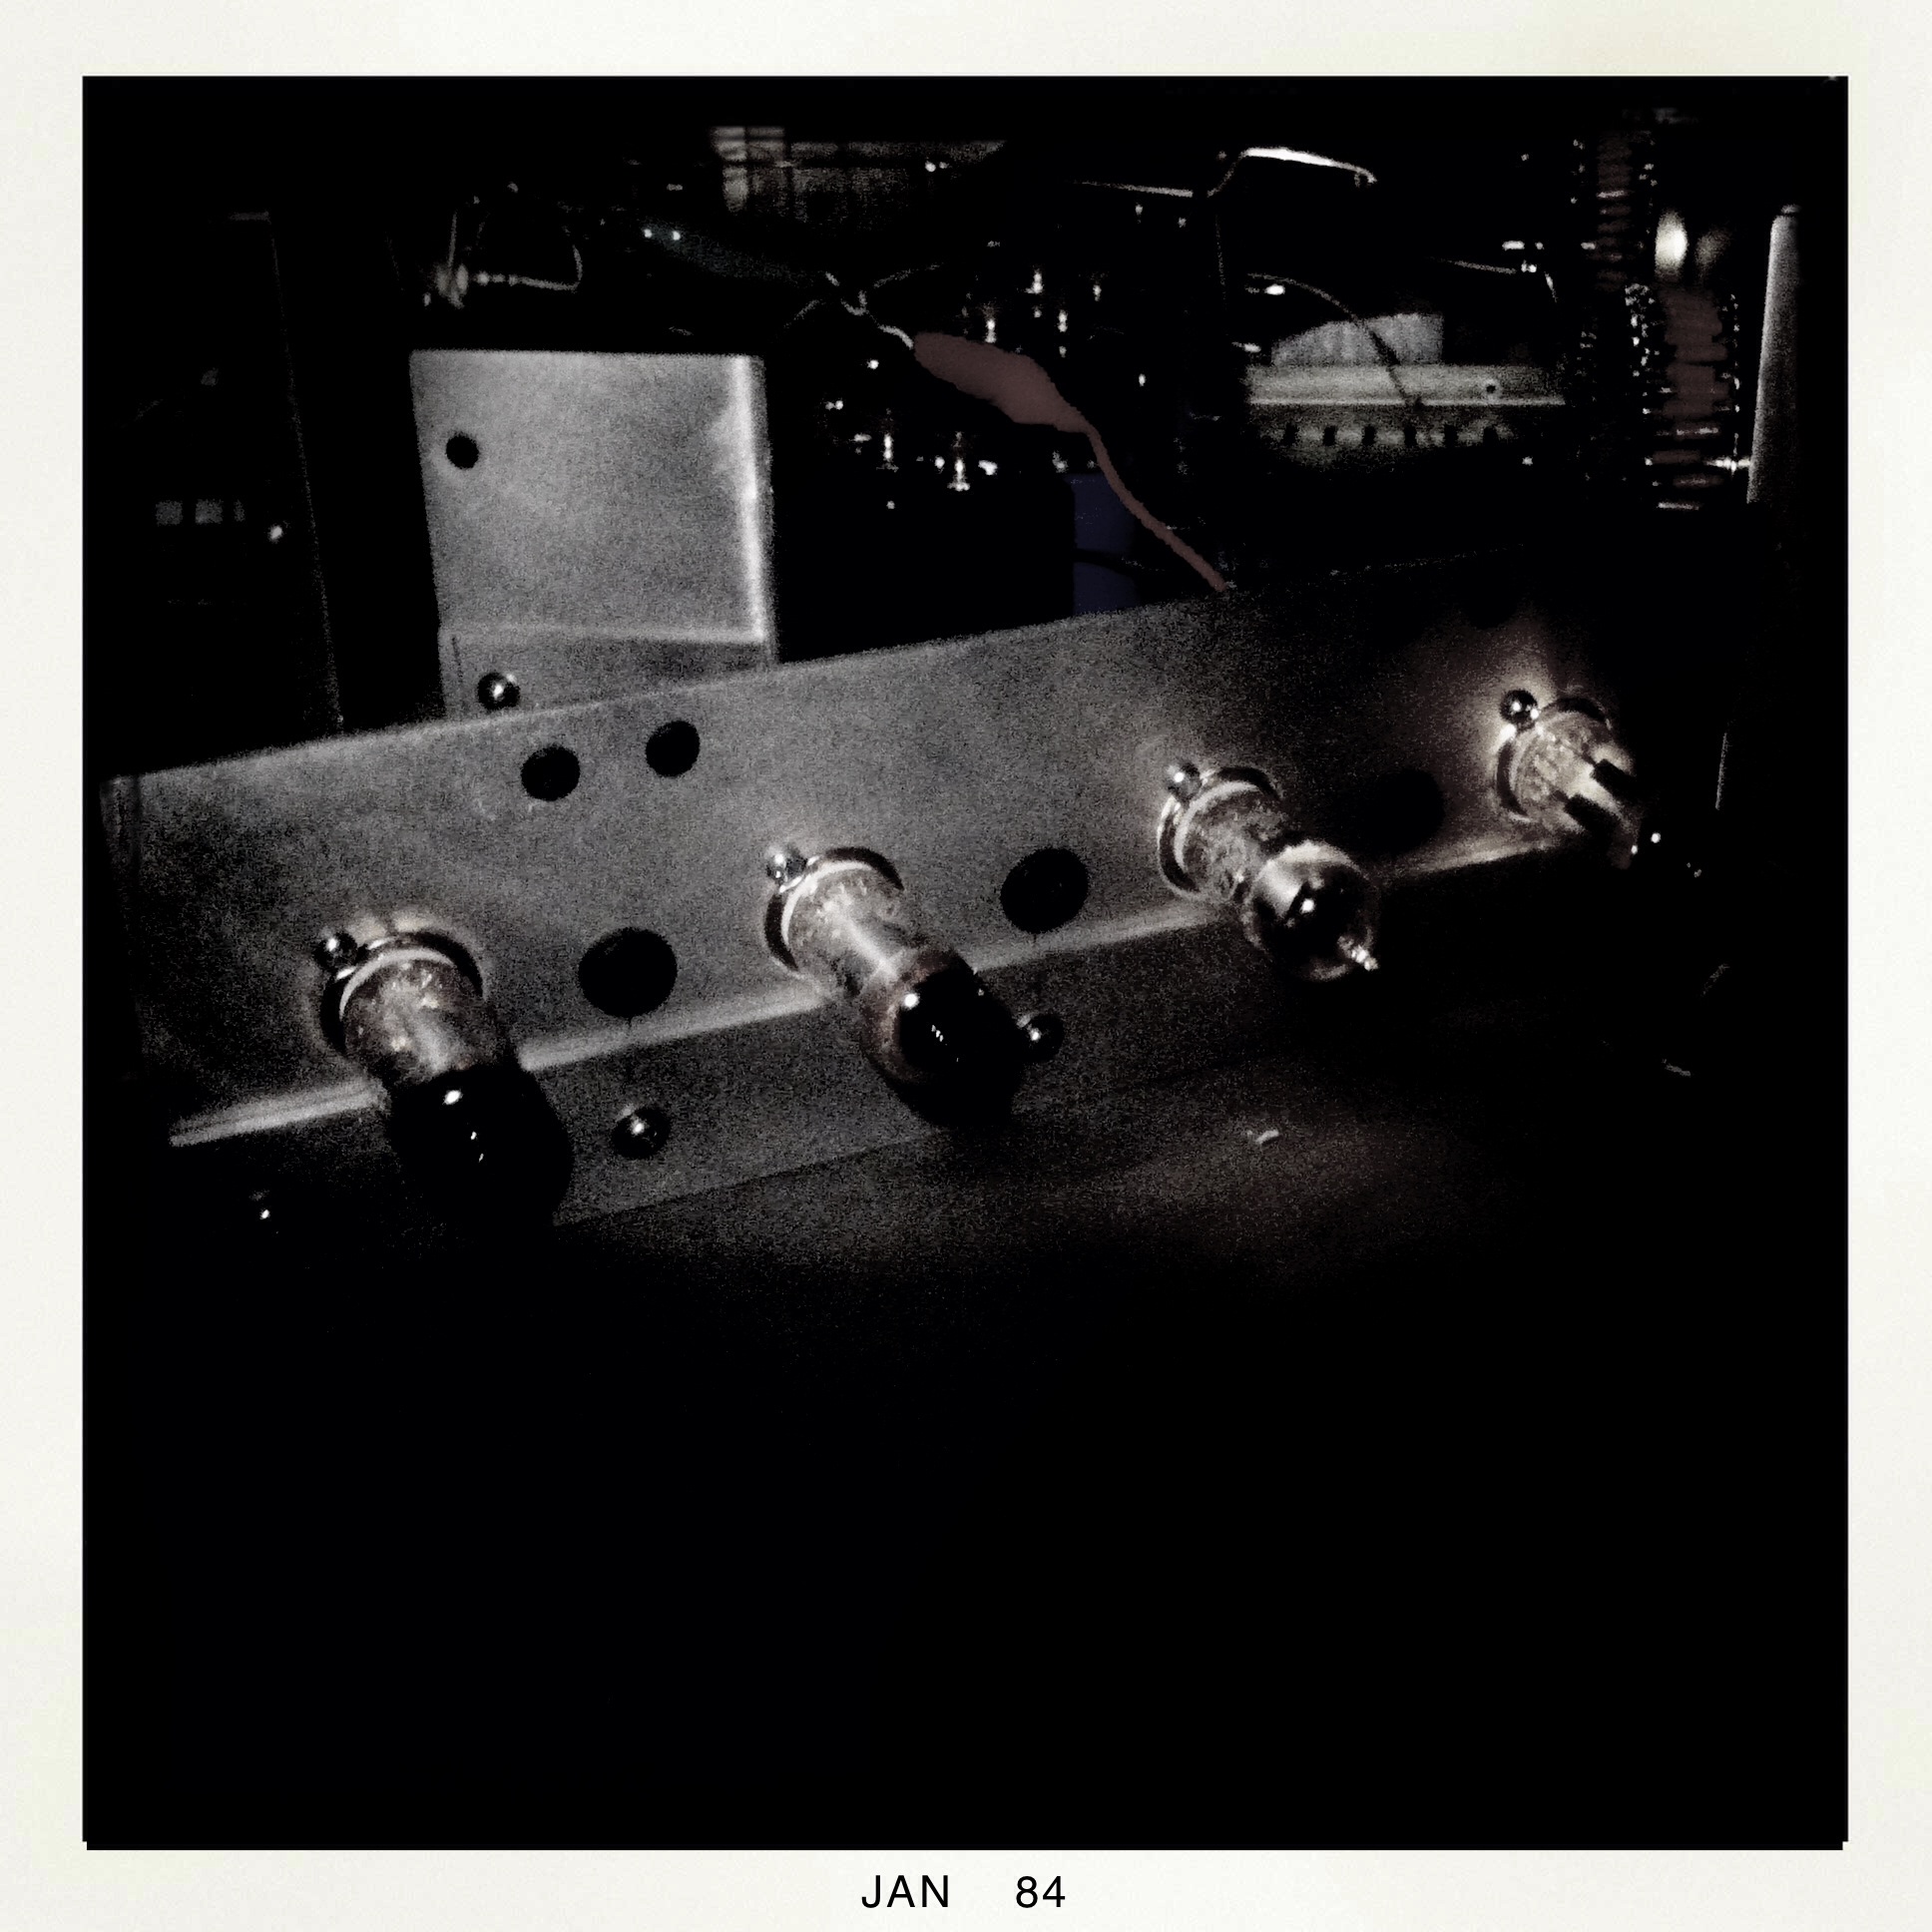
All 4 front end tubes with their filaments ON !!!!

I have two lamps on the power supply. One indicates that power is applied, the other blinks while a timer counts down from 60 (at which time the B+ voltage is actually switched onto the plates).
I still have a few parts on order, they’ll be in this coming week. I’m hoping to have this running before the end of the month. For now it will have only one input, for a CD player.
I'll work hard to keep this posting updated, as long as anyone is interested. Thanks for looking !
About 6 years ago I began this project, a friend made me a schematic, and bread boarded it. I bought all the parts, started the fabrication, but then life got in the way; we moved across country and back 3 times (I'm in the Army National Guard) - now I am finally getting back to this. I have many tube amps, all hand made by my friend Don Allen, from Phoenix, AZ, but I have never built anything myself.
I hand built my 100K step attenuators (ladder type) out of a pair of 48 step Daven shells I got off eBay.
The resistors came from a factory in Iowa. I bought three of each value and kept the two that were the closest. I wanted a volume control for each channel.
During assembly I clamped it into a small vise. In this photo I'm almost done with one side.
I never get tired of looking at these, they came out sooooo nice. All of the contacts were heavily coated with silver, and the main tie cable is actually solid silver wire.
I am now wiring the tube sockets together, following the schematic my friend made for me. It’s a real challenge, actually looking at this paper and deciding on how to physically wire stuff together, not knowing if the way I’m doing it is the right way or not (even though the logic is right there on paper, I’m sure there are a lot of things I’ve done wrong so far). I have been reading whatever I can find online by Susumu Sakuma. He has some great tips for earth ground and signal ground that I’m going to try to employ.
So, here is what I've done so far - the power supply is all together and working, 5R4WGB rectifier for the 325 Vdc (regulated via a Welborne labs kit) - the 12.6 filaments are heated by another Welborne Labs kit. Fit it all into one Bud box, along with a Hashimoto power transformer and a Hashimoto 15 Henry choke.
All 4 front end tubes with their filaments ON !!!!
I have two lamps on the power supply. One indicates that power is applied, the other blinks while a timer counts down from 60 (at which time the B+ voltage is actually switched onto the plates).
I still have a few parts on order, they’ll be in this coming week. I’m hoping to have this running before the end of the month. For now it will have only one input, for a CD player.
I'll work hard to keep this posting updated, as long as anyone is interested. Thanks for looking !


