


Greg_R
New Head-Fier
- Joined
- Mar 18, 2008
- Posts
- 36
- Likes
- 0
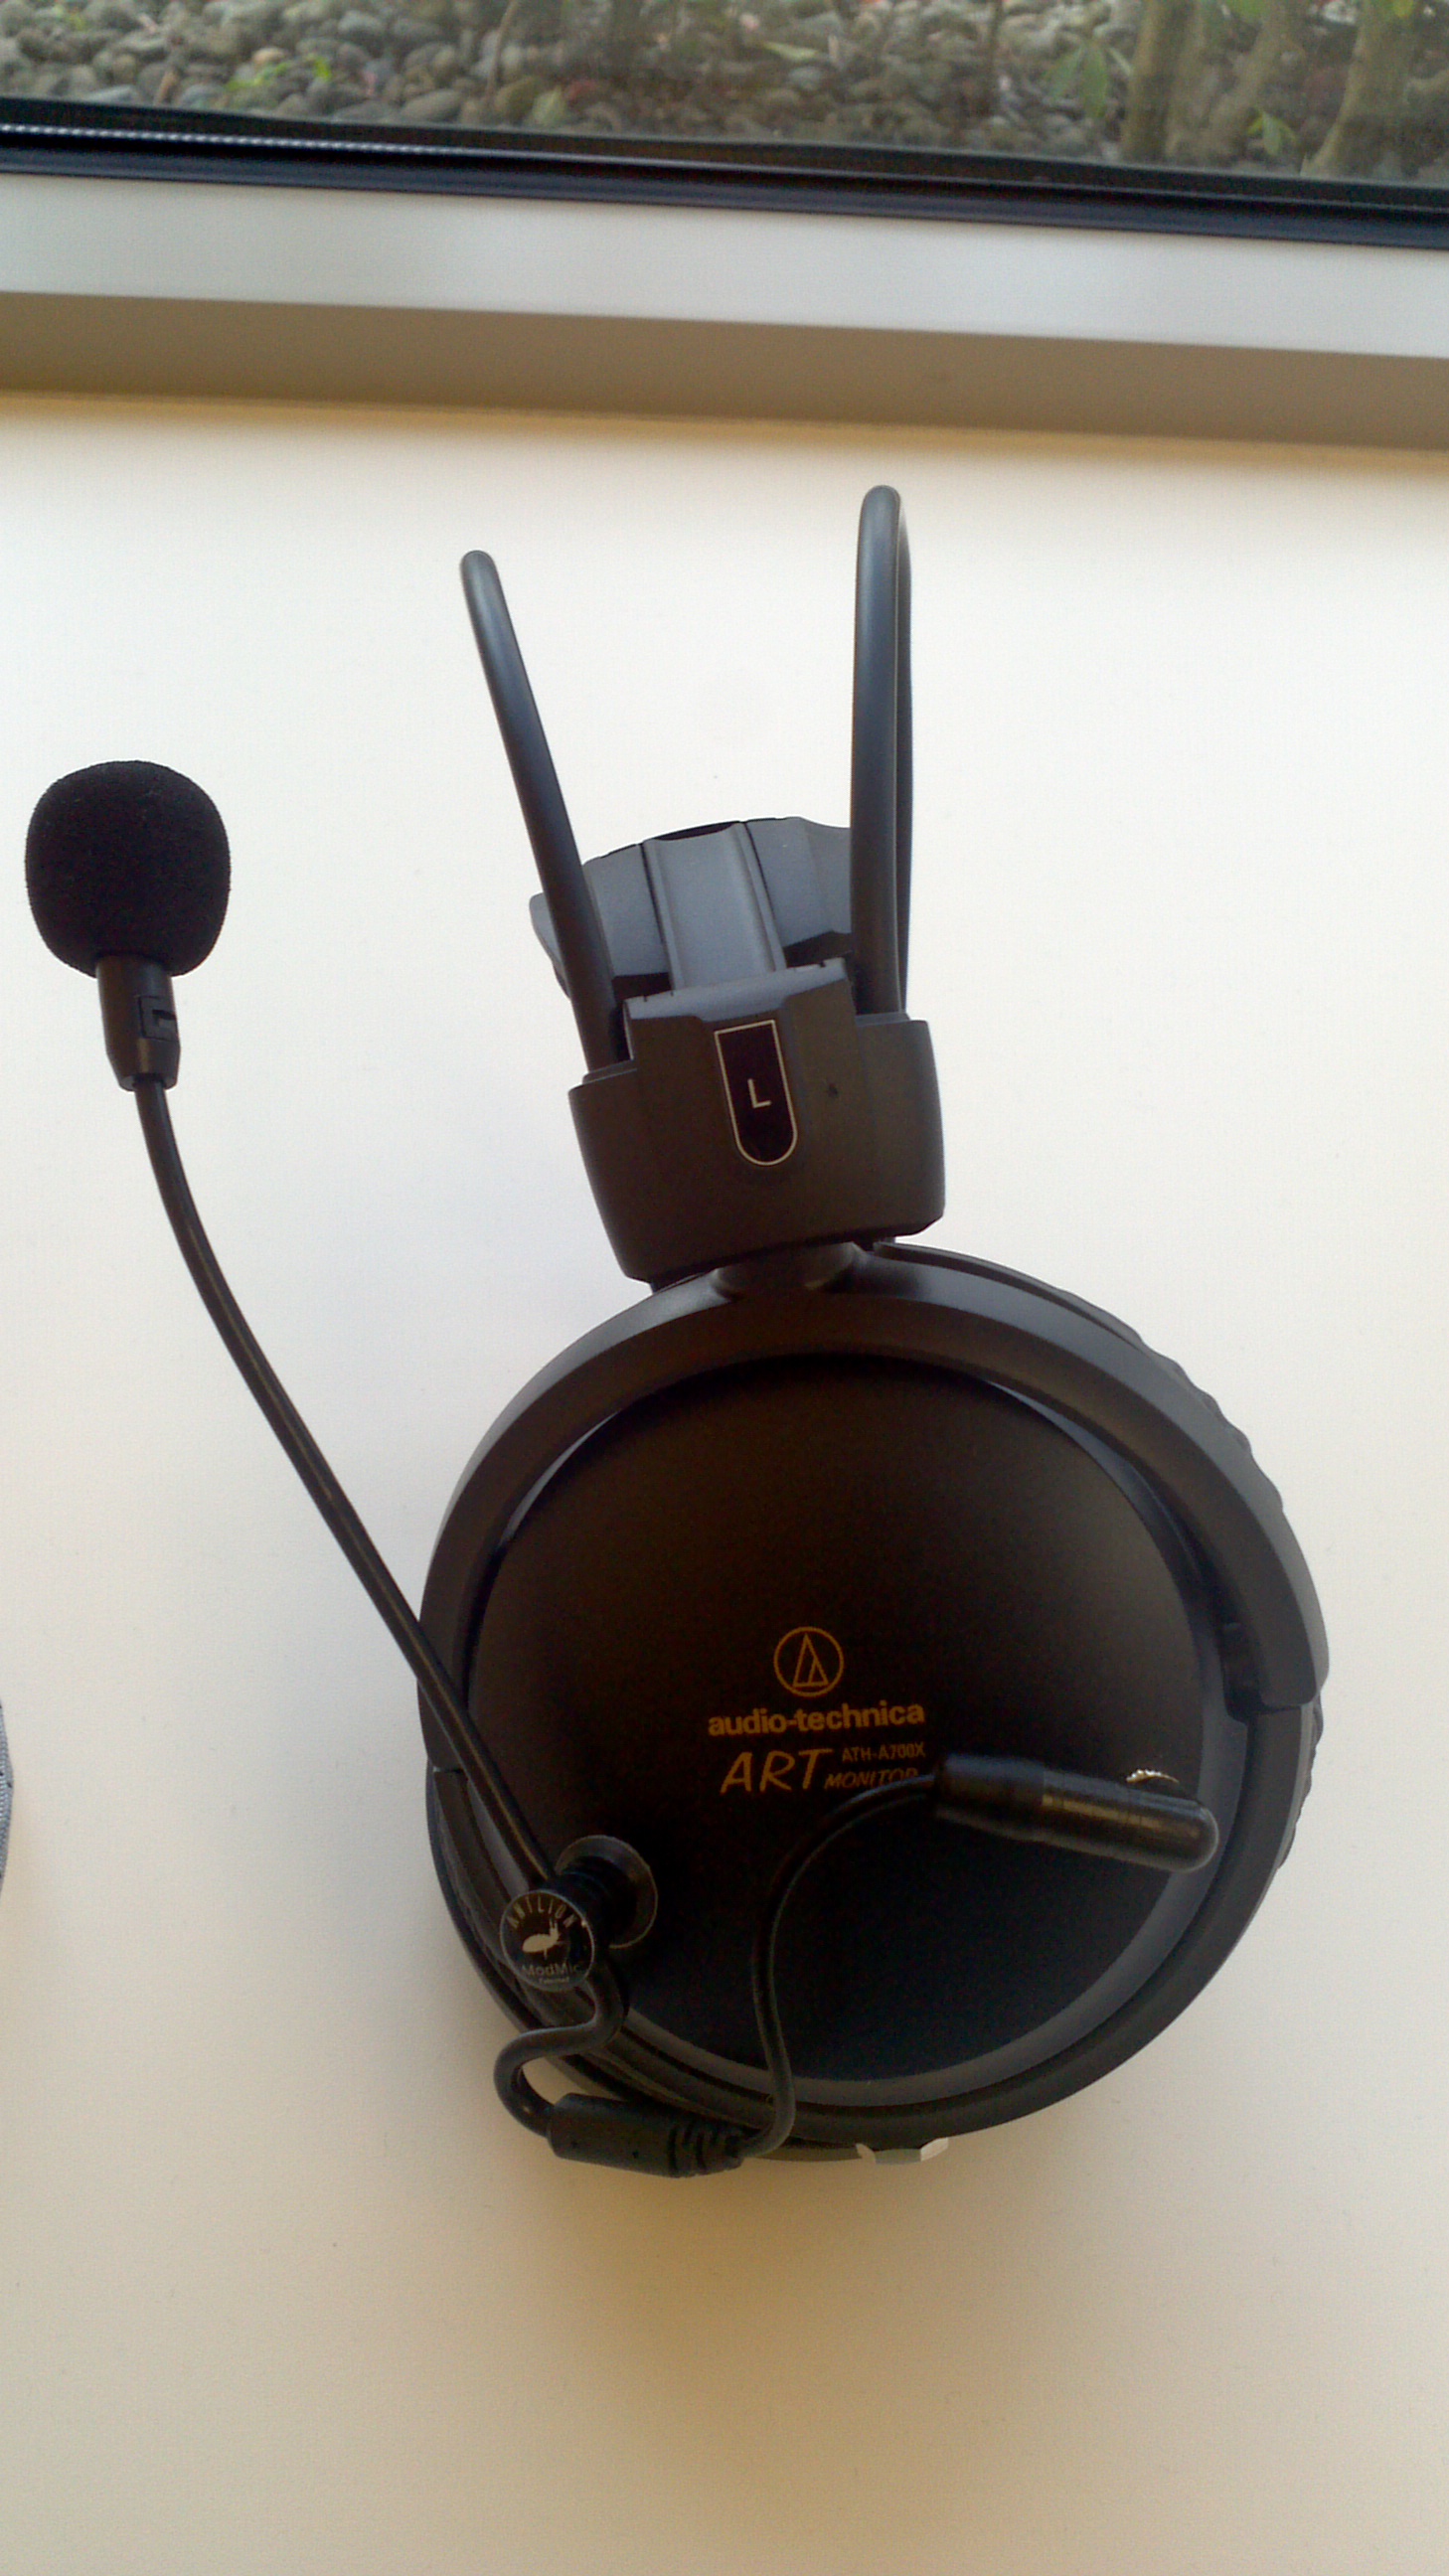
I recently completed a headphone conversion project where I wired an Antlion ModMic into a pair of AudioTechnica ath-a700x headphones. I didn't see a lot of these projects posted so I thought I'd share some of my learnings. The reason I did this is because I've broken many cheap headsets with my large head (thin plastic-wrapped bands snap) and I already had the headphones (otherwise I'd just buy a Sennheiser headset). First some pictures:


As you can see, I removed the stock 3 conductor cord and replaced it with a custom removable 4 conductor cord. I rewired the ModMic with a 90 degree Neutrik connector and put a 3.5mm mono jack into the headcup for easy connection and removal. The microphone attaches to the headcup with a magnet (provided by ModMic). The angled jack allows for easy rotation of the boom mic's connection when putting the mic in the "up" position. The hole for the original cable was slightly enlarged and repurposed as the location of the 3.5mm TRRS headset jack.
Headphone modification details:
The headset's left earcup comes apart with 4 screws after removal of the ear pads. The original cable is not fully replaceable because the wires get routed inside the driver itself. After cutting the internal wire to length and burning the acrylic insulation off I was able to solder them to the TRRS jack. The mono jack for the microphone was wired up to the TRRS jack with new XLPE wire from BTG audio. After fastening the jacks down with the included nuts I used a healthy dab of hot glue on the inside to prevent rotation & loosening. Everything was tested with a continuity meter before gluing down the jacks and reattaching the earcup. TRRS jack options are extremely scarce. In fact, I was only able to find one option and there is an issue with the depth of the socket... if you fully bottom the plug then the connection is not made. I've found a small washer to place on the connector to get around this problem. One more important tip: There are 2 TRRS cabling standards. Most newer equipment should be able to sense the configuration but be aware of this issue with older electronics!
Cable details:
I used 26AWG XLPE wire from BTG audio to create a 9ft long 4 wire braid which I then wrapped in 550 paracord. The fit in the paracord was extremely tight for 4 wires and it took awhile to thread through (pulling with the existing string via tape or knot was not possible due to the size). Soldering and heat shrinking the connectors was straightforward. Unfortunately there are not a lot of good TRRS connector options. The ones I used were very unpleasant to work with; the male portion actually rotates freely relative to the internal body of the connector. This means when you tighten down the barrel of the connector the internal wires will twist and pull the wires together (creating a short). This typically happens *after* you check the continuity of your soldering job. After discovering this issue I filled the cavity with hot glue and tightened the barrel very carefully.
Summary:
I've been satisfied with the looks, sound, and usability of the project. We'll see if the quality of the TRRS connectors and jacks hold up to daily use. If I were to change anything I'd try angling the TRRS jack or moving it so it doesn't point straight down at my shoulder.
