I am actually super interested in doing something similar - are you able to share how to removed the parts from the GW100 and managed to fit them in the Shipibo cups?
I wouldnt undertake this unless you really are "super interested", and have some skill in soldering and reshaping parts with a rotary tool. The chance of messing up and destroying your GW100 is high. If you're still up for it...
Removing the parts from the GW100 isnt hard, you just uncrew the screws you see and use a hair dryer to remove the drivers from their mounts. The wires at the drivers and battery should be disconnected for now but try at all costs to preserve the connections of the wires on the pcb as they are TINY and hard to redo.
For the battery side- as you can see from the pic it was pretty easy. I just trimmed down the plastic battery 'seat' until the edges just scraped the walls of the Shipibo cup, and hot glued it in. No modding of the cup needed.
The PCB side was another story. The board is way too big to fit into the cup. You can trim pcbs safely as long as you dont cut into the essential connections, so I just examined it and shaved it down with my dremel right to the edges of where I could see circuits running. Even then, it's still way too big so you need to hollow out the cup. You can see in the pic how thin the walls of the PCB cup are compared to the battery one--thats how much material you need to remove. It took a long time and I just went very slowly, test fitting the PCB every so often. You should leave it a little thicker at the bottom so that the PCB has a 'shelf' to sit on and can be wedged in tightly.
You also need to map out holes for the buttons and drill them in the right places: power, a slot for the volume rocker, 1/8th" jack, tiny mic hole, and slot for usb-C connector. I drilled the holes small and slowly enlarged them with the fine carving dremel bit until they were the right size. For the power and volume buttons, a lot of test fitting, and carving out the inner wall of the cup is needed. They do have a small lip so they will slot into a squared hole nicely and get sandwiched in by the pcb. It would probably be just as easy to make or find some custom buttons rather than recycle the gw100's.
Once I had the cup modded just right, it was just a balancing act of setting buttons in the holes and wedging the PCB against them and making sure everything lined up, then hot gluing the edges of the PCB to secure it. I also glued the little mic component against the hole I made for it, as well as the plastic usb cover which has a tail leading inside the cup.
With the hardest stuff out of the way, now you need a mounting board for your PCB-side speaker since the cup's inner diameter has increased. I just recycled the plastic GW100 mount and shaved it around the outside until I could squeeze it inside the cup.. and you can see it there in the pic. I didnt do this, but like with the PCB it would be smart to leave a couple 'mounting points' of thicker wall near top of the cup to seat your driver board.
After that comes the tricky matter of feeding the black cable through whatever headband you decide to use and soldering all the connections back together. You can turn it on and test everything during this time. Finally, mount the drivers, and glue the driver mount you made into the pcb side cup, and you're done!
Sorry I can't provide a more step by step tutorial but this really was winged on my part and these are just my memories from over a year ago. Although it sounds like it's all just hot glued together, they are pretty solid-- the key is having everything fit snug beforehand so that the glue is not subject to much force. I would probably not do this project again given how hard it was but I do love the result and use them almost every day. I didnt notice any sonic difference from the mod and I use these with the G pads and a hearing-test EQ (which just adds a little extra bit of balance) and really love the sound. People say open back + wireless is a very limited use case but if you work from home, or spend a lot of time in your yard, it's perfect for that.
Feel free to pm me with any more specific questions and I'll do my best to help.


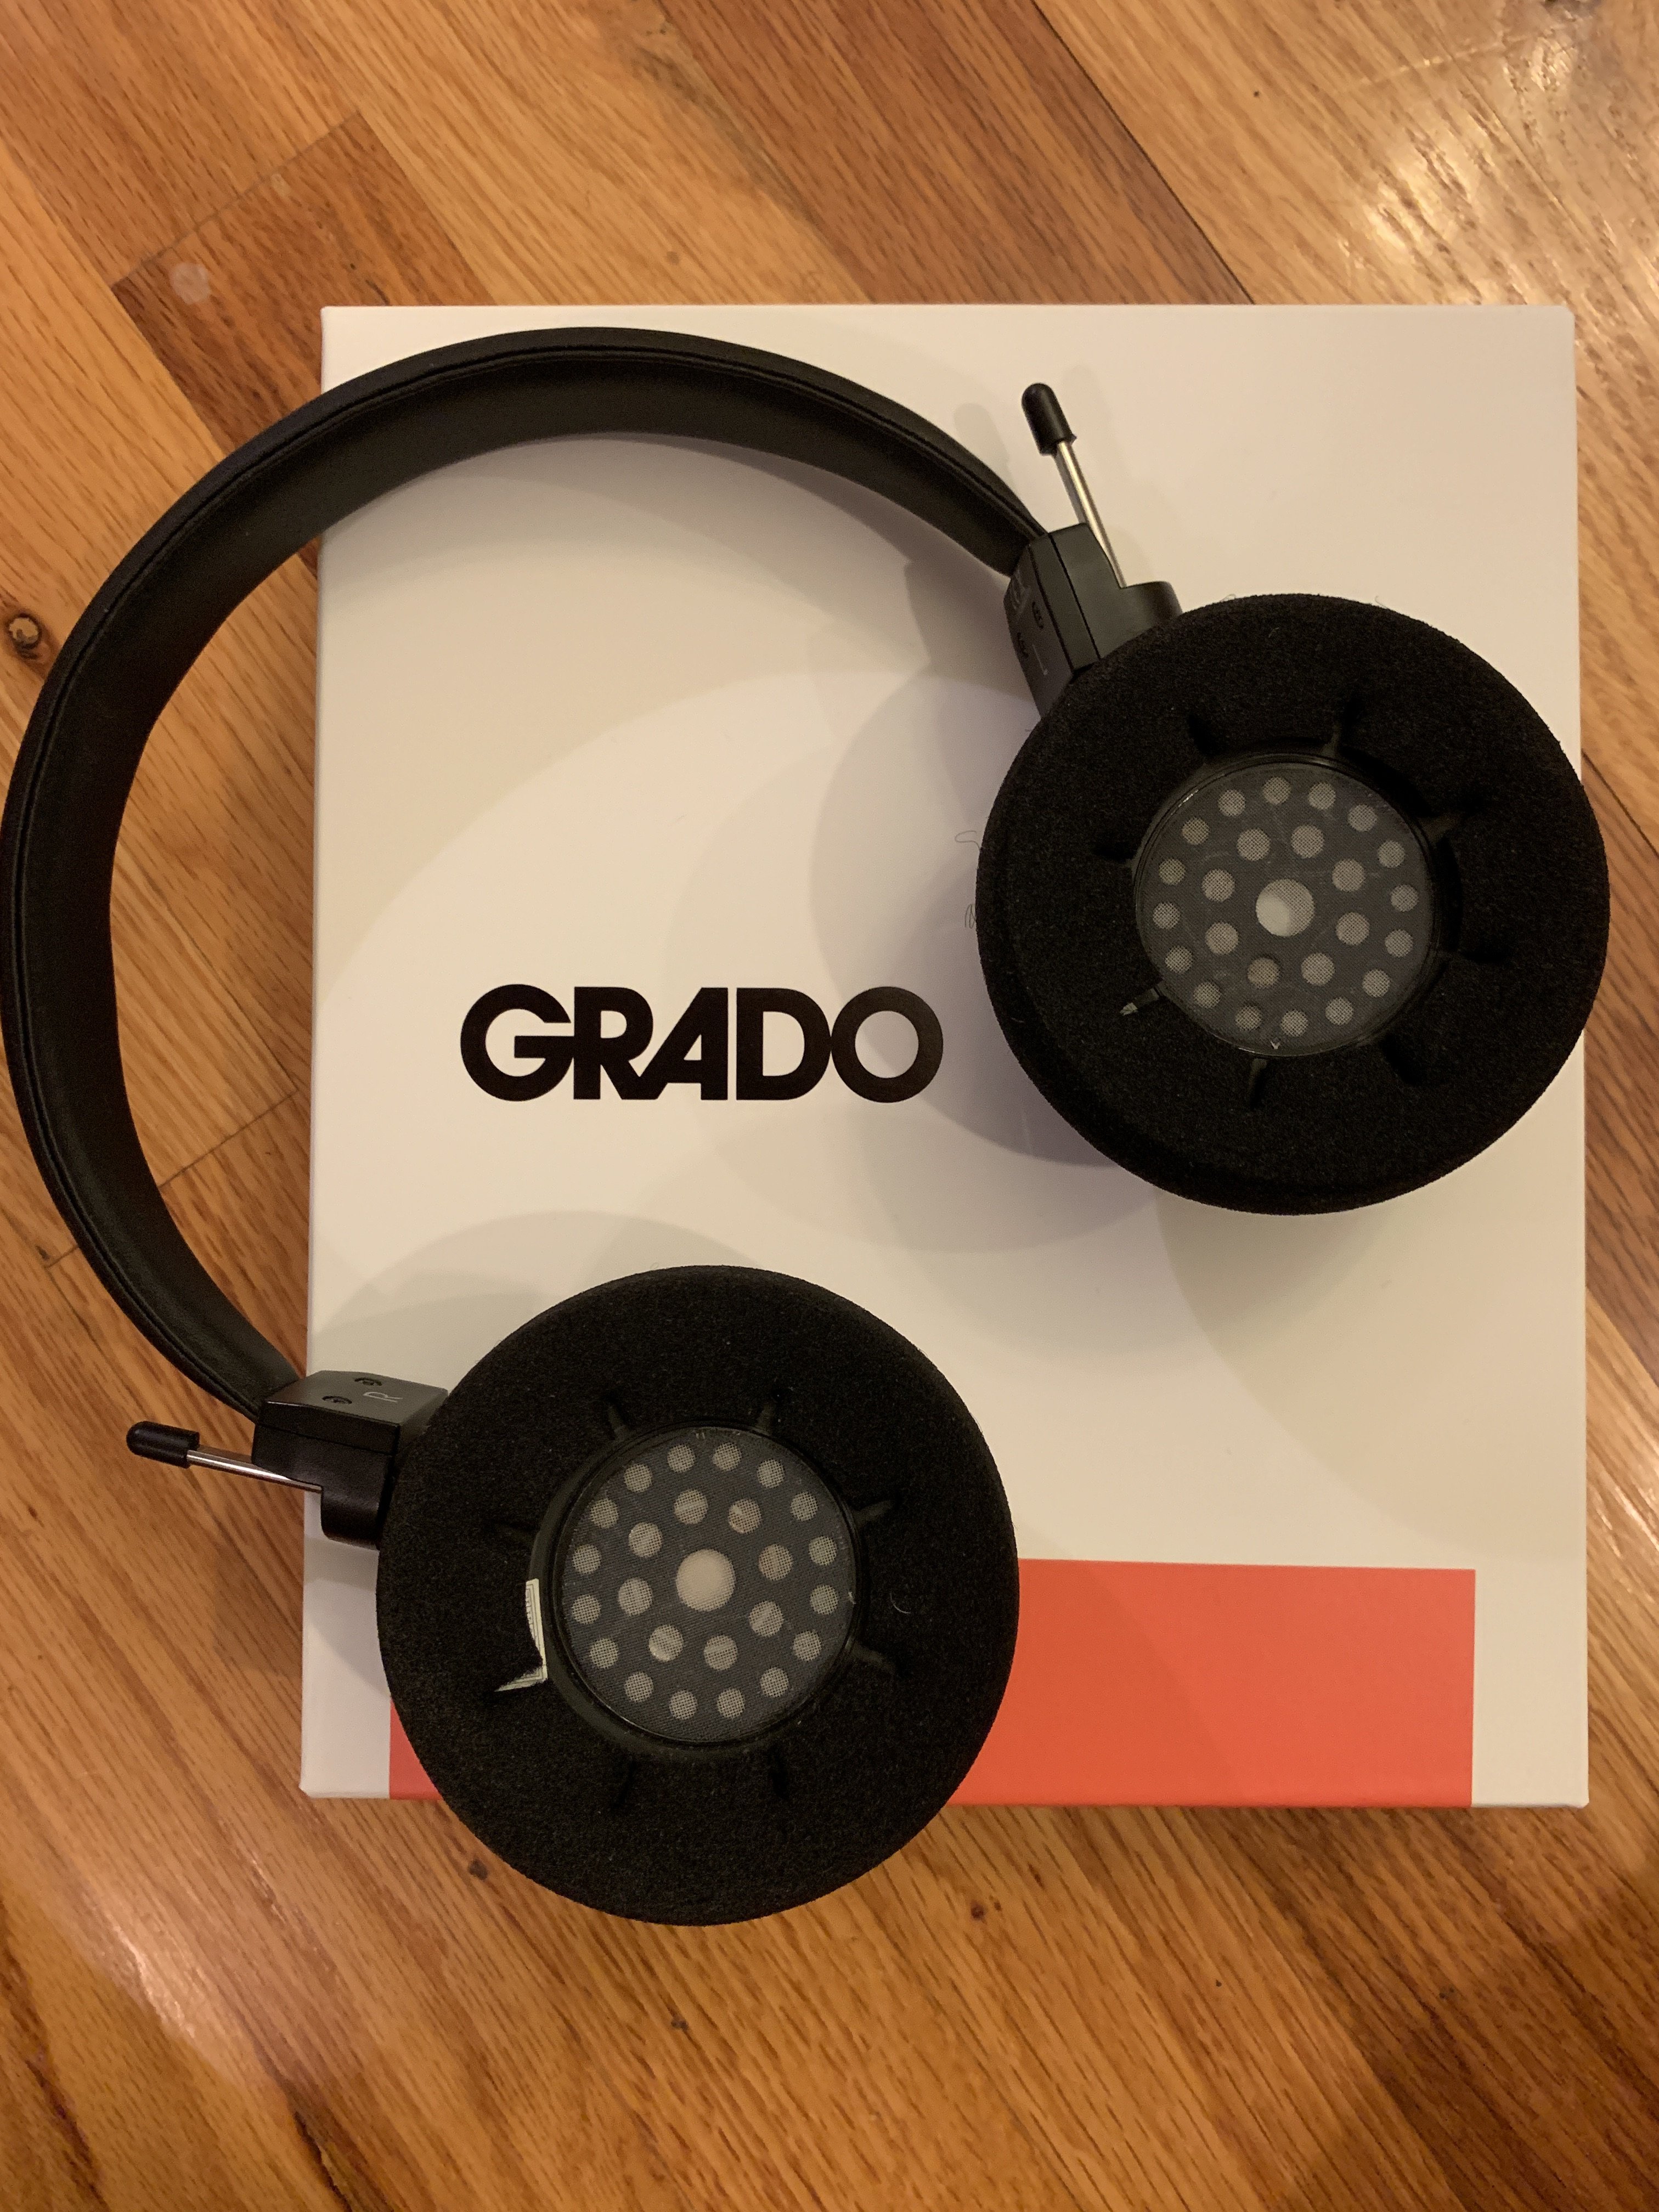
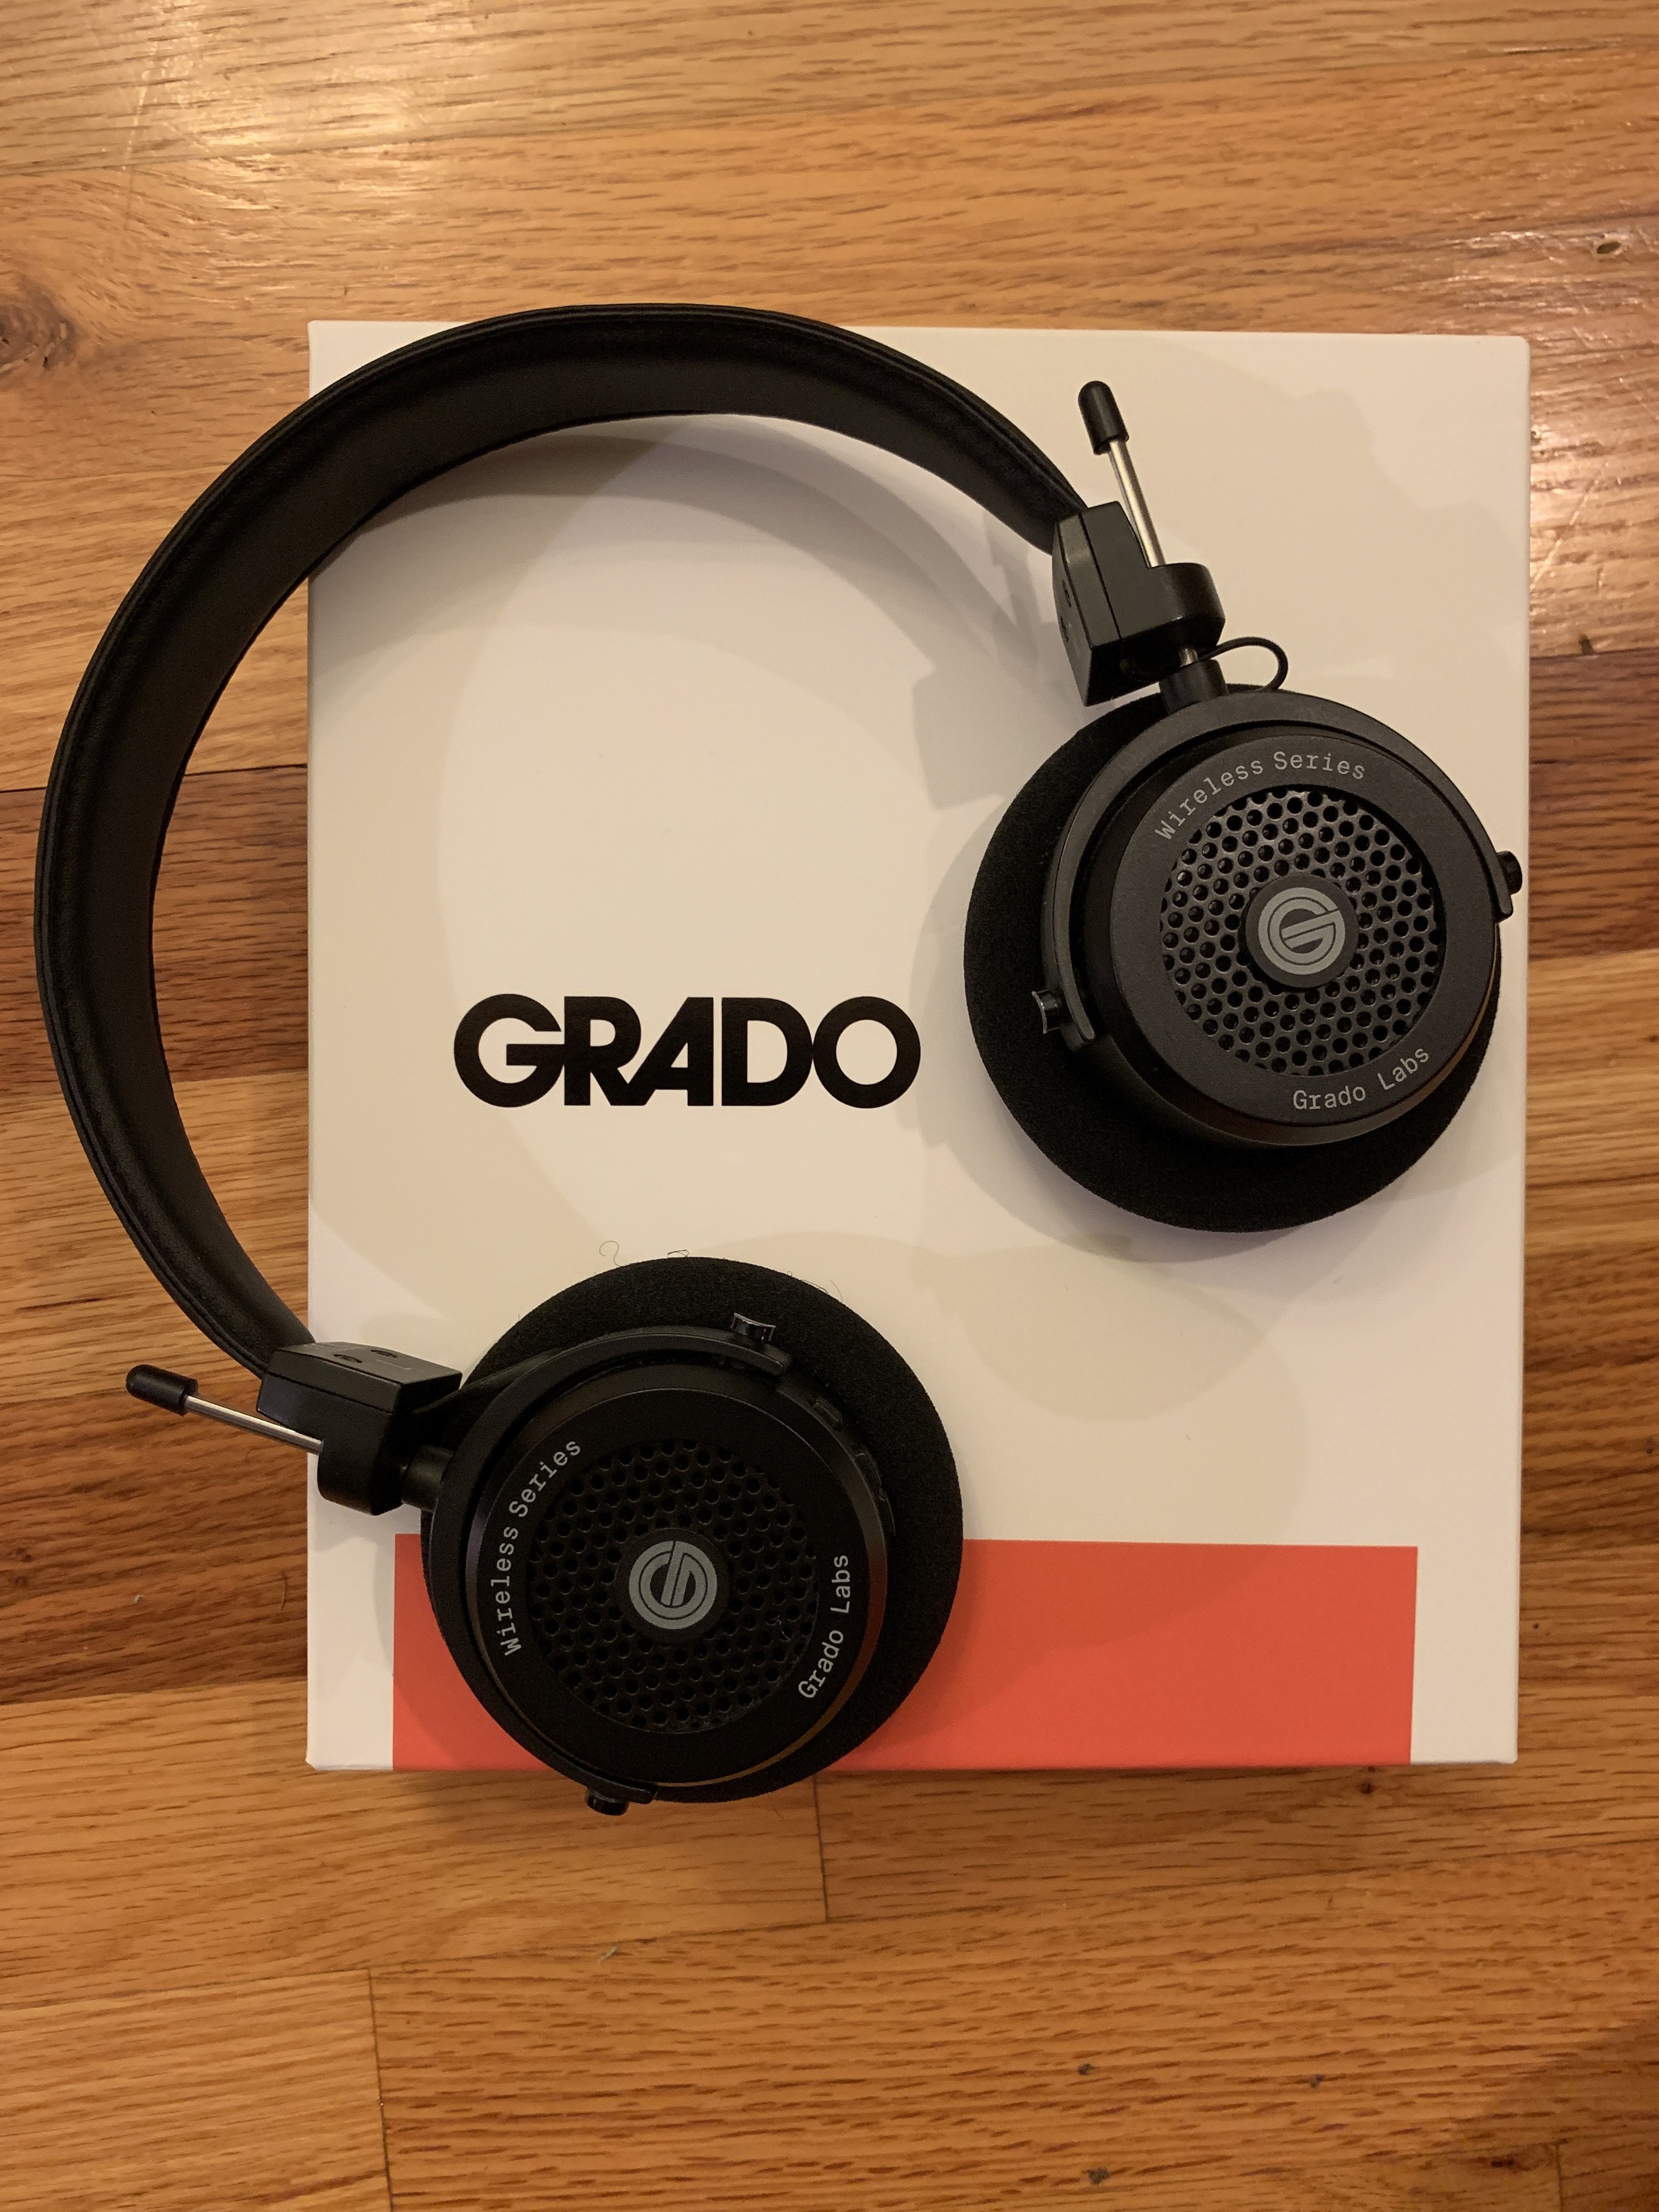


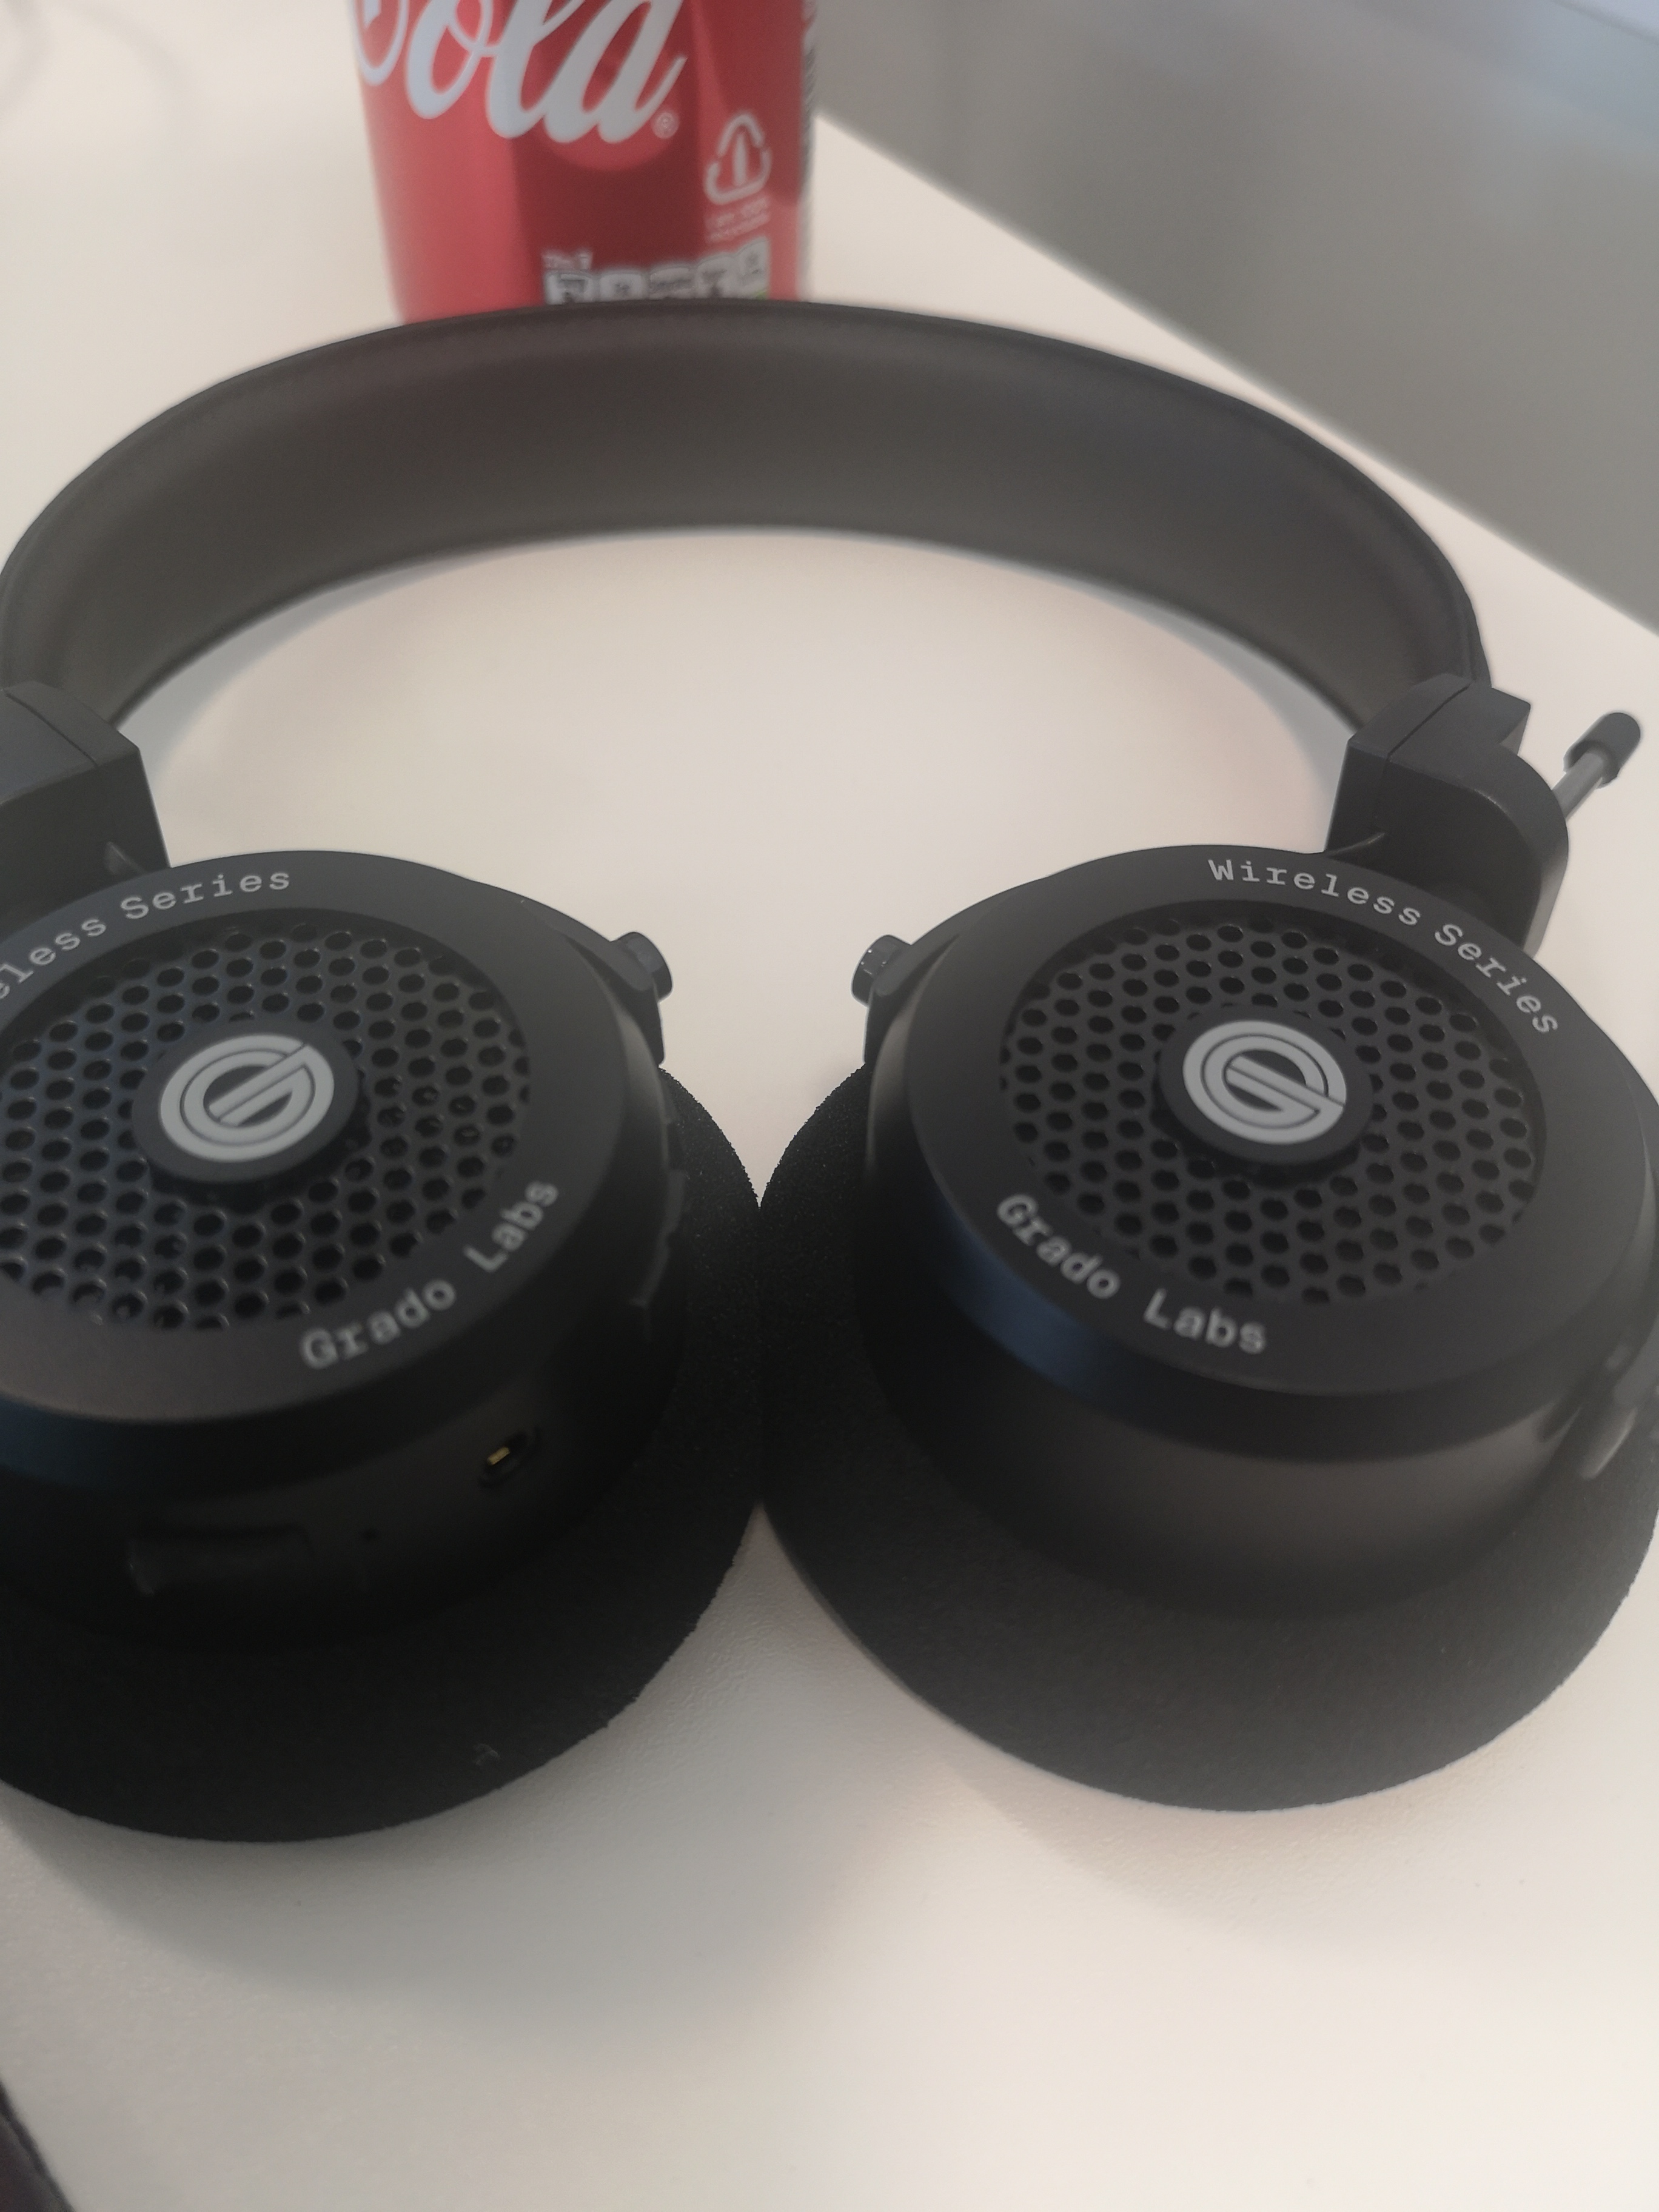


 I end up with my Grado GW100 (I have v1 with the microUSB port but I believe sonically they’re the same as v2) more often just because they’re more practical and still sound great. But the Deva’s sound is addictive.
