Nebby
Headphoneus Supremus
- Joined
- Aug 31, 2004
- Posts
- 2,201
- Likes
- 19
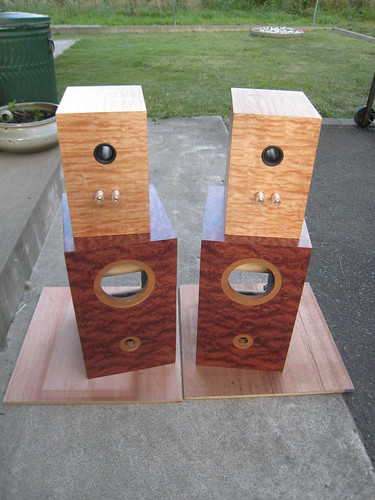
I've started building a pair of Zaph's Bargain Mini's (ZBM) along with Zaph's SR-71. I'll be documenting my build progress in this thread with pictures and comments. Making this thread somewhat for your entertainment and for me to use it somewhat as a log of progress (or lack thereof) as these will basically be my second and third woodworking projects to date. Hope you enjoy this thread as much as I (hopefully) will enjoy the build!
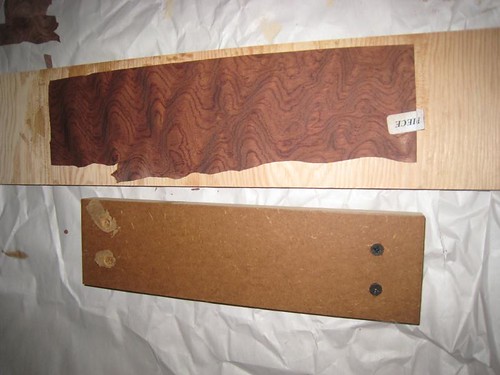
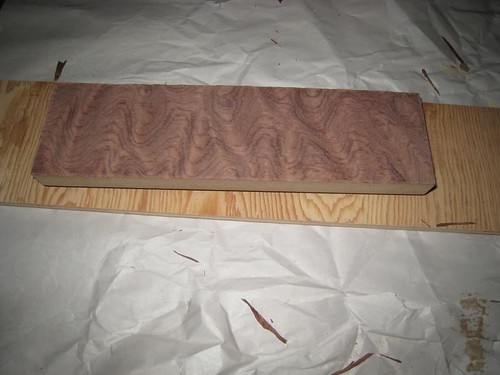
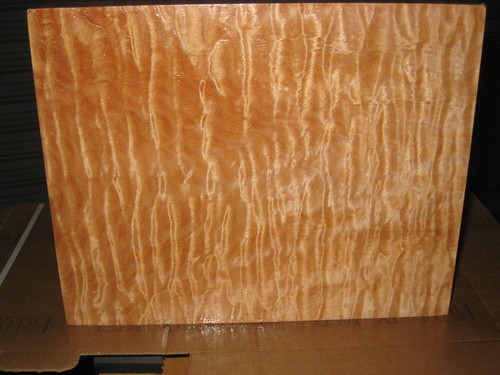
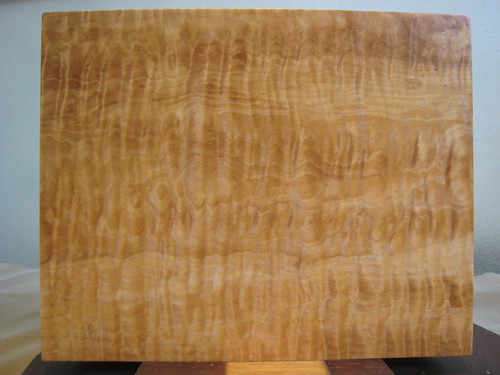
I'm planning on building the boxes with a removable front baffle and bracing where I can fit. The finish will be semi-flat black paint on the front baffle and veneer on the rest of the body. I picked up a few types of veneer but haven't decided on which I want to use on which.
I've already cut the panels for the SR-71, and the initial cuts for the ZBM.
Here's the SR-71 in dry-fit form:
I'll be using 5 screws per edge, in this picture I only have screws in each of the corners of the top and bottom. The back plate is not screwed in, it's held there by friction alone. Frankly speaking I could probably glue the speakers together, but where would the fun be in that?
Here's the panels of the ZBM, after sizing and cutting.
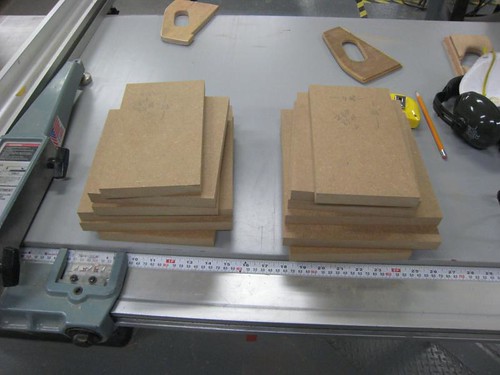
If you look carefully, you can see I wrote the length of each side and a short description of each panel. I learned the hard way that it gets confusing very quickly when working with multiple cuts if you don't have them labeled (and measure...measure....and measure again before cutting!)
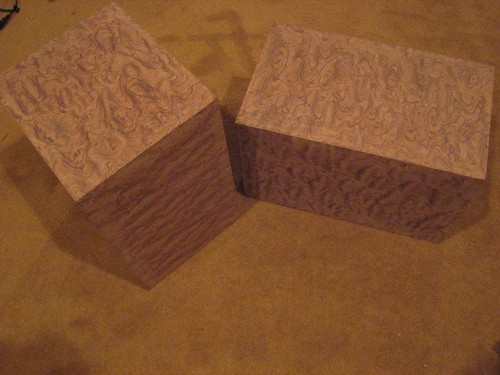
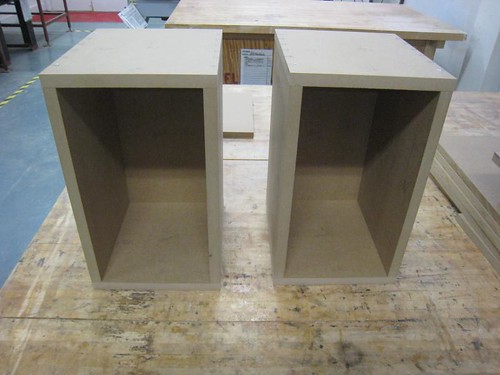
Here are the ZBM's, after drilling, countersinking, and screwing:

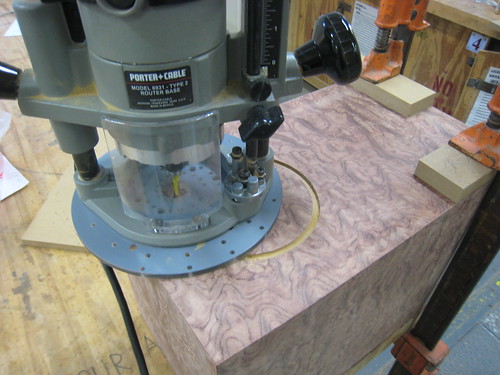
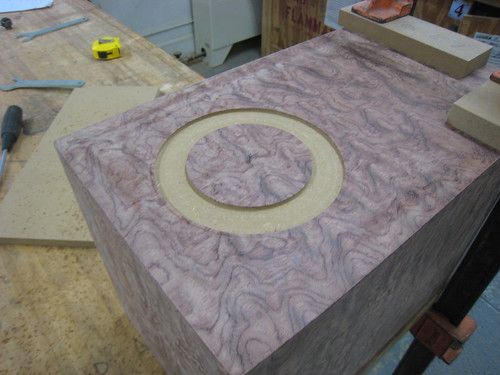
Probably not noticable, but I left a 1/32th of an inch on each side to account for any follies I make on the positioning. Luckily it doesn't seem like I messed up anywhere. I should be able to take that edge off easily with a flush trim bit on a router.
04/02/09
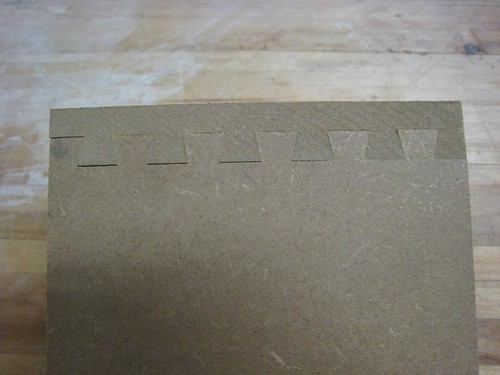
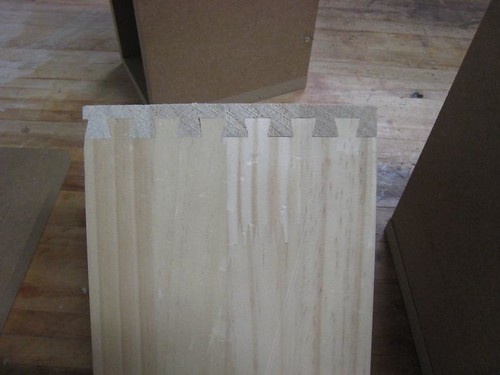
Today I didn't get much done, mostly because I was inspired by seeing a picture of a dovetail jig online, and asked my woodshop if they had one; turns out they did! So most of my time today was spent adjusting, testing, and readjusting this tool:
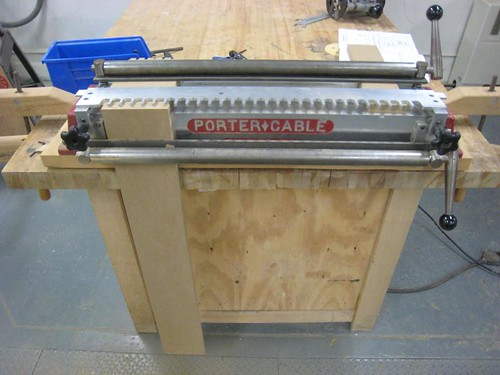
After roughly 45 minutes I had good fitting joints. I will be using this jig in the future to make some wooden enclosures for the DAC's that are mostly on temporary mounting boards right now

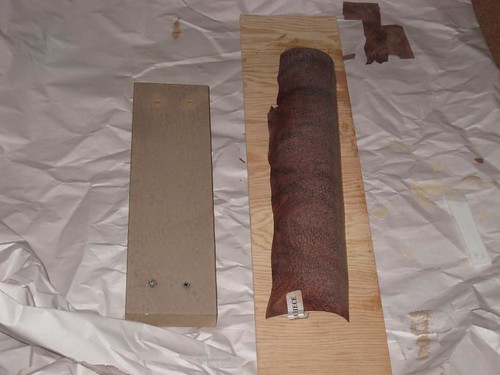
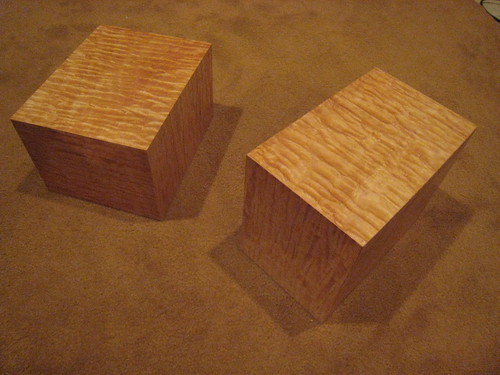
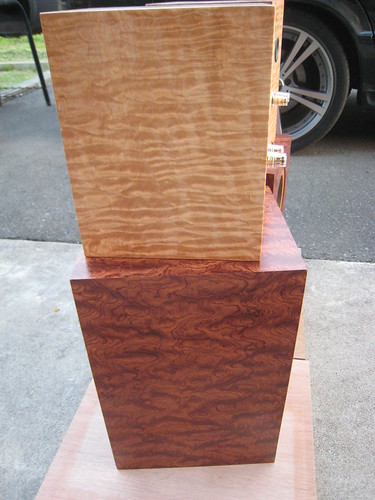
Quick picture to show the size difference between the ZBM and SR-71:

SR-71 Parts:
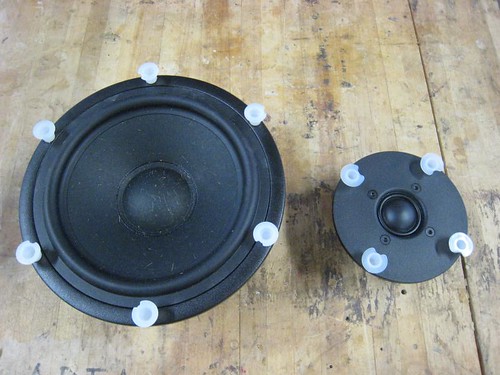
Drivers
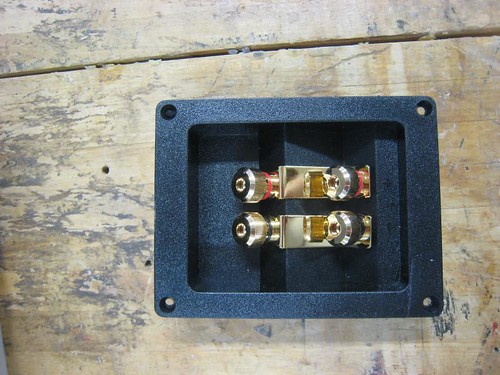
Terminal post panel
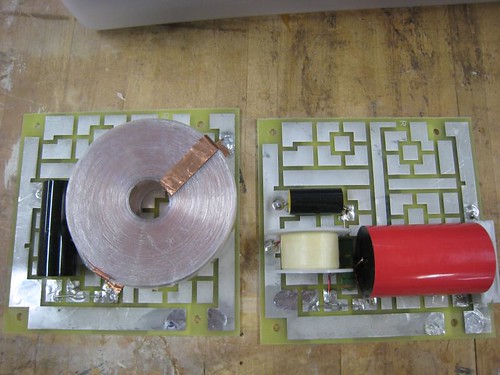
Crossover(s)
Really didn't do much today aside from tinkering with the jig, though I spent a couple minutes with this tool:
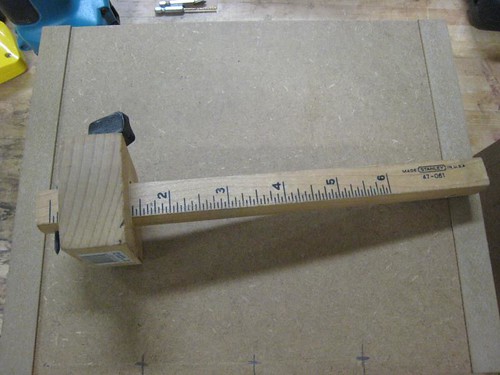
Scriber! Saves you a LOT of time that you would otherwise spent measuring again and again. On the bottom you can see the marks I made for the screws that will secure the back panel of the ZBM's.
04/03/09
More tinkering with the dovetail jig today, got some results I think are acceptable. Other than that I did more measuring and marking on the SR-71, and measured/marked/drilled/etc some more on the ZBM.
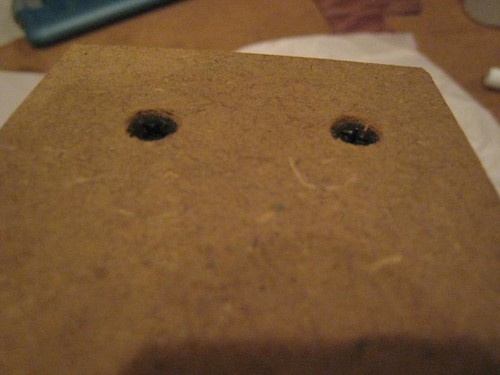
Didn't quite line up the bottom piece correctly, found out the clap tends to raise up the piece by ever so much if you're not careful.
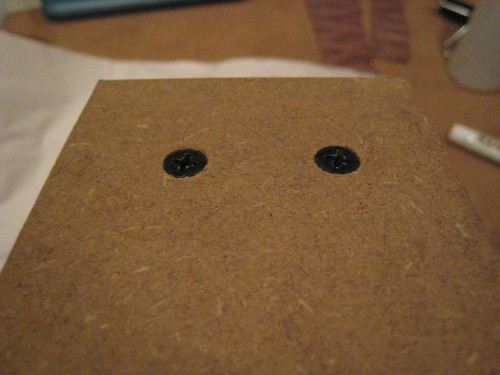
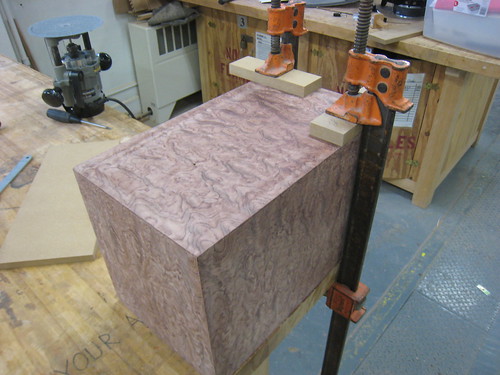
Somewhat happy with this one, any comments?
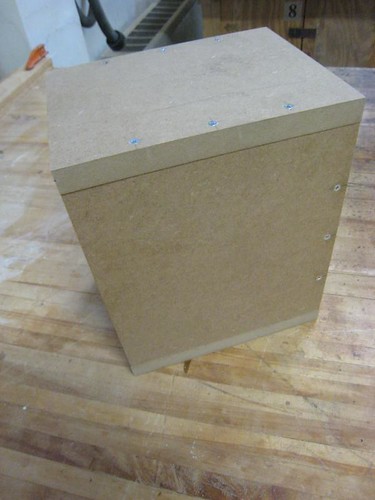
ZBM top and bottom and sides of the rear drilled/countersunk/screwed. It's starting to be a pretty solid enclosure!
I'll be testing out veneering on a scrap piece of MDF this weekend to get a feel for how the glue and softener work.
In other news, I'll be building up a pair of TPA counterpoint boards for my buffalo DAC this weekend. I plan on building a case for the DAC out of wood, with dovetail joints. I'm thinking of making the case two parts, rear panel and bottom one piece and the top/sides/front another piece. Put a dado in the side and front and slide the bottom piece right in, with four screws in the rear securing it in.
I'm planning on building the boxes with a removable front baffle and bracing where I can fit. The finish will be semi-flat black paint on the front baffle and veneer on the rest of the body. I picked up a few types of veneer but haven't decided on which I want to use on which.
I've already cut the panels for the SR-71, and the initial cuts for the ZBM.
Here's the SR-71 in dry-fit form:
I'll be using 5 screws per edge, in this picture I only have screws in each of the corners of the top and bottom. The back plate is not screwed in, it's held there by friction alone. Frankly speaking I could probably glue the speakers together, but where would the fun be in that?
Here's the panels of the ZBM, after sizing and cutting.
If you look carefully, you can see I wrote the length of each side and a short description of each panel. I learned the hard way that it gets confusing very quickly when working with multiple cuts if you don't have them labeled (and measure...measure....and measure again before cutting!)
Here are the ZBM's, after drilling, countersinking, and screwing:
Probably not noticable, but I left a 1/32th of an inch on each side to account for any follies I make on the positioning. Luckily it doesn't seem like I messed up anywhere. I should be able to take that edge off easily with a flush trim bit on a router.
04/02/09
Today I didn't get much done, mostly because I was inspired by seeing a picture of a dovetail jig online, and asked my woodshop if they had one; turns out they did! So most of my time today was spent adjusting, testing, and readjusting this tool:
After roughly 45 minutes I had good fitting joints. I will be using this jig in the future to make some wooden enclosures for the DAC's that are mostly on temporary mounting boards right now
Quick picture to show the size difference between the ZBM and SR-71:
SR-71 Parts:
Drivers
Terminal post panel
Crossover(s)
Really didn't do much today aside from tinkering with the jig, though I spent a couple minutes with this tool:
Scriber! Saves you a LOT of time that you would otherwise spent measuring again and again. On the bottom you can see the marks I made for the screws that will secure the back panel of the ZBM's.
04/03/09
More tinkering with the dovetail jig today, got some results I think are acceptable. Other than that I did more measuring and marking on the SR-71, and measured/marked/drilled/etc some more on the ZBM.
Didn't quite line up the bottom piece correctly, found out the clap tends to raise up the piece by ever so much if you're not careful.
Somewhat happy with this one, any comments?
ZBM top and bottom and sides of the rear drilled/countersunk/screwed. It's starting to be a pretty solid enclosure!
I'll be testing out veneering on a scrap piece of MDF this weekend to get a feel for how the glue and softener work.
In other news, I'll be building up a pair of TPA counterpoint boards for my buffalo DAC this weekend. I plan on building a case for the DAC out of wood, with dovetail joints. I'm thinking of making the case two parts, rear panel and bottom one piece and the top/sides/front another piece. Put a dado in the side and front and slide the bottom piece right in, with four screws in the rear securing it in.
")