Beyerdynamic DT990 removeable cable mod
Jul 27, 2014 at 3:42 AM Thread Starter Post #1 of 14

FrozenPanda

100+ Head-Fier
Joined
Oct 8, 2012
Posts
100
Likes
11
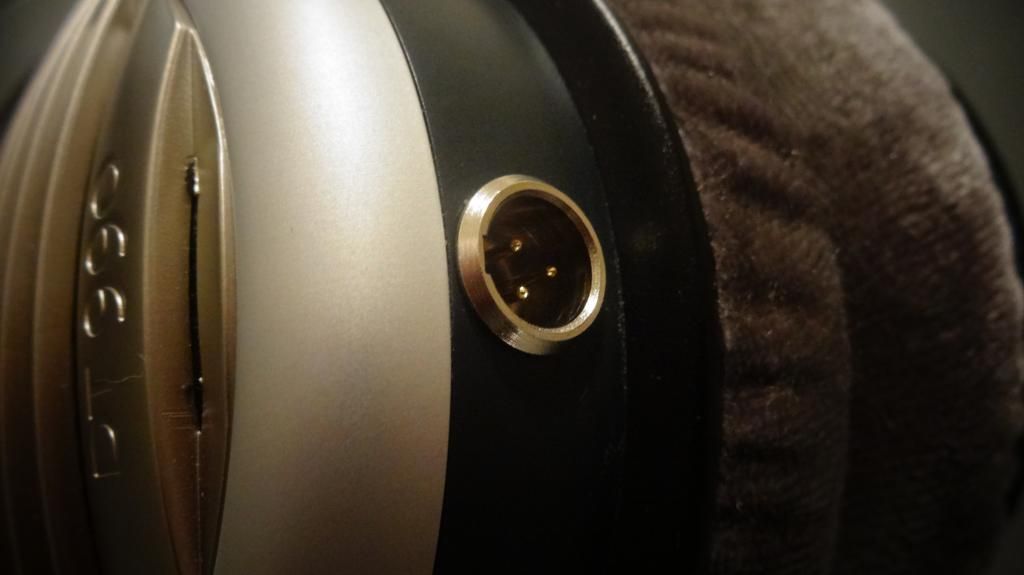
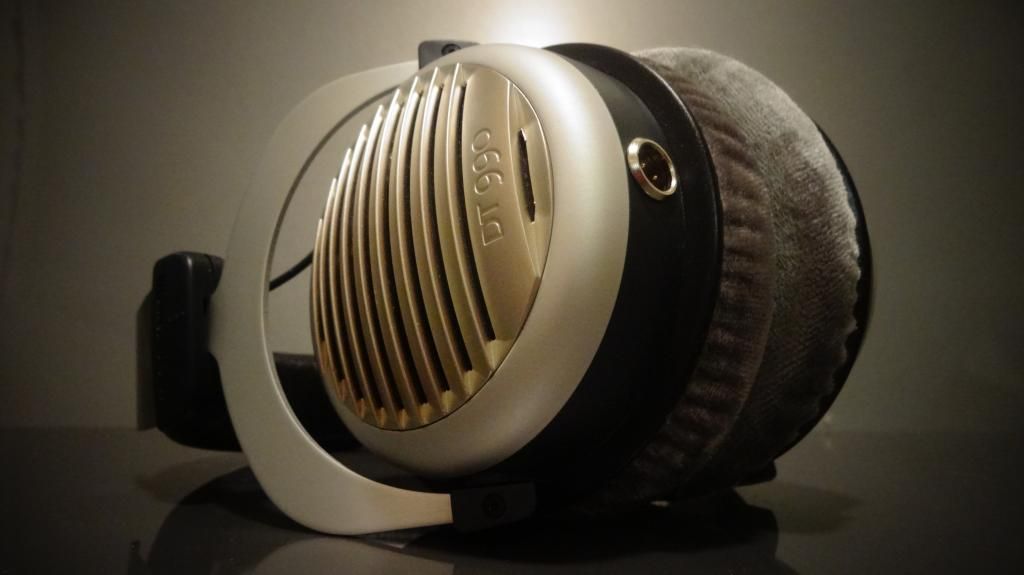
So im attempting to do a removeable cable mod on my dt990. I'm trying to put a mini-xlr jack. I've already widened the hole to the point where the jack will fit.. however.. the driver does not fit in flush as it used to... What is the best way to solve this? I don't think the hole can be made so that it doesnt interfere with the driver... Do i cut part of the driver? or the jack? Have other people done similar mods? I can post pictures later if anybody wants.
 
Jul 27, 2014 at 4:12 PM Post #3 of 14
Man whoever said that beyerdynamics were not mid friendly was not kidding.. I guess I put too much heat on the ground pin on the driver and it came right out.. I put it back in physically but it seems im not getting signal.. Do I have a dead driver?
 
Jul 27, 2014 at 6:31 PM Post #8 of 14
Nah, just get yourself a pair of the Tesla drivers and plop then in
rolleyes.gif

 
Jul 27, 2014 at 7:25 PM Post #9 of 14
yeah, this is a bit of a pickle.. 
 
How much would a pair of broken 770's or 880's run me? I don't see a pair anywhere on ebay but maybe i'm not looking correctly..
 
Which phones have the same drivers as the 990's 250 ohm? I would need one which is also 250 ohm right?
 
Jul 27, 2014 at 7:42 PM Post #10 of 14
If you look with magnification near the tab you should see the voice coil wire there if you didn't snap it off at the base.

The way others and myself have fixed this is you will have to move the remaining voicecoil wire to the center tab as it won't reach any more to the proper tab. Just wrap what is left around the tab with a little screwdriver or pick and apply lots of solder.

You can't tin the voicecoil wire so don't even try it just melts.

Measure it with a meter and if you get resistance you are laughing.

Make sure you have the flat side of the xlr socket facing up to give you a little more room. If there is really not enough room you will have to oblong the hole a bit and use a washer on the outside to hide the excess.

Good luck!
 
Apr 6, 2020 at 6:31 PM Post #14 of 14
Man whoever said that beyerdynamics were not mid friendly was not kidding.. I guess I put too much heat on the ground pin on the driver and it came right out.. I put it back in physically but it seems im not getting signal.. Do I have a dead driver?
I did the same mistake. In the beginning, I had a pair with a faulty right driver and purchased two cheap 250 Ohm drivers with the idea of replace them all and also make the detachable cable mod.
After damaging the 250 Ohm good left driver I decided to invest more money on a pair of original Beyer's 600 Ohm drivers and make a total swap (plus cable mod) so that I could have a pair of 600 Ohm DT990!
Customer service at Beyer's was kind enough to confirm that drivers are interchangeable.
There's good and bad in original drivers - they're not cheap (98 euro a pair + S&H, that's bad) but the new drivers have a totally different way of attaching wires: no more protruding metal terminals but a small green PCB-looking board with 4 pads, and that's GOOD.
You must anyway use a solder gun that is made for PCB jobs so it does not heat too much. i don't have a soldering station with temp control but a good 23 Watt soldering gun with a tiny tip.
The solder attaches to the pads veeery easily and so the new wires after you tin the wires' tips properly.
The rest is easily described - dremel out the square opening to accomodate the mini XLR socket.
I made it on both cups - did not want to have a piece of cable running to the right cup like in the original design.

A couple of tips: I put an O-ring between the socket outer ring and the earcups so the flat outer metal ring does not come into direct contact with the rounded surface of the cup.
The small O-ring will evenly distribute the contact pressure between the parts and it's a better surface to put some super glue for ensuring a fixed installation.
Internally, I distributed hot glue as the socket's retaining nut does not fit in.

Second tip - how to close the tiny holes that are made to run the cable from left to right cup? Again, a piece of O-ring of suitable cross section, just cut 1 cm and plug it inside the holes until you level it with the cup surface. It's black, almost invisible.
 

Users who are viewing this thread

Back
Top