Audio Technica M50x headband cracking iso fix/replacement/mod
Nov 18, 2017 at 11:30 PM Thread Starter Post #1 of 7

Proverbspsalms

New Head-Fier
Joined
Aug 22, 2012
Posts
12
Likes
0
Hey all,

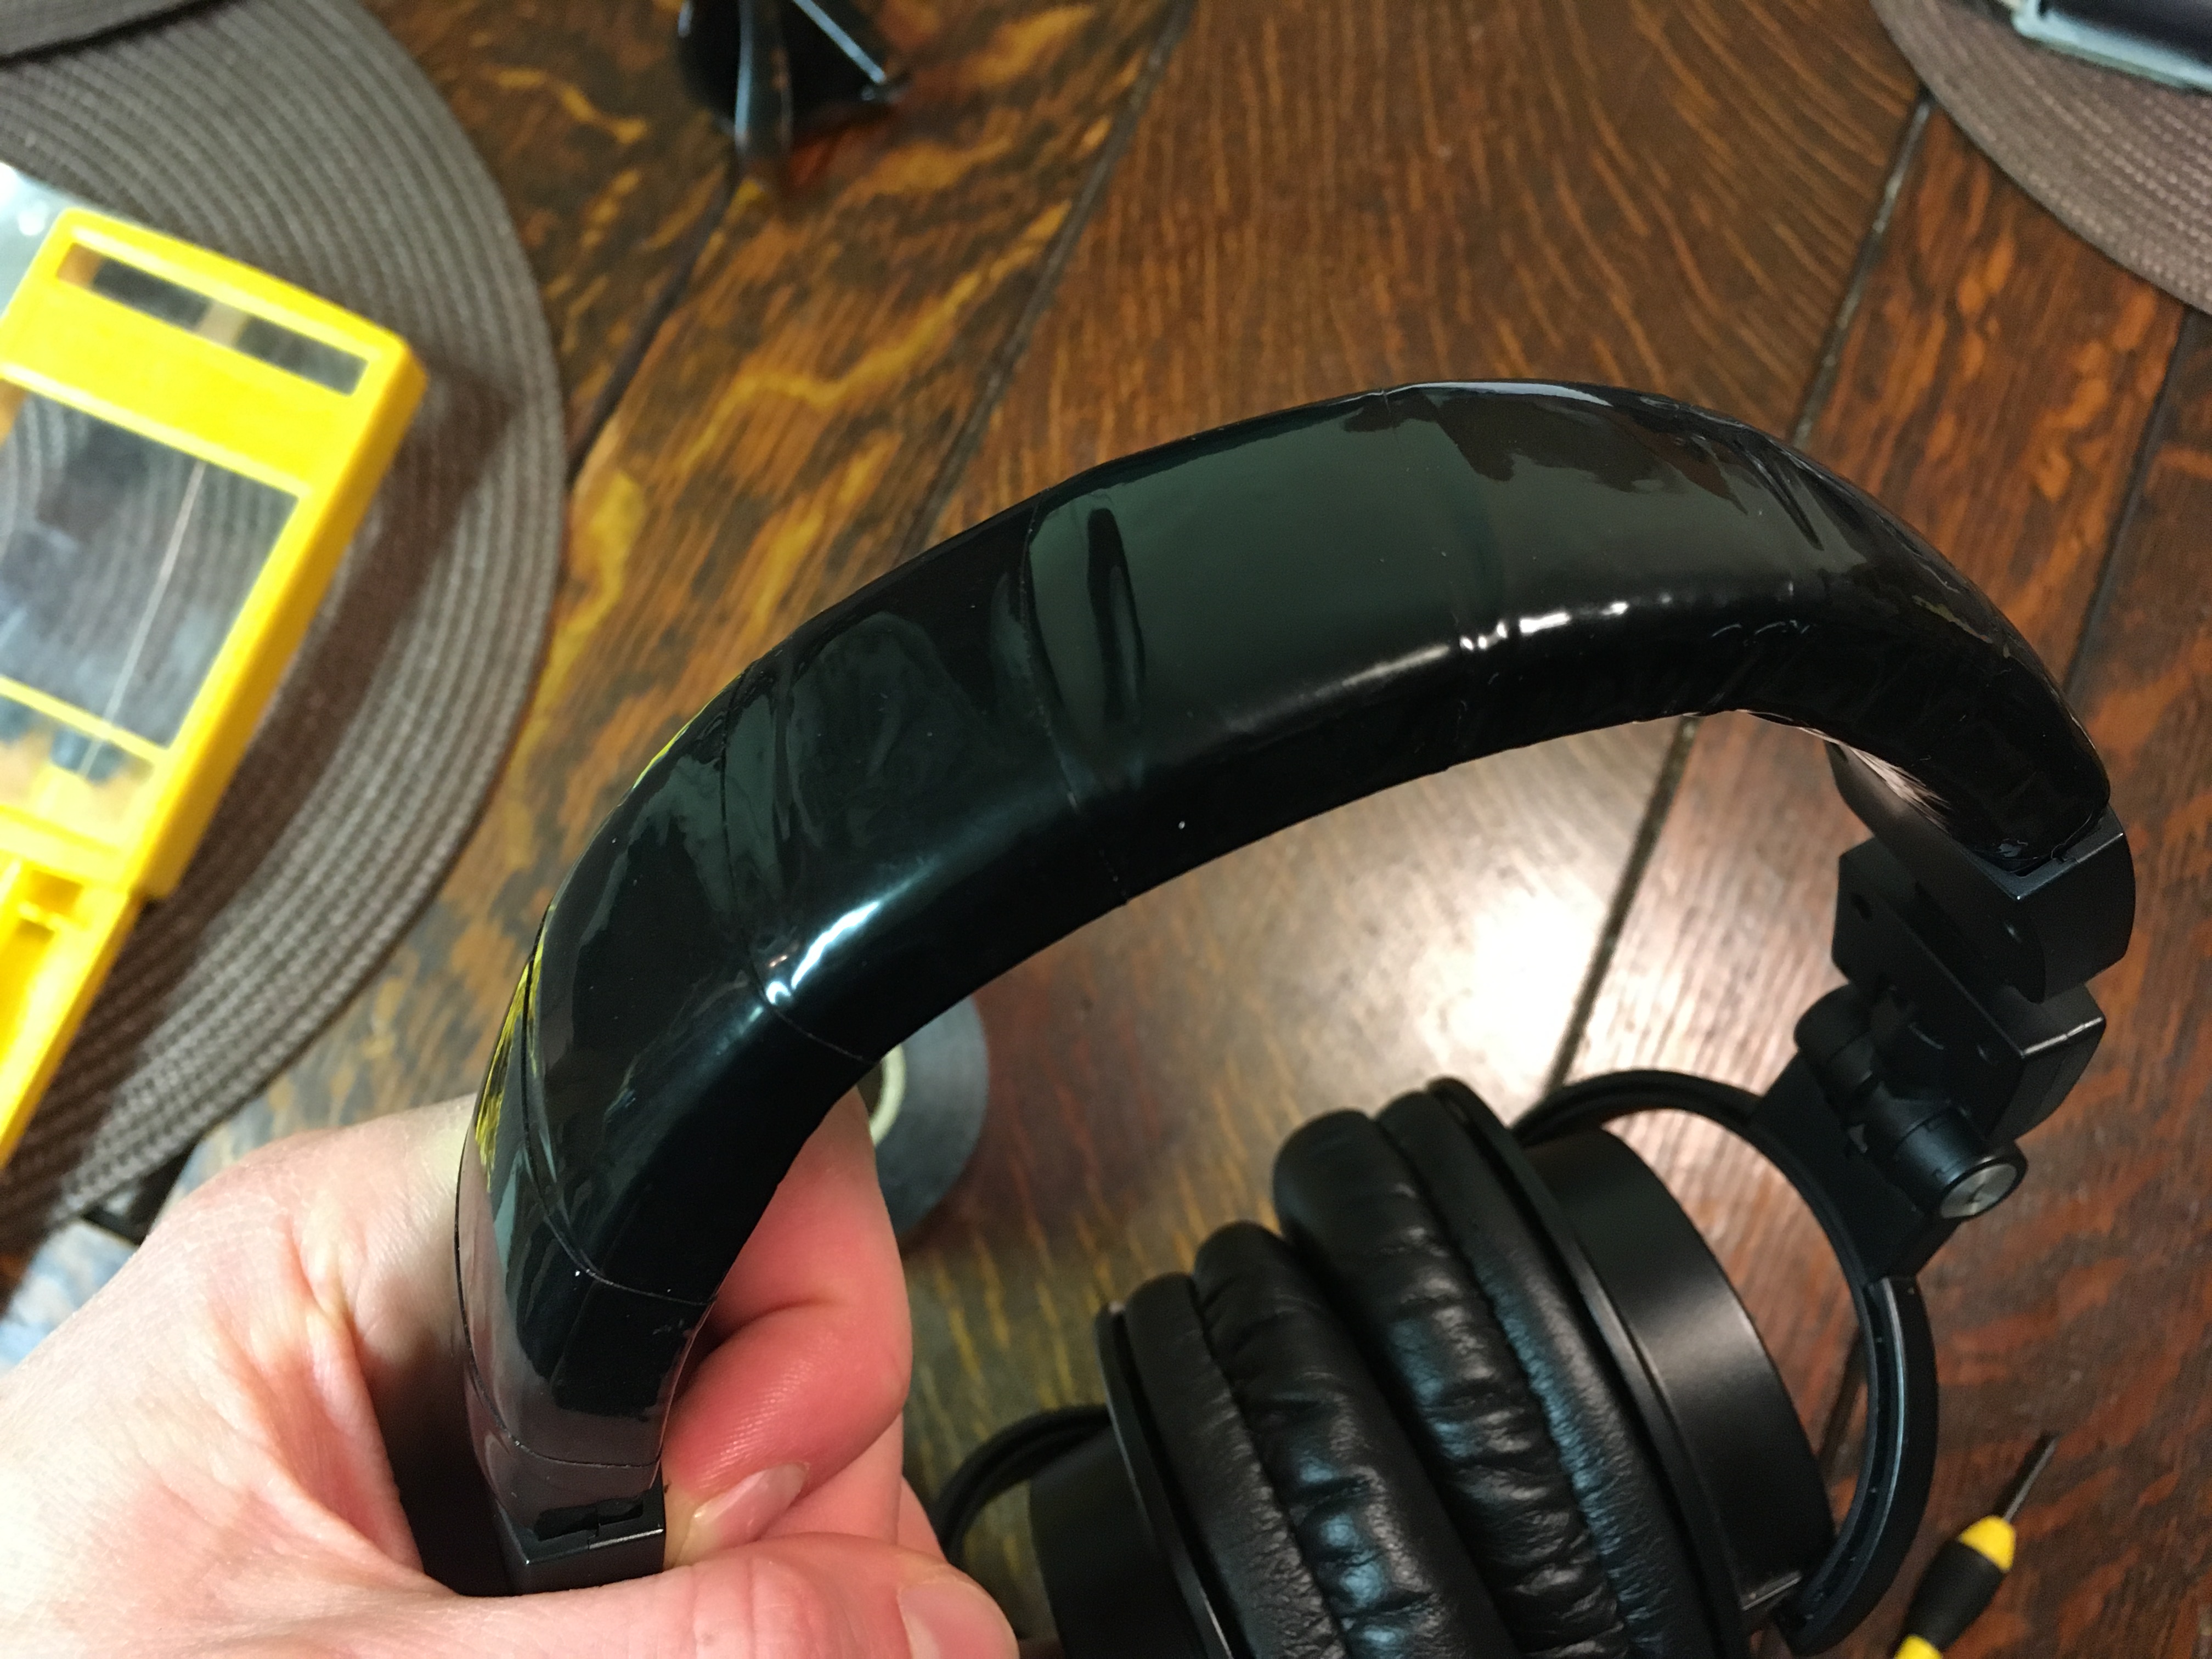
I have the limited edition silvergray/blue M50x, the head band is starting to very lightly crack in the inner part, which rests against your head.

the rest is in perfect condition, even the ear part is mint also.

Does anyone have an easy fix to this?

I saw someone sew their own suede headband, it looked amazing, but also seemed like a lot of work.


I am surprised they don't sell anything for this.
 
Nov 20, 2017 at 9:43 PM Post #3 of 7
Did it. Removed four screws and wrapped with 2 inch wide vinyl tape I got at Lowes (found in outdoor area--intended for taping black corrugated drain pipe).

IMG_2880.JPG

IMG_2881.JPG

The tape is very flexible and I managed to avoid getting any big wrinkles...but it does wrinkle when the headband is flexed to fit my head. The shiny finish looks a tad derpy...but it beats having bits of disintegrated black pleather in my hair! I'm happy for now but in the future I may try wrapping with some foam bicycle handlebar tape.
 
Dec 15, 2017 at 1:08 AM Post #4 of 7
Did it. Removed four screws and wrapped with 2 inch wide vinyl tape I got at Lowes (found in outdoor area--intended for taping black corrugated drain pipe).


The tape is very flexible and I managed to avoid getting any big wrinkles...but it does wrinkle when the headband is flexed to fit my head. The shiny finish looks a tad derpy...but it beats having bits of disintegrated black pleather in my hair! I'm happy for now but in the future I may try wrapping with some foam bicycle handlebar tape.

Thanks for the reply, it actually looks grea t - it came out very nice.

I winded up ordered a replacement headband for around $32 + tax + shipping for Audio Technica, thats not bad at all, I will try to do the work some time soon, I never tried soldering before, but there is always a first time for everything
 
Dec 21, 2017 at 12:25 PM Post #5 of 7
Wow. I did not know they offered replacement head bands. If you are new to soldering, I have no doubt you can accomplish the task, but be warned that AT uses some weird cheap wire that was so difficult for me to solder when I did my removable cable mod, I had to replace all the wire in order to get reliable solder joints.

Actually the wires you will be working with (the ones that go to the right driver) are the ONLY wires I did not touch during the mod, so who knows...maybe they are better quality. Try tinning the tips of the wire before you do anything else. If solder sticks easily, you're golden.

If it does not , then it's the same cheap wire I ran into, which had pathetically tiny gauge copper conductors with tiny nylon threads running through it (for extra strength I guess since the wire is so thin). You can see it If you look closely. Somehow the nylon coats the wire and resists adding new solder. I read one Head-Fi member say to burn the crap off with a lighter and then clean the residue off (solvent?) I tried burning and then sanding the wire with ultrafine paper. It did not work. Perhaps generous activated flux would work to clean as you solder.

Hopefully since it is a replacement part it will have good normal wire that is easy to work with.
 
Last edited:
Dec 24, 2017 at 1:50 PM Post #7 of 7
The solder joints use such tiny wire that they are very sensitive to movement. I should have warned you to put tape over the wires after opening the ear cups to prevent flexing at the solder joints. I swear the wire they use is really the weanest I have ever worked with.

Sorry you had trouble with it.

Once you break a joint with that flimsy OEM wire it's almost impossible to resolder it because of the nylon crud on there. It's actually VERY easy to solder any normal clean copper wire to the drivers. If you have a multimeter you can even use the audible tone to check for continuity between the wire and the copper traces on the drivers, which tells you the joint in the middle is good.

At this point with bad joints going from the headphone cable into the left driver, the only way to replace those wires is to do the removable cable mod. So you would end up with brand new short wires going from the left driver to a jack you put in the hole. Looks like this:
IMG_2877.JPG IMG_2878.JPG

You do have to cut a small bit out of the plastic ring over the driver so that the jack can fit when the ear cup is closed back up (I put electrical tape over the cut portion). Many others have posts on this same mod.

I understand that you may be fed up with the tinkering and ready for AT to fix it. Let me know if you want advice though. Good luck either way!
 
Last edited:

Users who are viewing this thread

Back
Top