So far, I 3D printed the negative mould for the Carbon fiber cup
On the first try, I applied the epoxy by hand using 3 layers of CF, but I used quick to dry epoxy ( dry time 10 mins), then vacuum bagging them. The resulting cup were too uneven and ugly to post
Second try, I tried vaccum resin infusion. I mixed wrong ratio for epoxy and hardener, its been 1 wk and still not cured yet.Another issue is lots of air bubble. Reason is again quick drying time of epoxy, I cannot wait for 10 mins for all the air come to the surface and disappear from the mixing cup
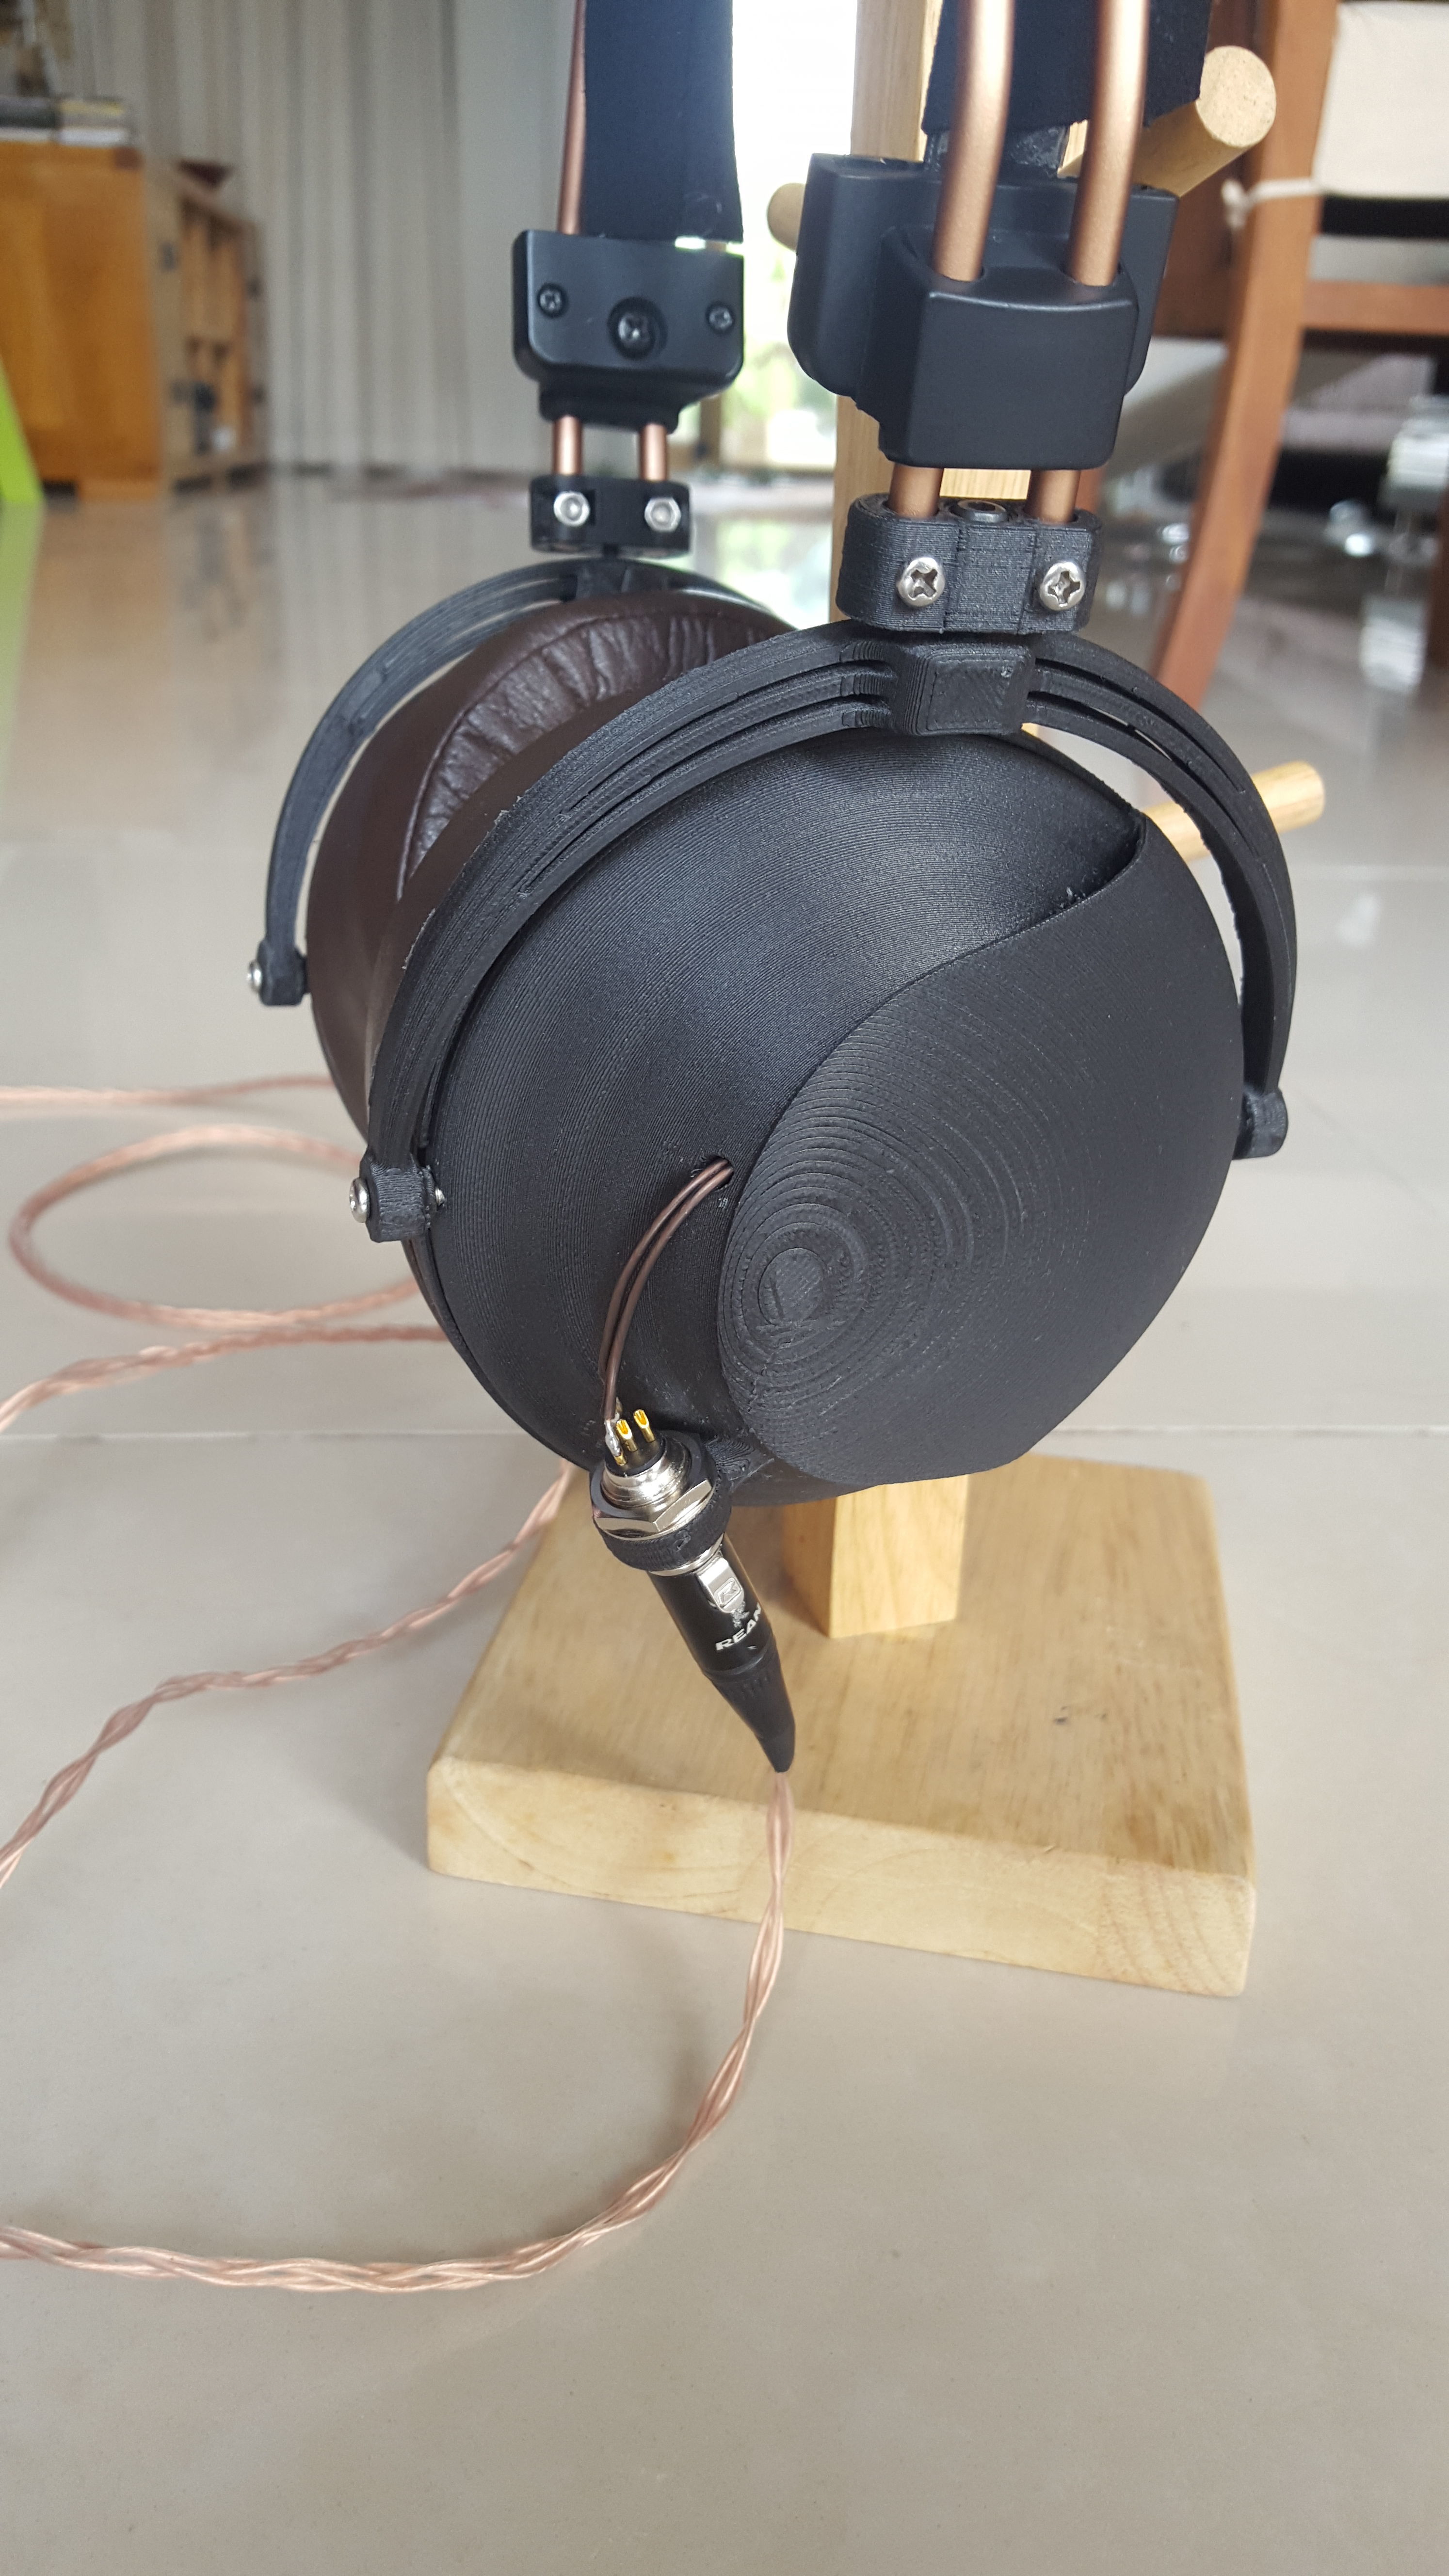
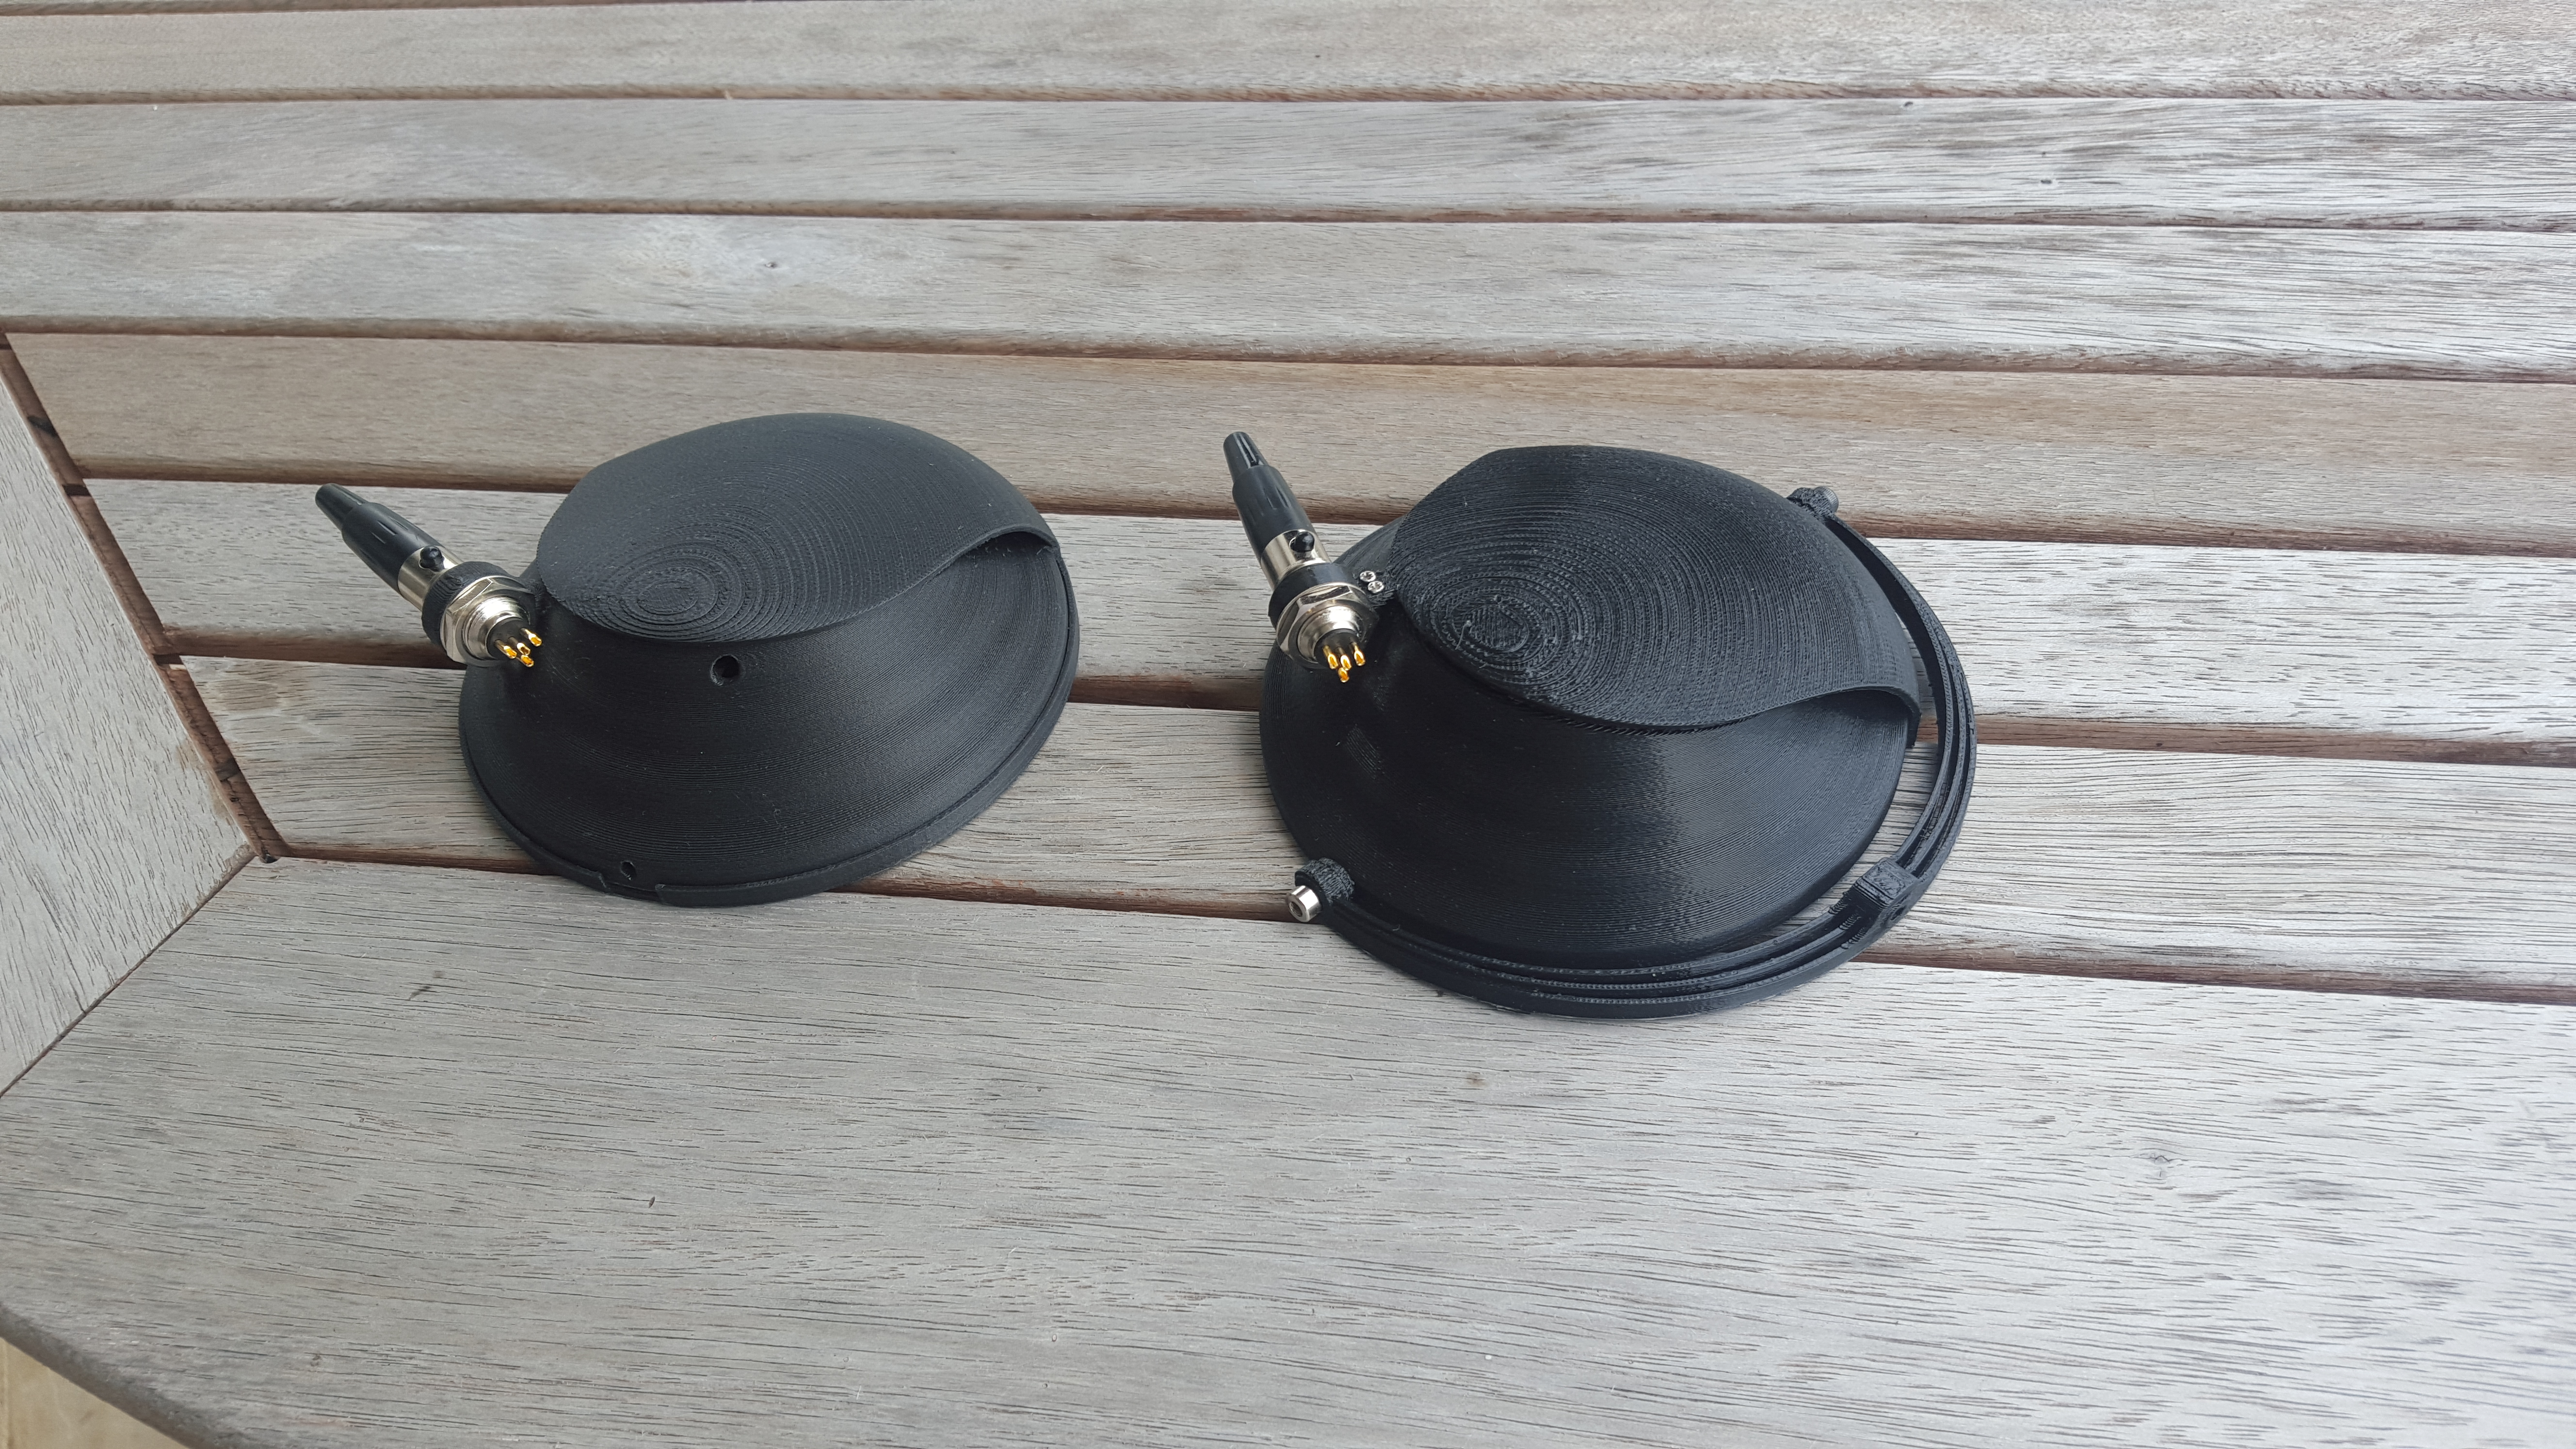
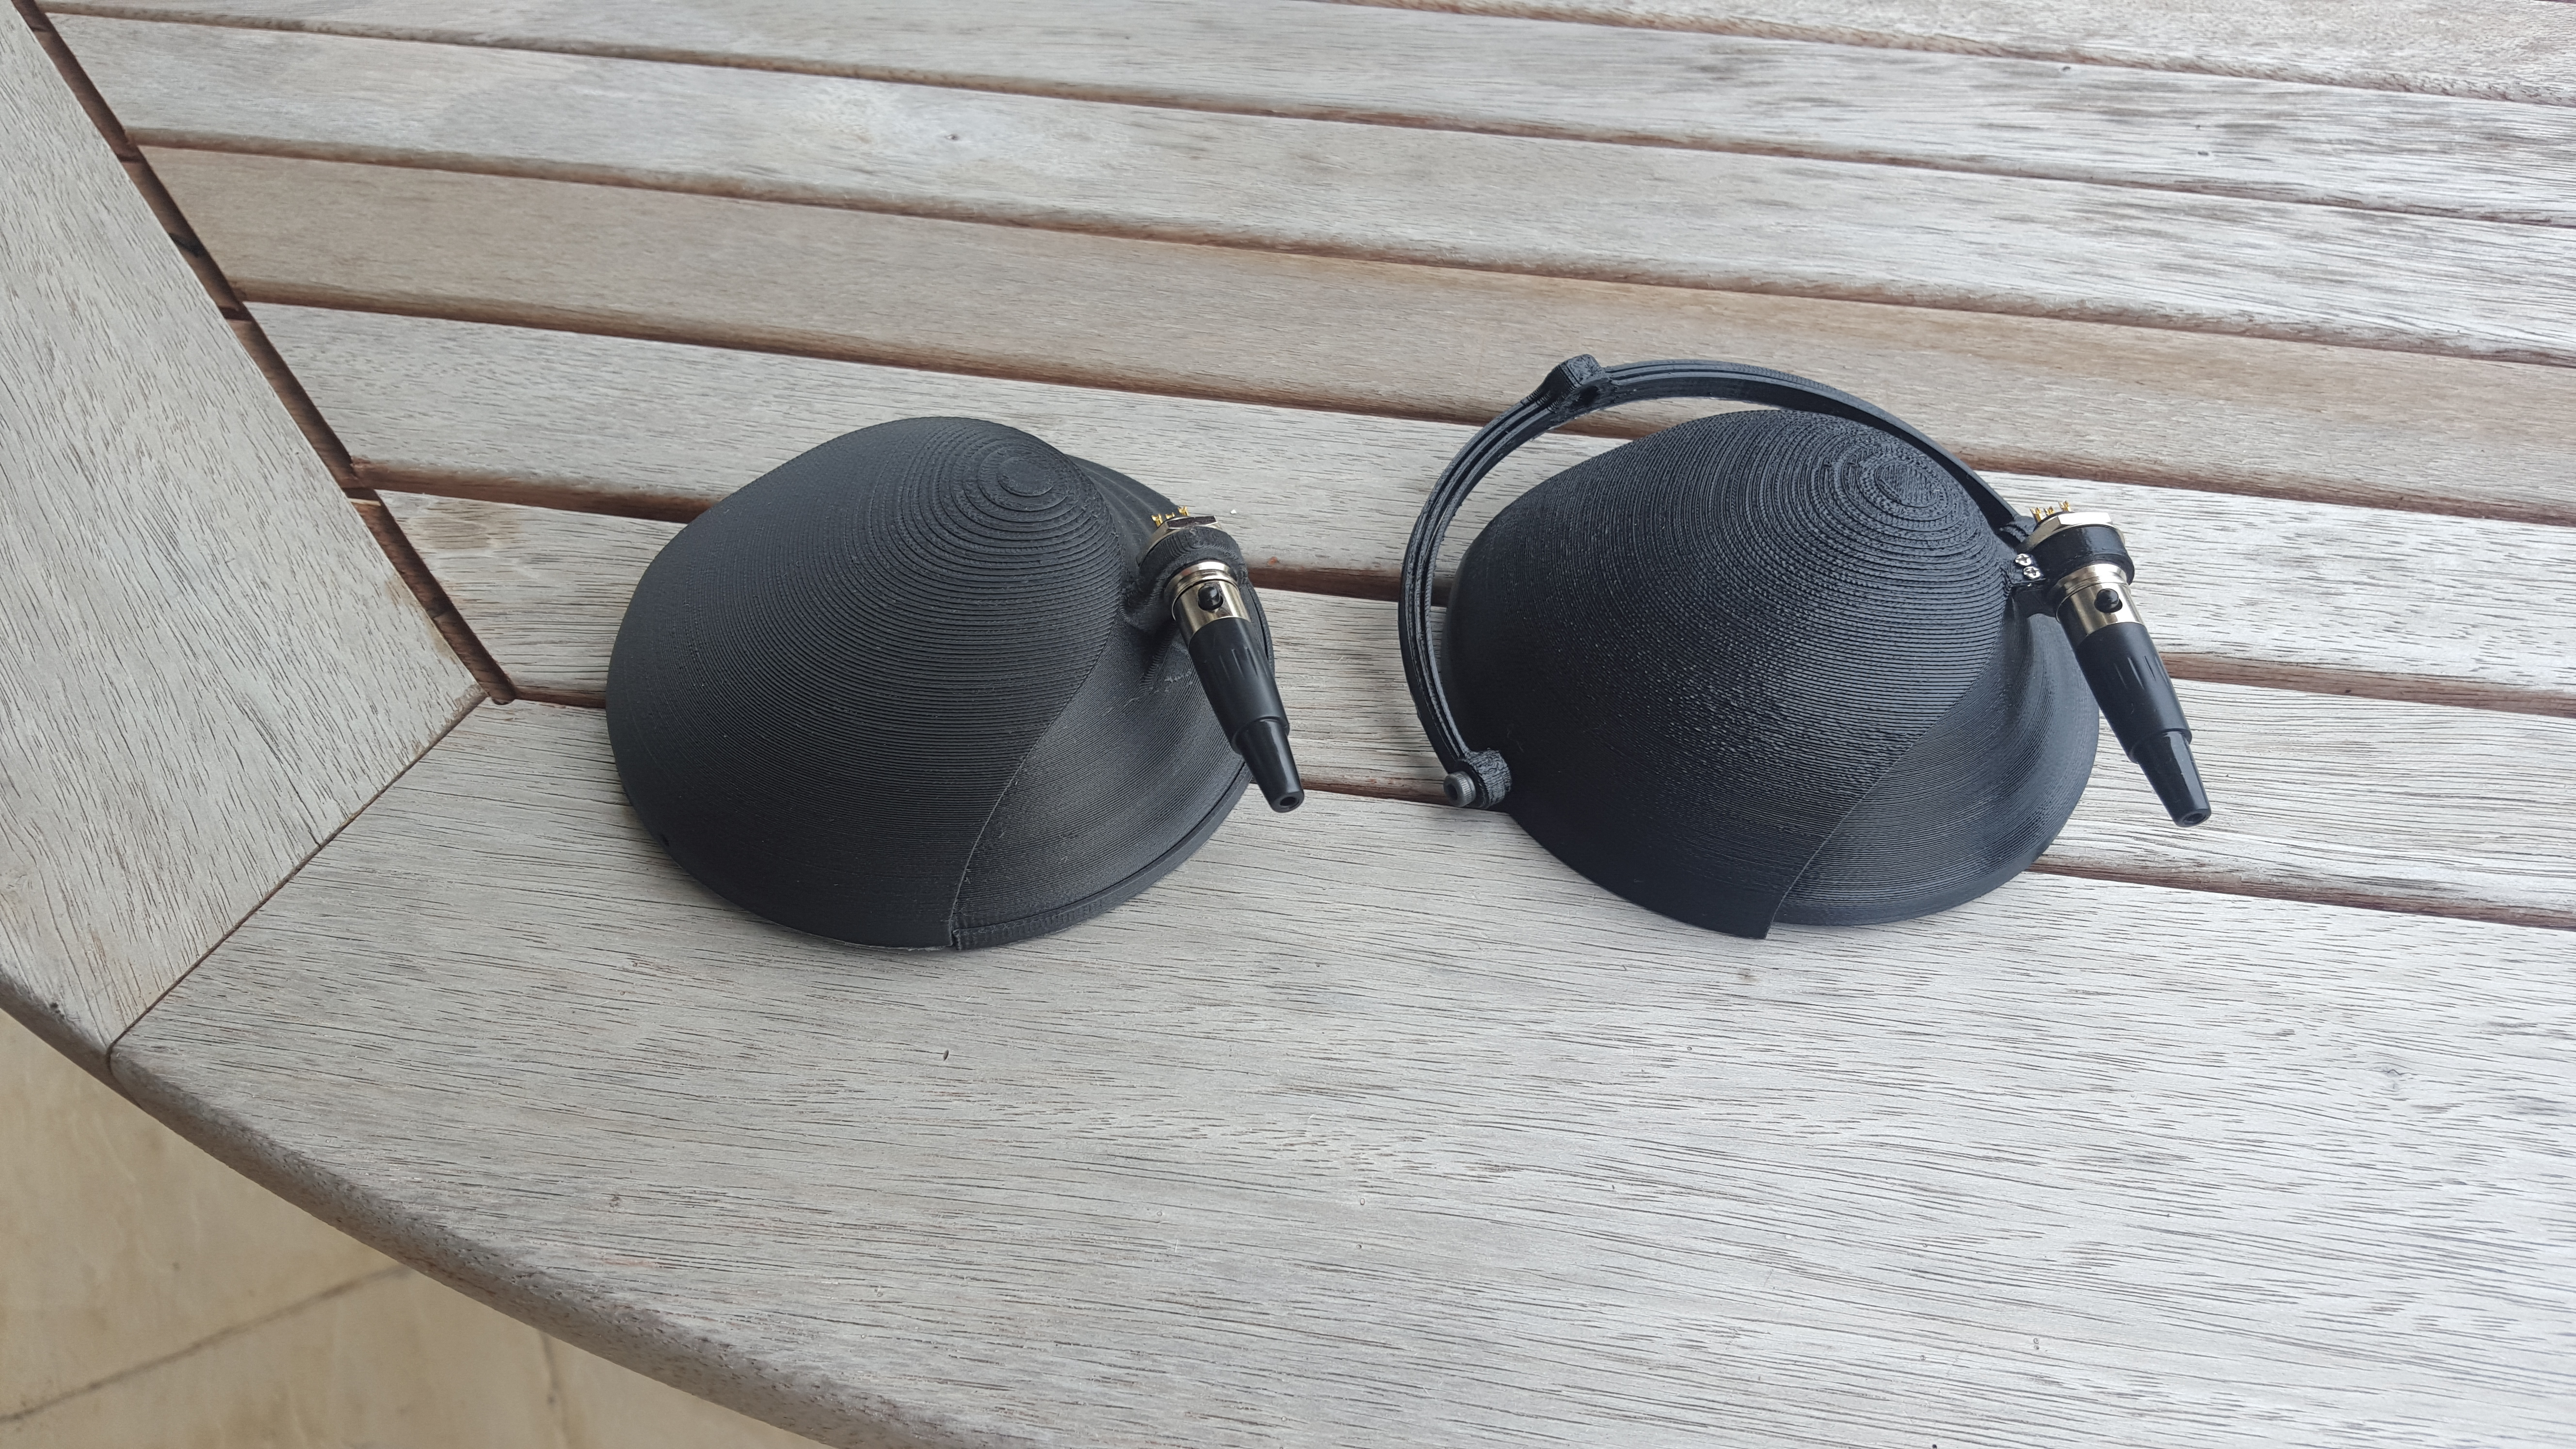
After total failure, I decided to 3d Printed the parts, then only cover them with 1 layer of carbon:


Unfortunately I was too unhappy with the carbon fiber parts to take any pic, Hopefully when I come back home after 2 months I can try again.

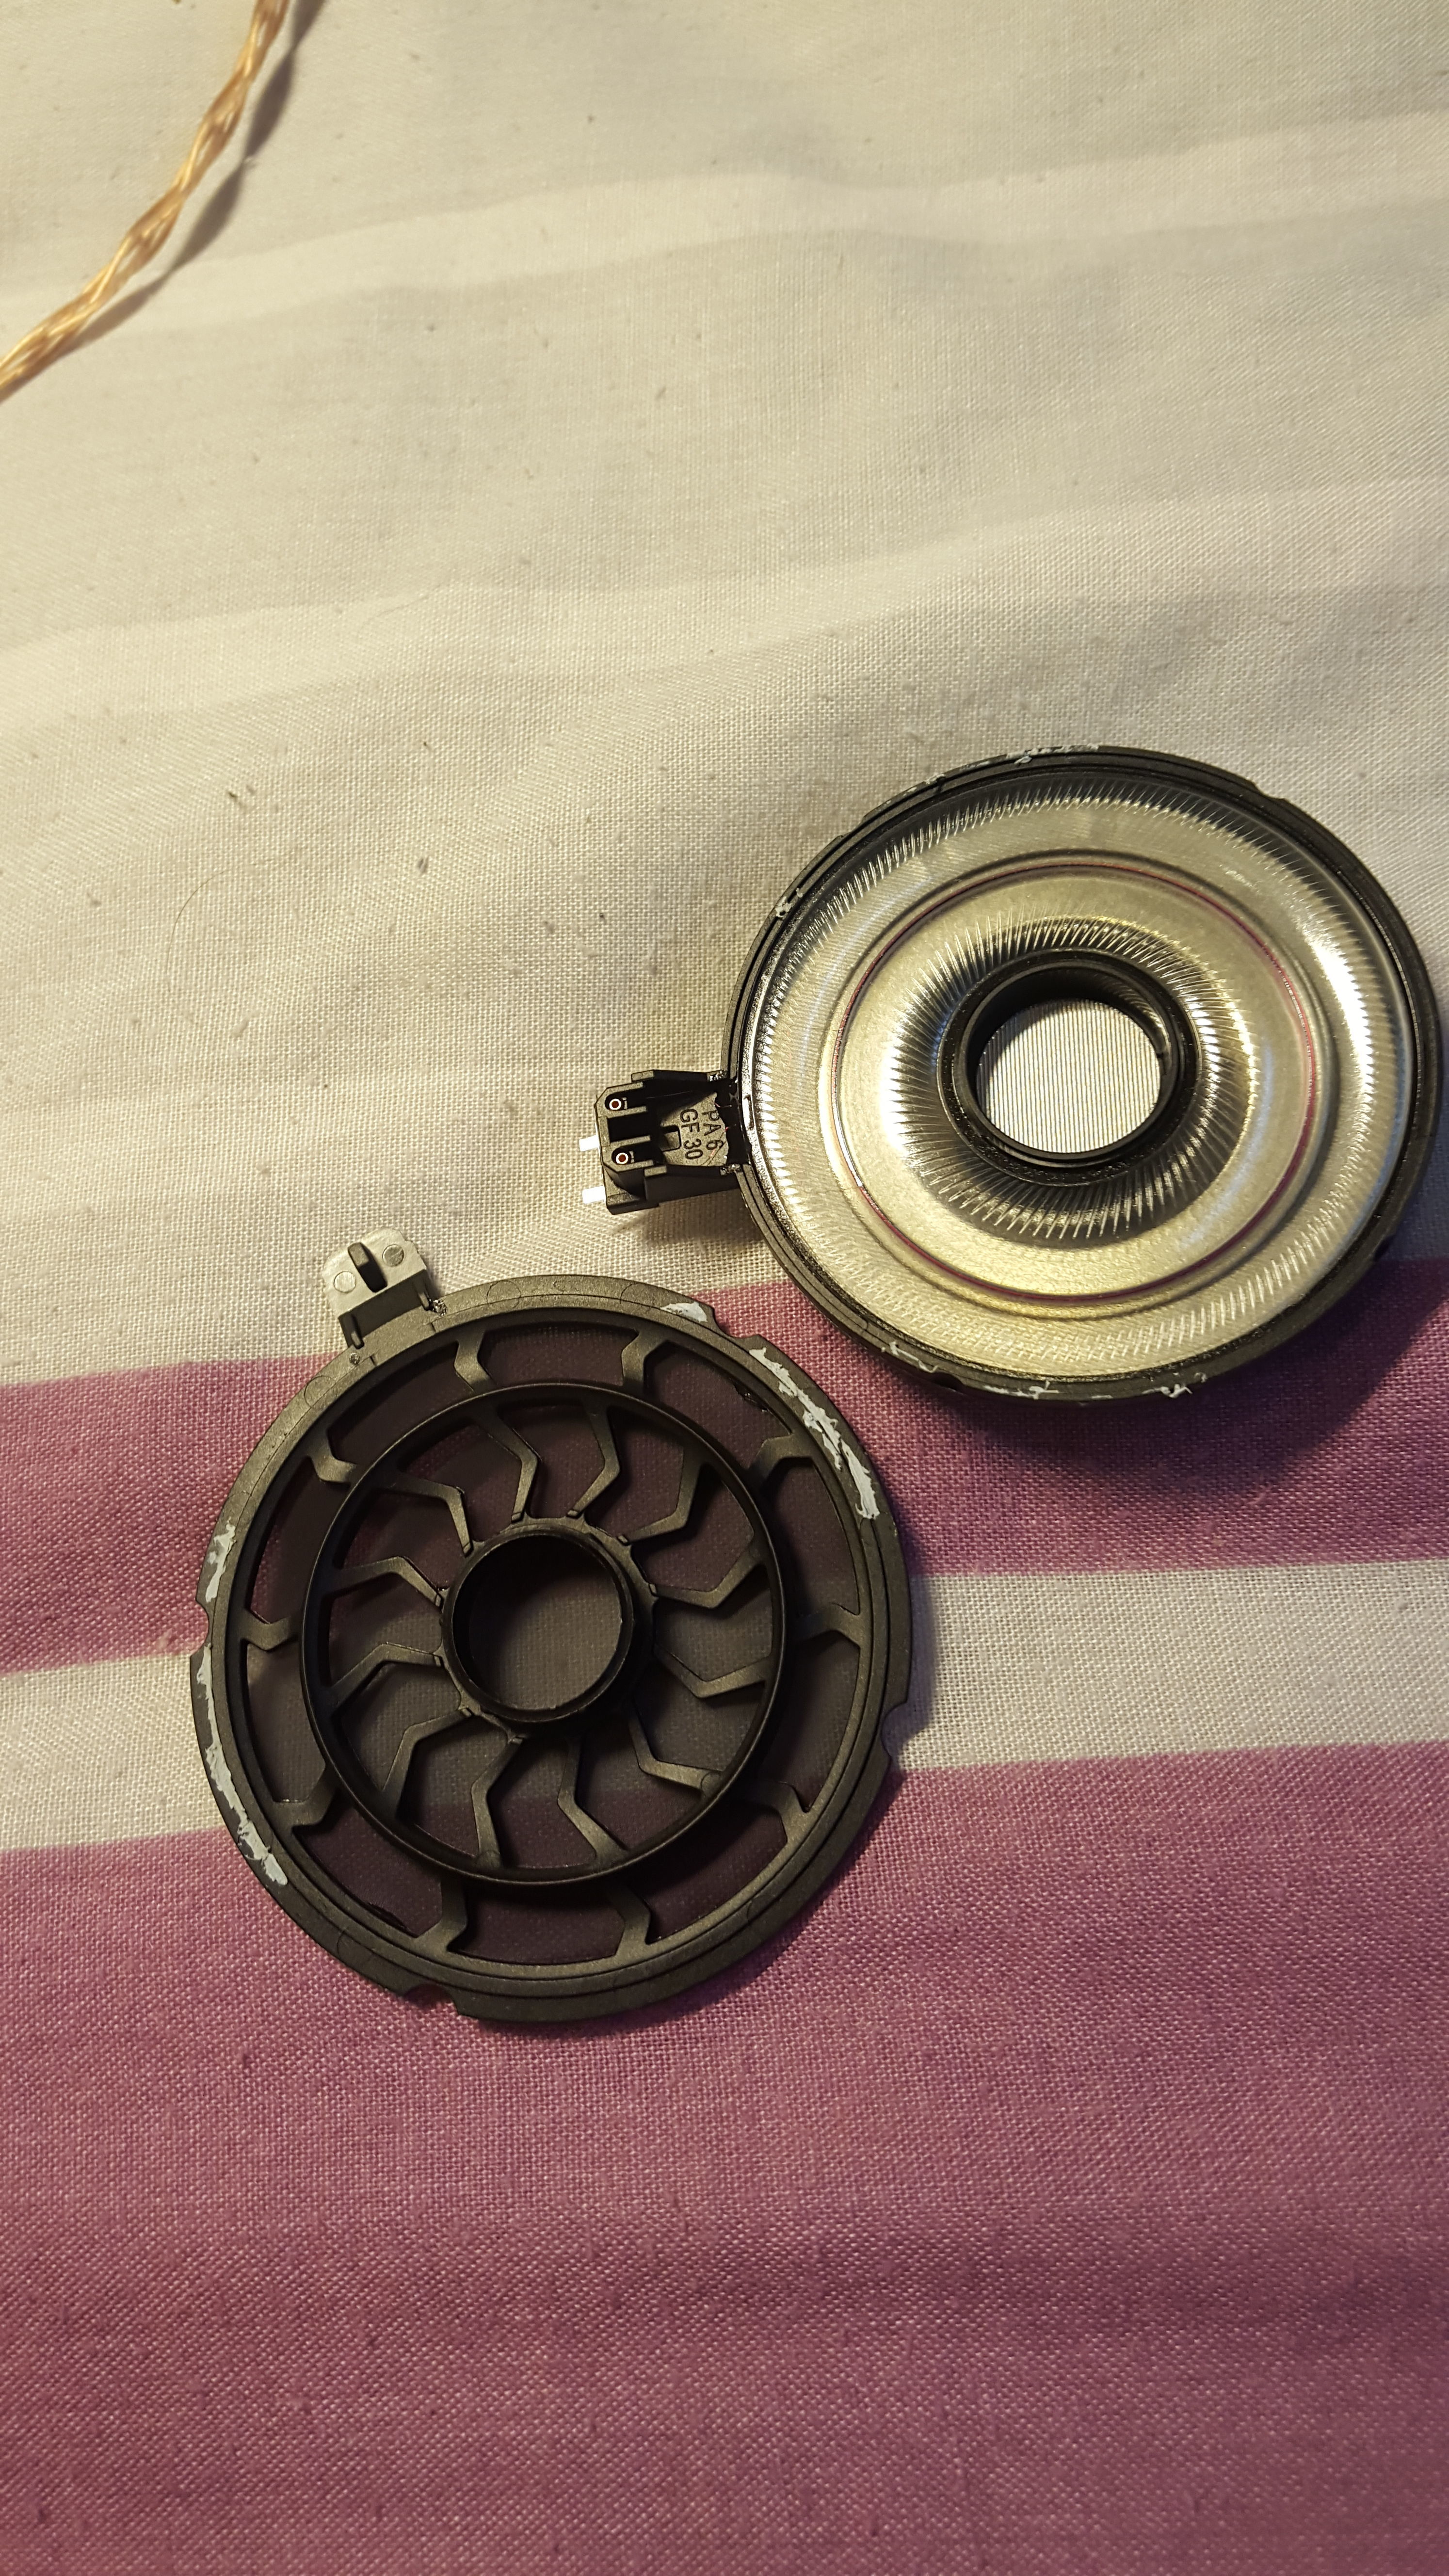
My resin infusion kit

Really messy table !!!


 .
.

